
Installing a tongue-and-groove hardwood floor seems super easy. This crazy guy does it in a minute.
But installing the hardwood actually seems like the only easy part of the process. It’s preparing the room that takes the most work! This step consumed a lot of our time and energy…
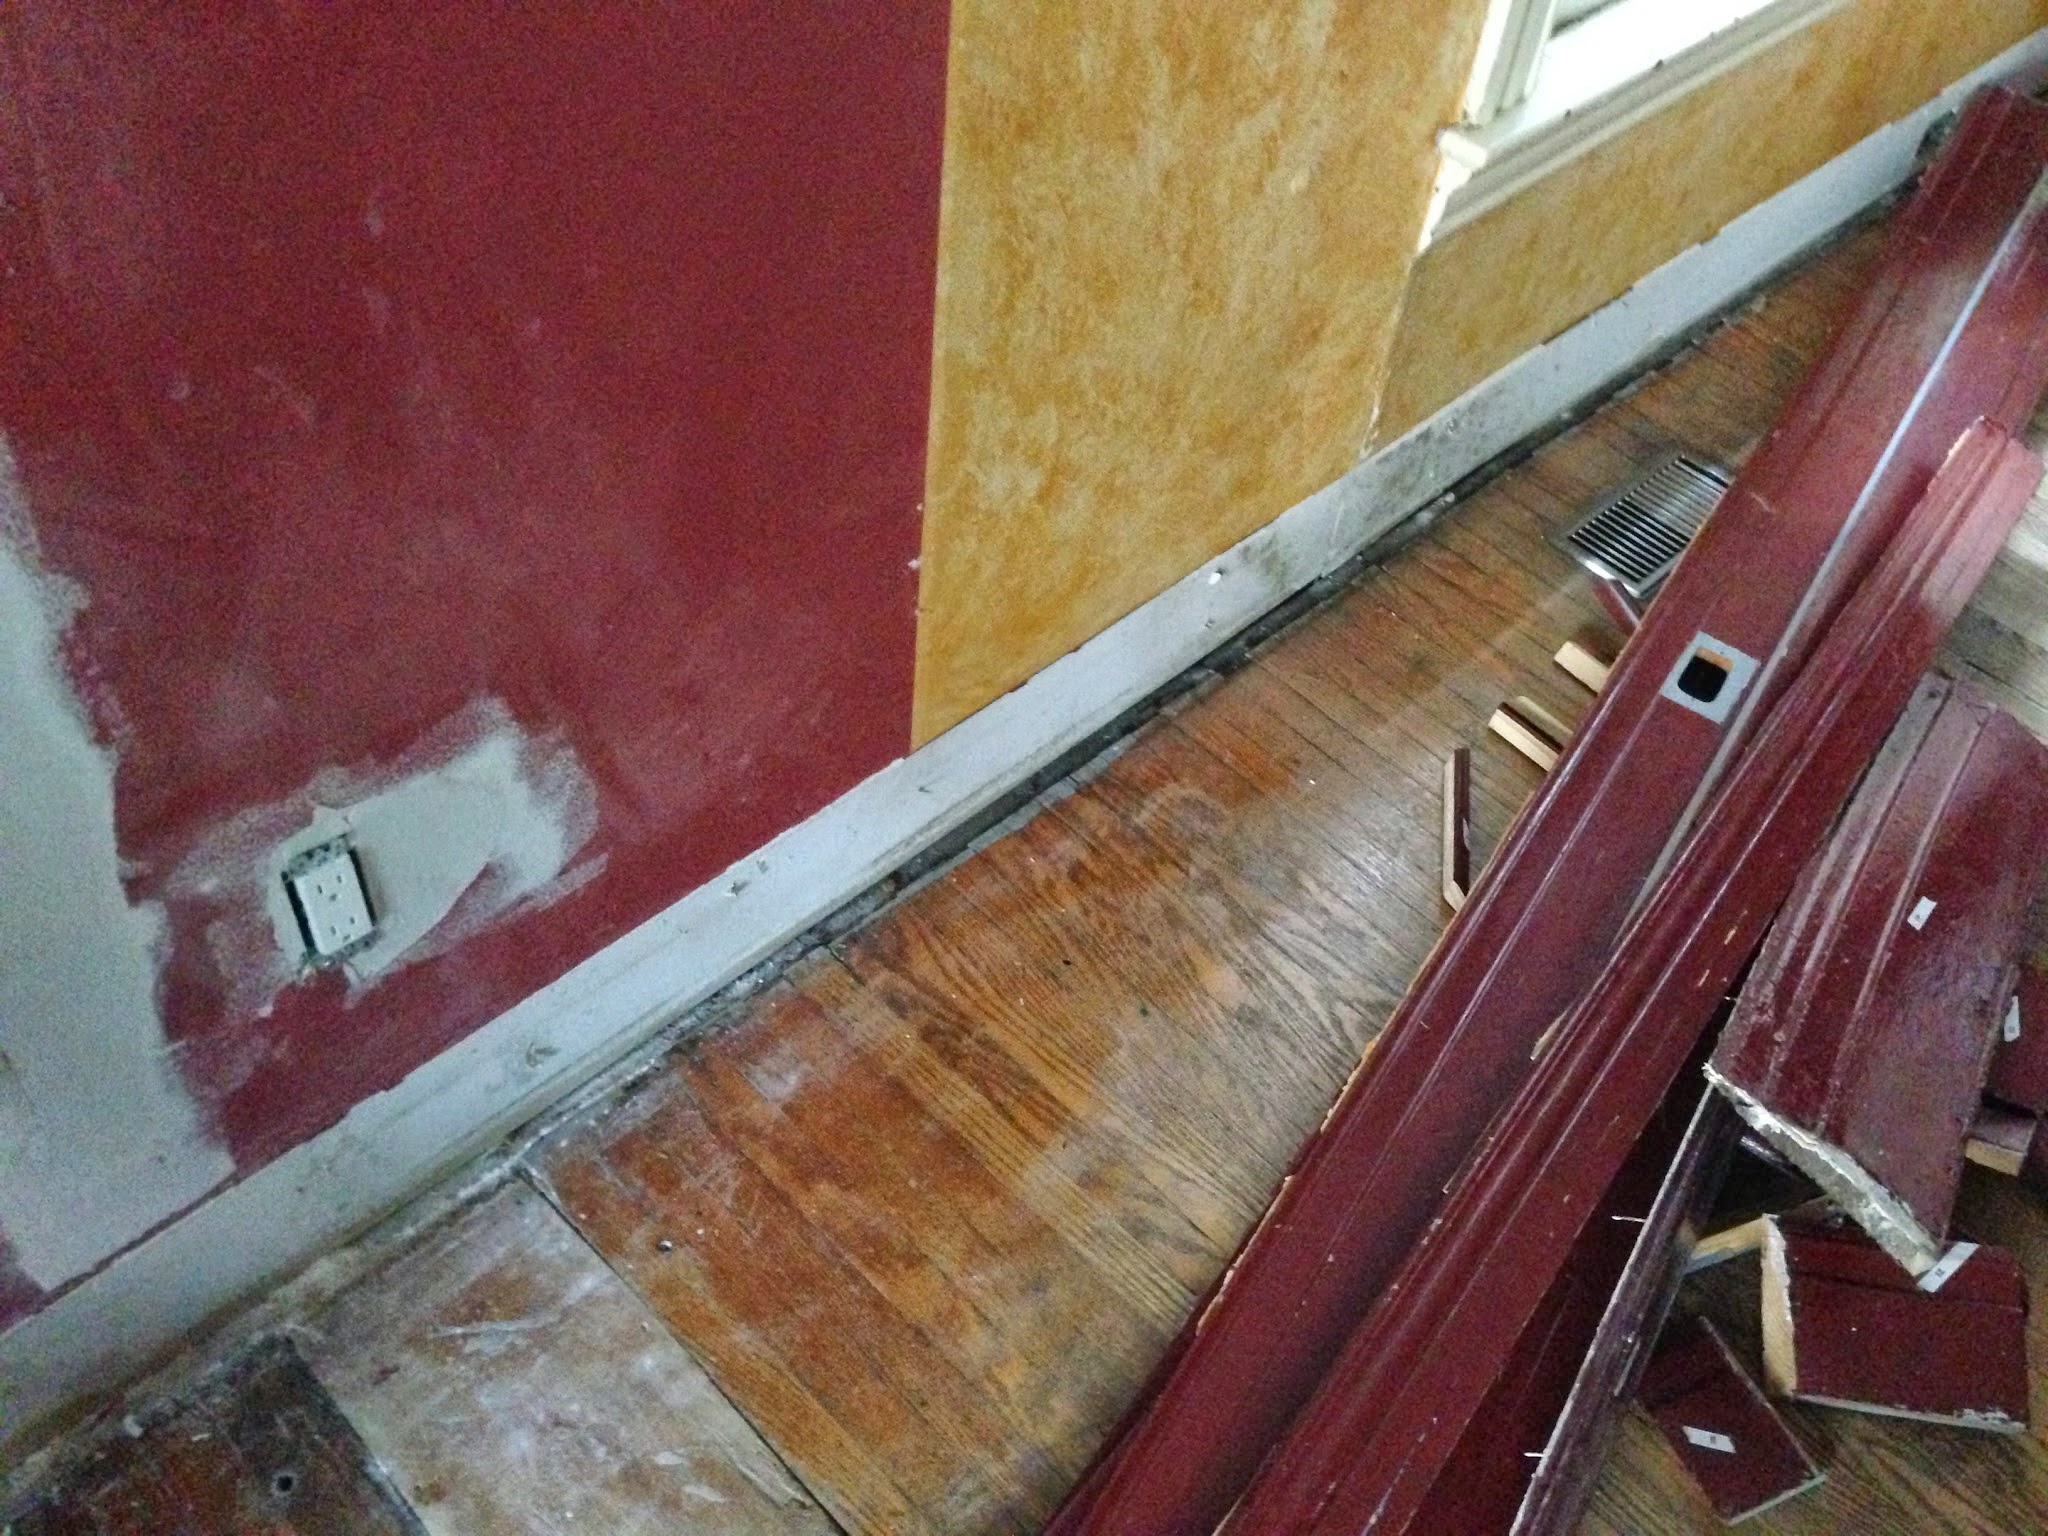
Removing the Baseboards
Before we even thought about installing the floors, we had to remove the quarter rounds. Our original plan was to leave the baseboards because we assumed that they were pretty attached to the plaster and removing them would result in disaster. As I removed the rounds, some of the baseboards were coming away from the wall and I could see that their removal would be pretty easy. Pretty easy.
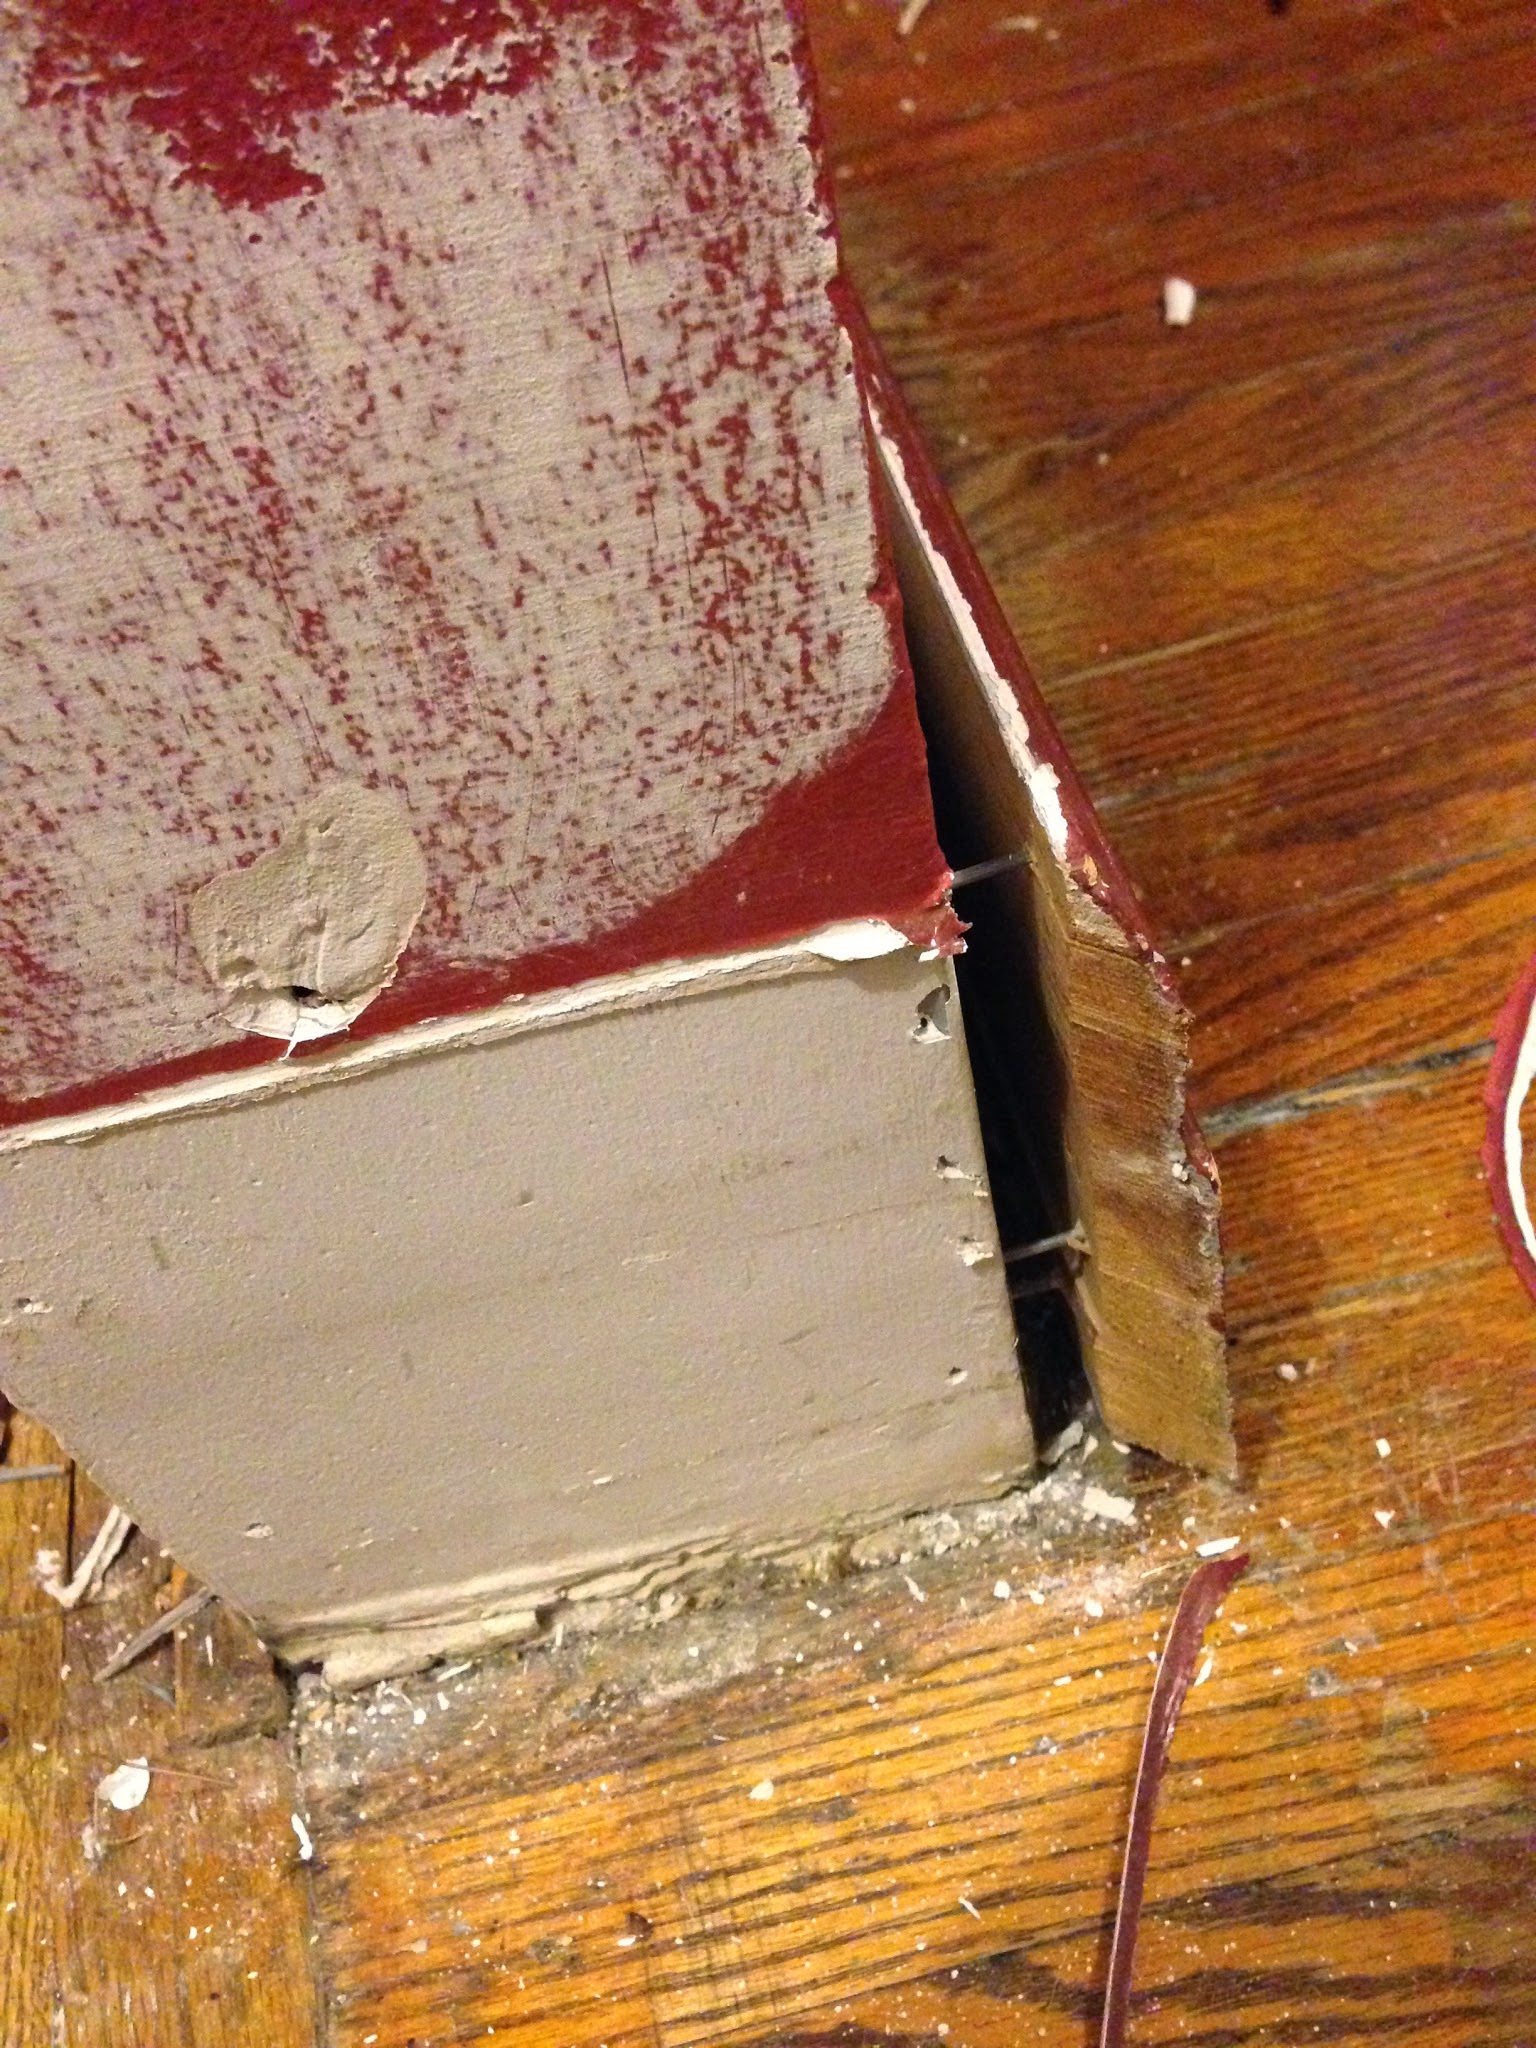 The only trick here is to be patient. Those nails are pretty serious and if you try to pull away too quickly, the boards will split – especially if they’re old boards like these. I only have a couple of splits at the beginning. I’m a quick learner. Sometimes.
After about an hour, I managed to remove all the baseboards.
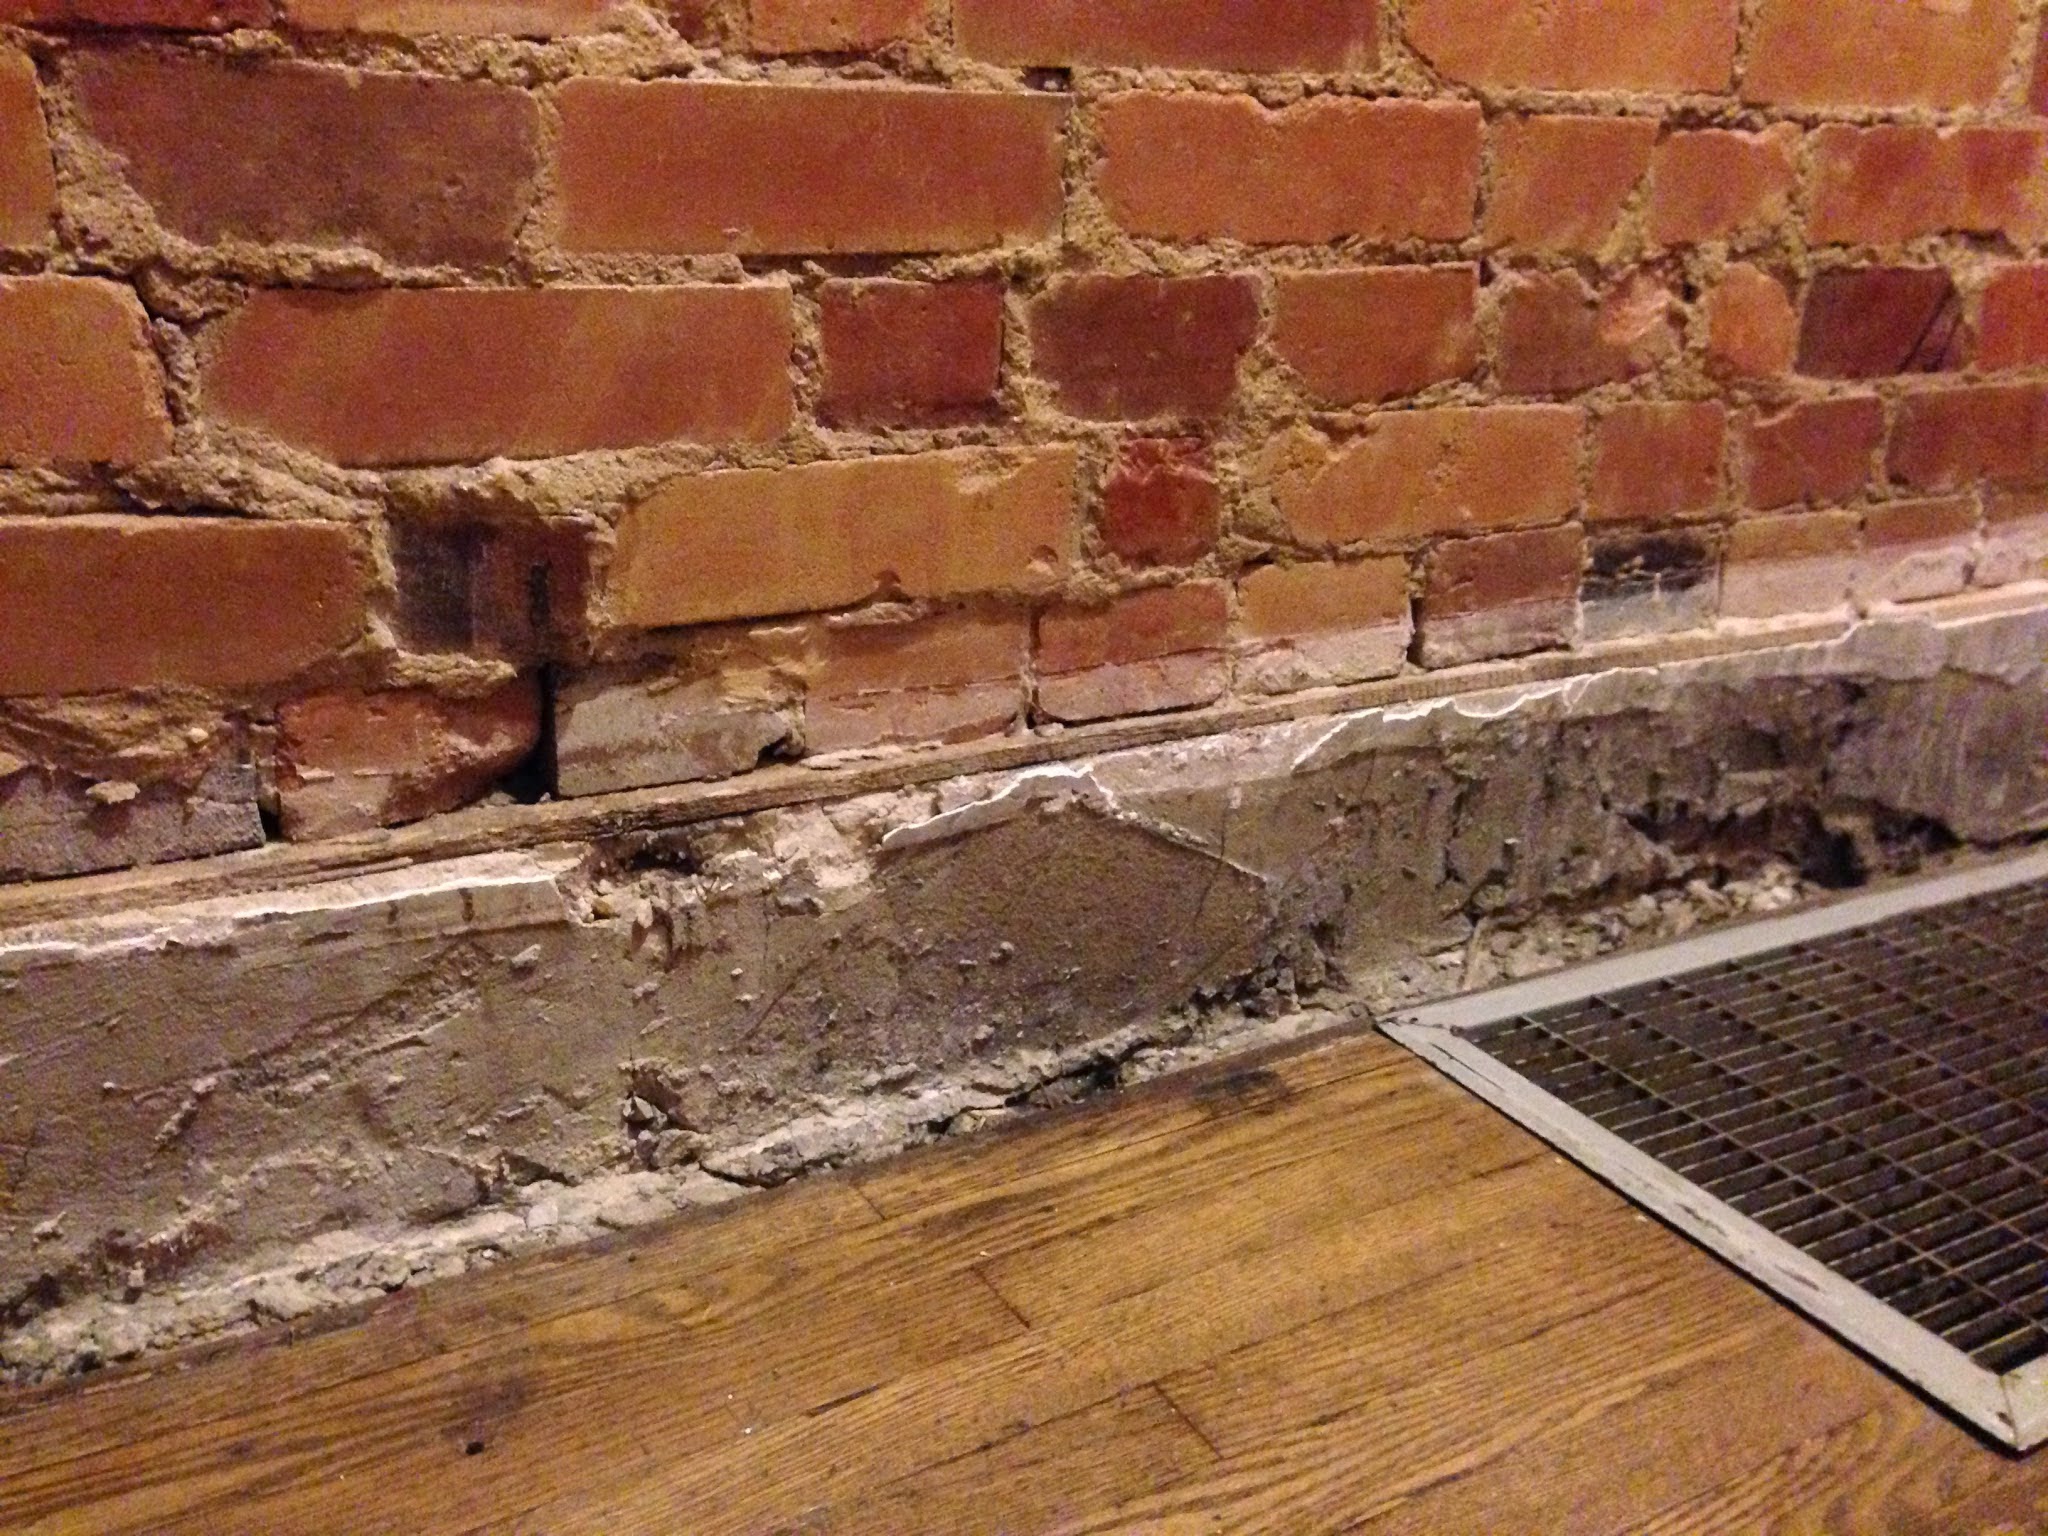
The only major challenge I had was removing one section of baseboard, which I think might be the original (like, 100-year-old) baseboard on the interior wall. It was also particularly nasty back there, which was unfun.
The victory for me is that I will not have to re-install the quarter rounds! If we hadn’t been able to remove the baseboards, we would have needed the quarter rounds to cover the gap where the hardwood meets the wall. Now we don’t have to and I can have a much more modern look!
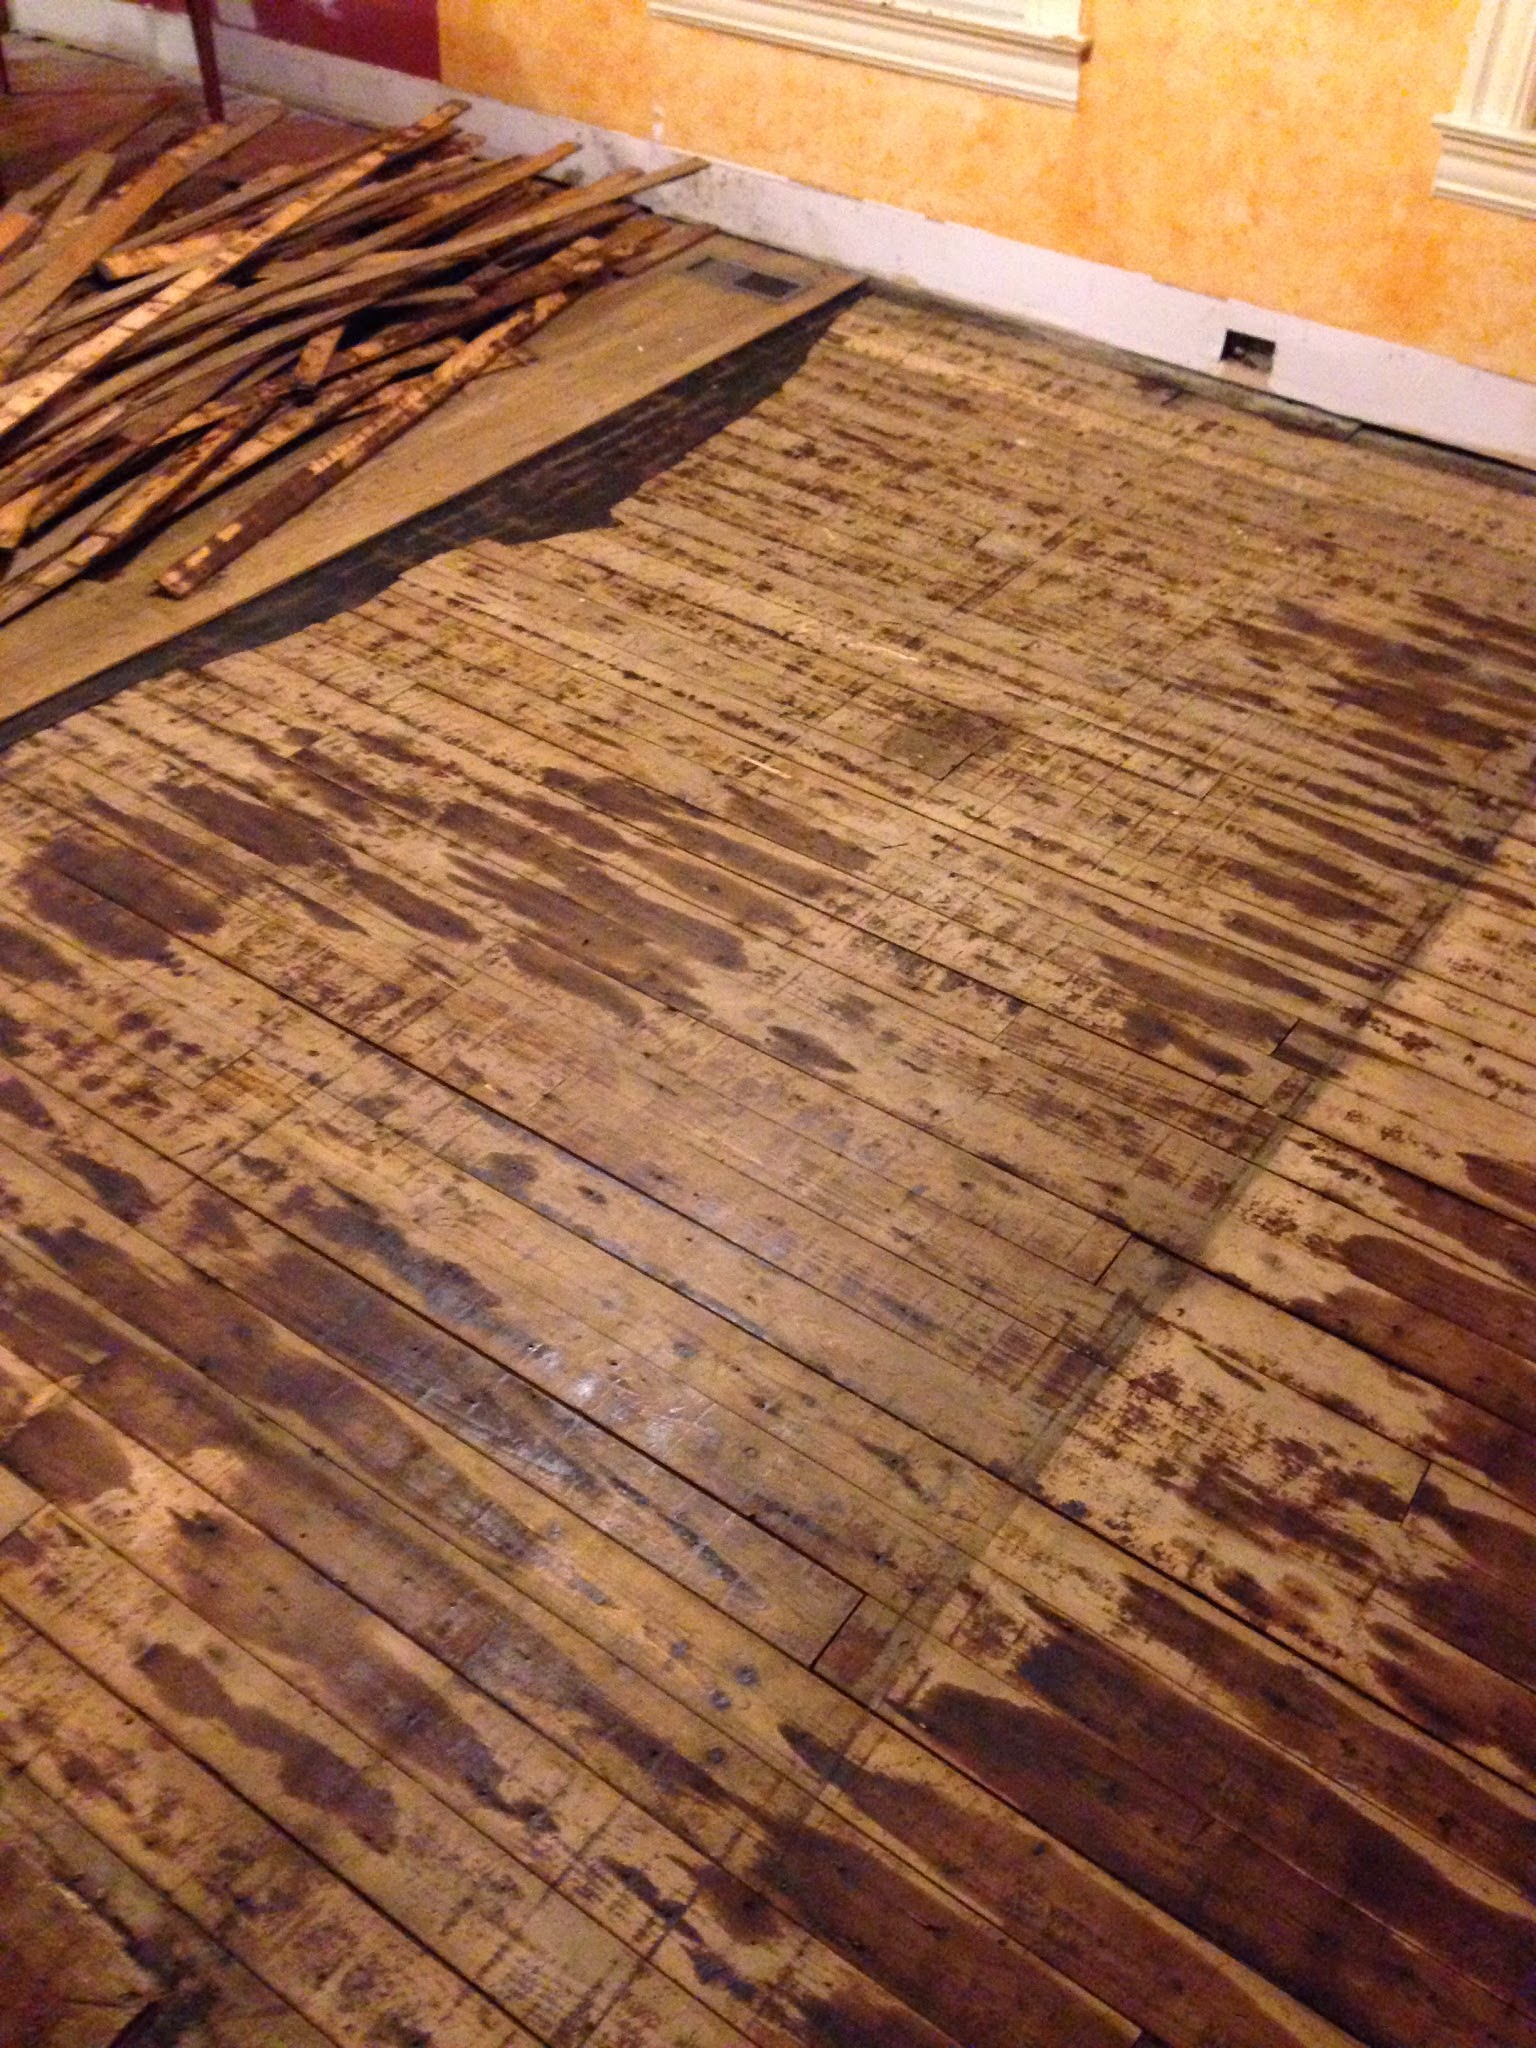
Removing the Hardwood
The next step was bittersweet for me. Actually, it was only about 5% sweet, 95% bitter. I’m pretty sad that we’re losing the floor, but the one thing keeping me going was that we really couldn’t have salvaged the existing floor. Now I’m not so sure.
Pulling up the first couple of boards was definitely the most challenging of all. There’s little room for leverage and they’re really stuck on there!
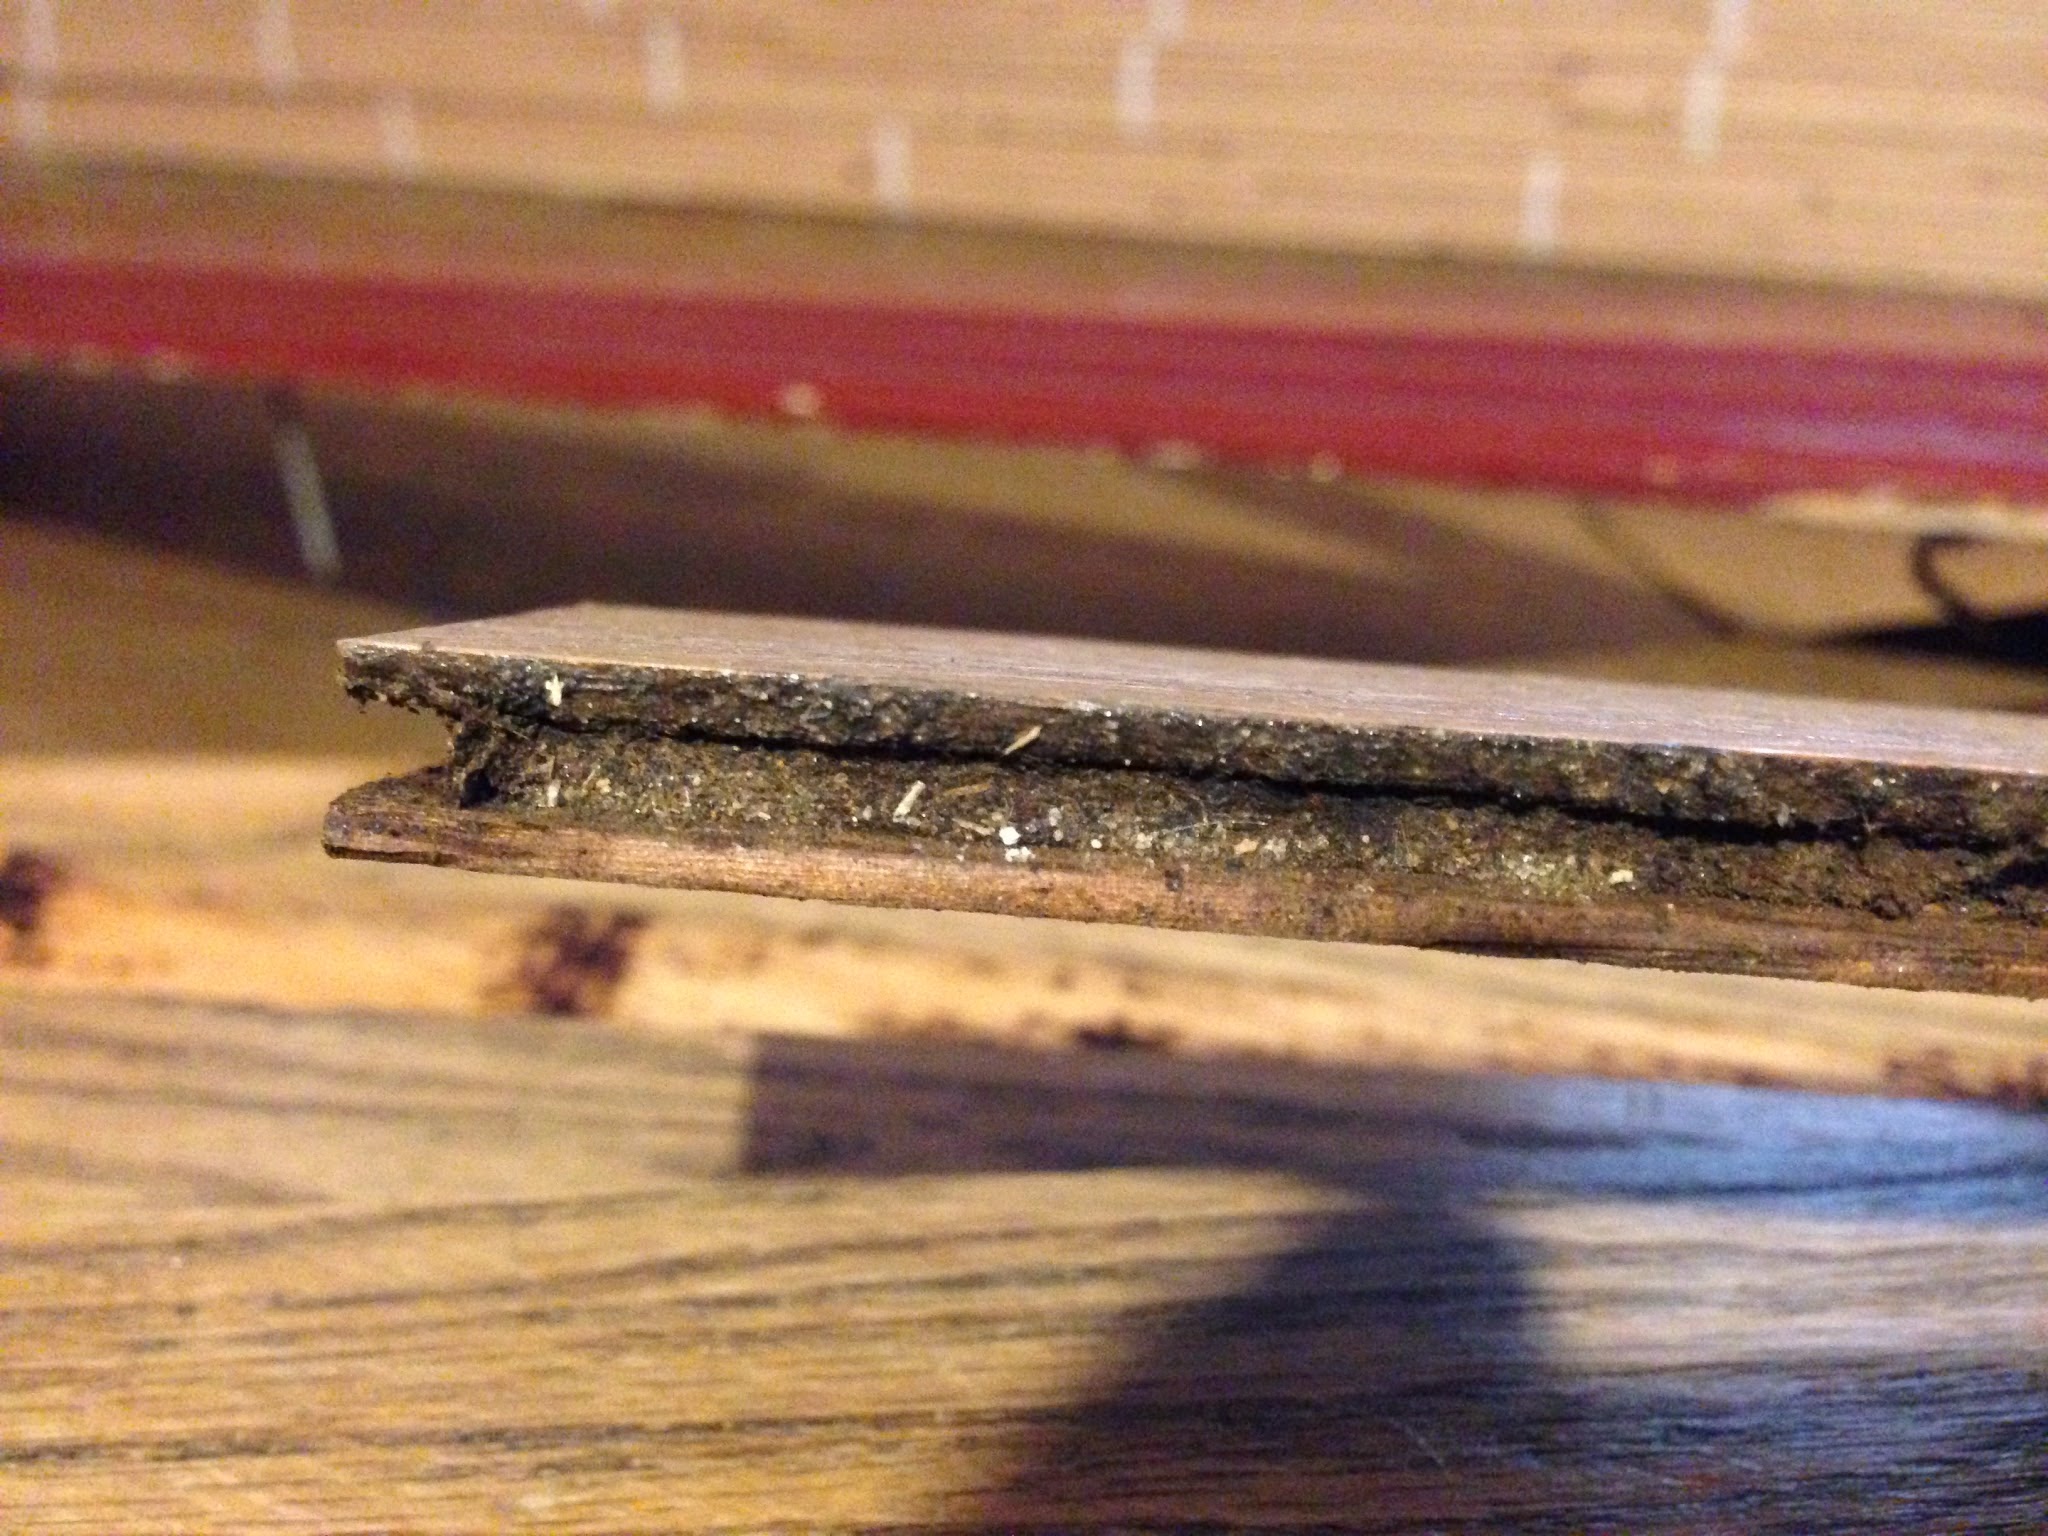
But once you get going, it’s not so bad. Each board I pulled up came off almost perfectly. There was little snapping or splinting, and they only broke when I wasn’t patient enough to work my way down the board.
The other amazing thing is that these boards are long! I compared them against the new boards, and the old boards are longer than any of the longest pieces in the new bunch. Longer pieces are generally more desirable, so I’m a bit disappointed that we’re losing these gorgeous pieces of wood.
Also, when I pulled them up, I was finally able to see just how much wood was still left. And there’s still quite a bit. I figured that they had been sanded down to the tongue and groove, but they’re not! There was definitely enough sanding room left on these babies!
I guess we’d still have to patch those holes… but given how cleanly these boards came up, I’m not sure that would have been as much of a challenge.
It took a few hours, but I made quite a bit of progress.
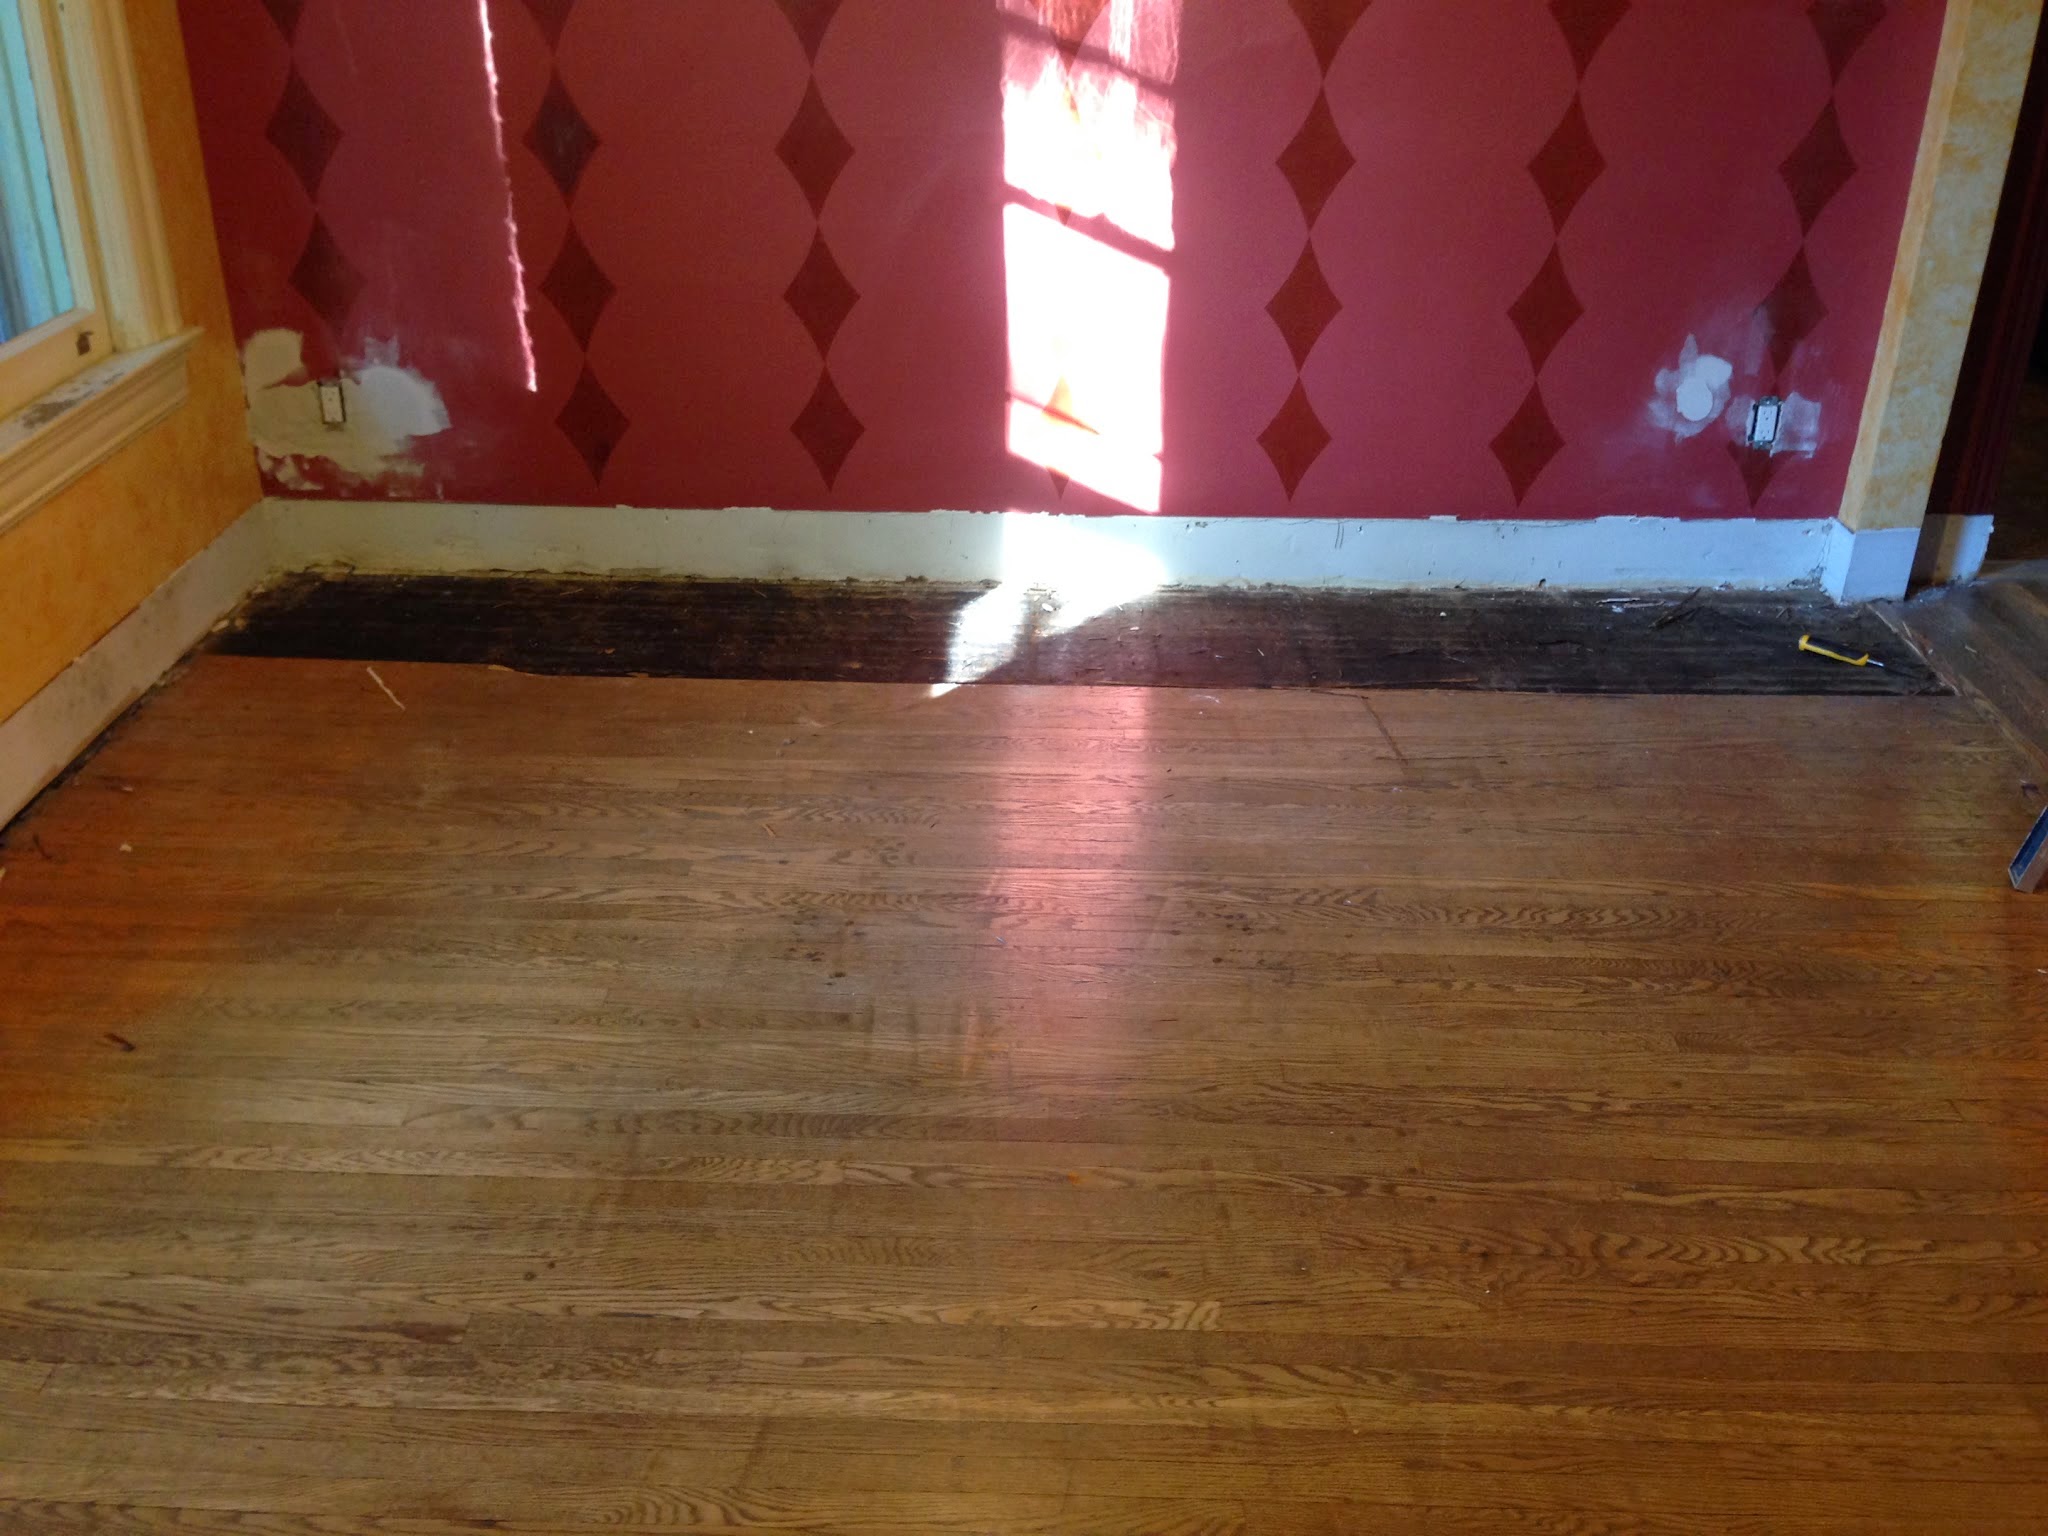
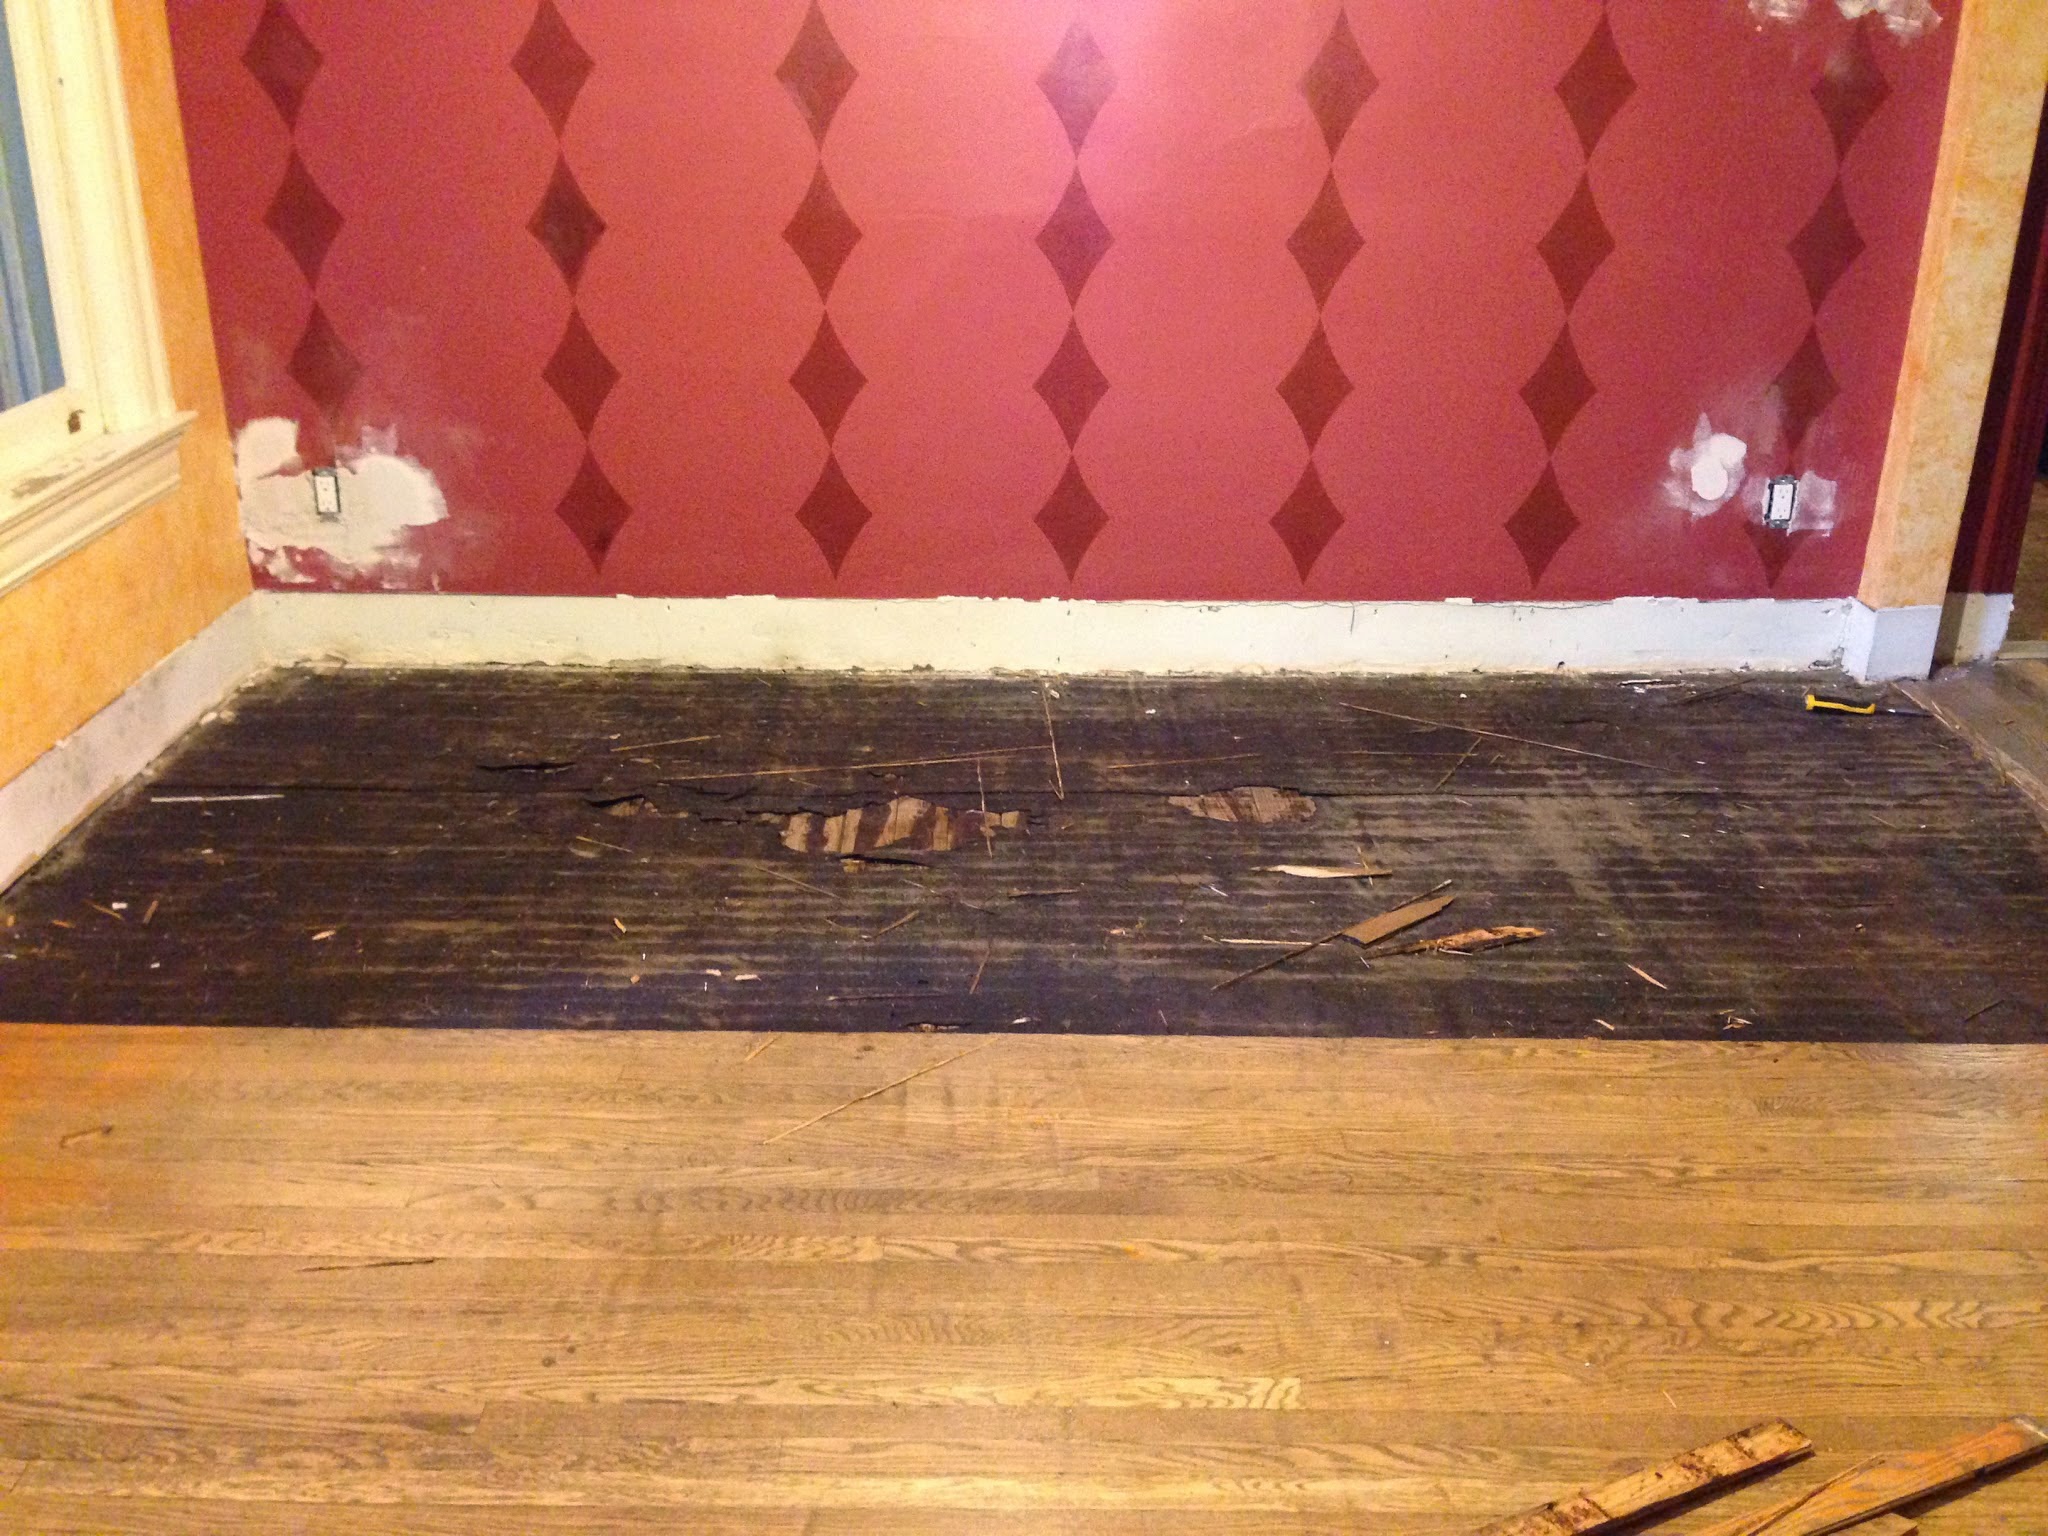
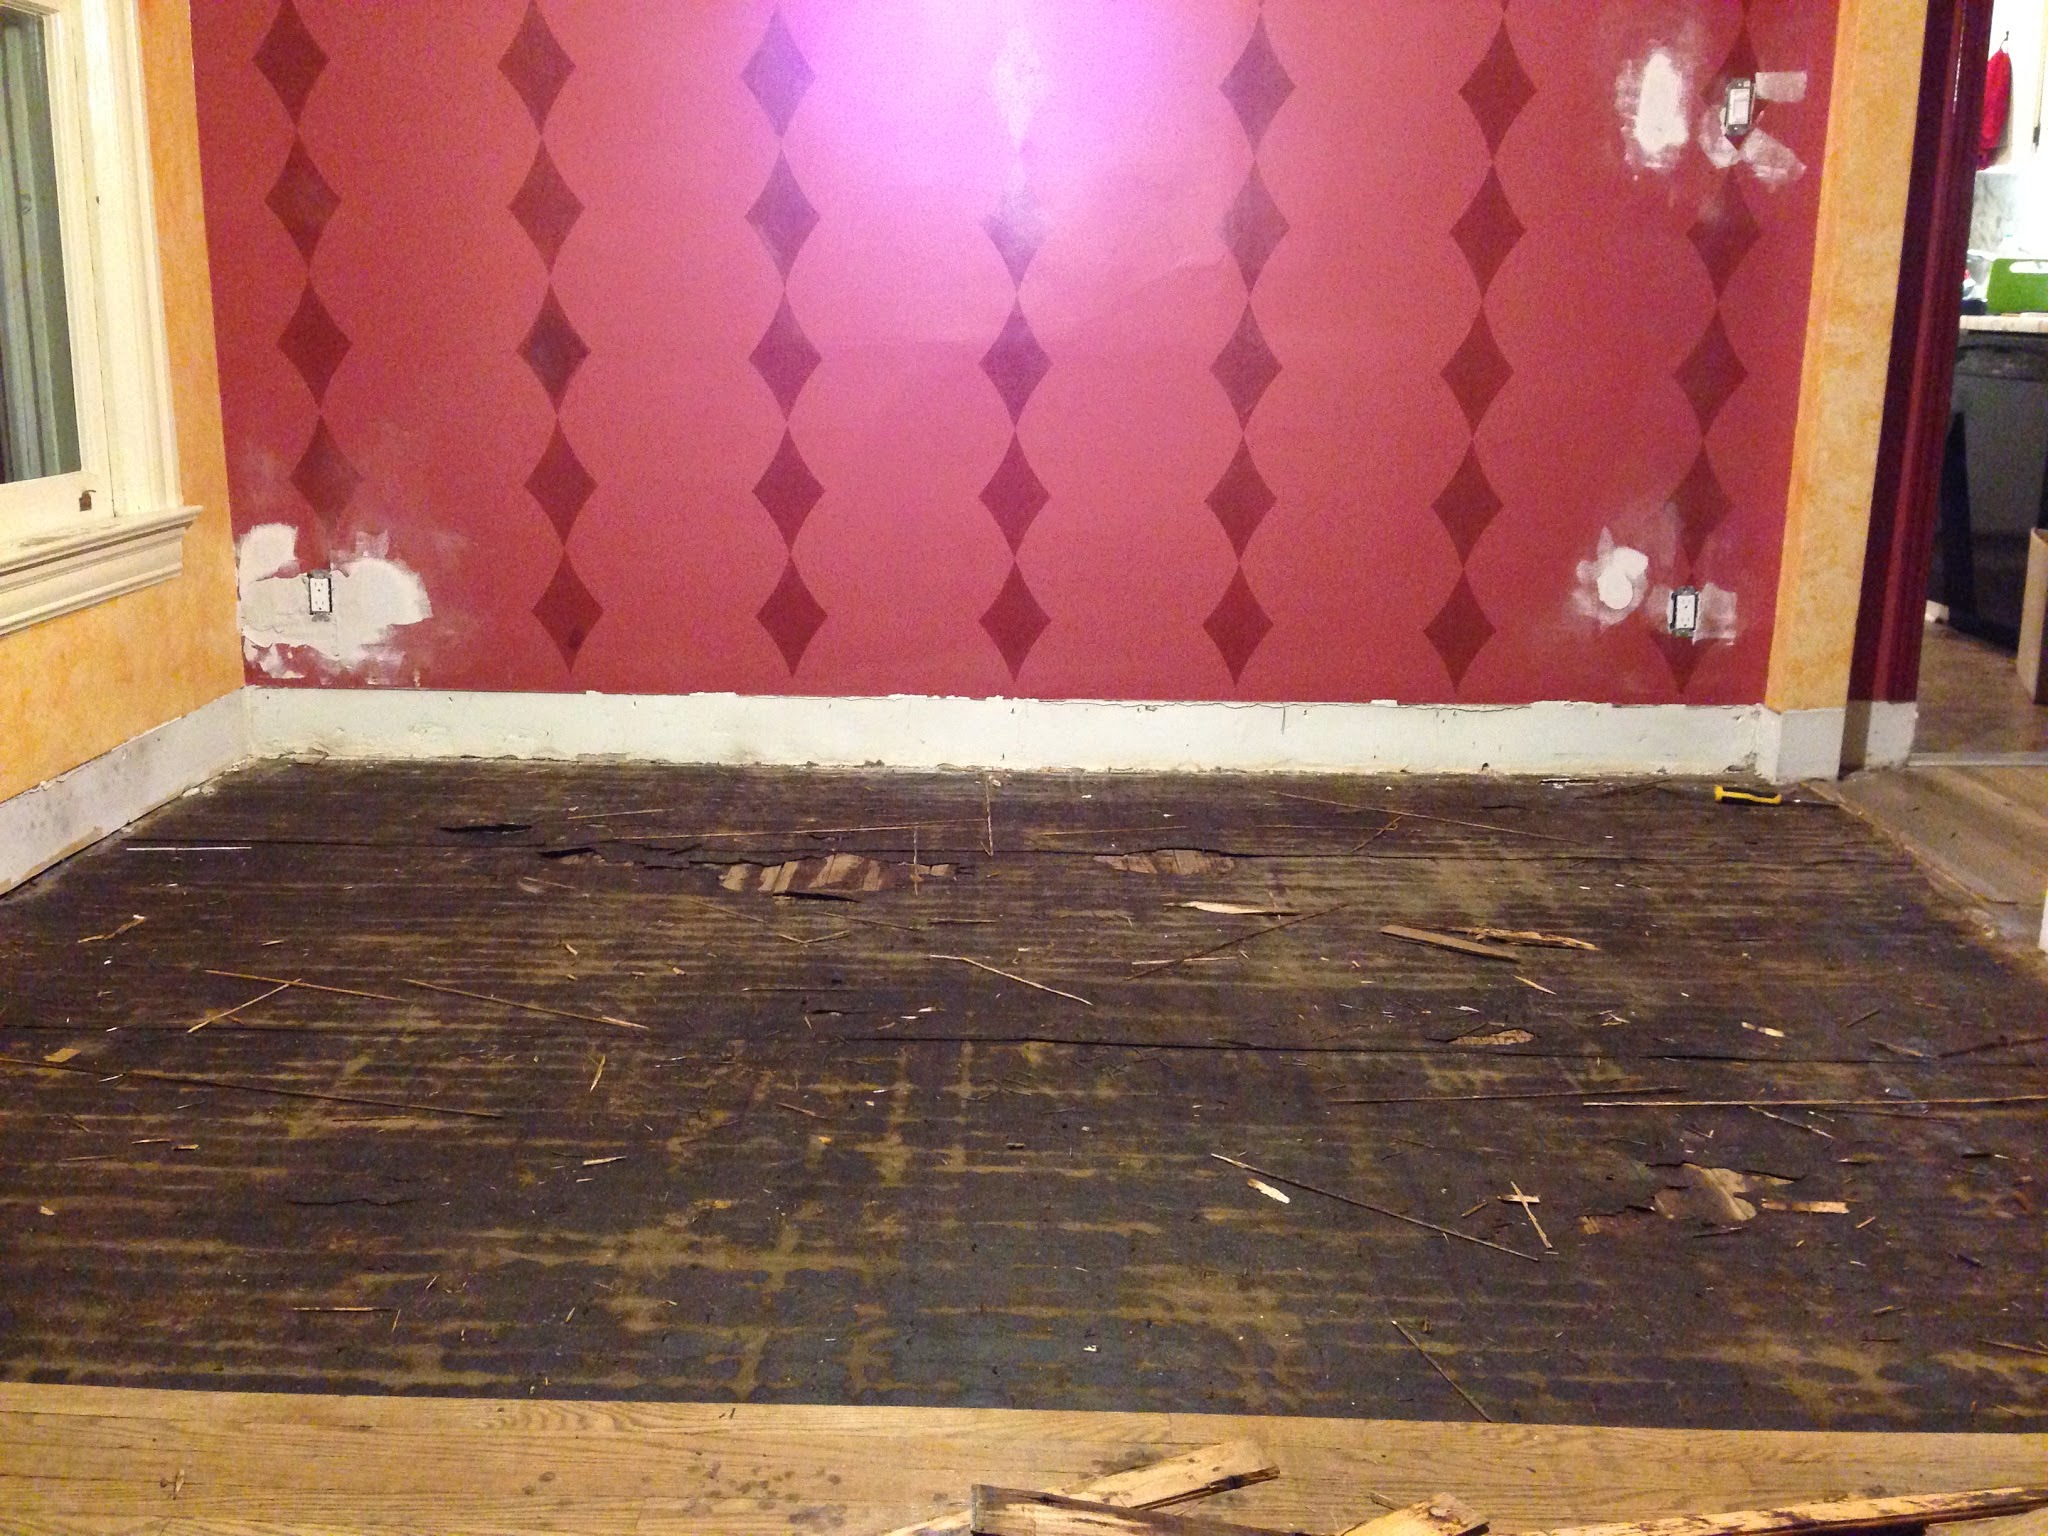
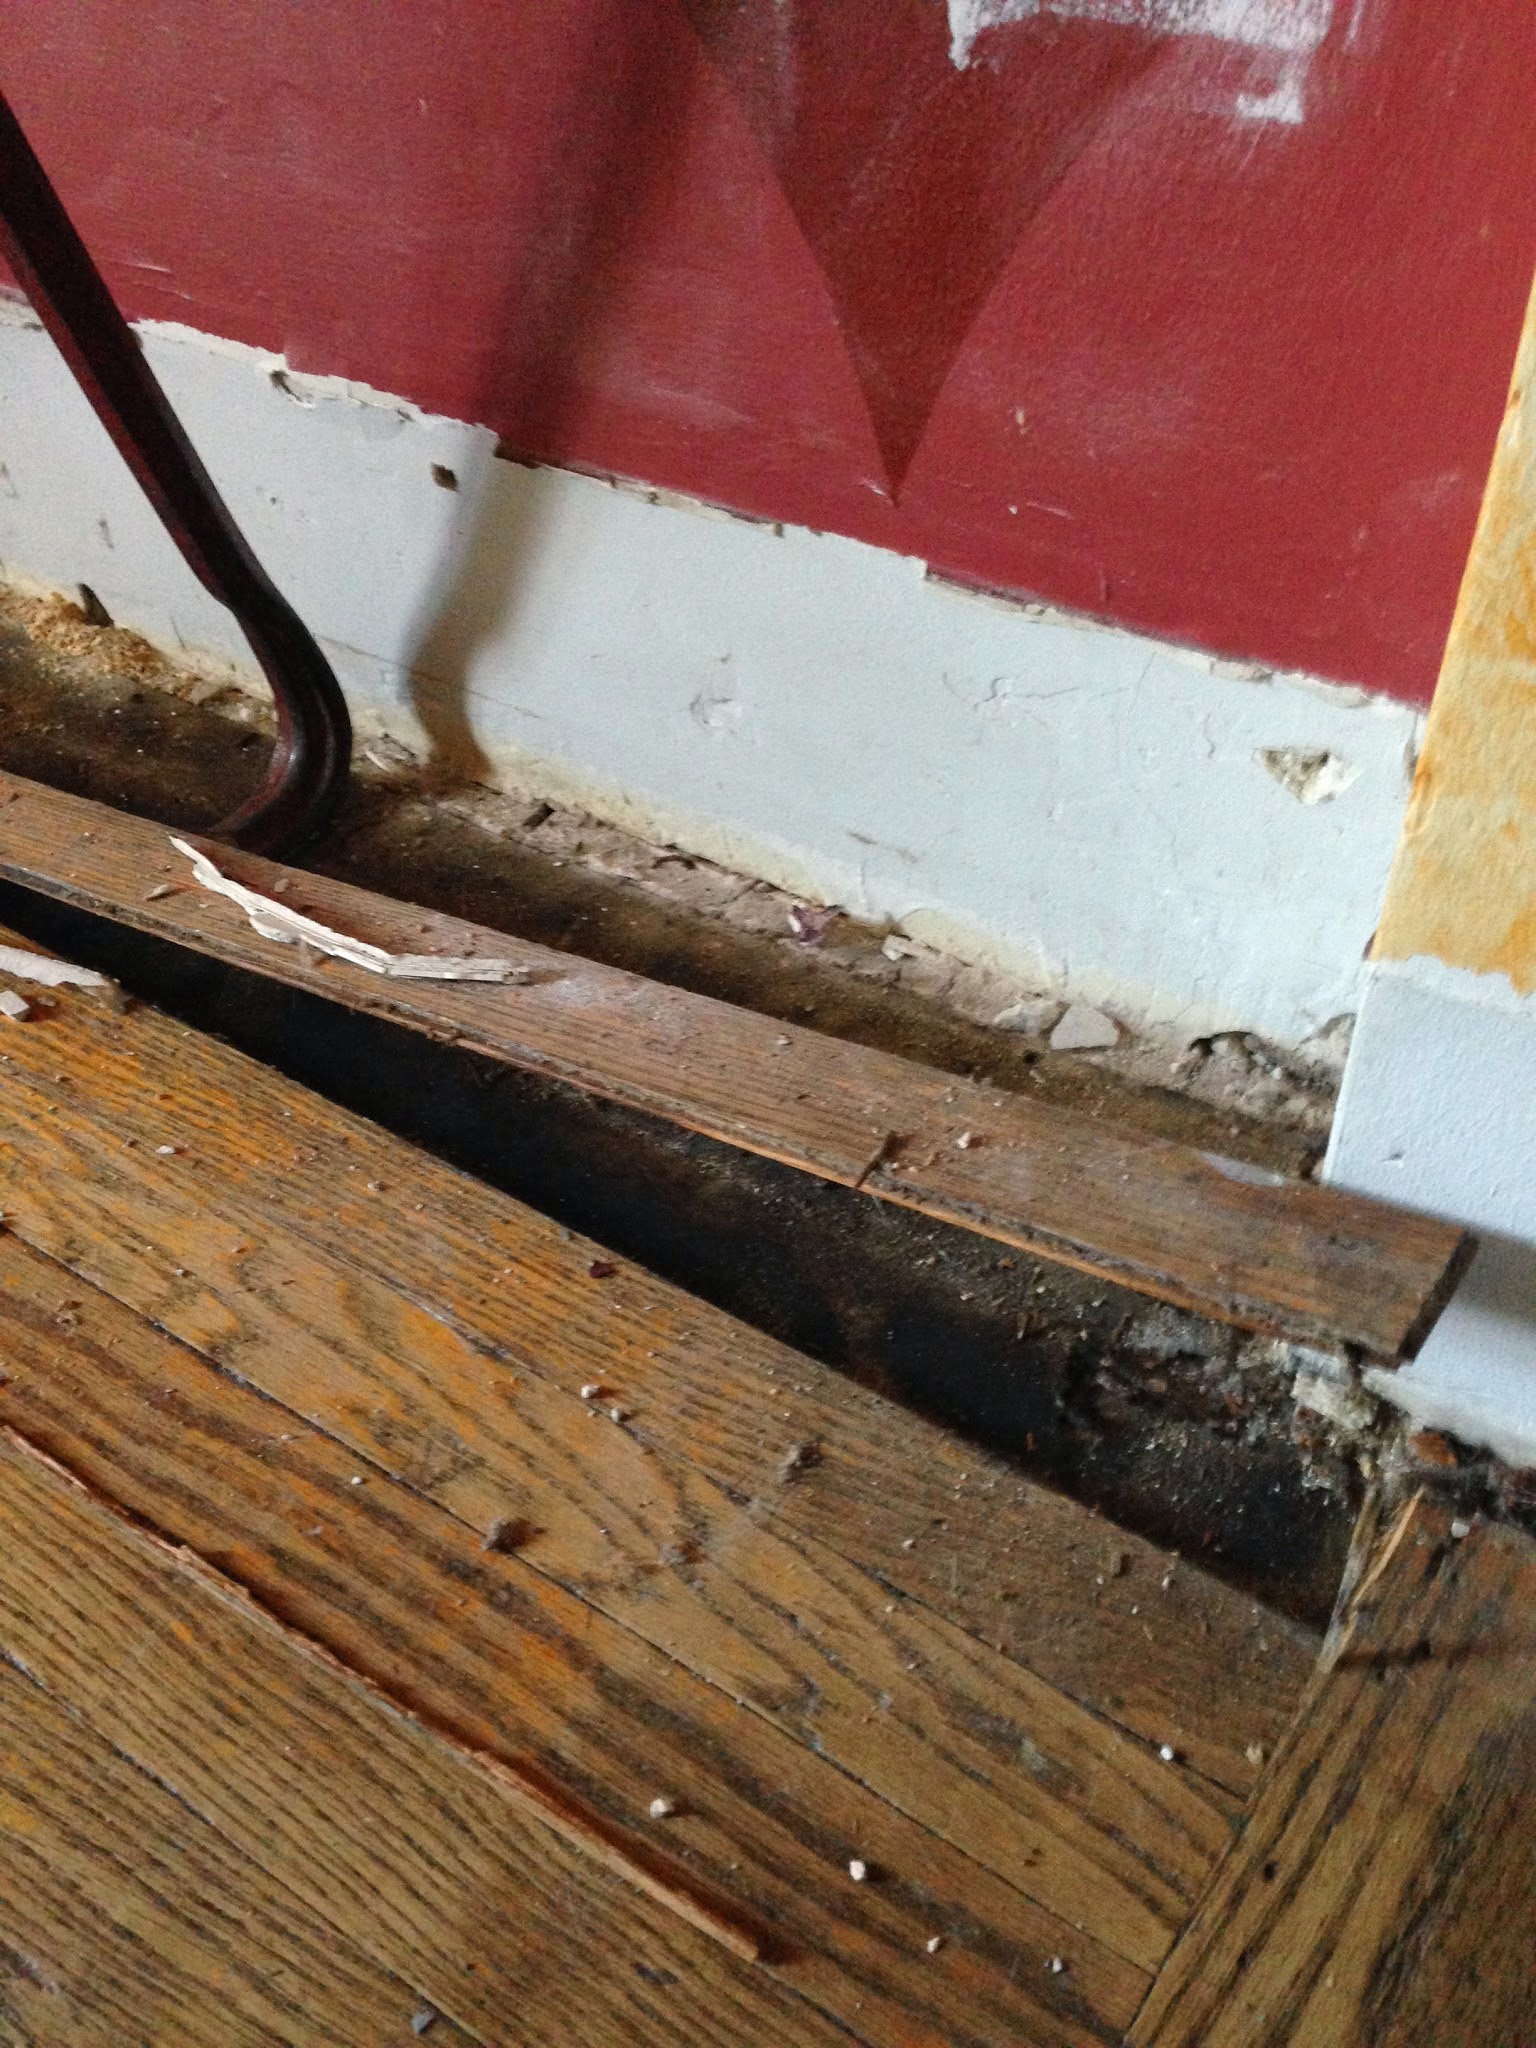
The dark colour is actually the original underlayment (basically paper that helps manage moisture in the wood). It’s old and gross, so I removed it.

I also removed the seemingly millions of nails that stuck out of the boards. My back now hurts.
The boards are in great shape and relatively flat and level.
Given the number of nails and that I was working in flip flops (not recommended), I only had one small toe injury. The house is now forever stained with my blood.

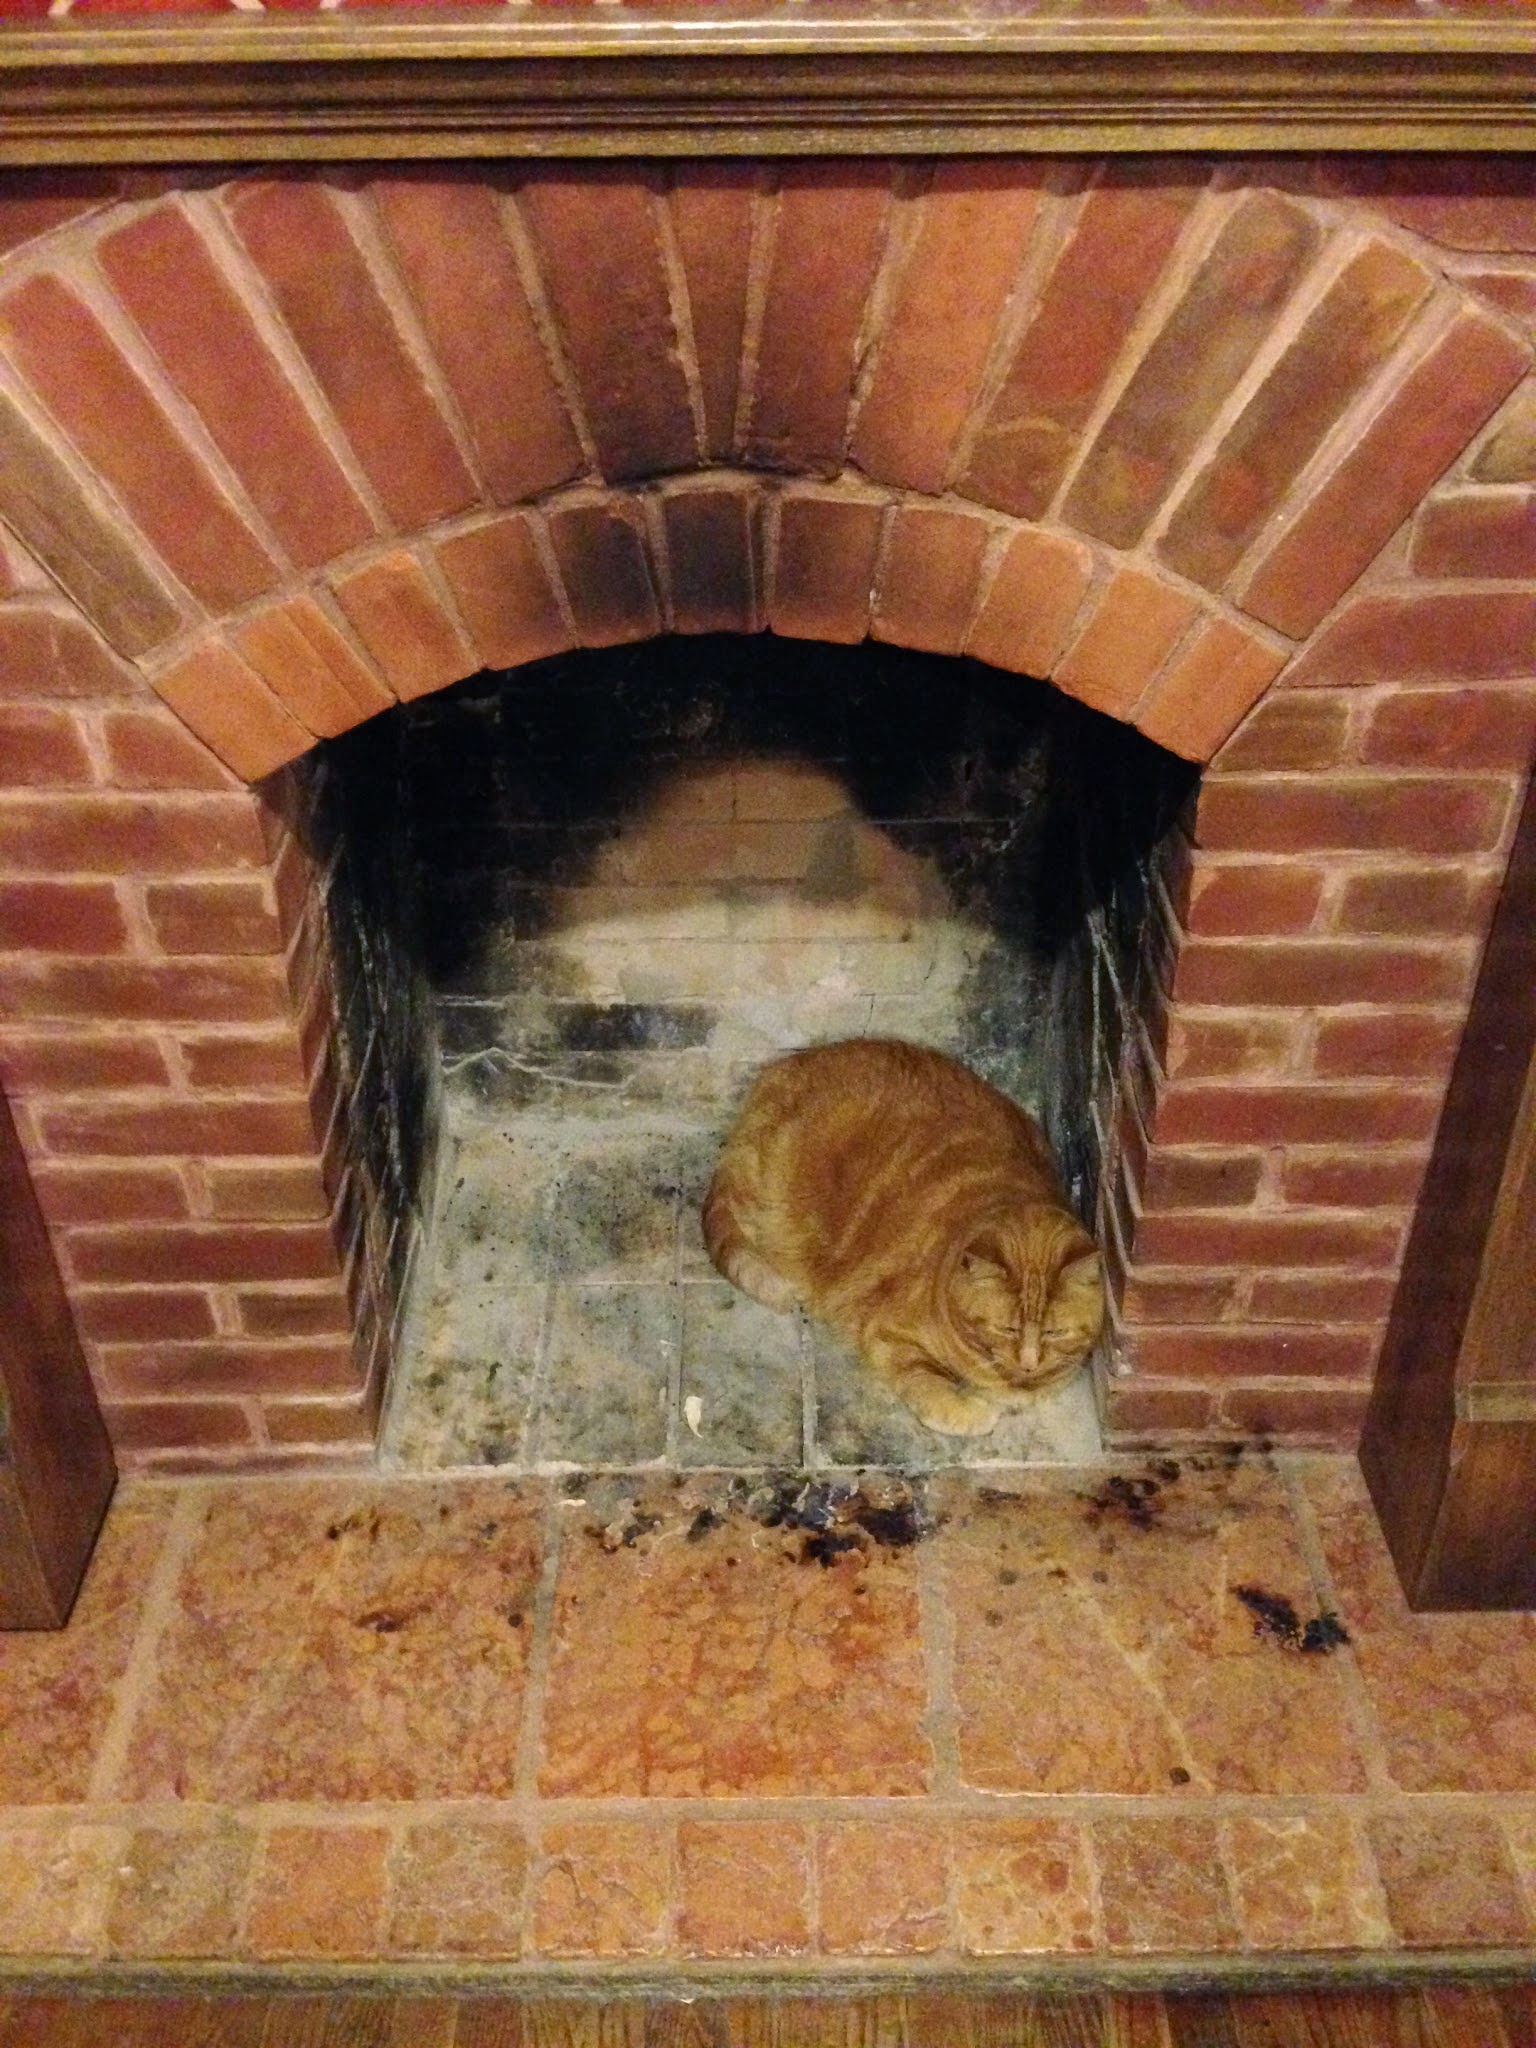
This work was quite overwhelming for Gus, who spent most of his evening ‘hiding’ in the fireplace.
I’ll be finishing the rest tonight!
Here’s a great resource I found on the entire process: http://extremehowto.com/pro-tips-for-tongue-groove-flooring/
[…] and baseboards were gone, it was time to start removing the old hardwood. Unlike the last time we ripped up the floors, I had no issues getting rid of 50 years worth of dog hair and nasty dirt. We got our crow bars out […]