With 5 people in the house now, our one 5’x7′ bathroom just isn’t going to cut it. We always planned on adding a bathroom in the basement, so when we underpinned, we had all the plumbing rough-ins done (and in the right spots… ish…).
We had one wall of the bathroom already built as part of the bedroom framing, but I had to build the other three walls, including the exterior wall.

I think the hardest part of framing is getting everything square. With the built-ins in place, I was able to use them to make the other walls perfectly parallel and square. We also had to install the shower basin (more on that later) to make sure the wall was in the right place.

For the final wall, I wanted to install a pocket door. I decided to buy a pocket door kit to make my life easier and found the Johnson Pocket door kit had good reviews. It was a bit hard to find and I had to wait a few weeks, but what’s another delay at this point?

The kit came pretty compactly packaged and essentially contained a pair of steel studs, the door track/header and some screws. Since the track piece is actually attached to the wall studs, I didn’t bother adding a top plate to my wall. I wanted the door to be as tall as possible, so omitting a top plate allowed me to install the track as high as possible so I’d have a small header over the door.
I had to cut the track and header piece to the right size given my door dimensions, but the instructions were clear and easy to follow.


Installing the track was already fairly straightforward. The track essentially sits on nails (or flat-headed screws), so I just made sure my screw locations sat at the same height on either side. I sat the track on the screws and then adjusted until it was perfectly level and tightened the screws. The track is then secured by a bunch of nails. Easy peasy.

The kit comes with two steel studs that essentially creates the “pocket” for the door to sit in when it’s closed. I had to cut the studs to size, which was a pain because cutting through steel requires a grinder and is generally unfun. I don’t have any photos because I was legit concerned about hurting myself. I managed to not cut any of my limbs off and my cuts were straight enough that it worked.
Since I couldn’t screw the studs into the floor (thanks to our infloor heating), I had to use super duper construction adhesive (official name is PL Premium 8x) and used bricks to hold it in place until the adhesive set. The steel studs are strong, but they can easily twist if they’re not held in place. 24 hours later the adhesive set and those studs weren’t moving.

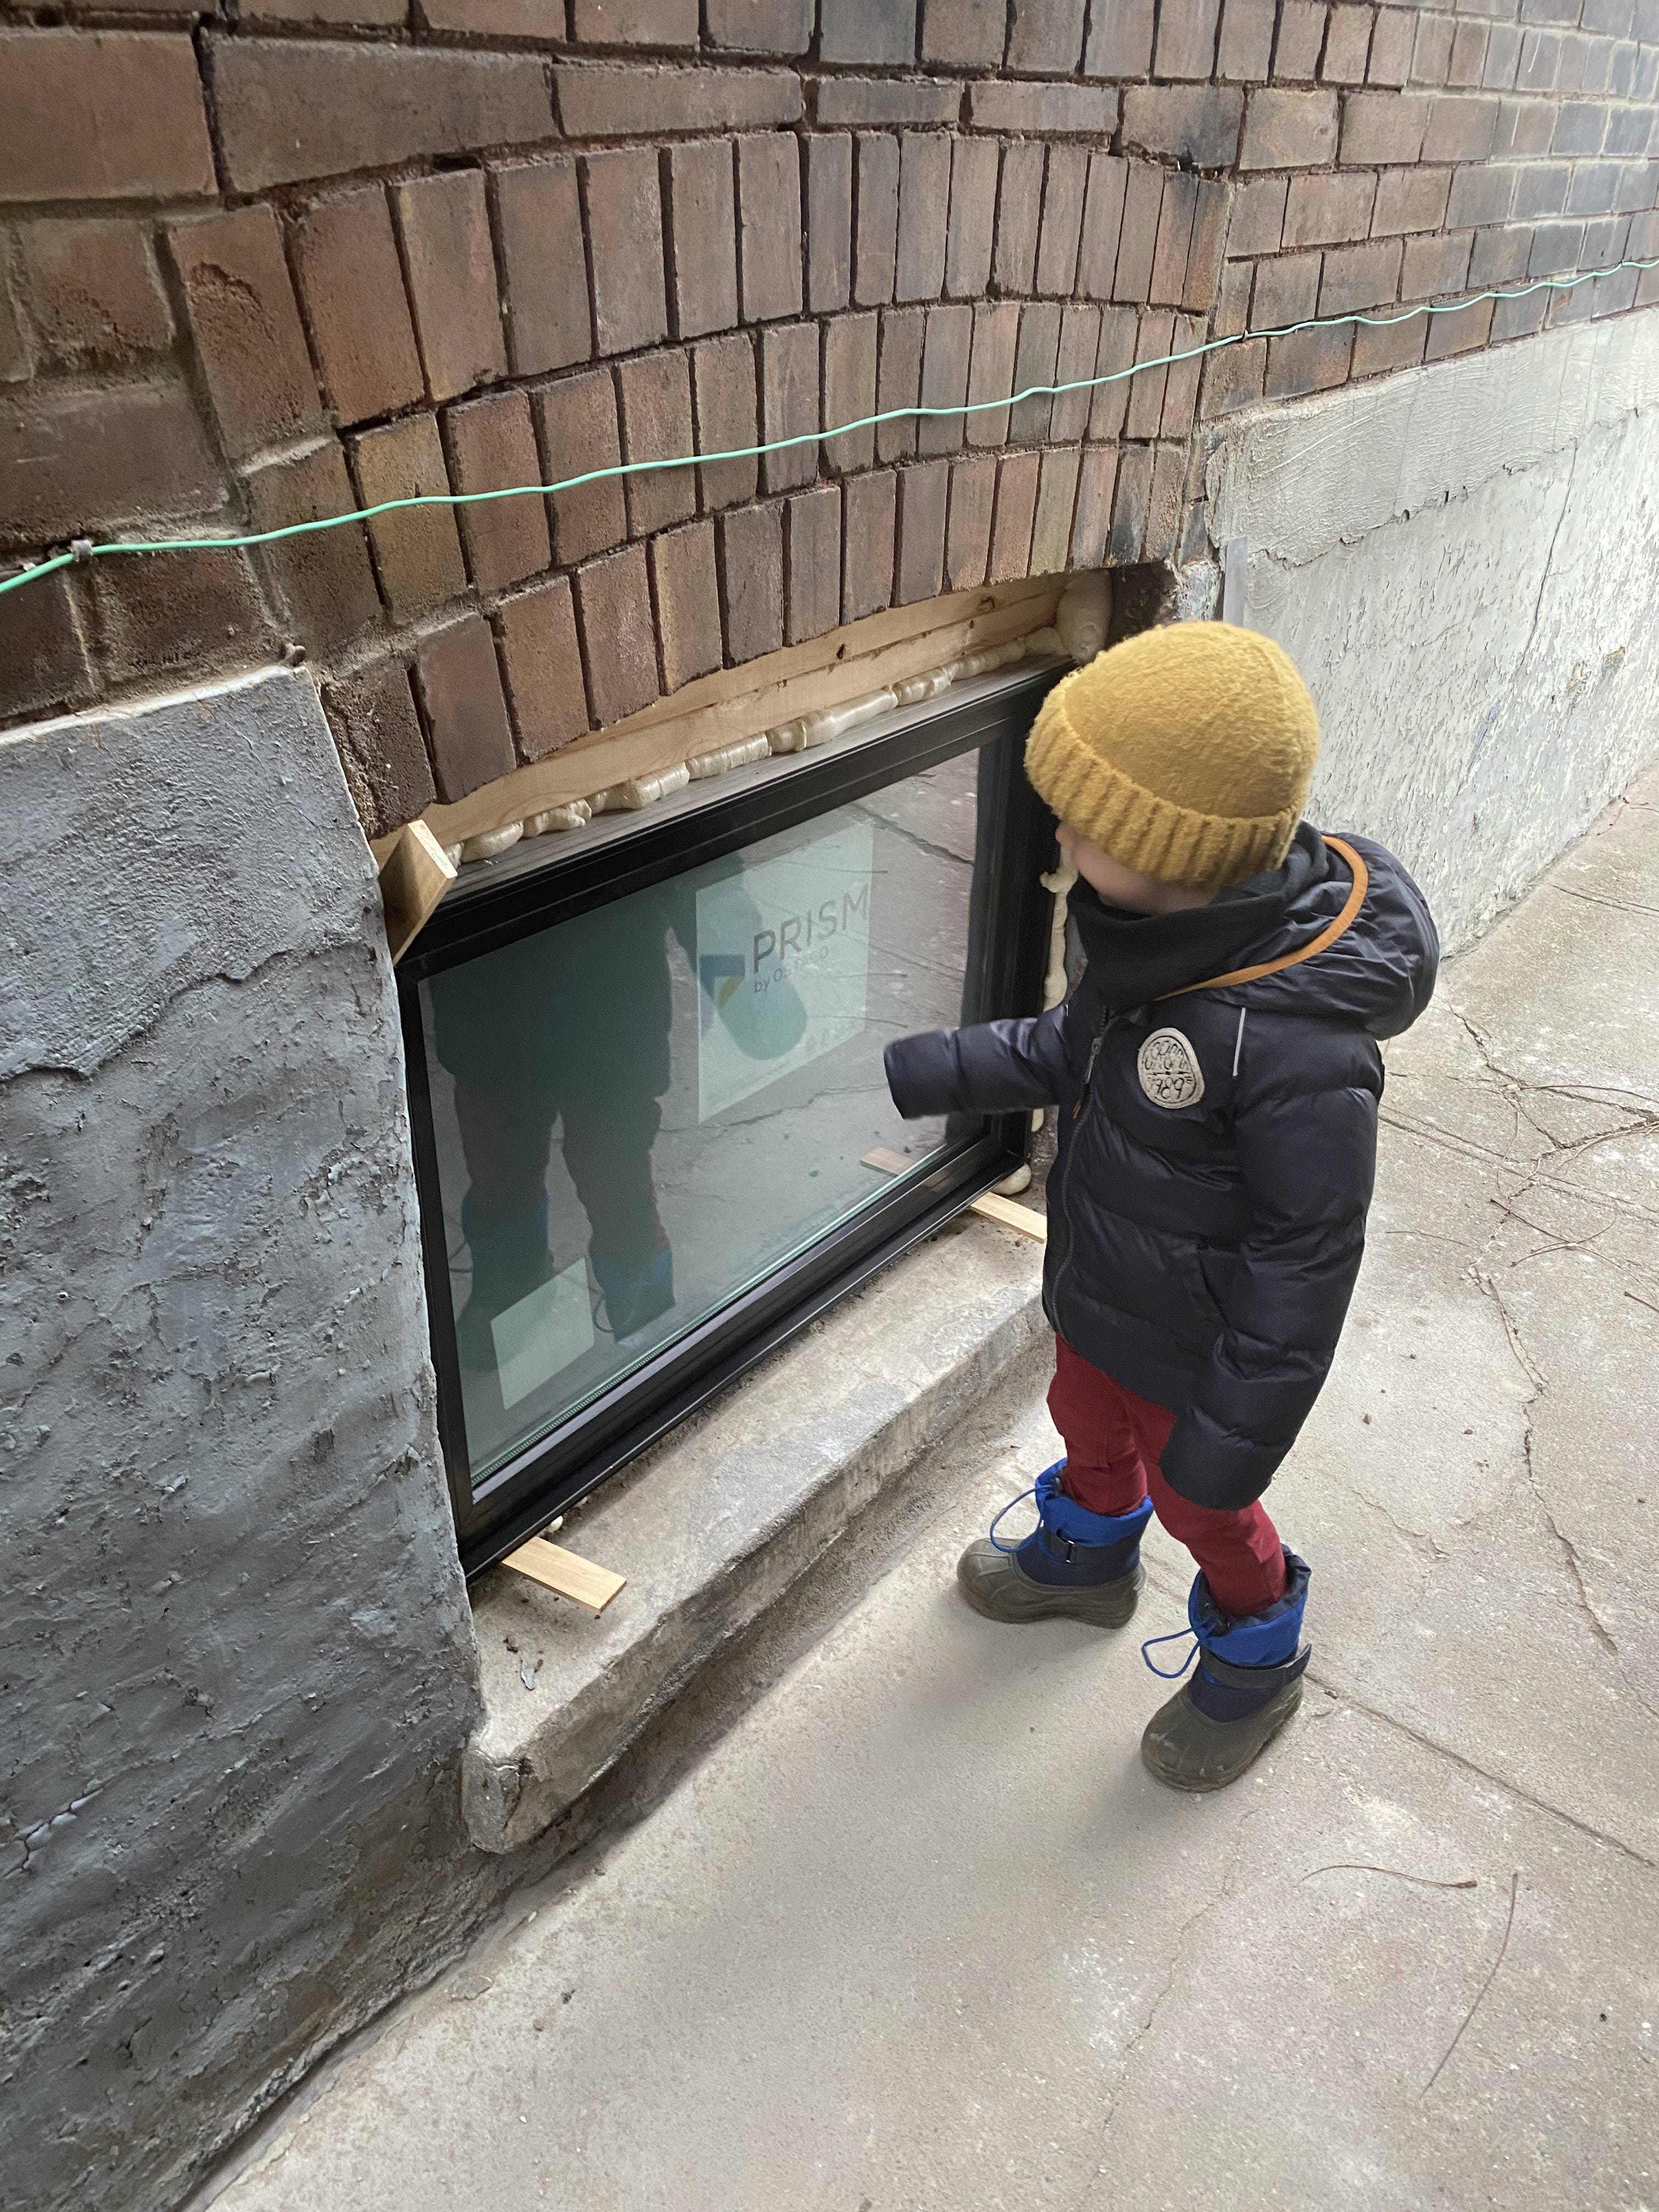
The final piece of framing – on the exterior wall – required the installation of our bathroom window, which was ridiculously delayed (thanks again, covid).
Before I got the window, I built the first half of the wall. The shower will have a ledge, so I figured out exactly where the ledge would be (which took 10x more than the actual framing). I used a 2×6 for the base of the ledge and made sure it was perfectly level and flat since it will be the base for the ledge. She’s a beauty.

When the window finally came – 3 months after I ordered it! – we removed the old window and plopped in the new snazzy window.


We also made a hole for the bathroom vent.


With all the exterior work done, I could finally finish framing on the window wall.

The final step in framing was putting in insulation to keep the room nice and toasty. I used foam around the window and rigid insulation in the window sill because it’s moisture resistant and used regular pink insulation in front of the membrane (since there shouldn’t be any moisture there). And I used my regular Rockwool (previously Roxul) soundproofing in the ceiling to help reduce noise.


I’ll also add Rockwool (for soundproofing) in the internal walls, but I might need to make some adjustments to the plumbing wall, so I’ll do it right before I throw the backerboard on.
We’re making progress!

[…] our basement bathroom renovation project was so delayed, we decided to shift gears and make progress on the family room […]
[…] I put drywall on my pocket door wall. Luckily the pocket door came with self-drilling screws that were also the right length, so […]
[…] feels like forever ago, I installed pocket door hardware when I framed the bathroom. At the time, I hadn’t settled on the door that I wanted but I did […]