It’s been more than 3 years since we built our new basement stairs and we’ve been living dangerously without a handrail – on either side! – for the entire time.

As always, it took me a while to decide on a handrail design, particularly with which handrail hardware to buy. In pure Angela fashion, I found a ridiculously expensive handrail hardware at Casson and waited around 6 weeks for it to arrive.
The hardware was beautiful and very heavy. A good sign of quality!
I bought a standard rounded handrail from my local lumber yard and watched many YouTube videos on how to install floating handrails.
The first step was to decide on final handrail height and then the height of my hardware anchors. The final handrail height would be 39″, so I installed the hardware at 36″ to achieve that final height. Using a laser level and carefully thinking about how the slope would change as I approached the winder and where the studs were, I marked all the hardware locations.
Following the hardware instructions, I then carefully installed all the anchors along the wall.

Before installing the hardware, I erased my pencil lines and repainted the wall, as it would be easier before the handrail was installed.
Next, I installed the actual hardware pieces. They installed nicely and felt very sturdy.

With the hardware in place, it was then time to install the wooden handrail.
The handrail would be installed in 3 sections: a long section up the main part of the stairs, a shorter section connecting to the first section but with an angle change, and a final section at the 90 degree turn leading up to the first floor.
Using clamps, I dry fit the longest handrail piece and carefully planned my cuts – including the angle of the end where it attached to the next piece. I then cut the other two pieces and clamped everything in place to make sure it all fit together.


I also opted for an angled cut at the top and a straight cut at the bottom. I found these looked the nicest.


Next I started with the long piece and planned for where the hardware would be installed. One shortcoming of the Casson hardware was the lack of a template, so I made one myself so I could figure out exactly where to drill.


I installed the longest piece and then proceeded with marking and drilling for the hardware.
For the connected pieces, I nailed the pieces together and then filled the seam and nail holes with wood filler.

I then nailed the shoerail (the piece that fits into the groove on the underside of the handrail) and filled those holes with wood filler.
The final step was sanding the handrail smooth and applying several coats of varathane. I made sure to sand in between each coat to make it extra smooth.

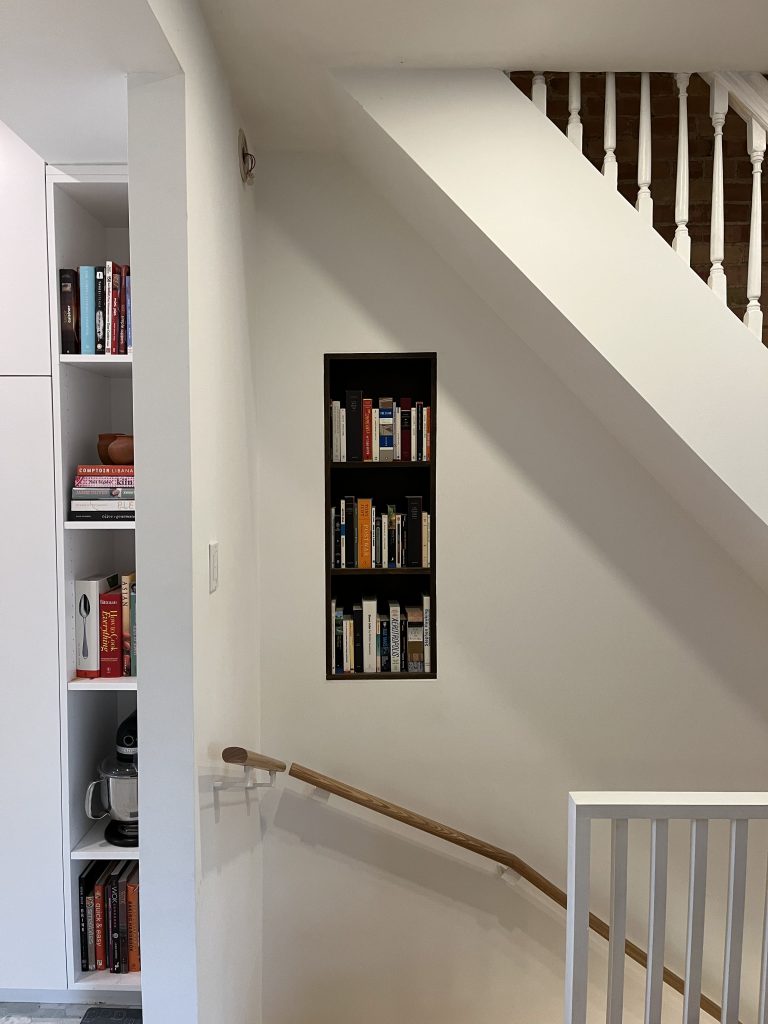
I was really happy with the final result and it was great to finally have a handrail! We still have a big opening on the other side, but at least the kids (and guests) can hold onto something.