
Our backyard renovation was so painful, right from the start. Thanks to a terrible contractor, everything was really delayed and I ended up doing a lot of it in pieces, rather than all at once.
Fence Staining
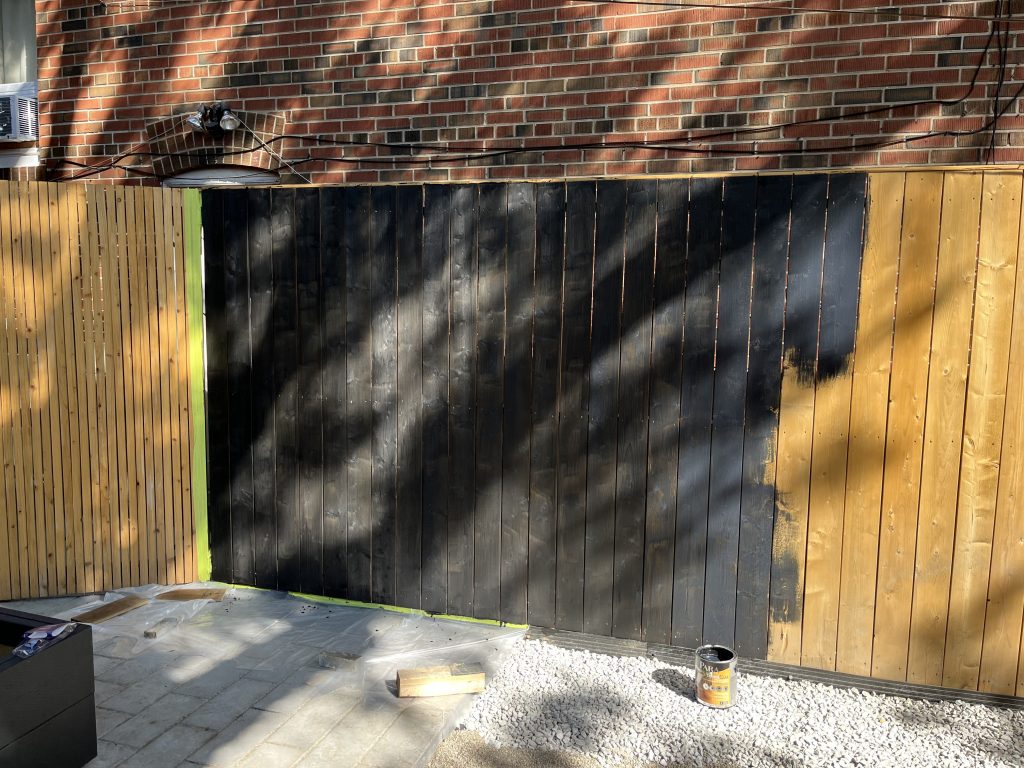
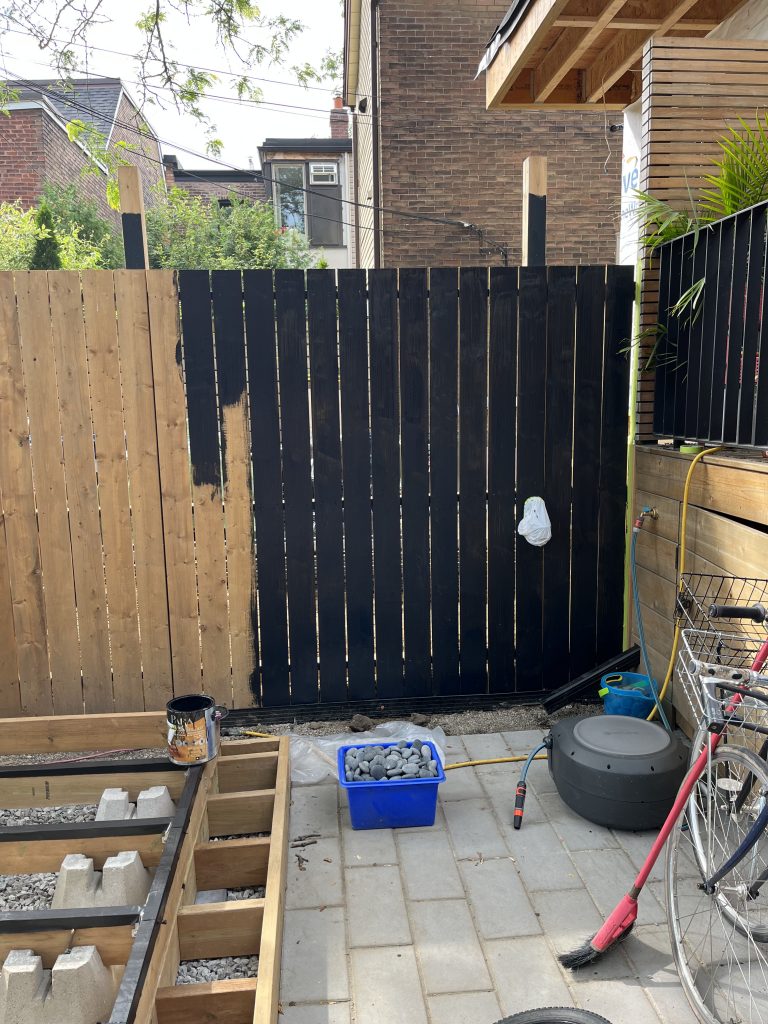
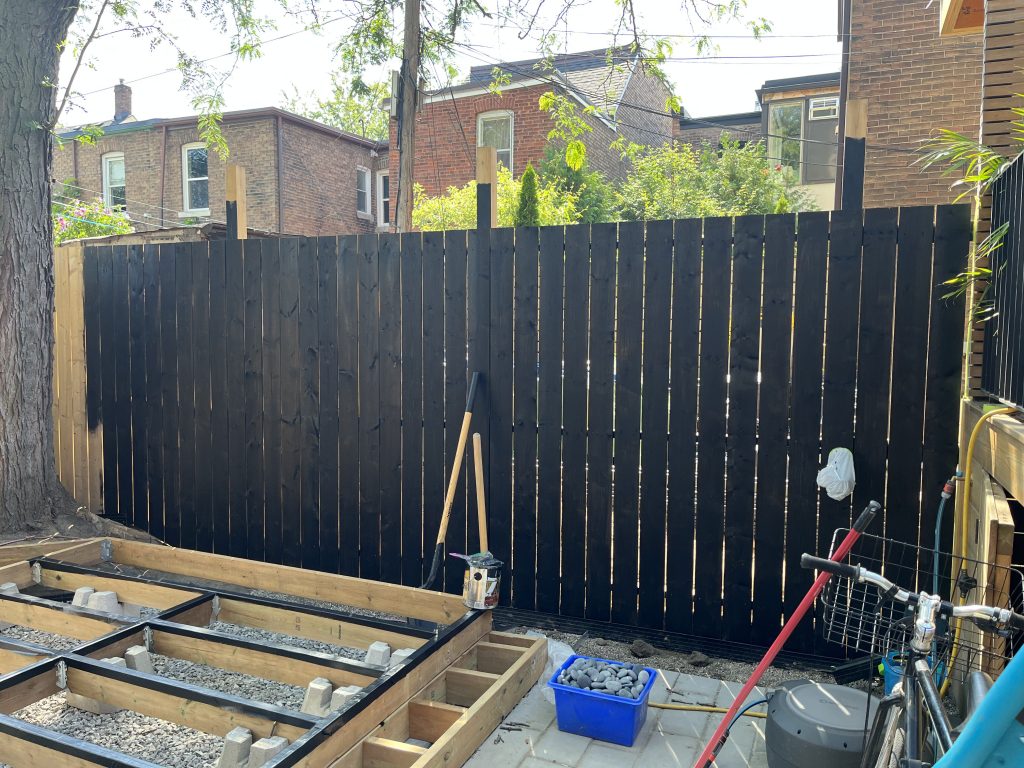
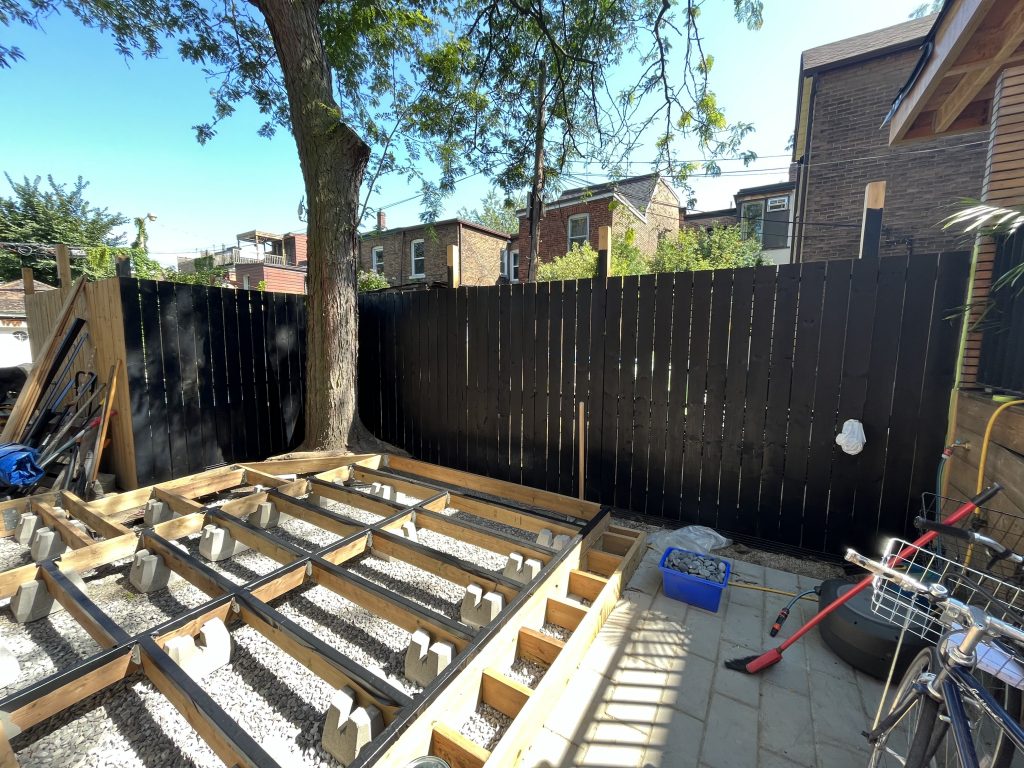
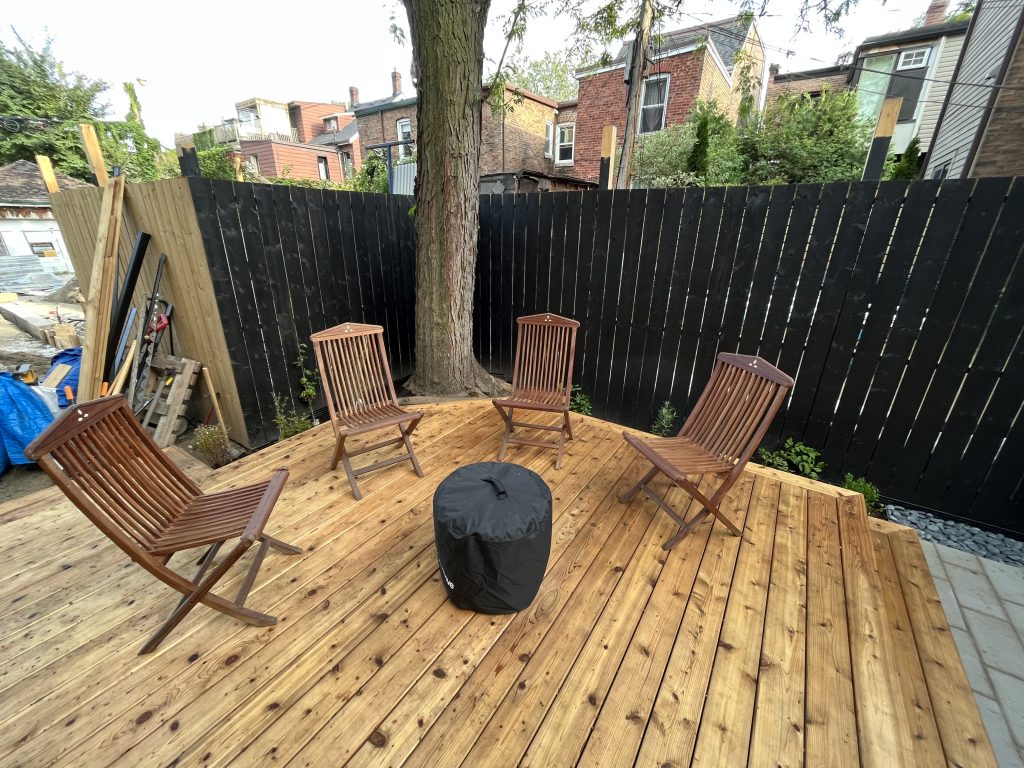
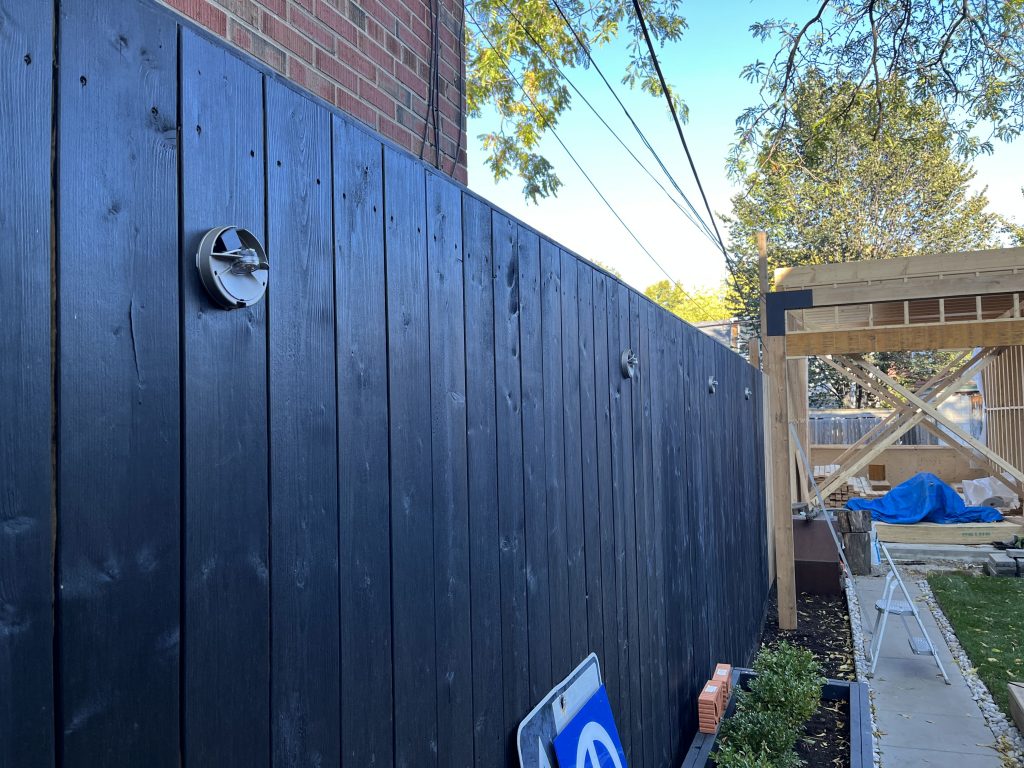
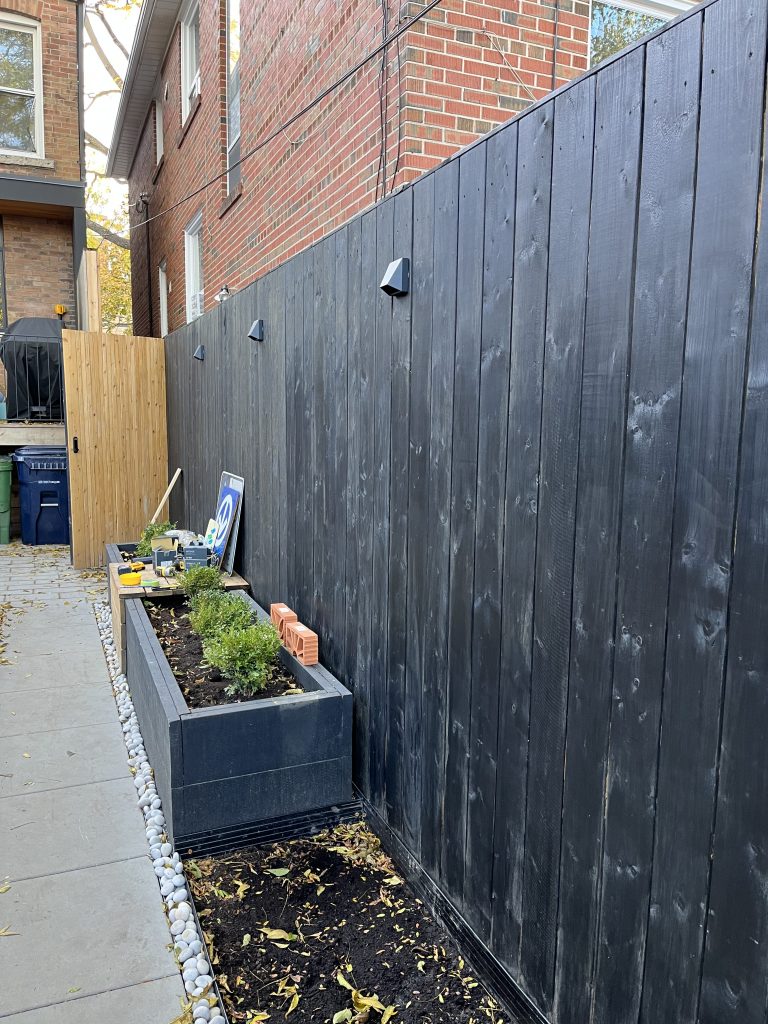
One of the first things I could accomplish was installing our new fence boards in the majority of the backyard. After a few months, the pressure treated boards were dry enough that I could finally stain the boards.
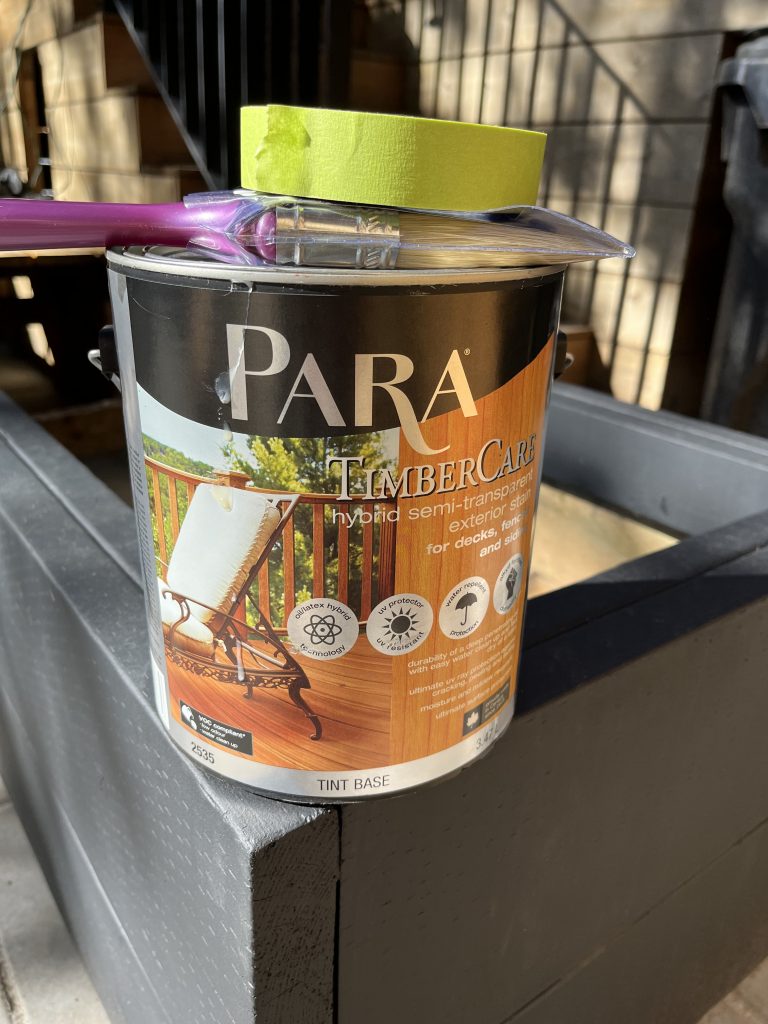
I had a vision of having a black fence but was pretty nervous to take the plunge. I went to my local Benjamin Moore store and got their recommendation on a stain. I even brought a small piece of fence board so I could test the colour in the store.
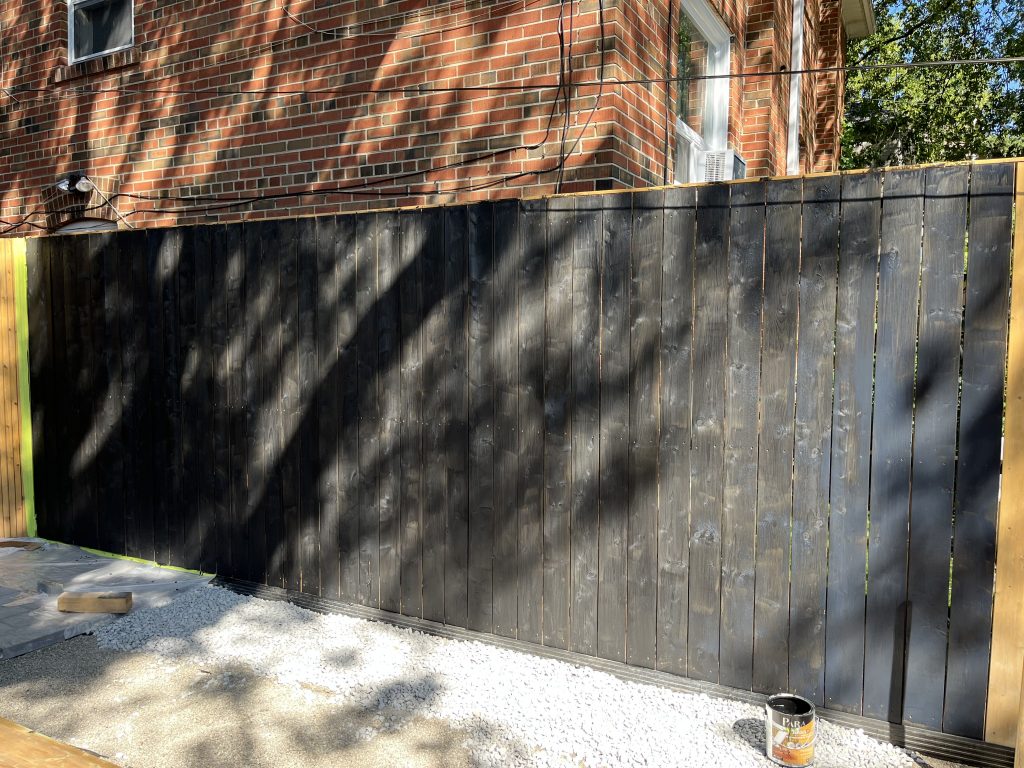
They recommended the Para semi-transparent stain and I really liked the look of it. It was a deep black, but it also allowed the grain of the wood to be seen, which was exactly the look I was trying to achieve.
It took about an hour and a half to paint the first coat of each side of the fence and then significantly shorted (maybe 30 minutes?) to paint the second coat.
Planting
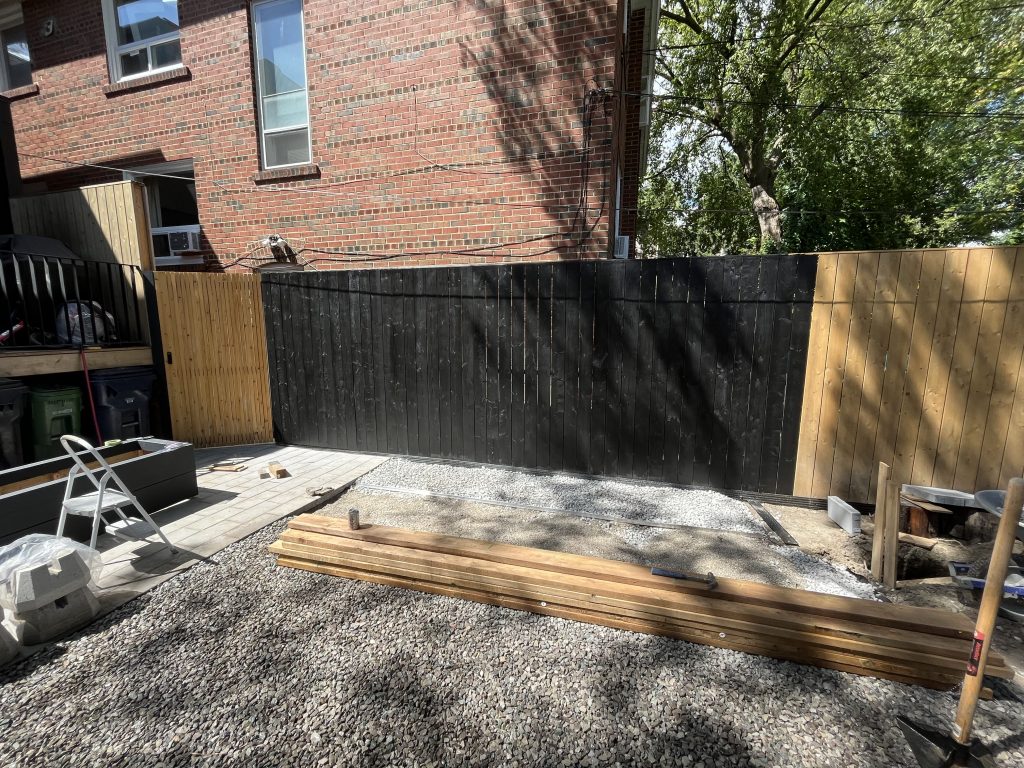
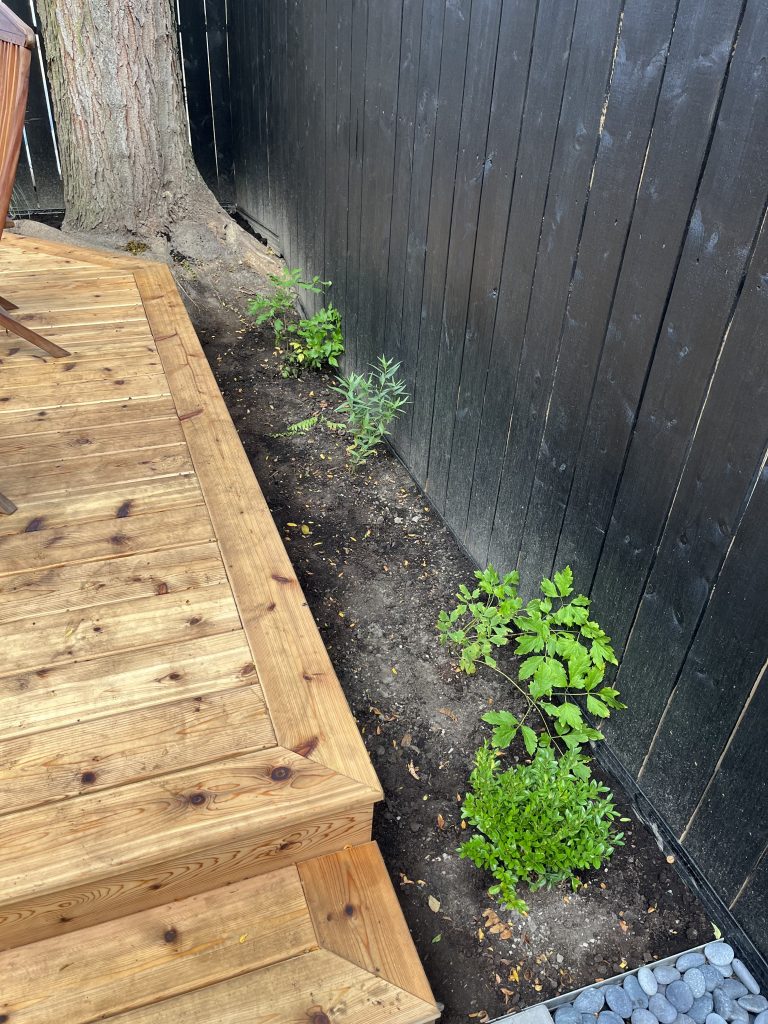
After the fence was stained and the deck was in, we could put the large planter in and also finish the flower beds.
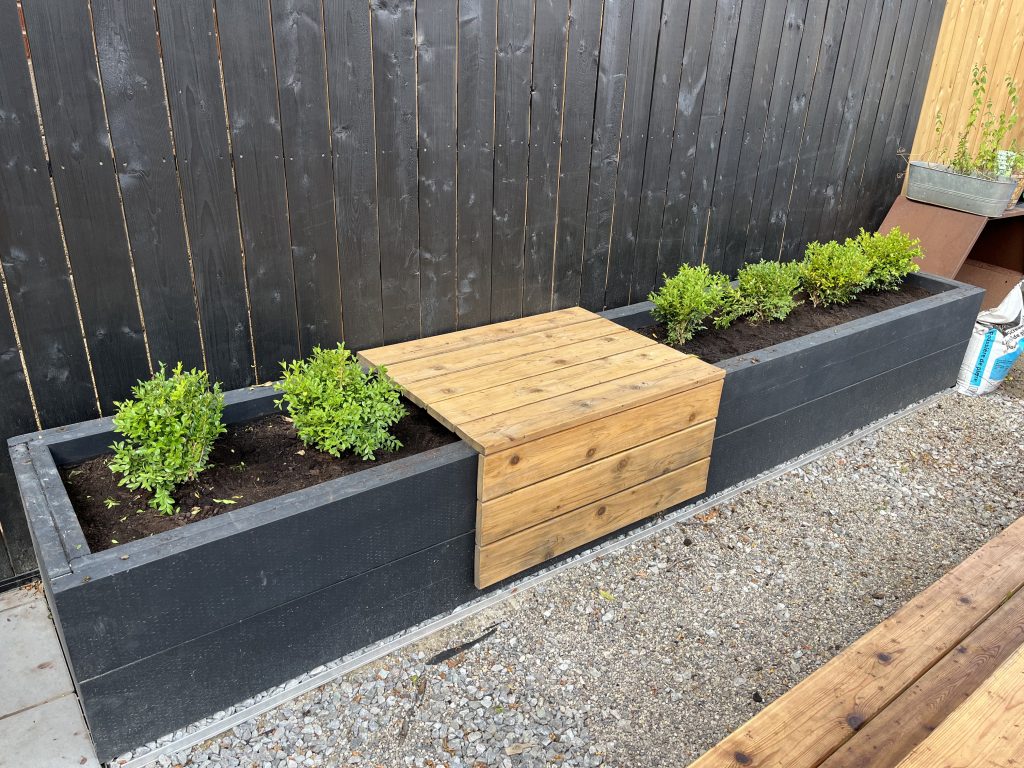
For the area around the deck, I dug down a bit and put new 3-in-1 soil down for the plants. I planted several plants and bulbs, but I expect to plant more next year when there are more plants in stock in the spring. There wasn’t a lot of stock left in September when I bought these plants.
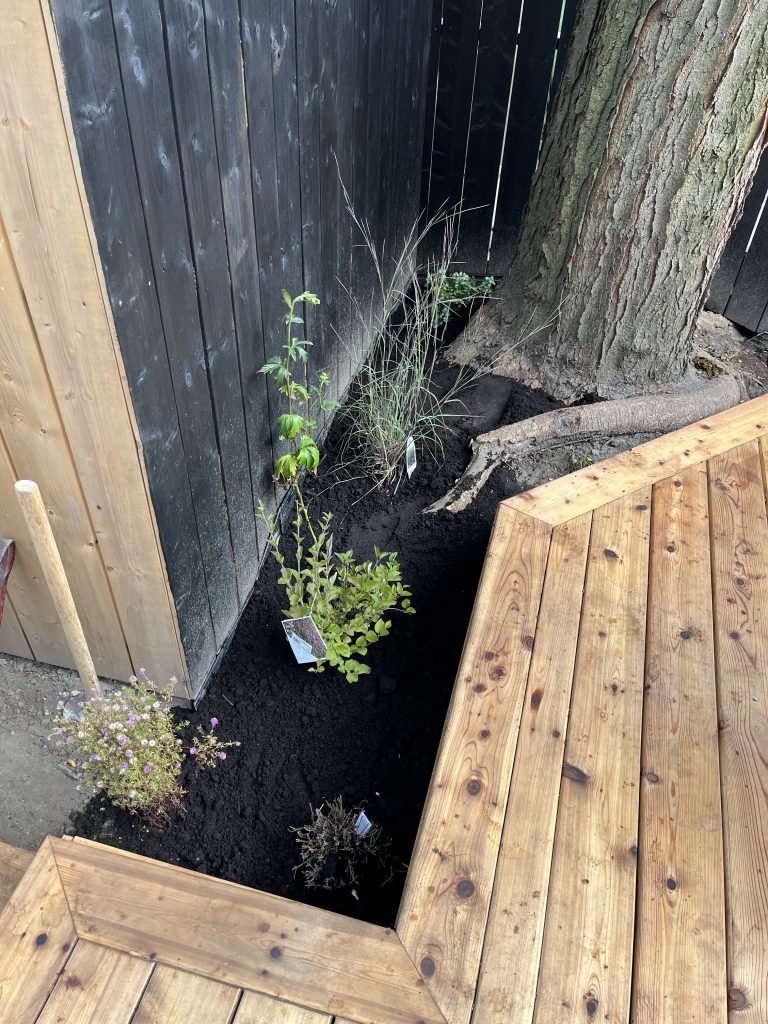
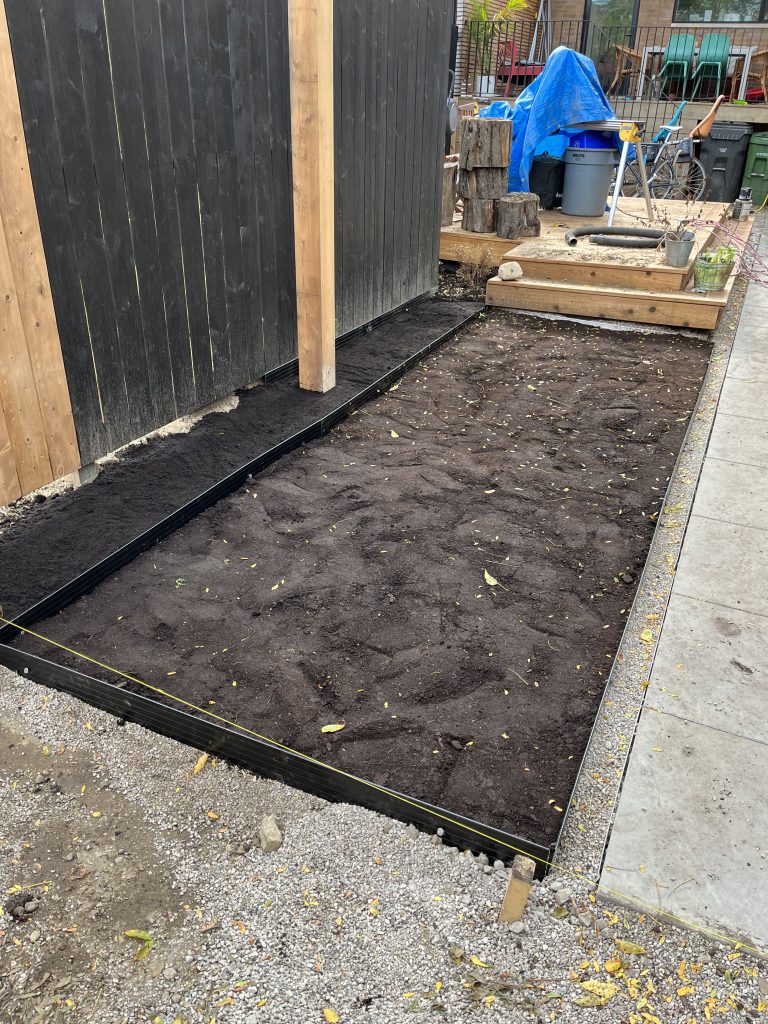
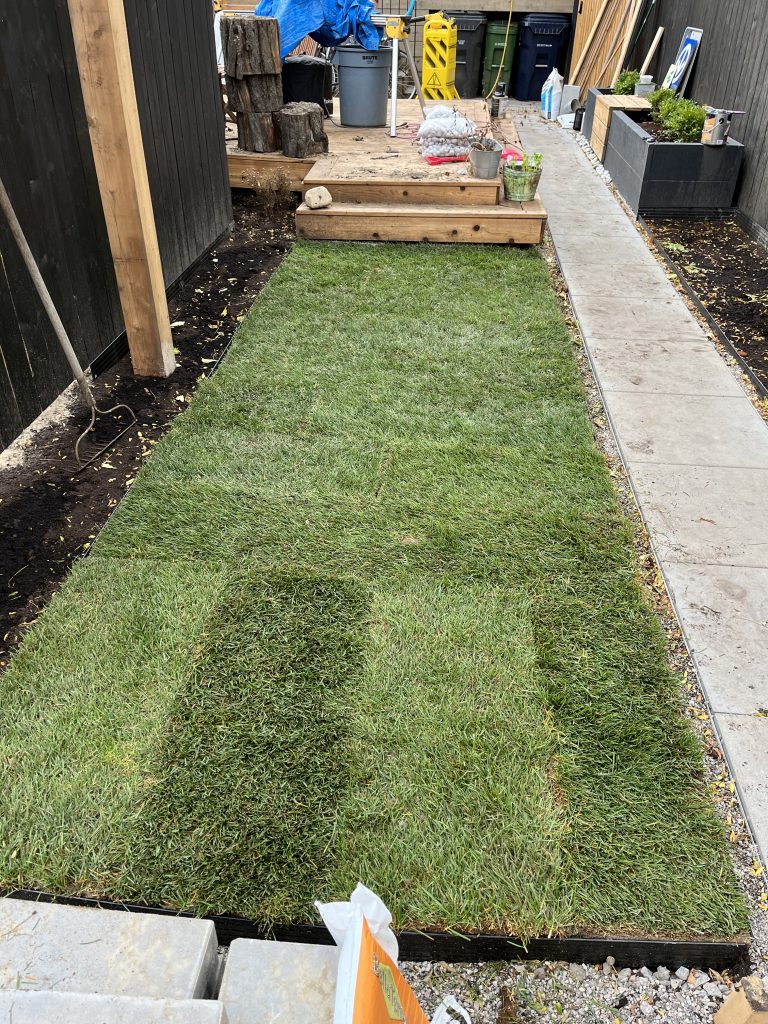
The final planting area was at the back of the yard, where I had ground-level plants and some grass to put in. I couldn’t plant this area until the garage was being built, so it was late September before I could start on this part of the yard.
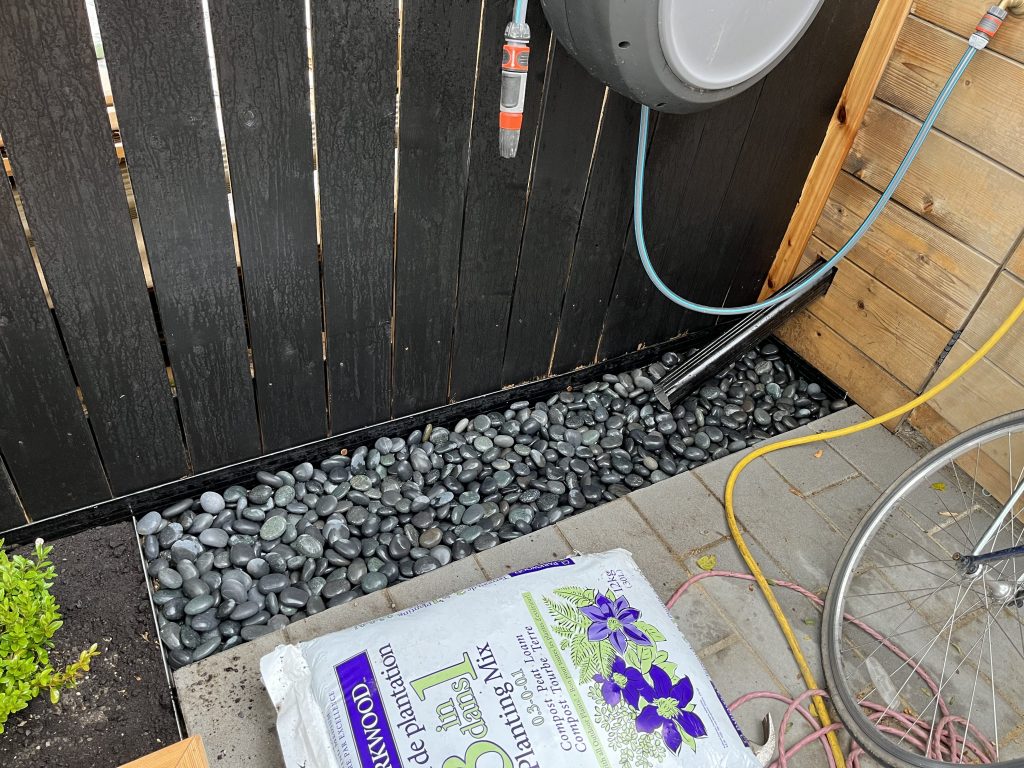
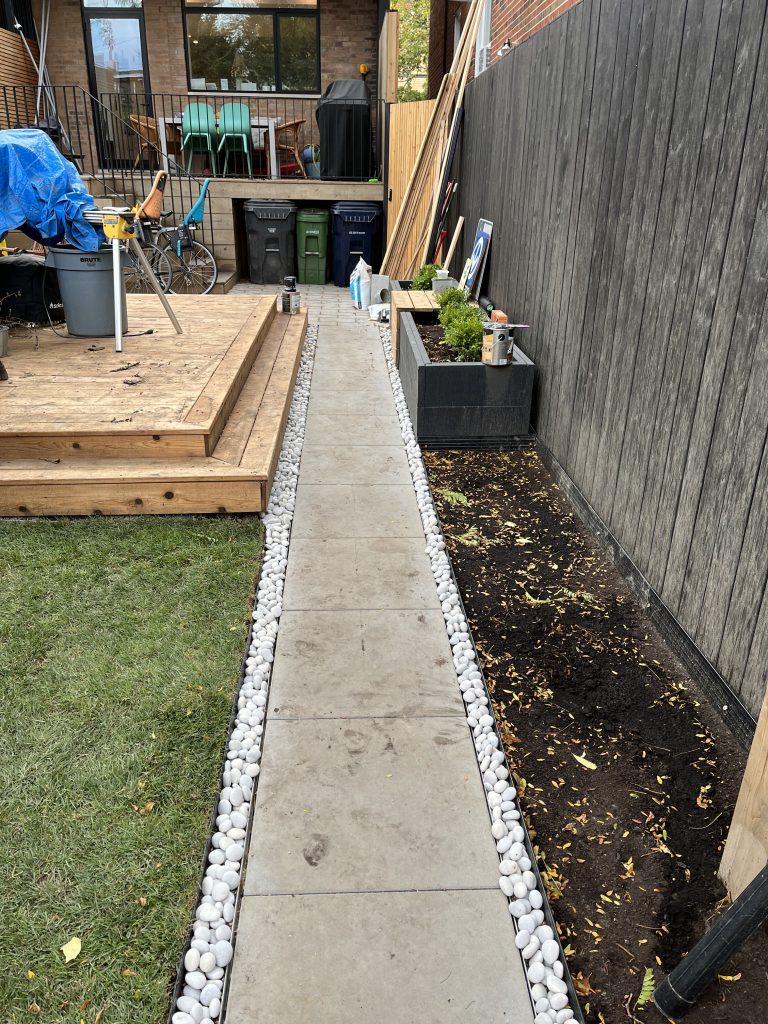
River Rocks
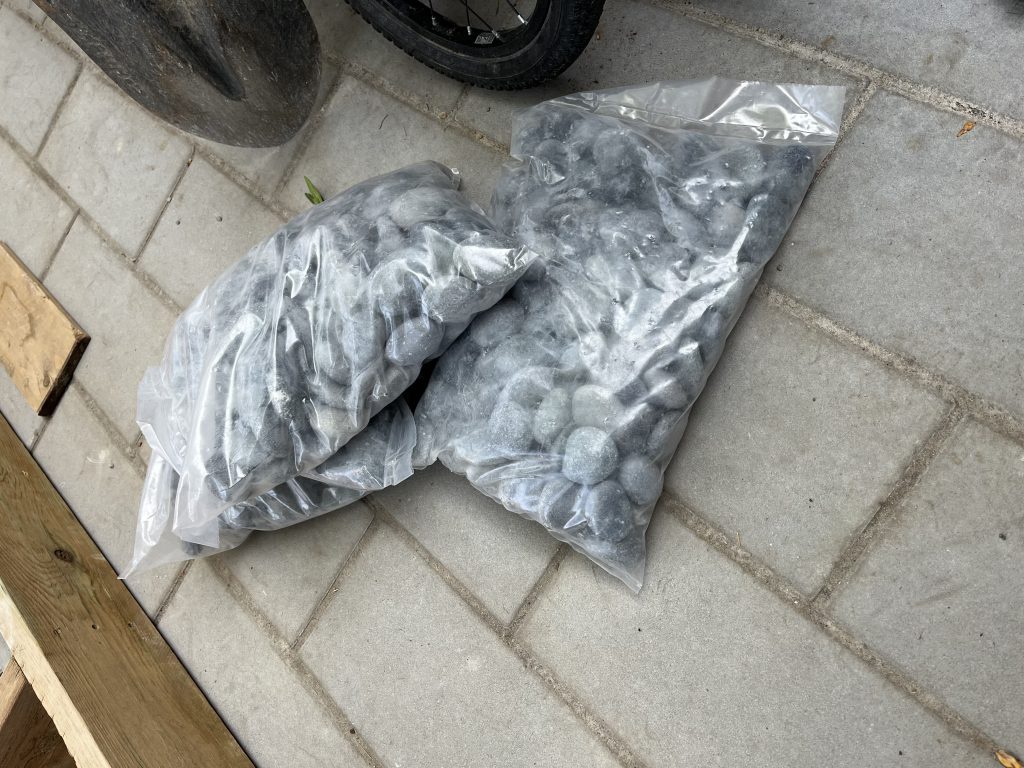
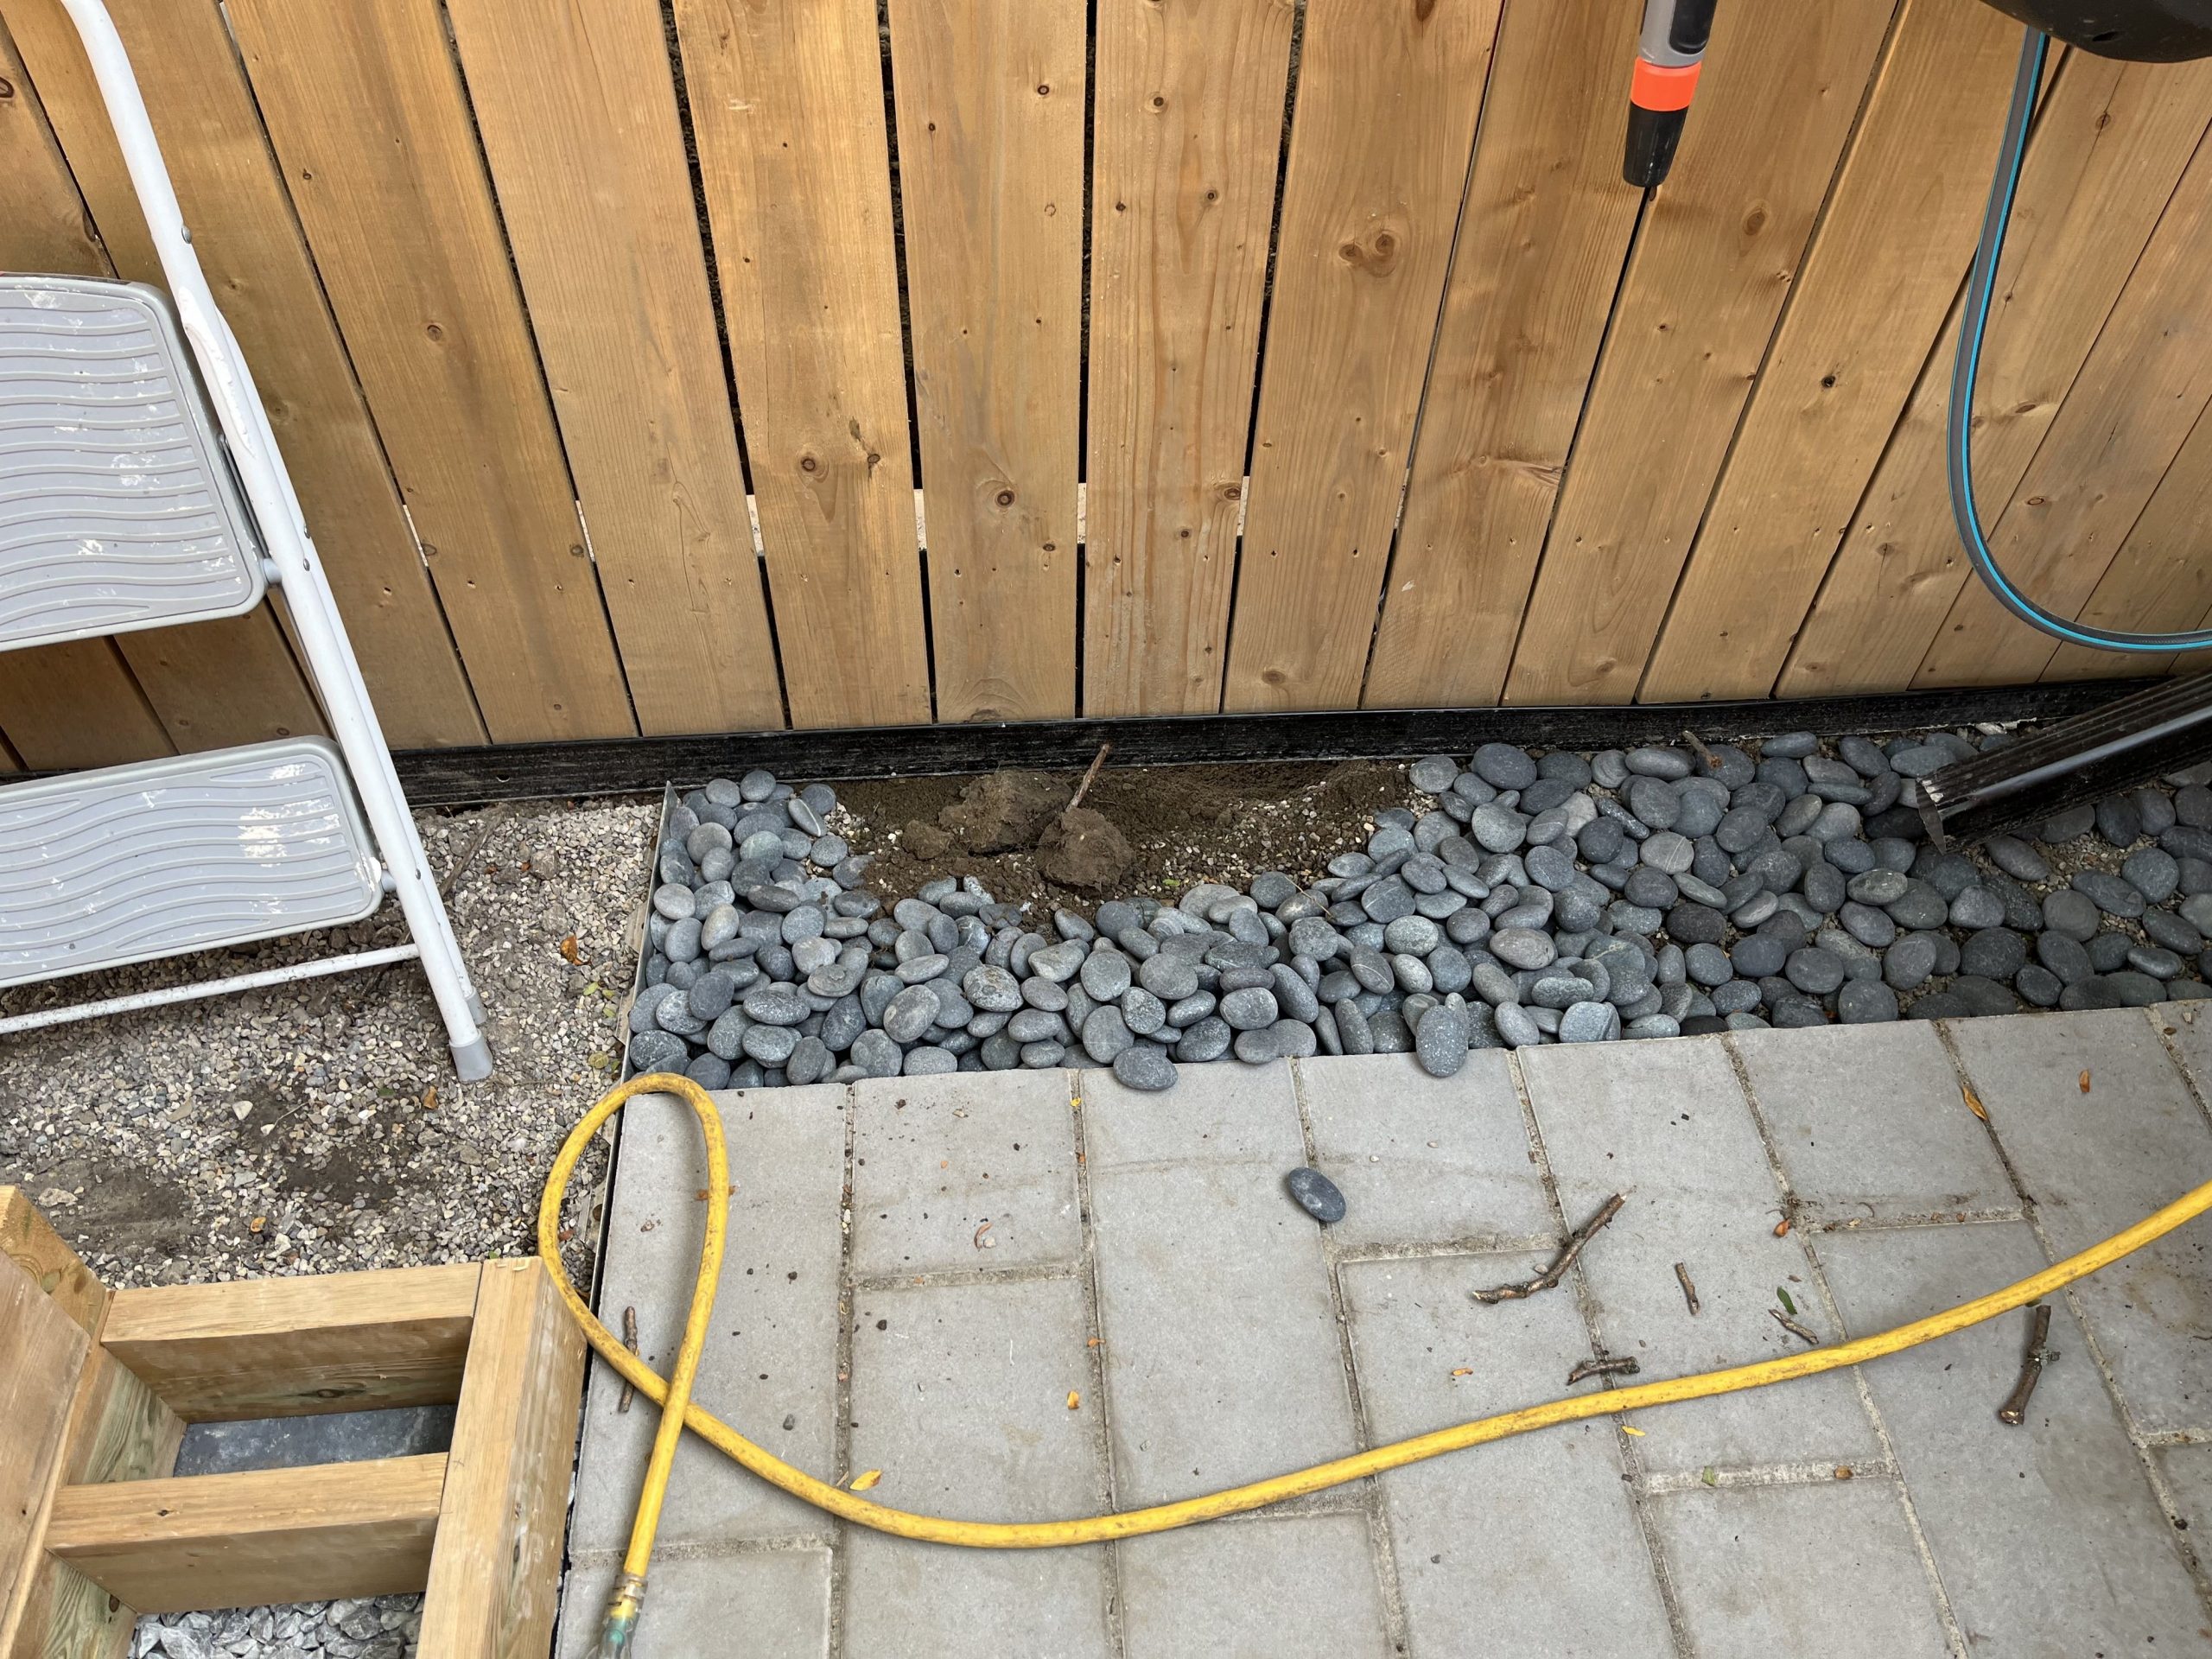
To help finish off some of the landscaping work, I put river rock down in a few areas. The main area was under the eaves trough coming out from under the deck to help with drainage. River rocks are actually quite expensive (this area required 6 bags of 1-2″ rocks and cost me about $200) but they looked great. Unfortunately, the contractor was digging next door and ended up damaging my side. I was quite upset, as it’s been a constant battle of one step forward, two steps back with them. Of course they didn’t do anything to fix it and I ended up having to redo the area.
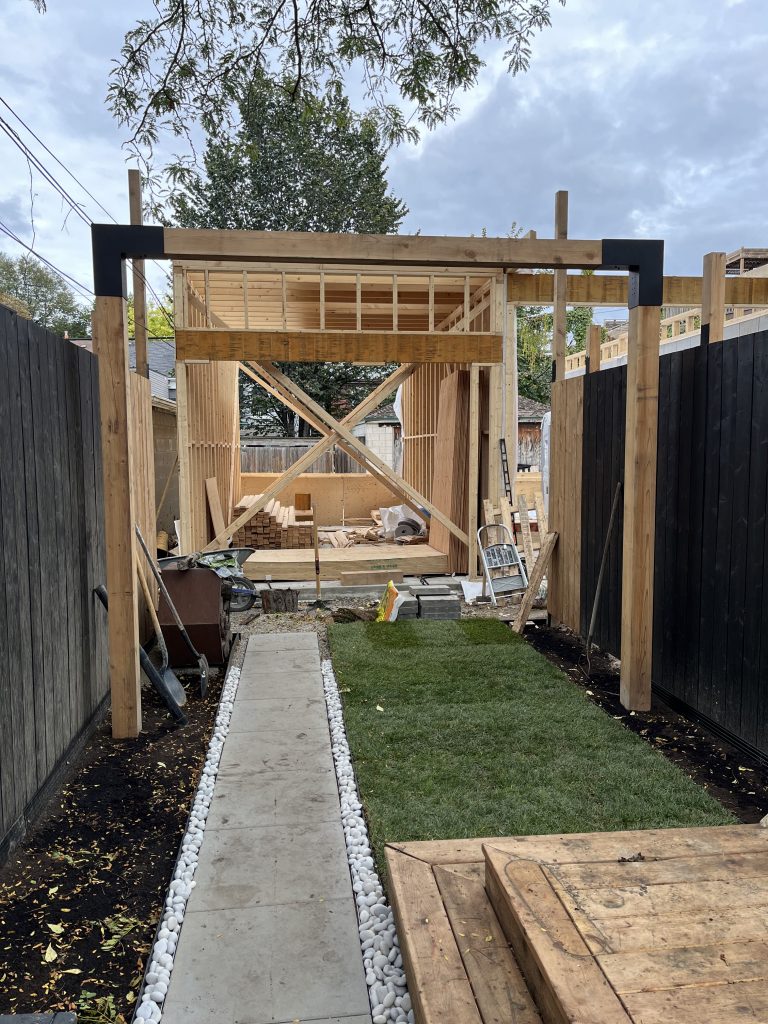
For the walkway leading to the garage, I used a lighter colour of grey for the river rocks, to go with the white of the pavers. I think I used 10 bags of river rocks to line the walkway, but I’m not sure as I lost count pretty quickly.
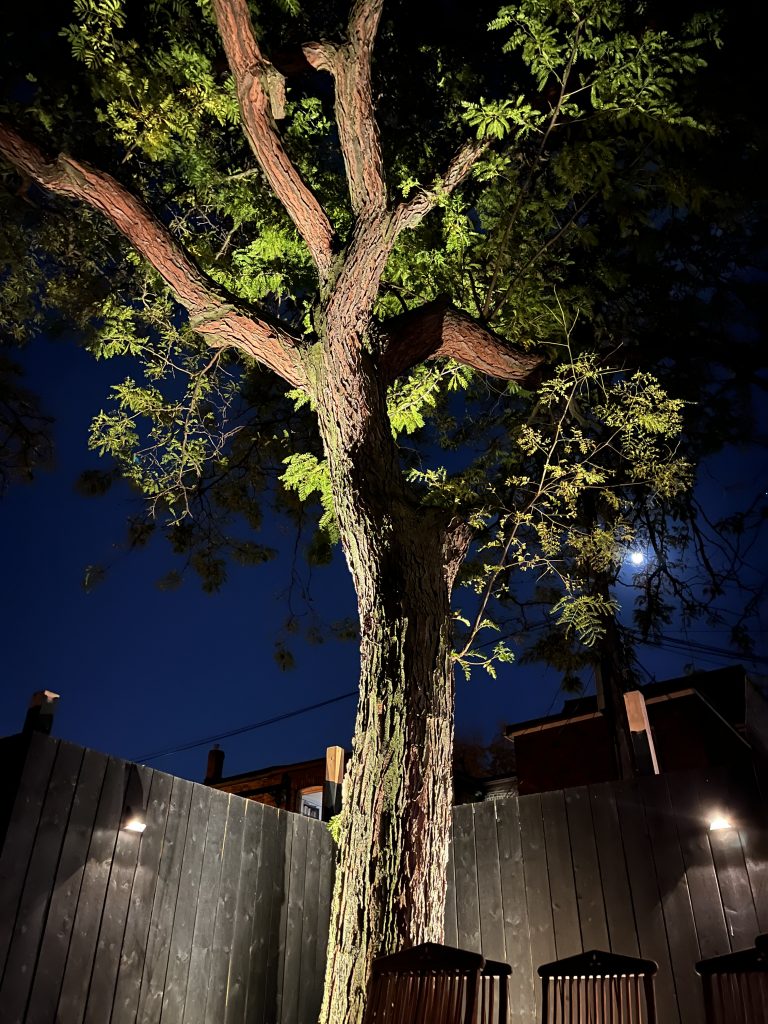
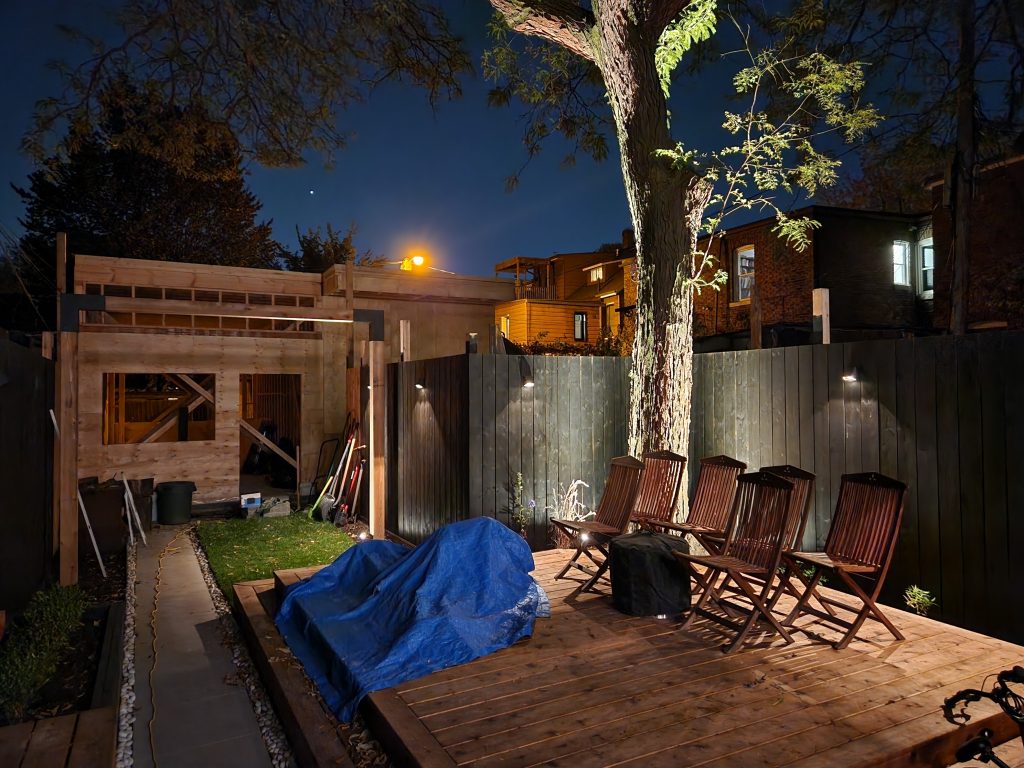
Lighting
Lighting is quite important to us, so we spent a lot of time thinking about our lighting and planning where we wanted to put lights.
We found In-Lite lights, which are good quality, low-voltage outdoor lights. We decided to install several of their wedge lights along the fence but also put in some of their ground lights to give interesting effects in the backyard.
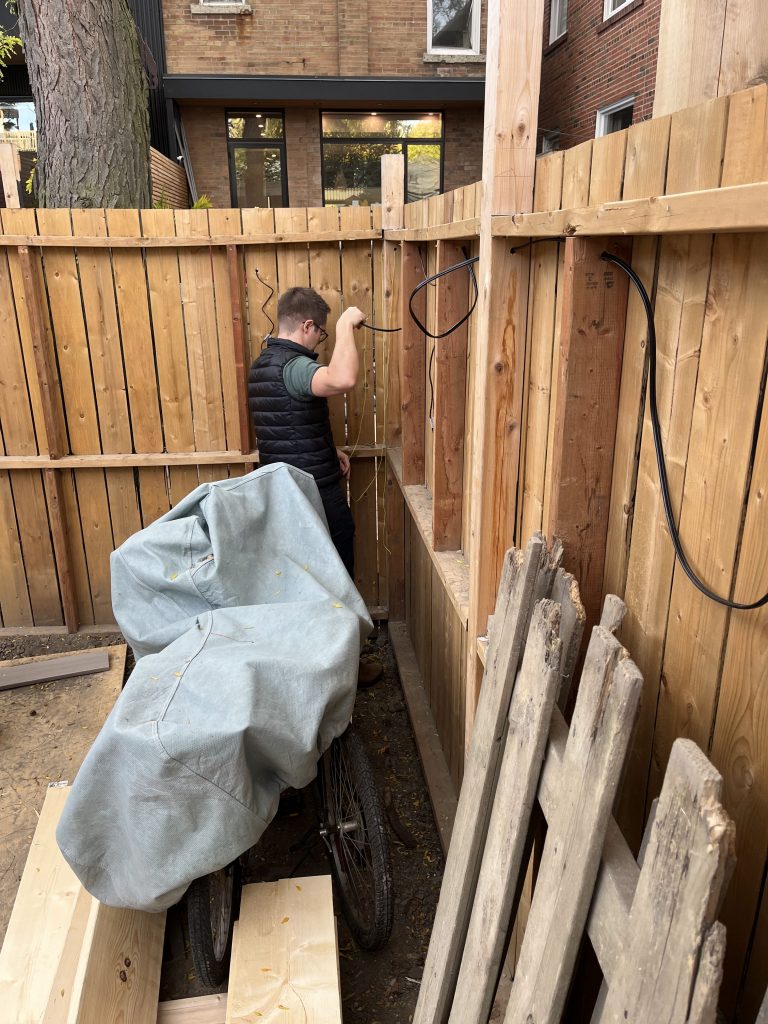
In addition to the fence lights, we also added spotlights to the tree to light up the trunk of the tree, creating a really cool effect.
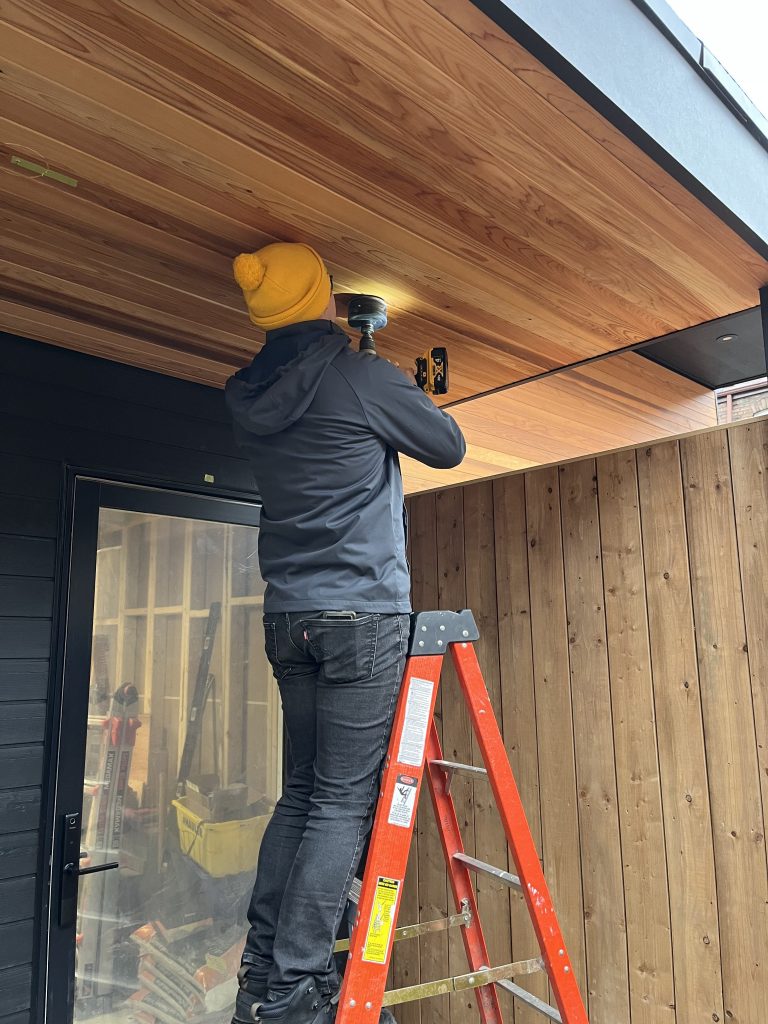
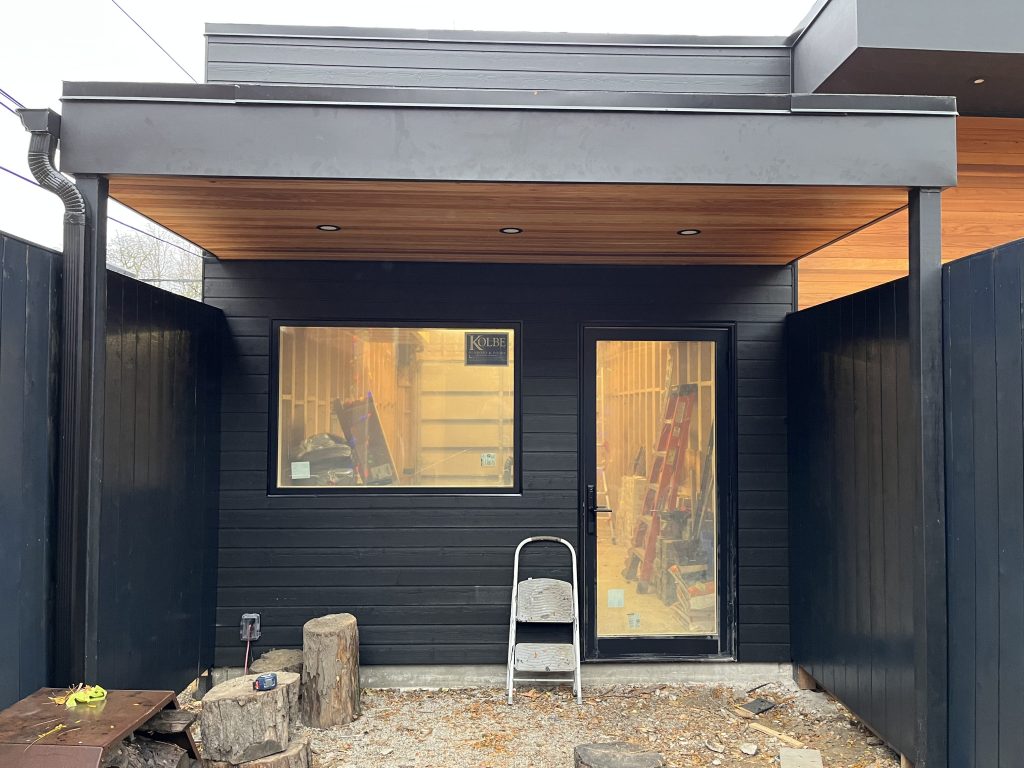
The final set of lights were installed in the garage canopy, at the tail end of the garage renovation. It’s always stressful drilling 4″ holes into a brand new cedar canopy. We took our time and carefully installed 3 lights across the width of the garage.
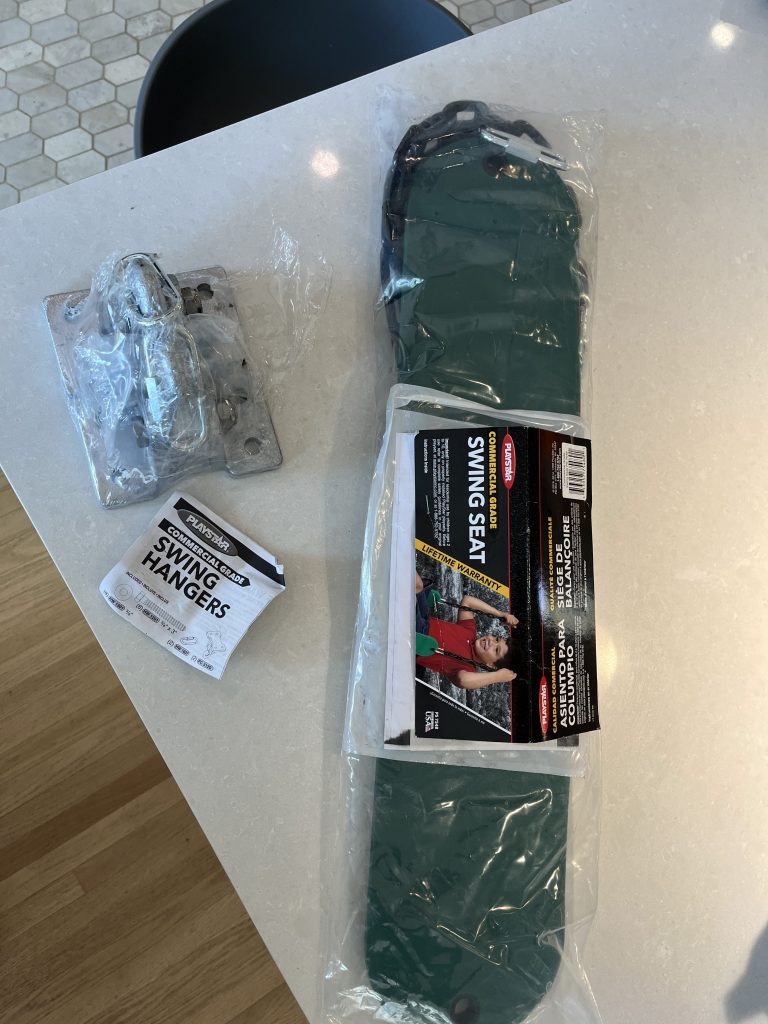
Swing
I wanted to add something subtle for the kids, so I purchased a heavy duty swing and chain set from Playstar (via Home Depot). I installed the hardware on the 2×6 cedar posts I installed in the backyard and then attached the swing. I was pleasantly surprised to see that the cedar posts didn’t move much with the swinging motion.

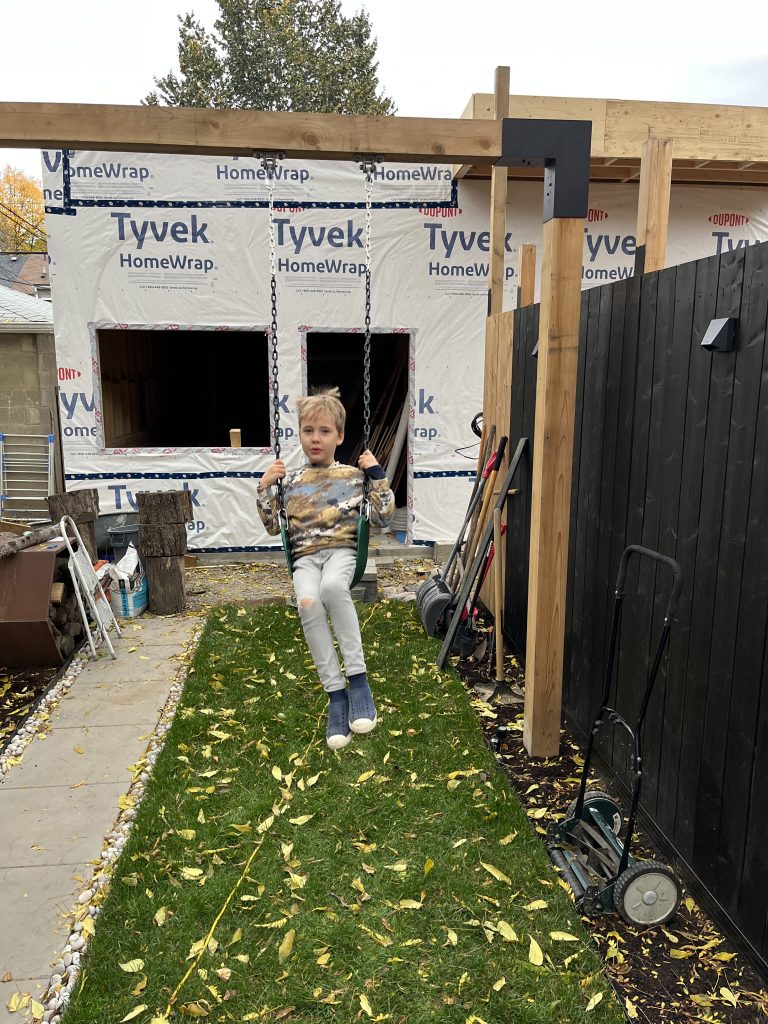
The only program with the swing is that it’s made for Playstar’s play structures, which are lower than my 2×6 cedar posts. The swing therefore sits quite high (the kids aren’t able to get on themselves) and it looks funny being so high off the ground. I contacted Playstar to see if they made chain extensions, or if I could buy the chains separately, but they gave me a canned response that their swings were tested and made for a certain height. I have to find a solution next summer – perhaps just buying a second seat and only using the chains to make my own extension.
With all of these little details finished, the backyard is now ready to enjoy… just in time for winter.