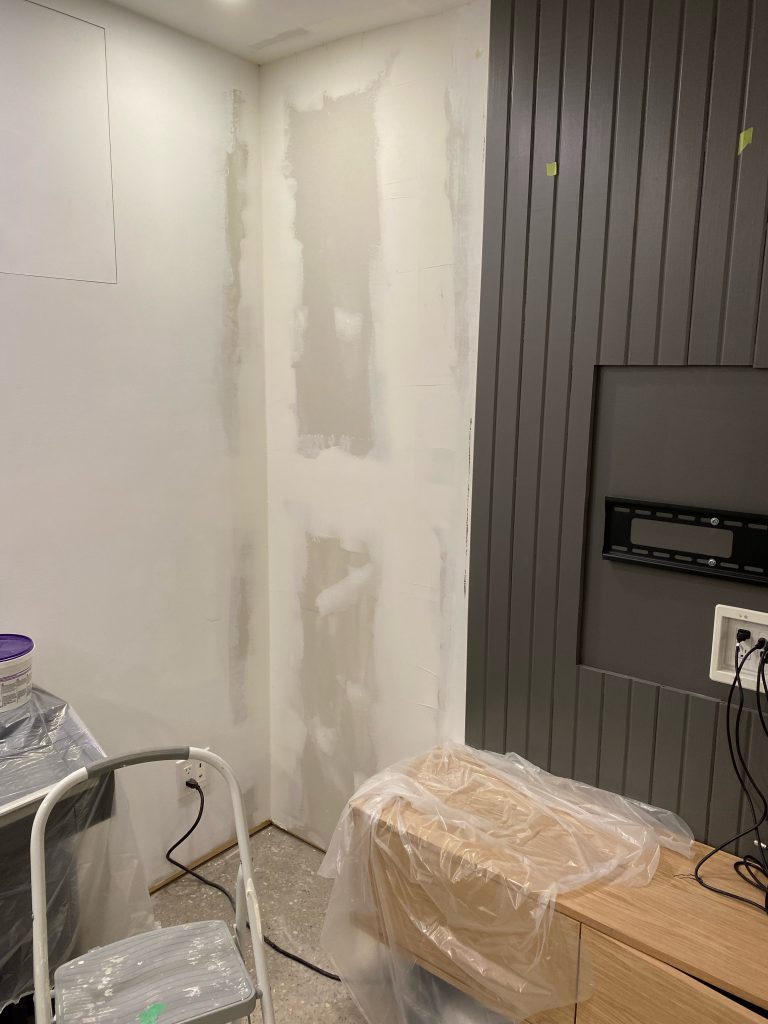
With the drywall up and the walls painted, we knew that we had to do something interesting for our TV wall because it was just one giant white wall.
I scoured Pinterest for some inspiration and found a few options for what we could do.
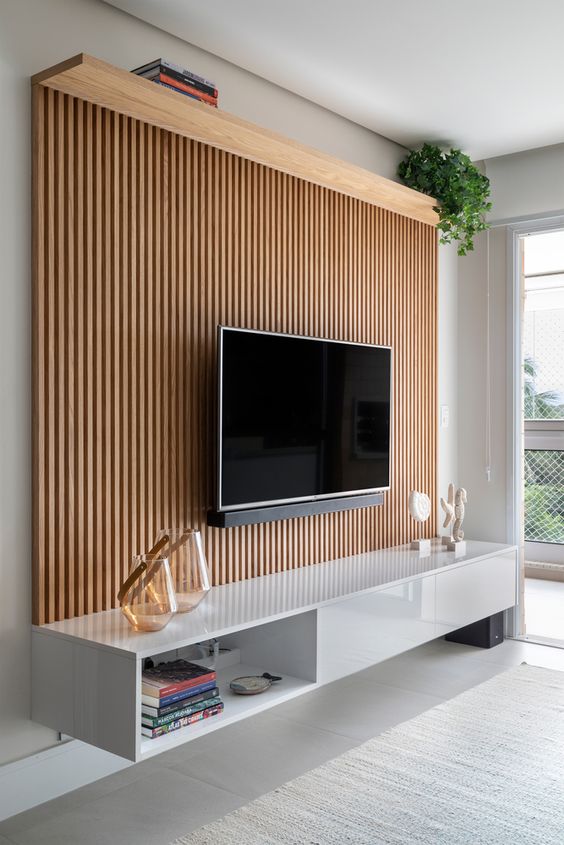
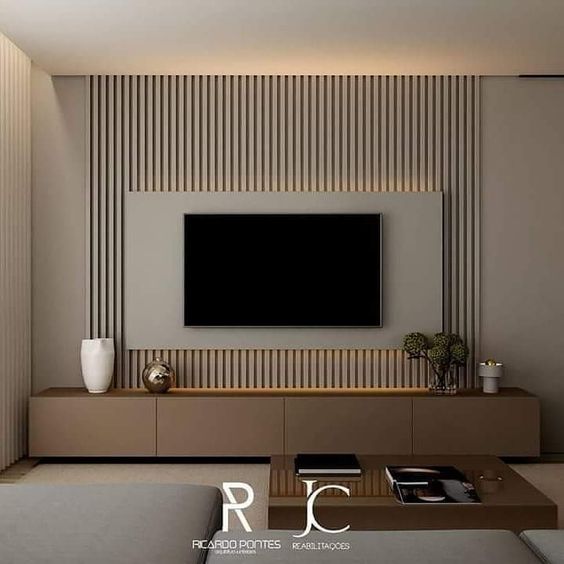
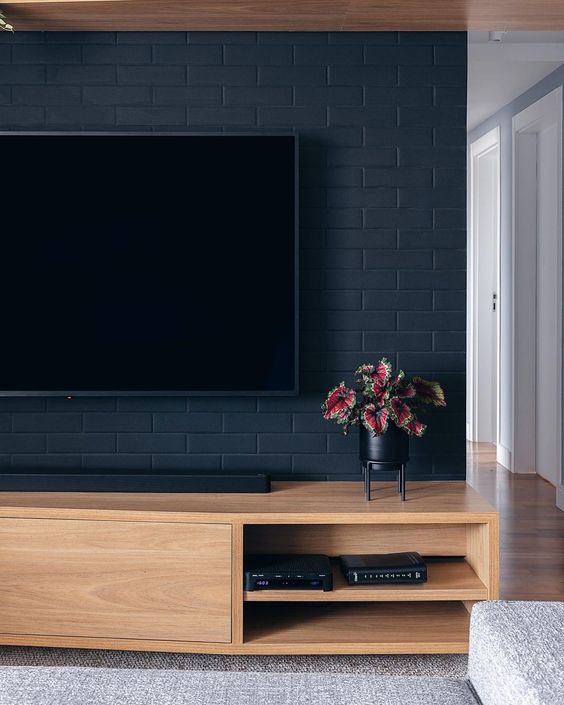
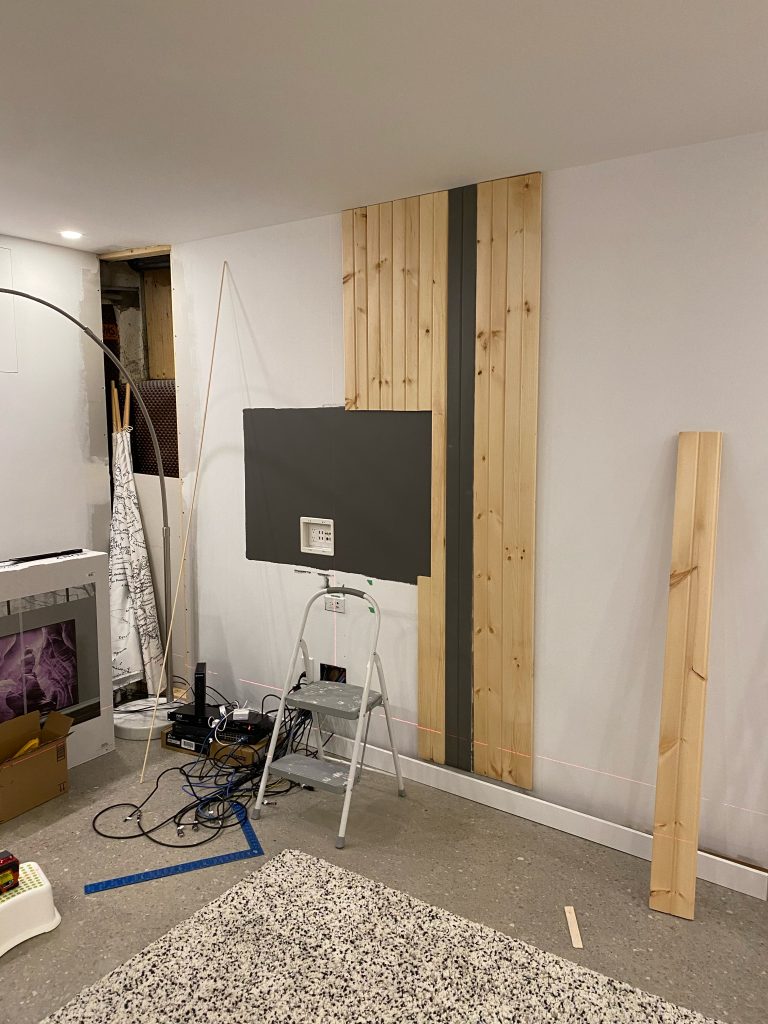
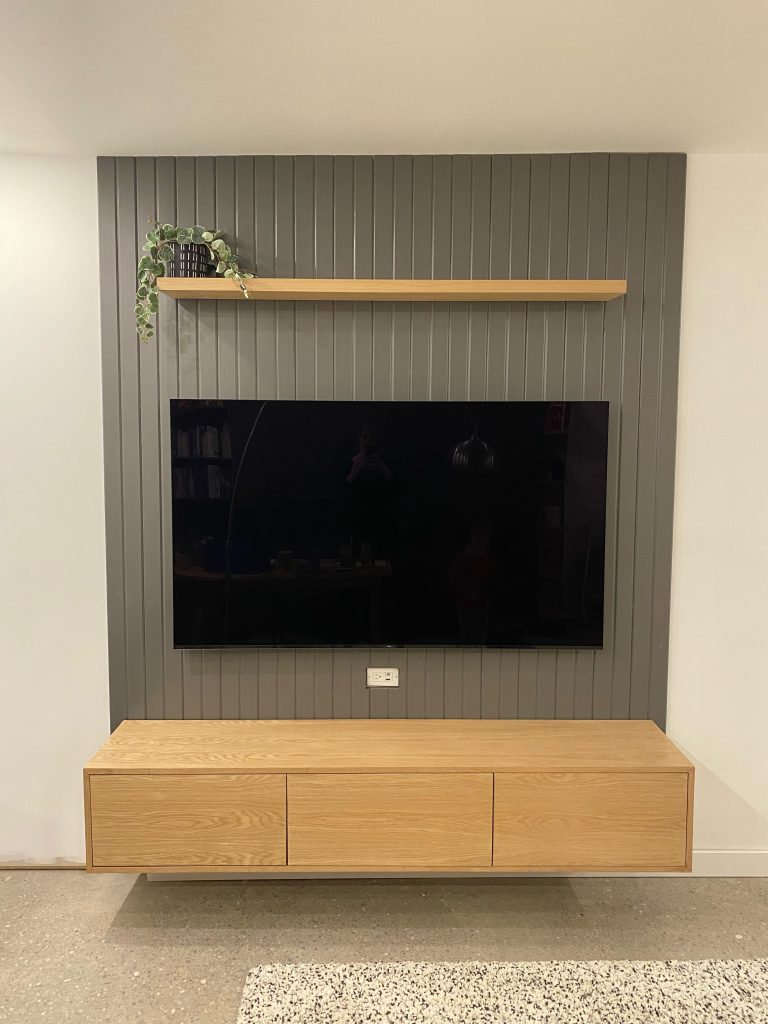
We really liked the idea of a dark background and light wood media unit, so we decided to do vertical wood pieces painted the same colour as our basement built-in bookshelves and a white oak cabinet.
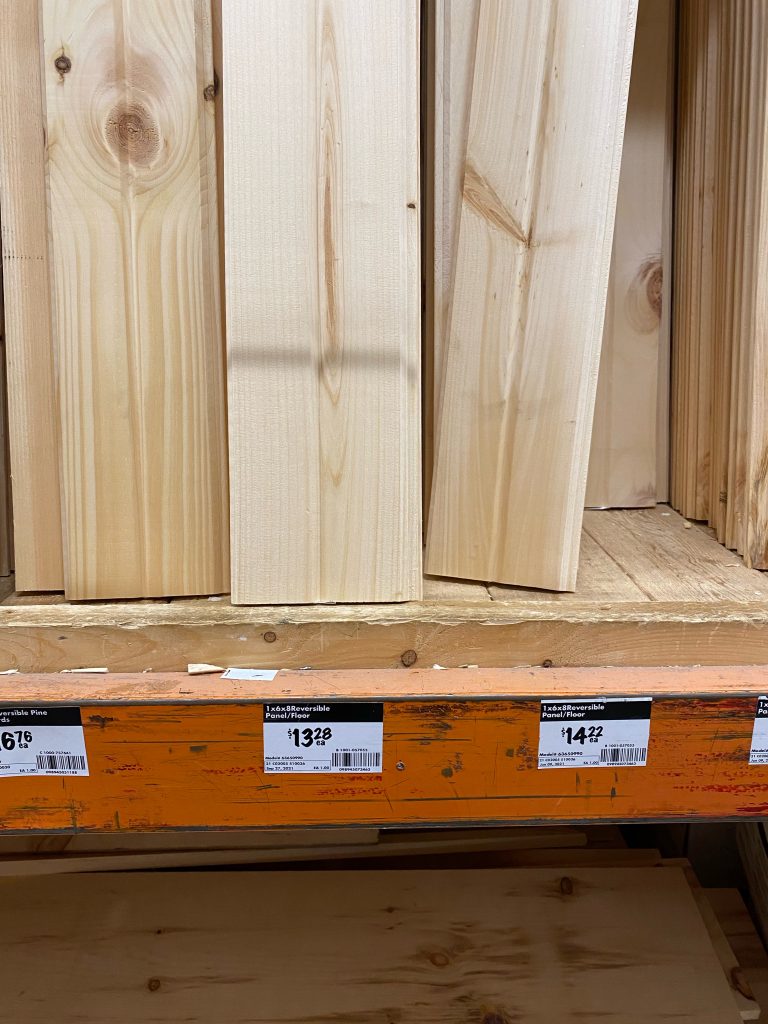
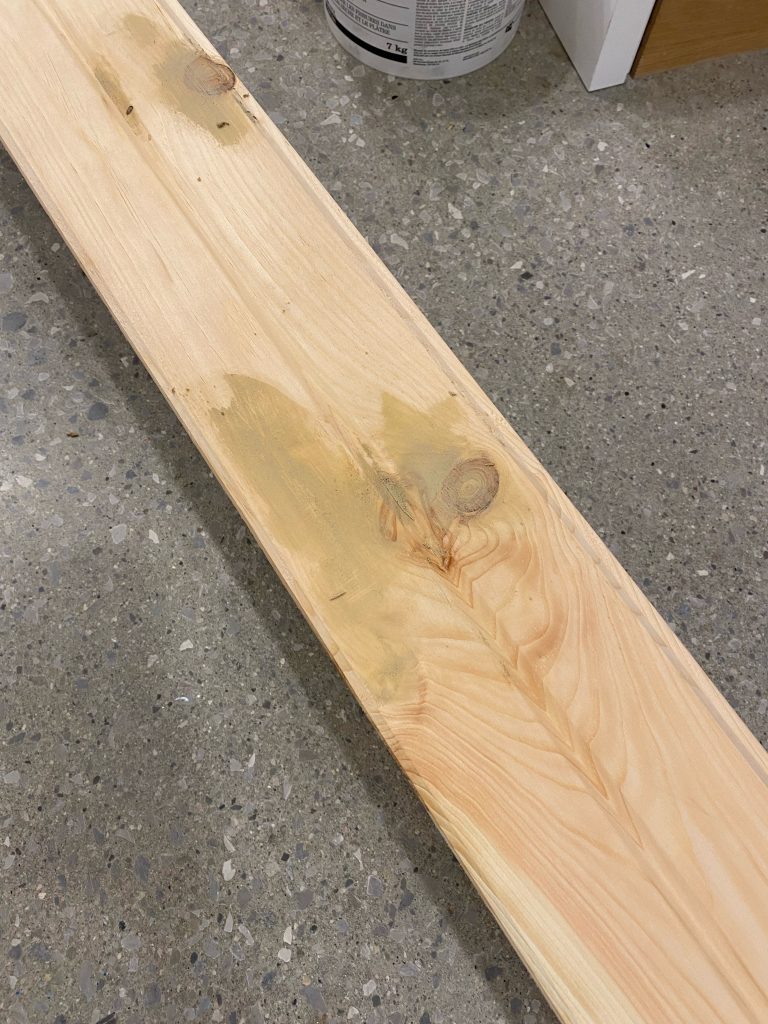
I bought 3″ wide, tongue and groove pine boards from Home Depot.
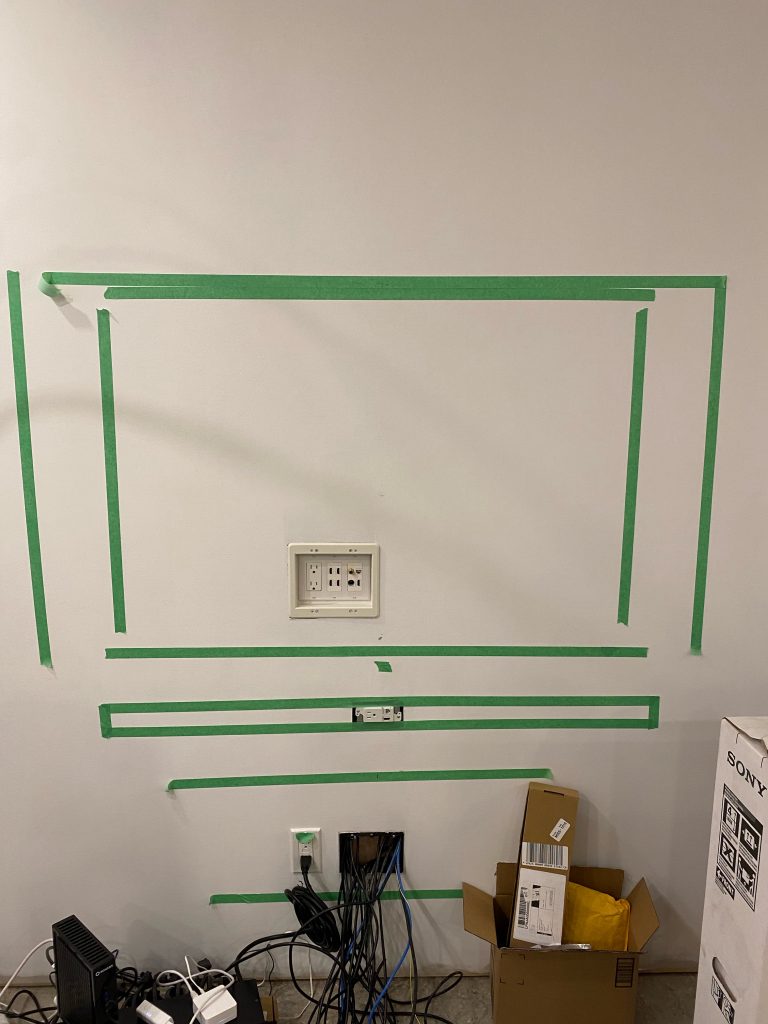
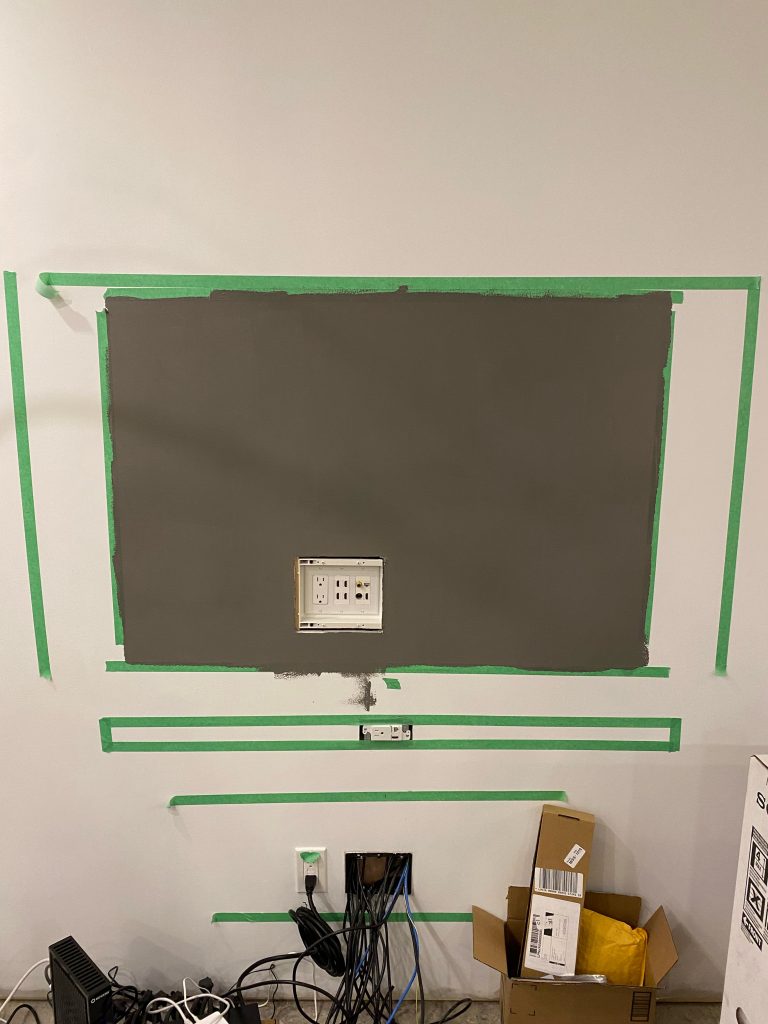
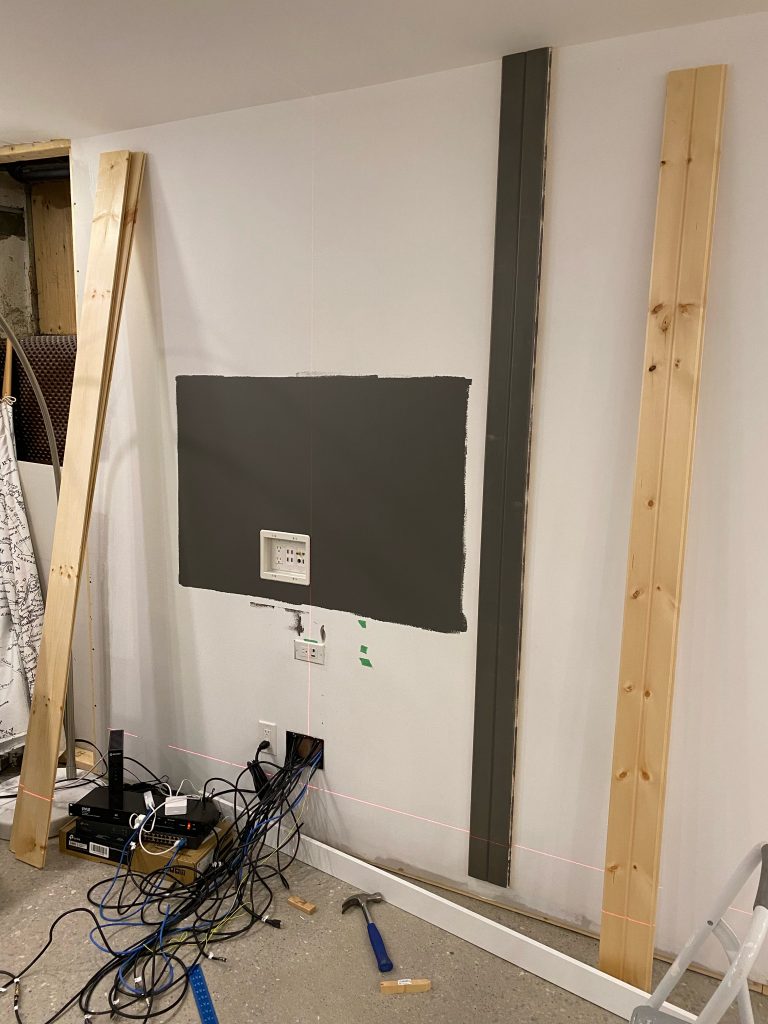
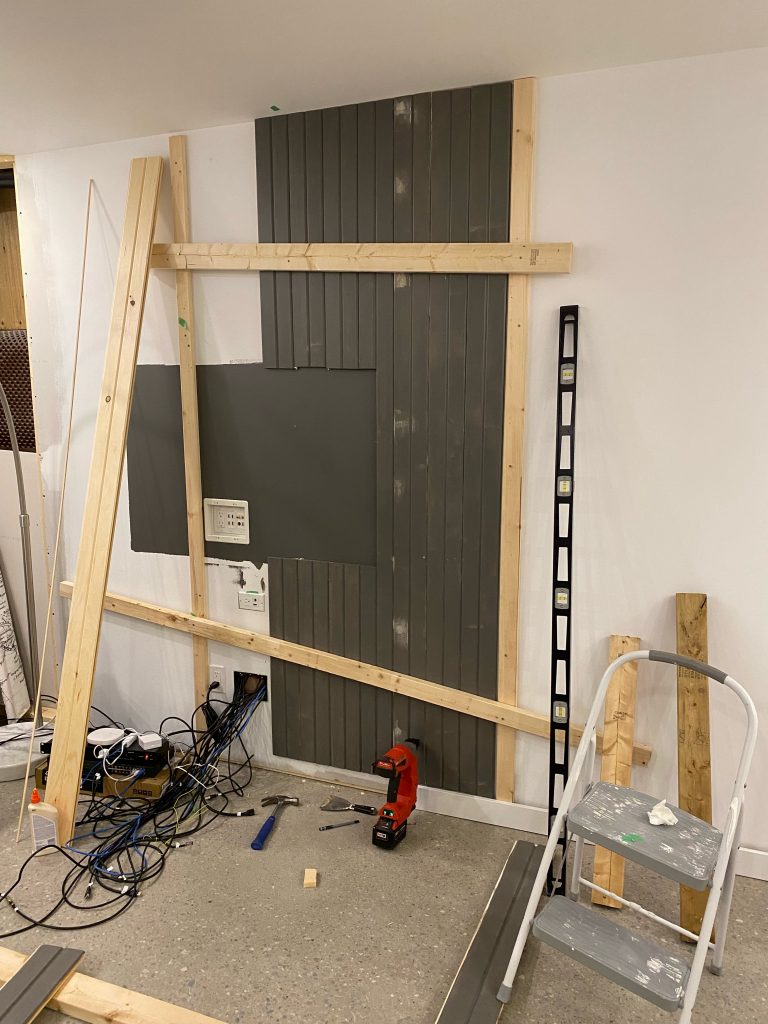
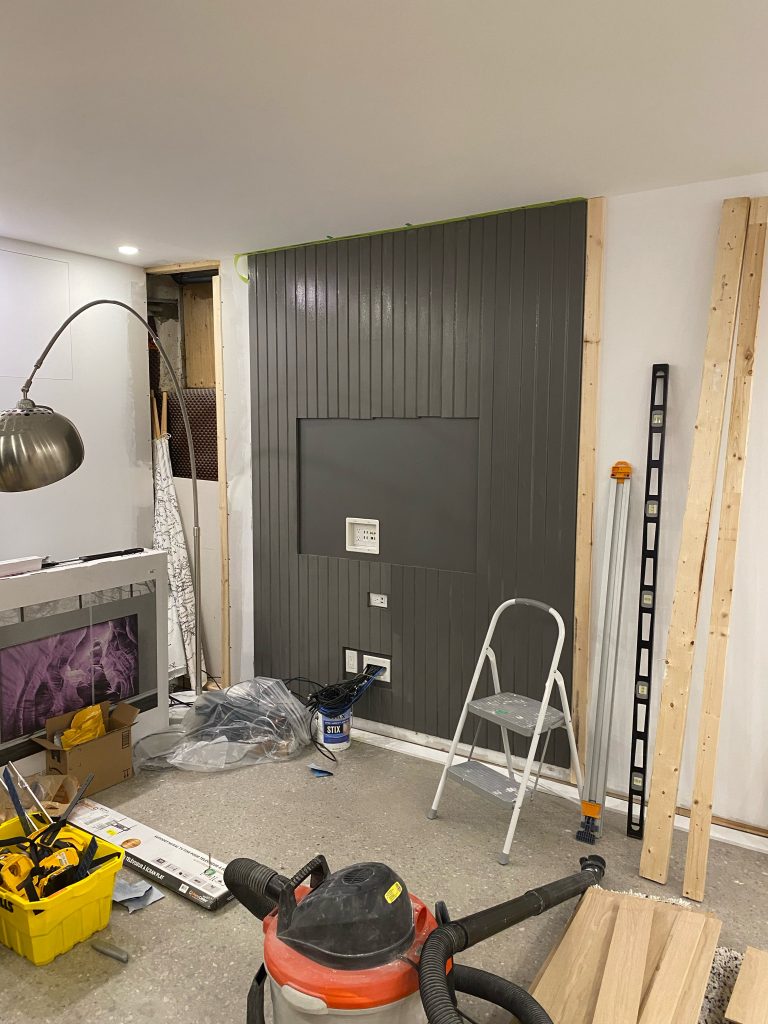
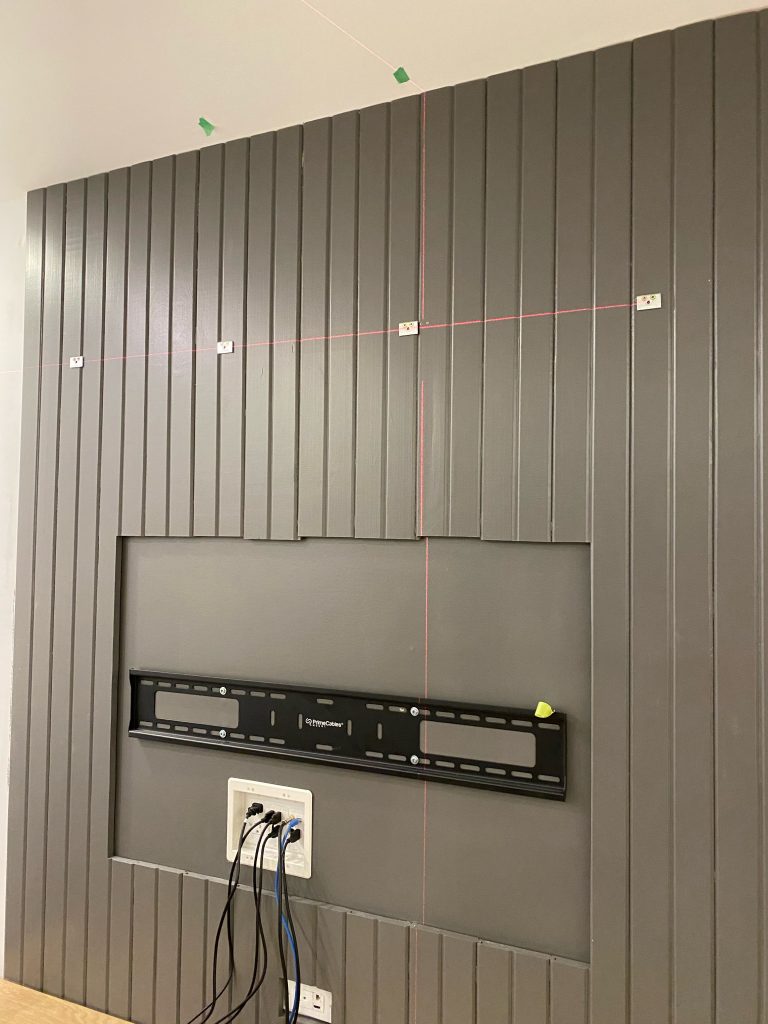
The first step was to measure where the TV would go. Because we’re mounting it on the wall, we also needed to leave a gap in the wood so it wouldn’t get in the way of the mount. Once everything was measured, I painted the wall the gap in the wood would be so it would match the wood. Annoyingly, our electrical box is white but it should be tucked in behind the TV enough that no one can see it.
We then dry fit the first board and cut it to length. Because our ceiling isn’t perfectly level (despite my shimming efforts), I also scribed the top so there wasn’t an uneven gap at the top. At the bottom, I cut the board so it sat just above the baseboard (which isn’t installed yet). I then filled in any gaps and knots with wood filler, sanded the entire board with 320 grit sandpaper, and primed it. I also gave it one coat of paint before installing it on the wall.
Installing the first board was kind of like installing flooring. The first board has to be straight, plumb and in the exact right spot (I started on a stud, not in the centre or on the end) so that all of the other boards could simply be hammered into the groove. I brad nailed it into the stud to firmly hold it in place and remove any curves in the wood.
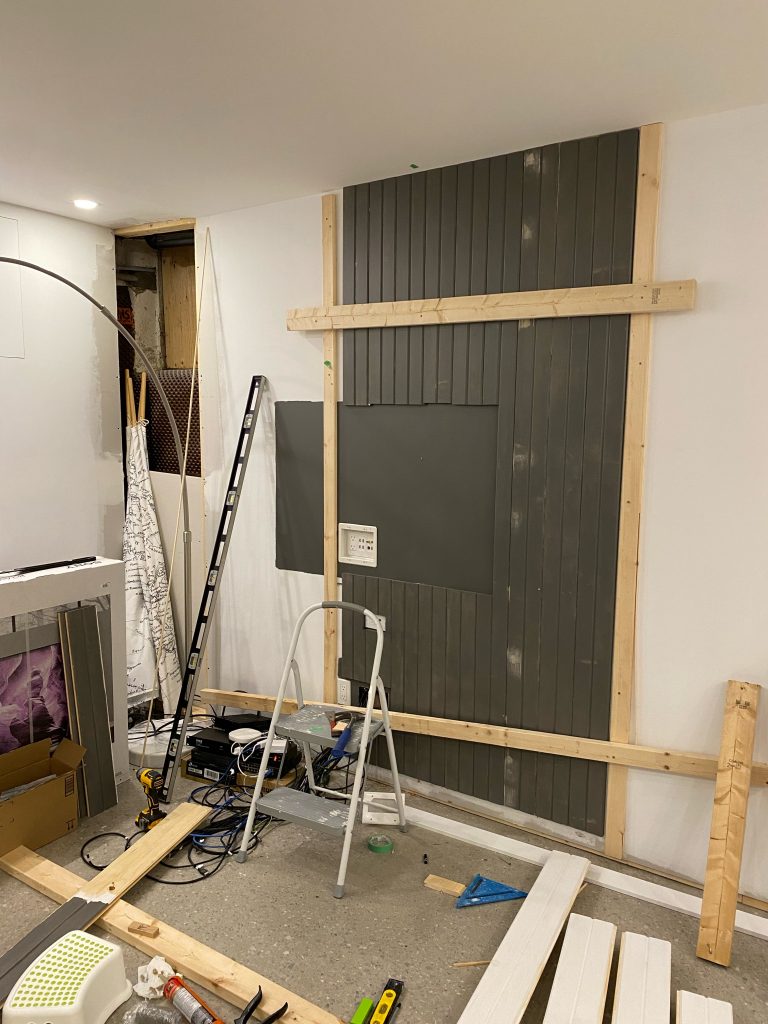
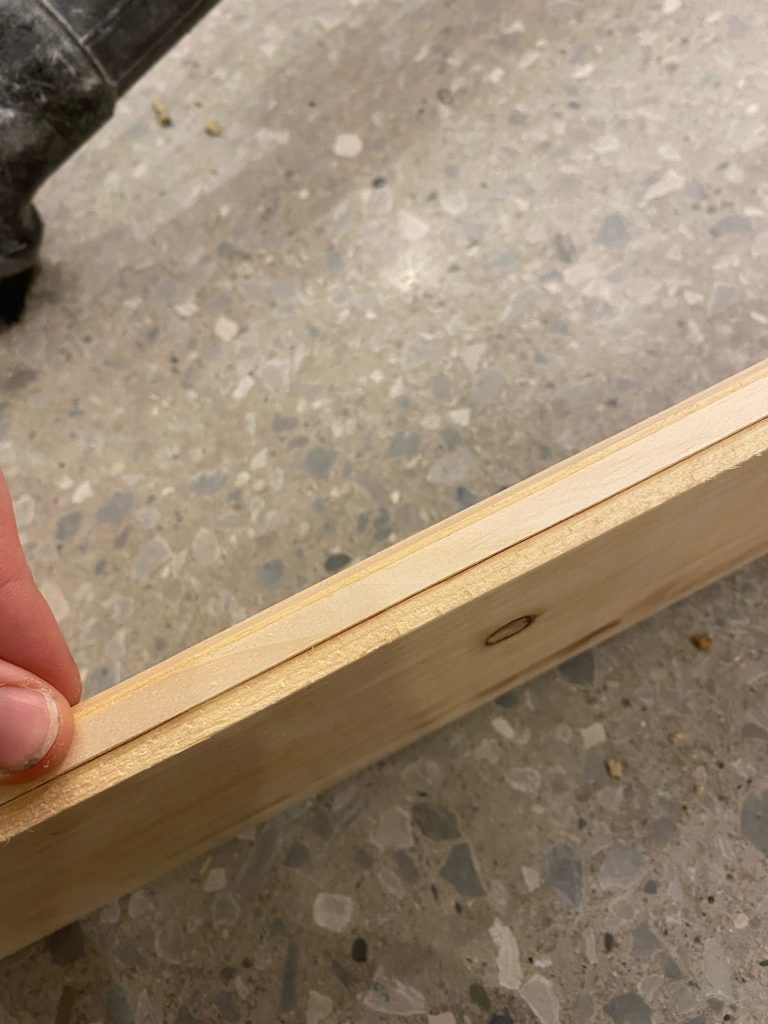
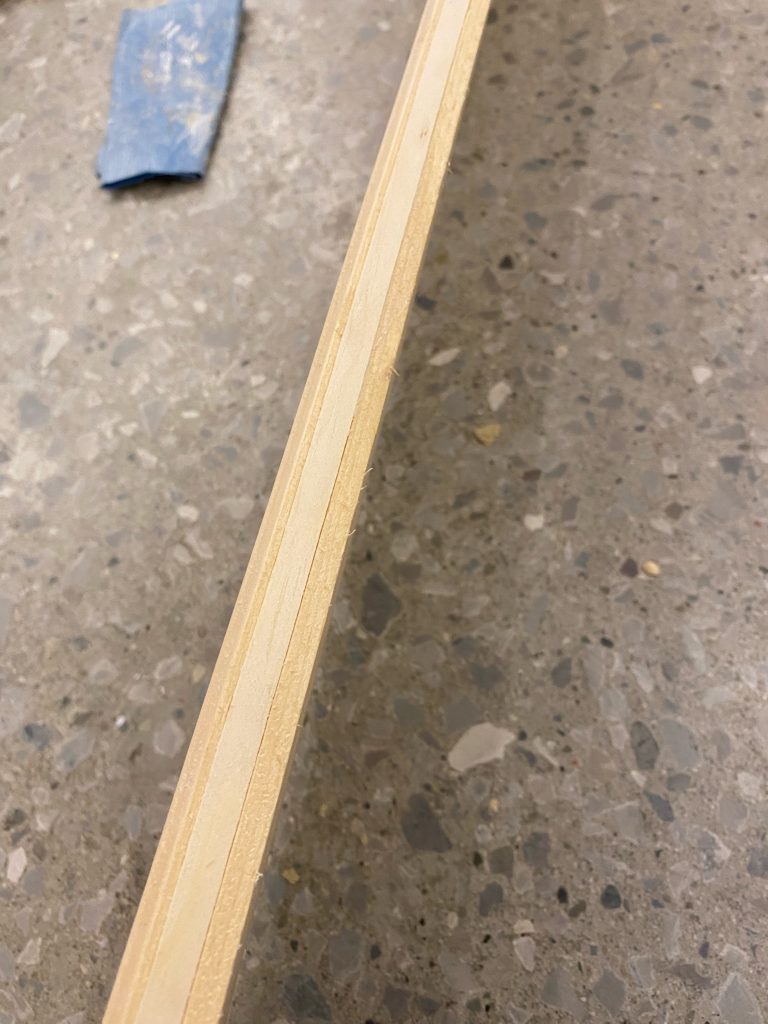
After the first piece was in place, I dry fit the remaining wood and followed the same process: cut each piece (scribe at the top, cut to baseboard on the bottom), filled imperfections and knots with wood filler, sanded, primed and painted one coat of the final colour).
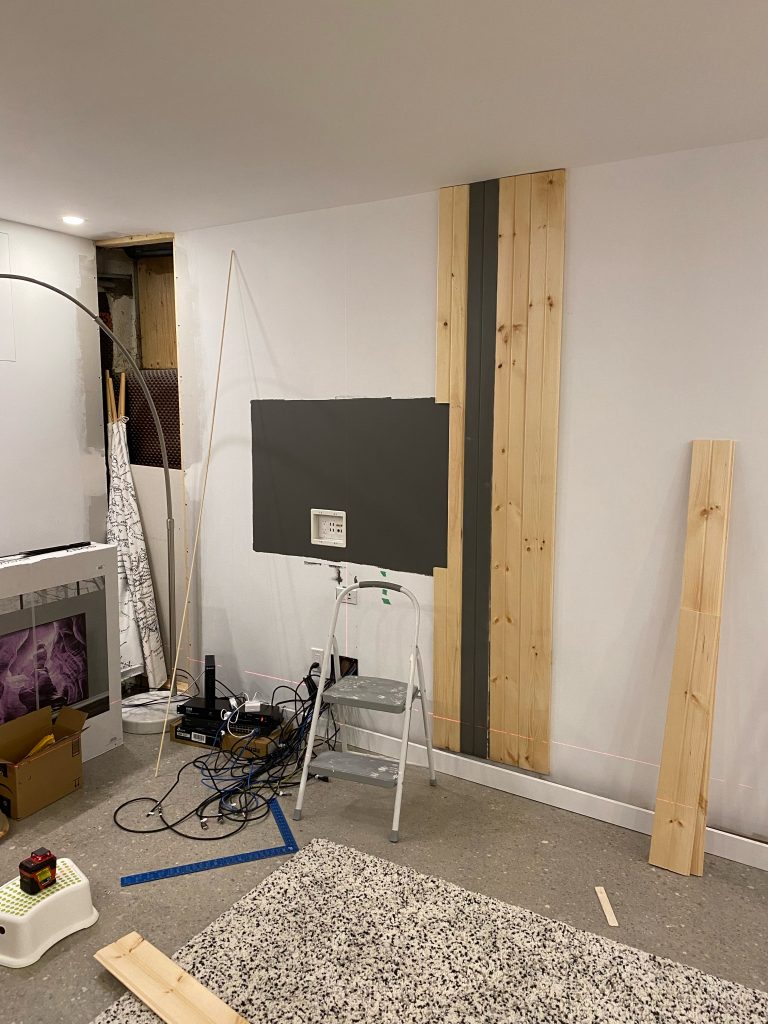
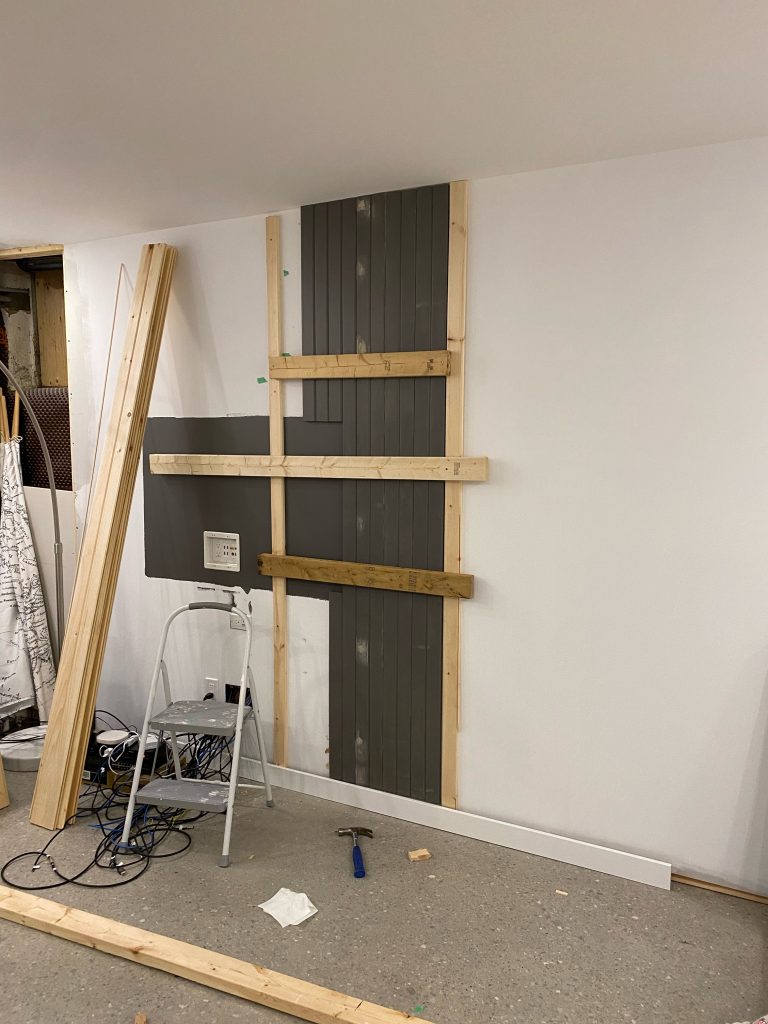
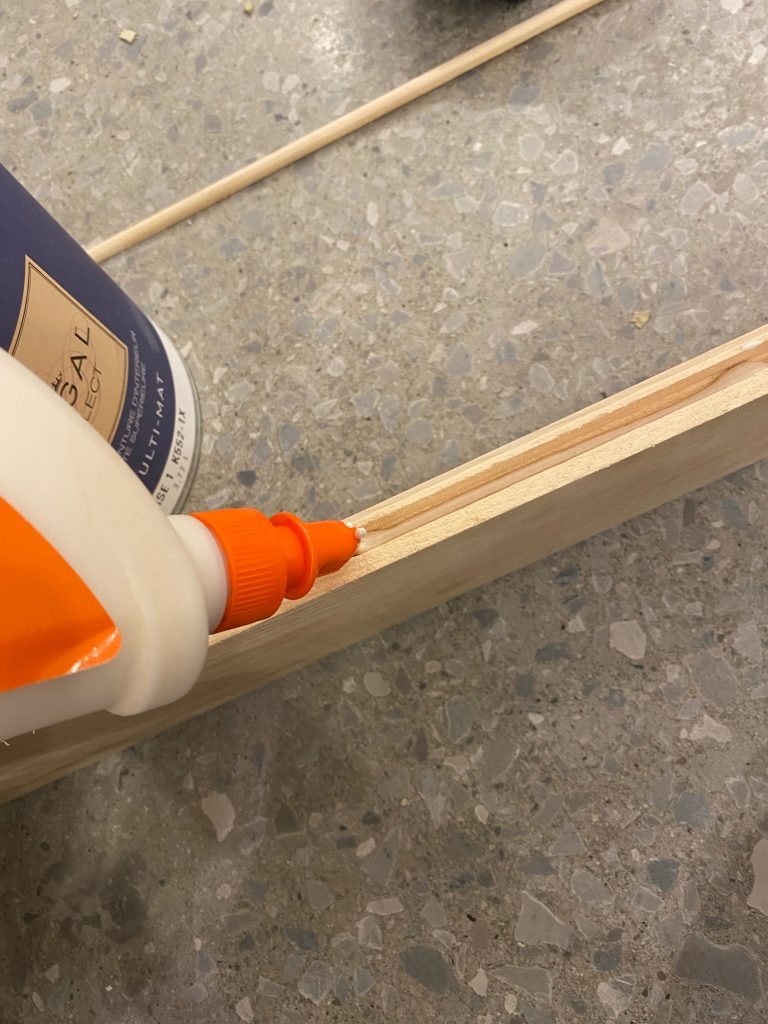
Once the pieces were dry, I put wood glue into the groove, construction adhesive on the back, hammered the new piece into the installed piece and checked for plumbness. Since I didn’t have any horizontal framing behind the TV area, I had to use construction adhesive to keep the boards on the wall. I also nailed the boards where the tongue and groove met to keep the boards connected to each other.
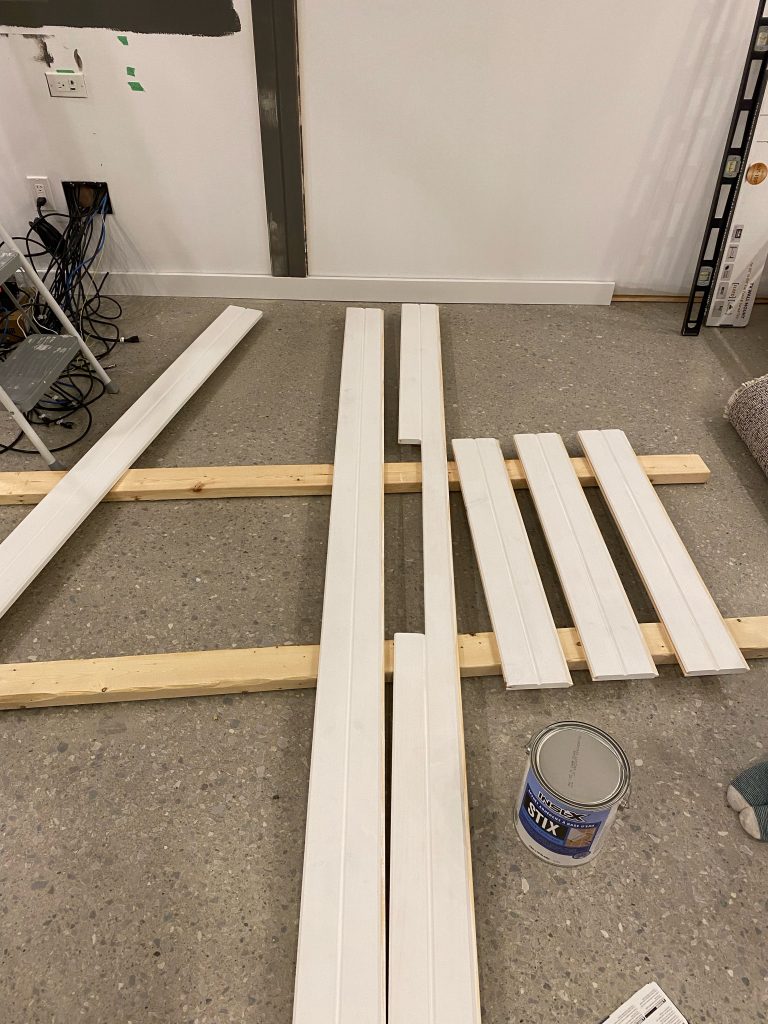
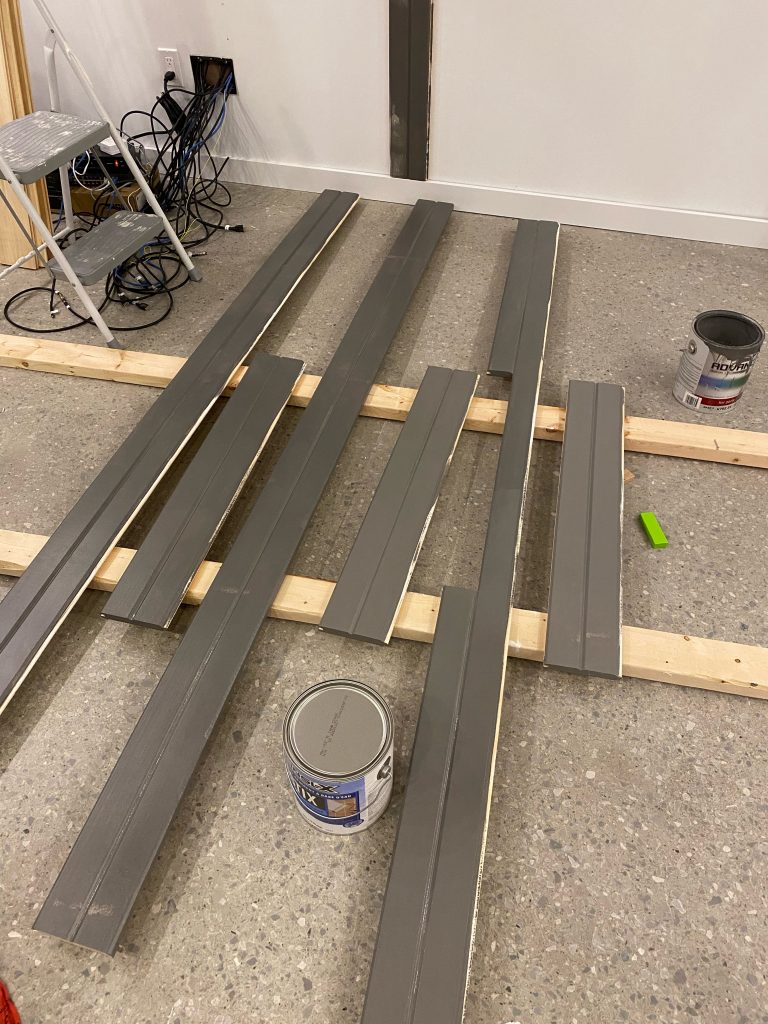
Since I didn’t want to cut too many boards at once (I was worried my measurements would be off), I cut, primed and painted in batches of 5-6 boards at a time. It meant the overall process was longer, but I felt more confident that I wouldn’t mess up any cuts.
I slowly made my way along the wall, carefully installing each piece to make sure the gap between boards was minimal and the entire thing was plumb. Since I didn’t have any framing behind the boards, I had to Macgyver something to hold the boards down until the construction adhesive dried.
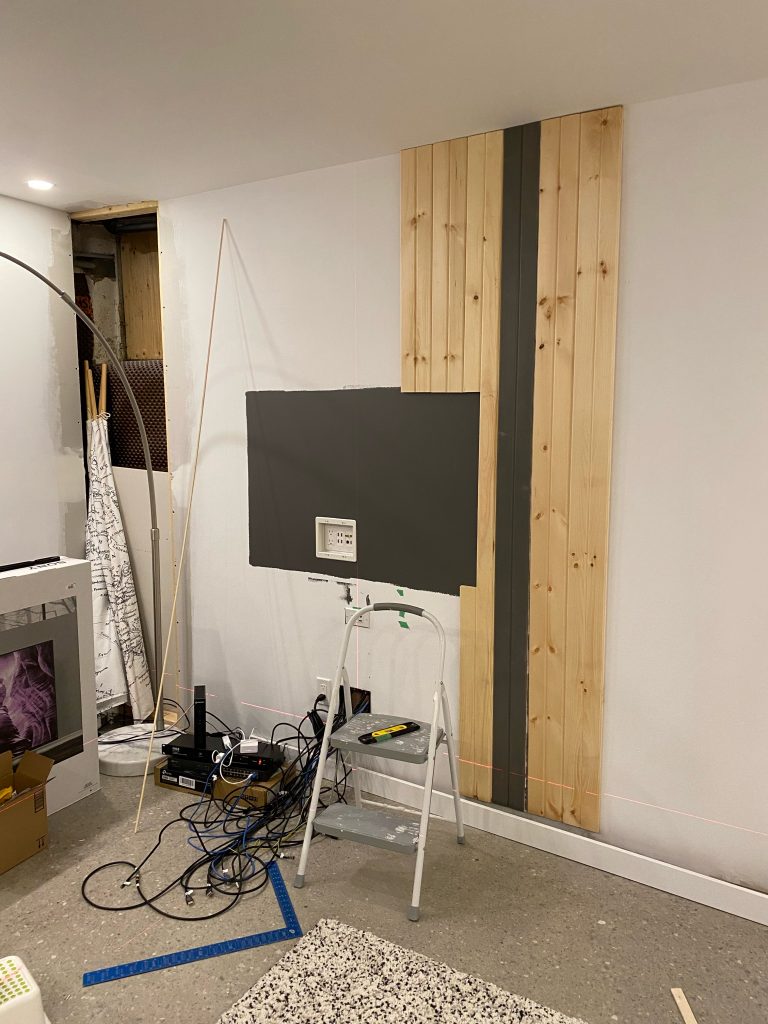
For the electrical outlets, I used a jigsaw and cut out a notch and painted the exposed parts of the wood for a clean finish. All of the outlets would be covered by furniture or a speaker, so I wasn’t fussed about getting it perfect. Just good enough that nothing would look unfinished.

It took me about a week to get the boards install all the way across the wall.
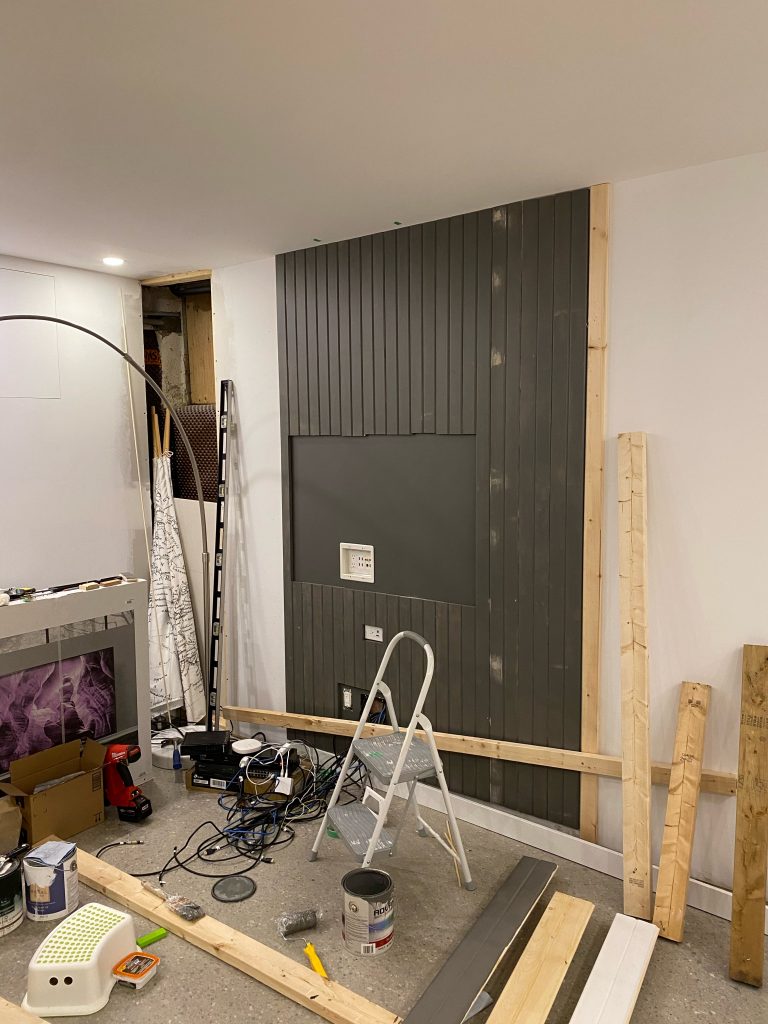
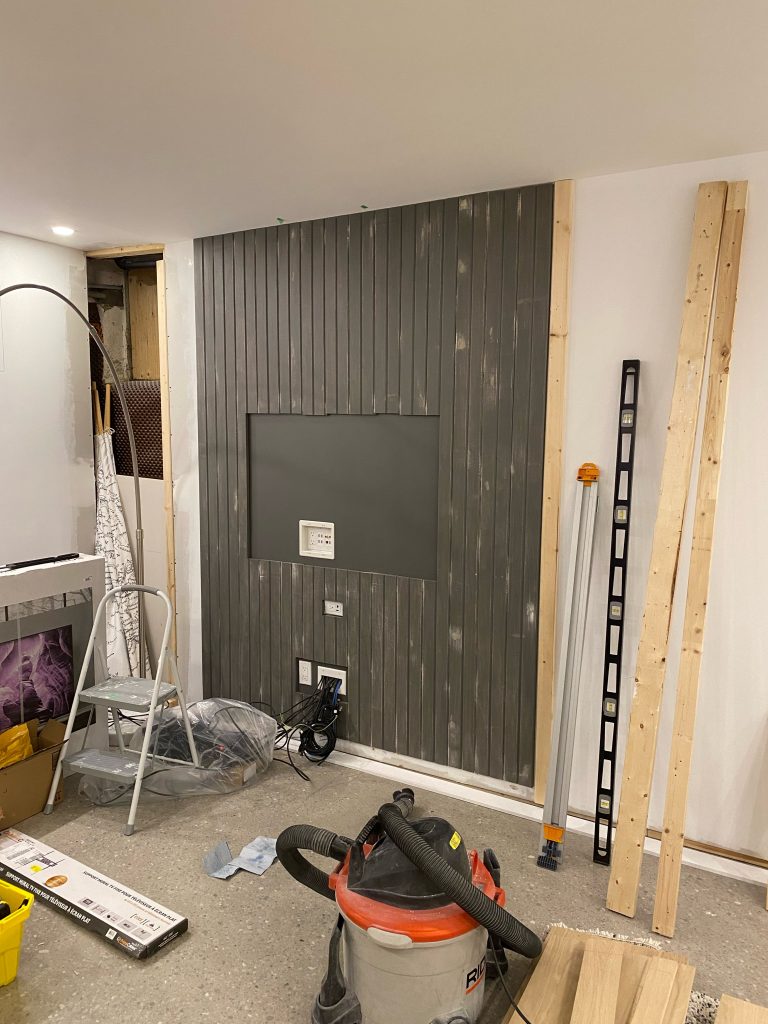
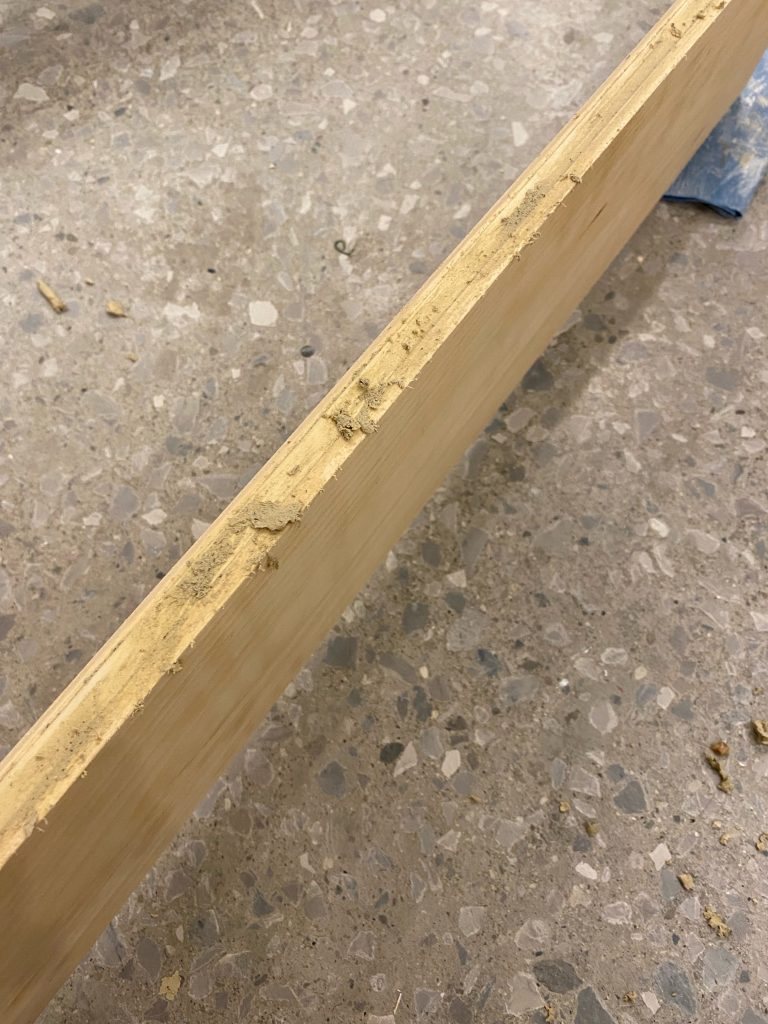
Once all the boards were in place, I carefully went over the wood pieces to fill in any nail holes or imperfections in the wood with wood filler. I did a final sand and cleaned the boards to prepare for the final coat of paint.
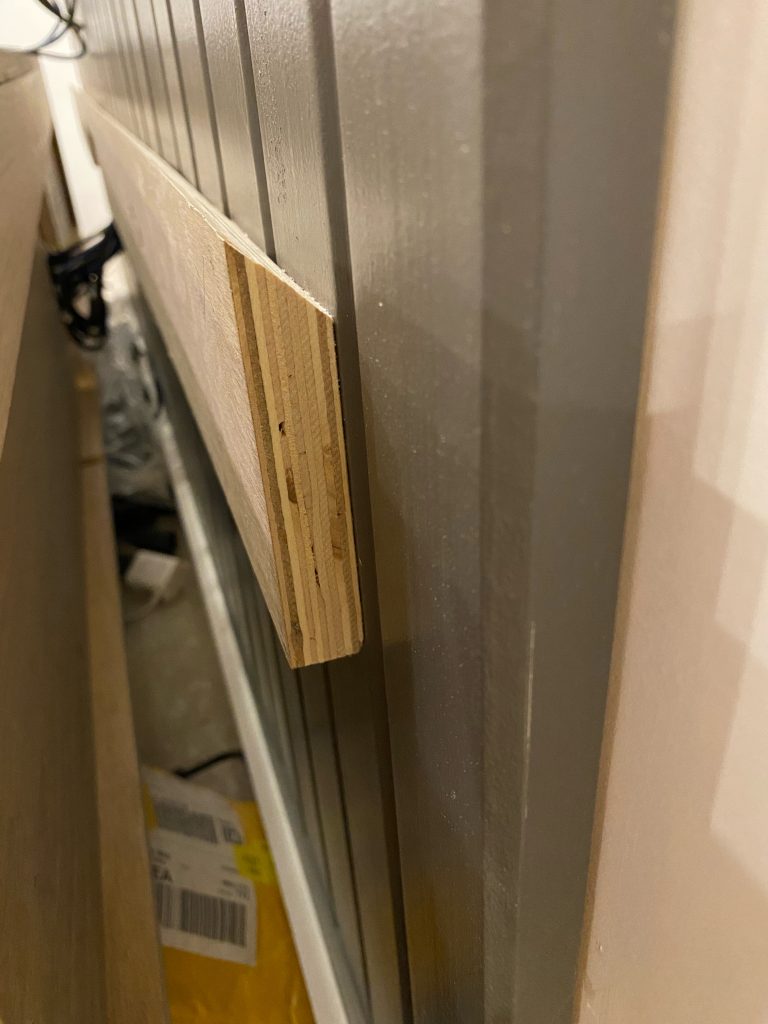
The final piece on the left couldn’t be installed at the same time as the other boards because we were still waiting to finish the end of the wall after our window delivery. I still prepared the board and used the tongue I cut off of the far right board to fill the groove on the end so it looked like a solid piece when looking at it from the side.
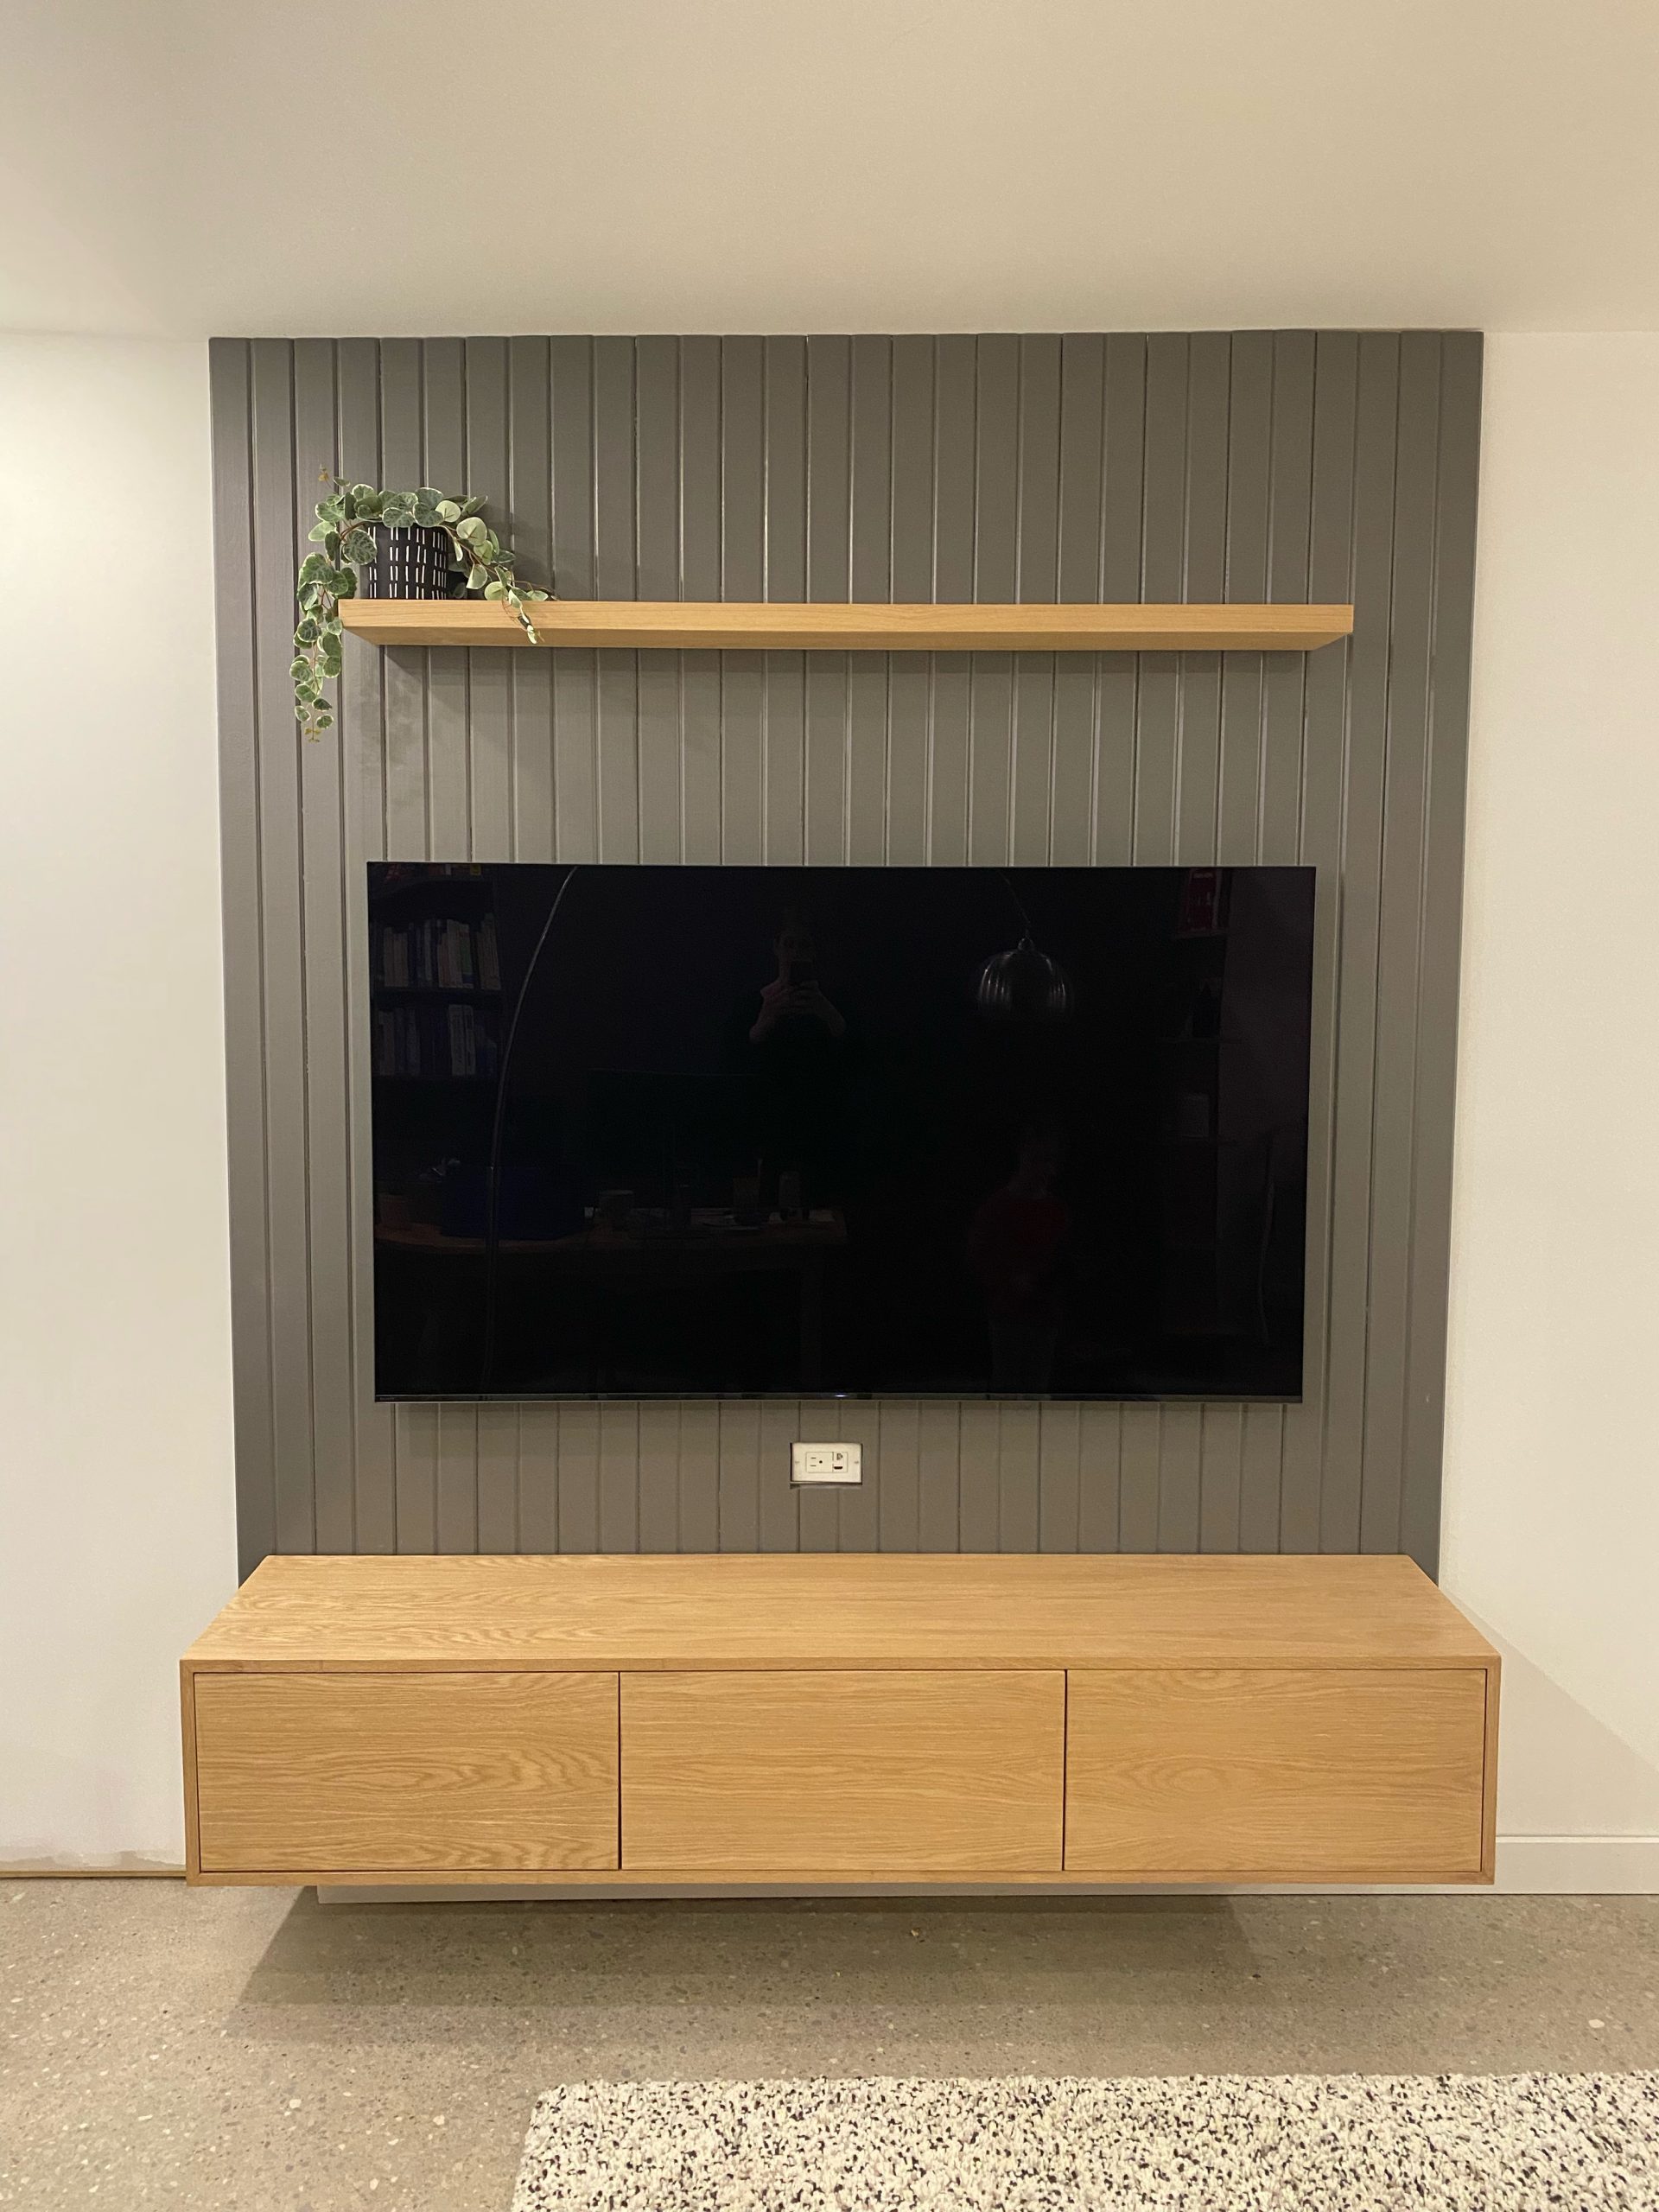
The final coat over the boards gave it a really finished look.
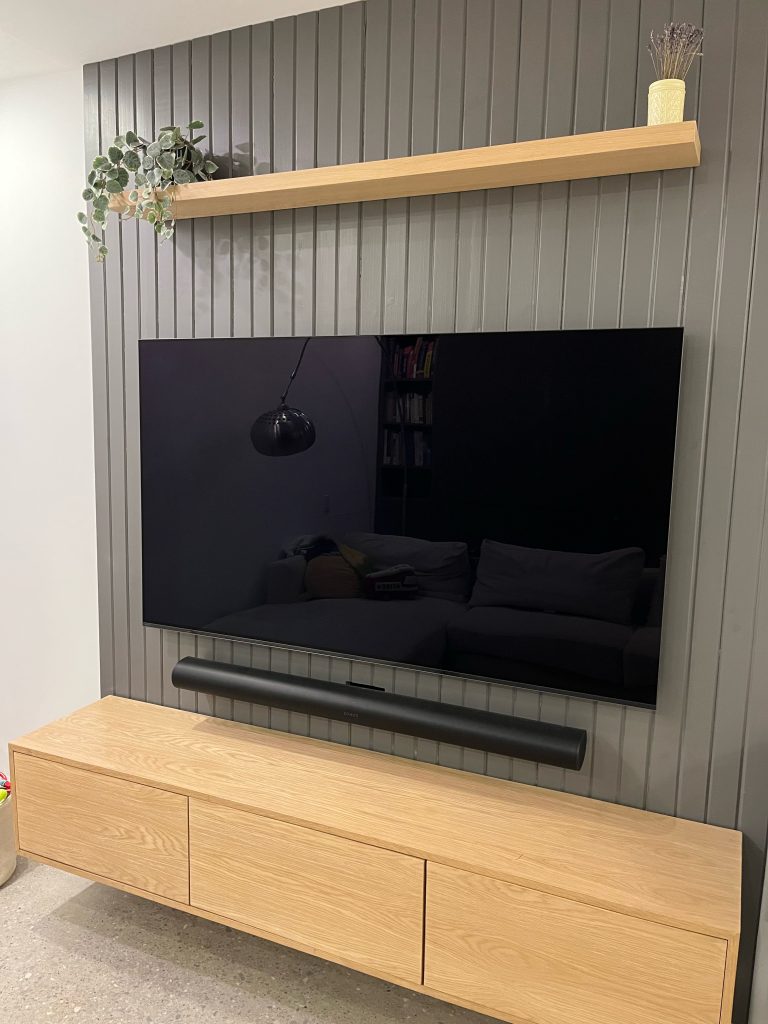
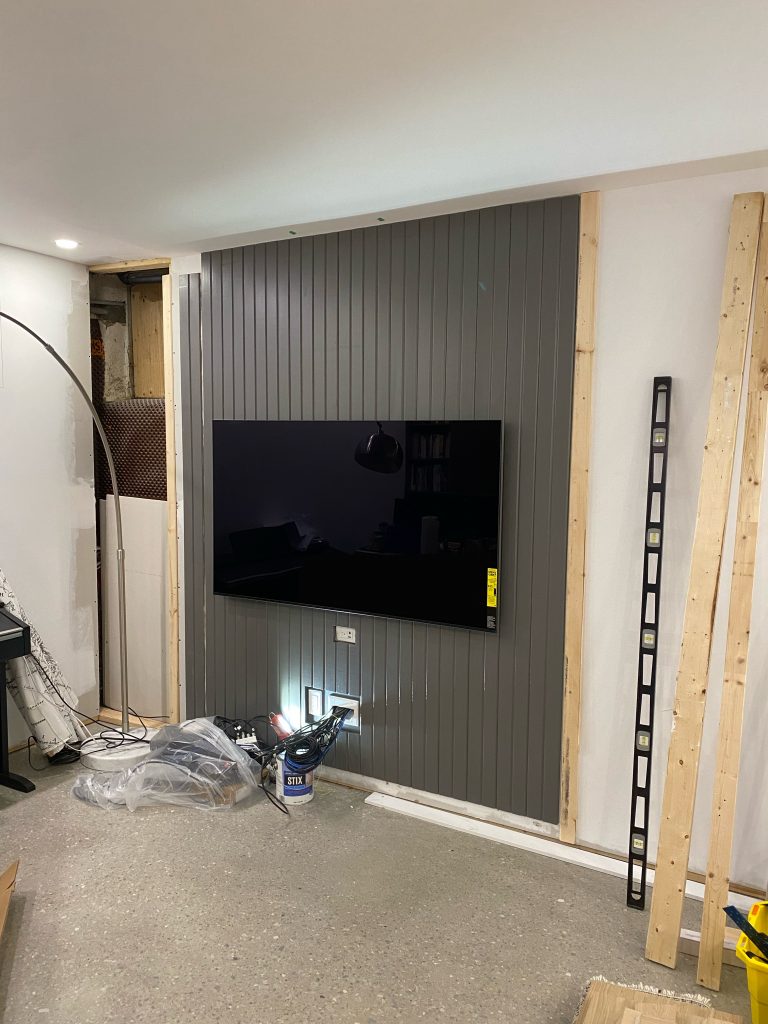
Once everything dried, it was time to (finally!) install the TV mount. We carefully installed the mount on the studs and made sure it was centered on the wood panels. It looked great with the TV installed!

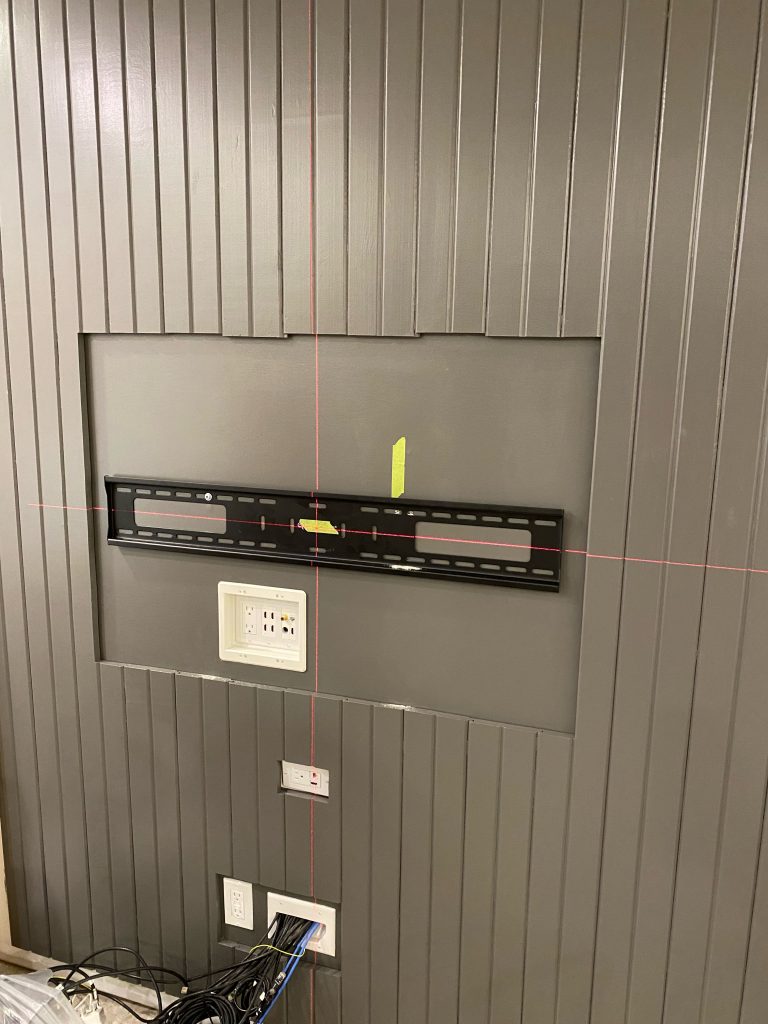
Putting up the TV was extremely stressful, but it looked great once it was in place and on the wall.
We had to wait until we got our window before we could completely finish the wall. Luckily it arrived slightly ahead of schedule so we didn’t have to wait long to finish the project.
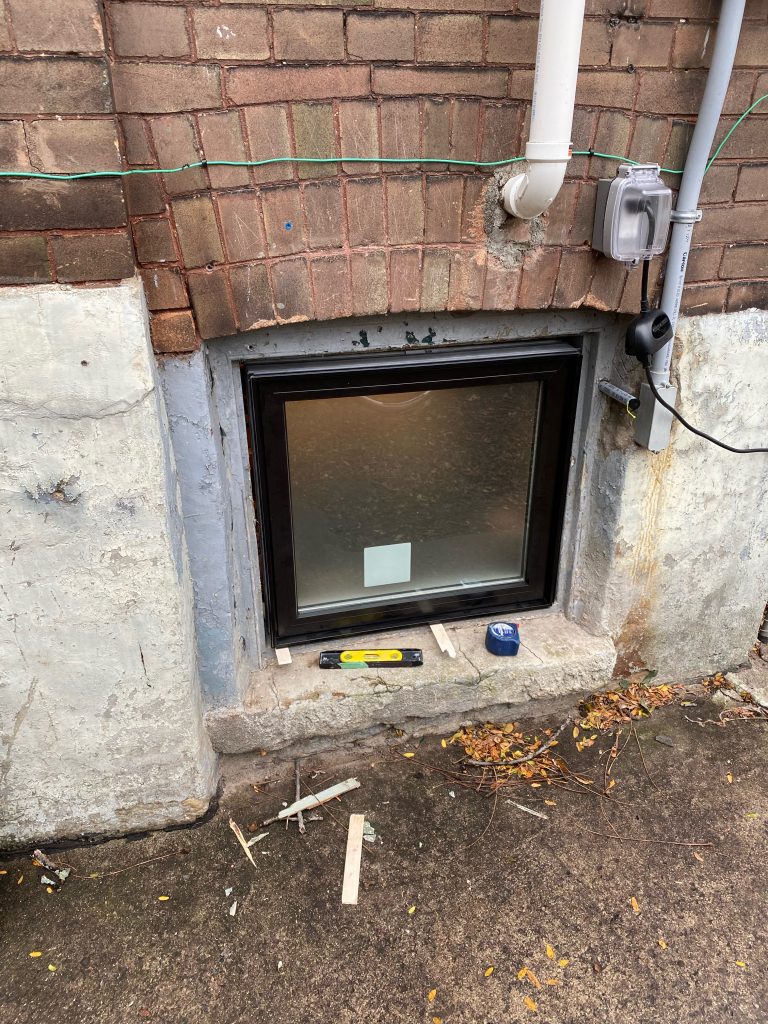
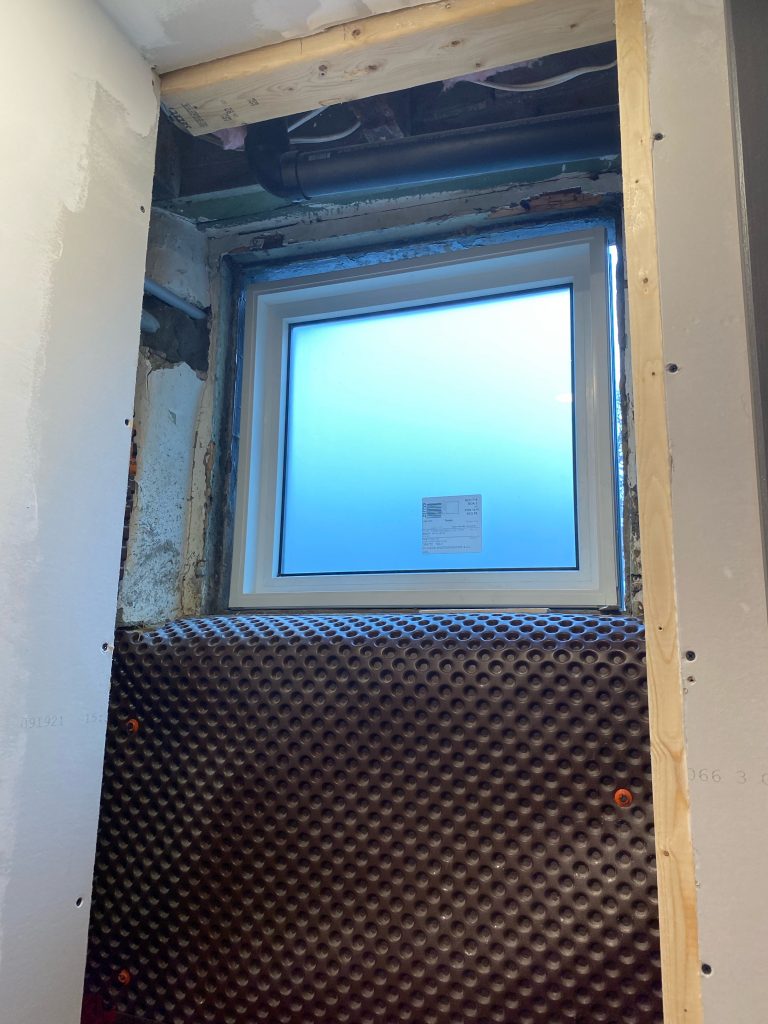

Once the window was installed and the wall was finished and painted, we installed the final wood board and painted a final coat.
Installing the media cabinet was relatively easy. We found all of the studs in the wall (which was probably the hardest part) and then hung the cleat on the wall. I made sure to make holes in the wood so the screws could countersink slightly and not stick out into the cabinet. I also carefully measured the height of the cleat so that the cabinet would sit at the right height.
Once the cleat was on the wall, it would really easy to hang the media cabinet. We just lined up the two cleat pieces and voilà!

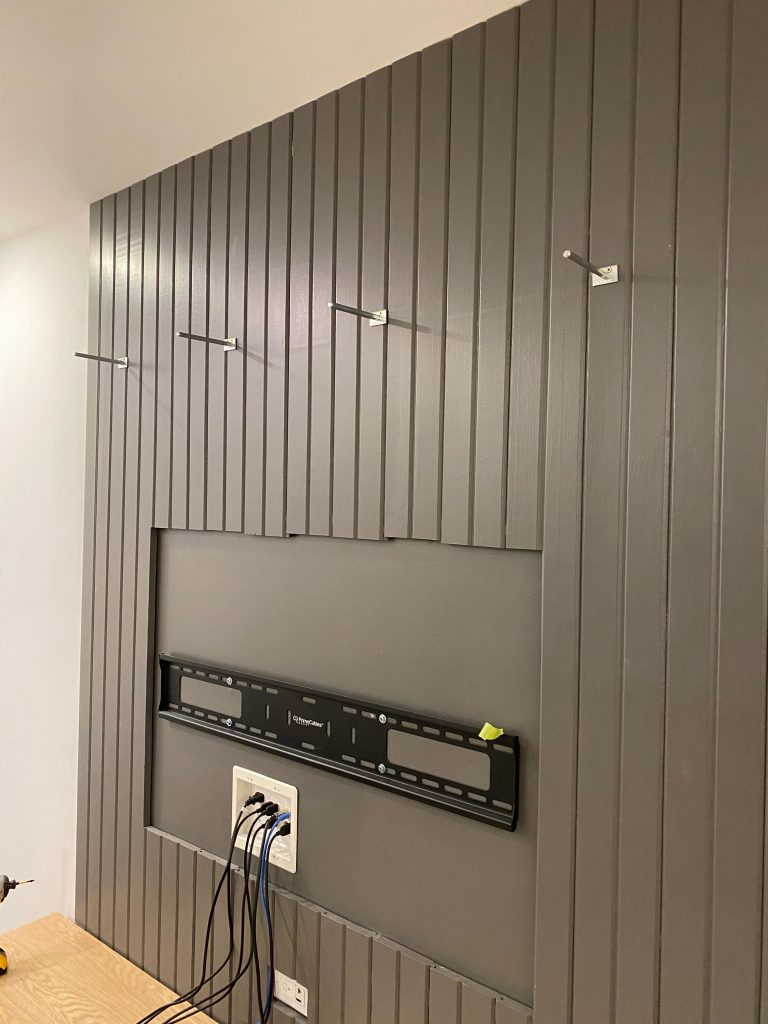
Next I installed the floating shelf brackets above the tv (at the right height) and made sure that they went into studs behind the wood and that they were perfectly level.
I then cut two pieces of the white oak to size and carefully measured the floating shelf bracket locations on one of the pieces.
Following the directions from the bracket package, I routed the right size groove into the wood, making sure to be square to the wall edge of the shelf.
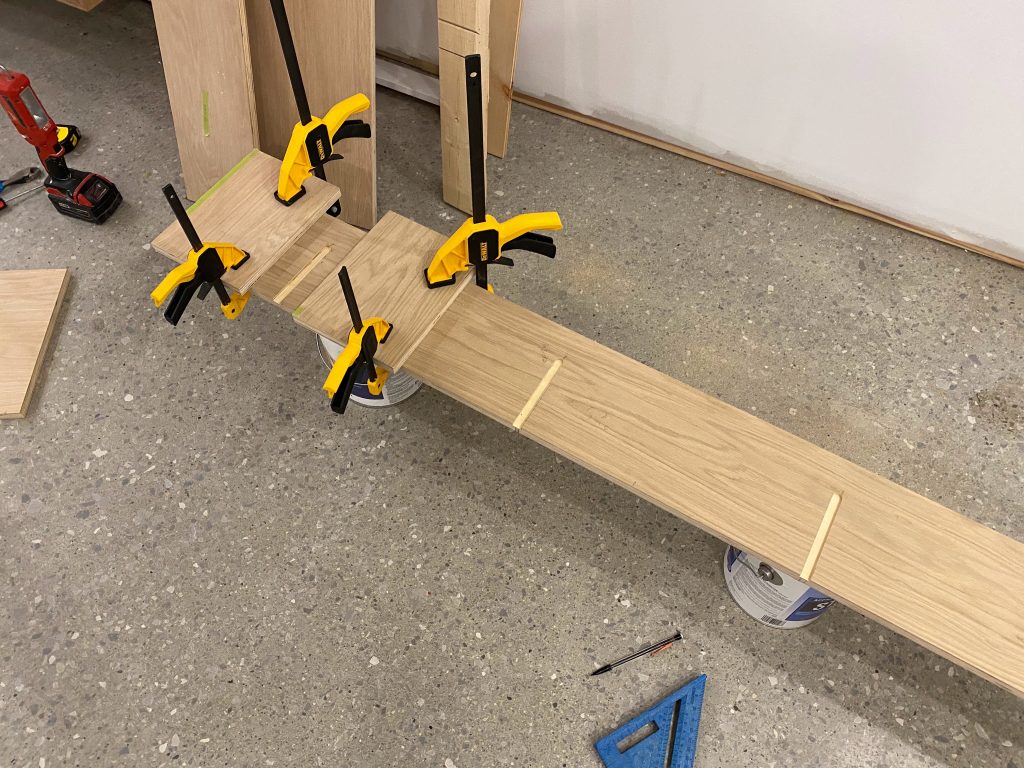
After dry fitting on the wall to make sure it fit, I then used an incredibly toxic-smelling contact cement to bond the two pieces together. I’ve never used contact cement before, but there is absolutely no movement once the two pieces touch. If I had known that, I would have been much more careful in putting the two pieces together so they lined up perfectly. Luckily I was just a hair off, but it required re-routering the edge so both pieces were flush again.
Next I applied my 2″ white oak banding to the 3 exposed sides of the shelf. I had to special order the 2″ banding because it was significantly cheaper to buy it from the US. The banding came all the way from Texas but it was less than half the price of what I found in specialty wood stores.

I sanded the entire piece and varathaned with 3 coats of clear, satin finish. The shelf was then ready to go on the wall!
The final pieces of the puzzle was installing the sound bar and finishing the baseboards.