As we were starting our basement renovation, COVID hit and we had to create make-shift home office spaces so we could work from home.
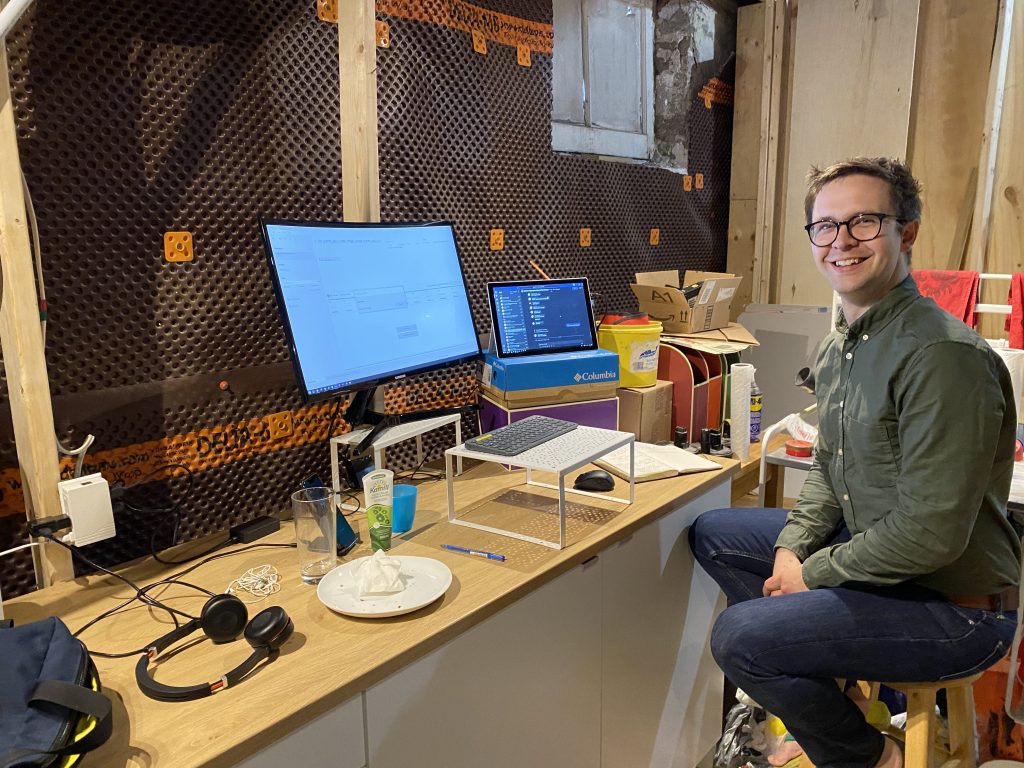
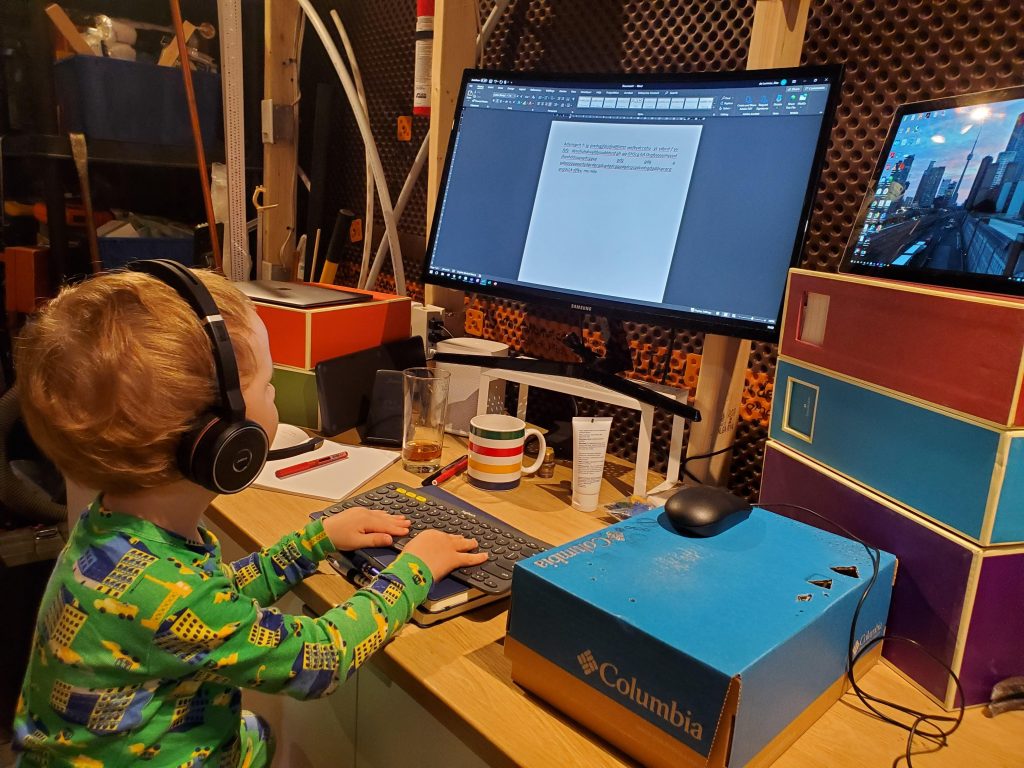
In March 2020, we were in the middle of finishing our new basement bedroom when we all went into lockdown. I was on maternity leave, but lockdown forced us to come up with a quick work-from-home solution for Alex. We still had our make-shift kitchen set up from our kitchen renovation, so we used the counter to create a new desk for Alex. It wasn’t ideal, but nothing was ideal in March 2020.
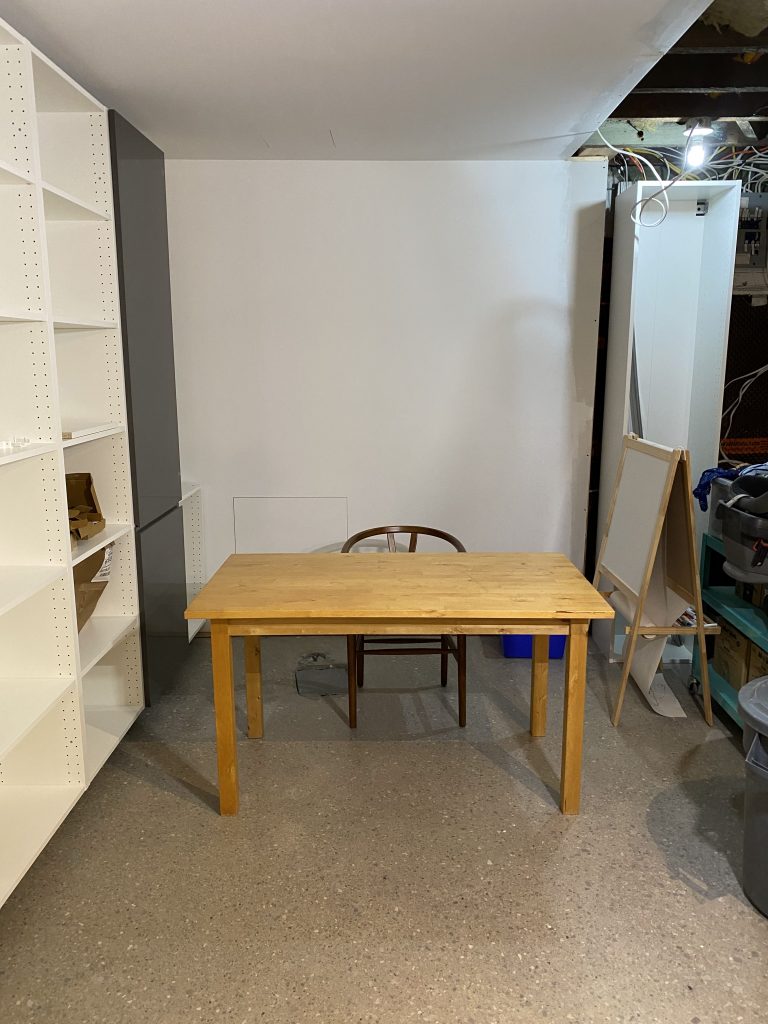
In January 2021, my maternity leave was over and I needed a work-from-home solution. We had made considerable progress on the basement renovation, so I was able to set myself up in front of a blank painted wall. Alex was on paternity leave at that point, so we still only needed one office in the basement.
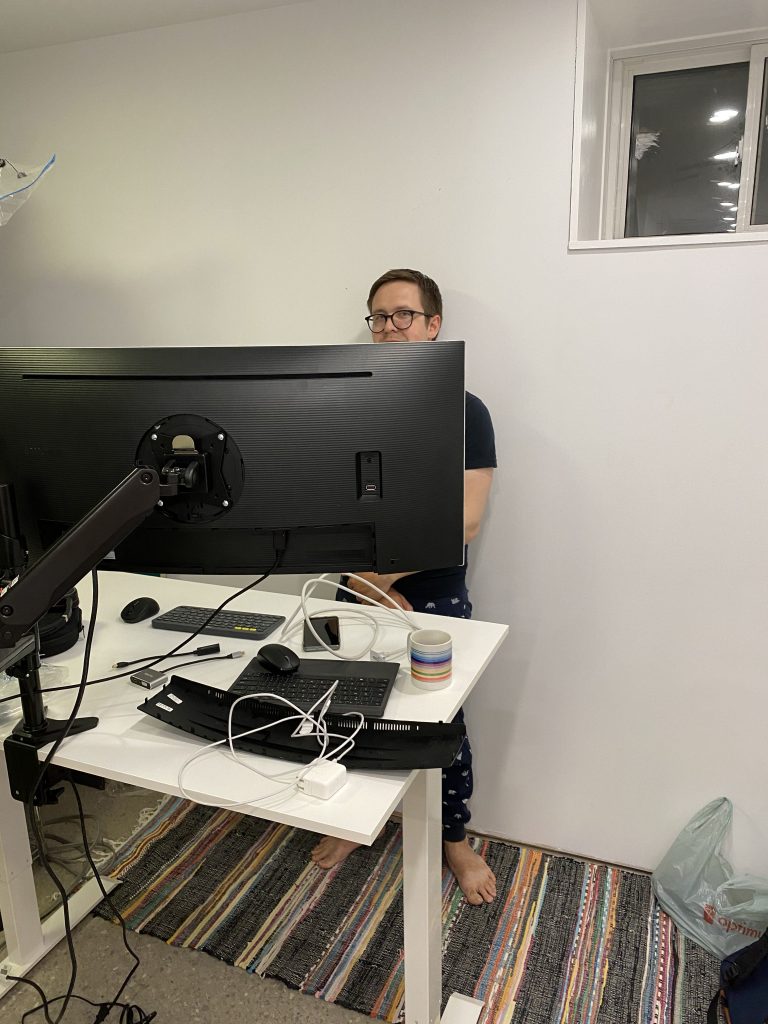
In April 2021, Alex went back to work and we both needed a place to sit to do our work. Our cabinets were done, so I rotated my desk to a new background, and Alex set himself up in the back bedroom.
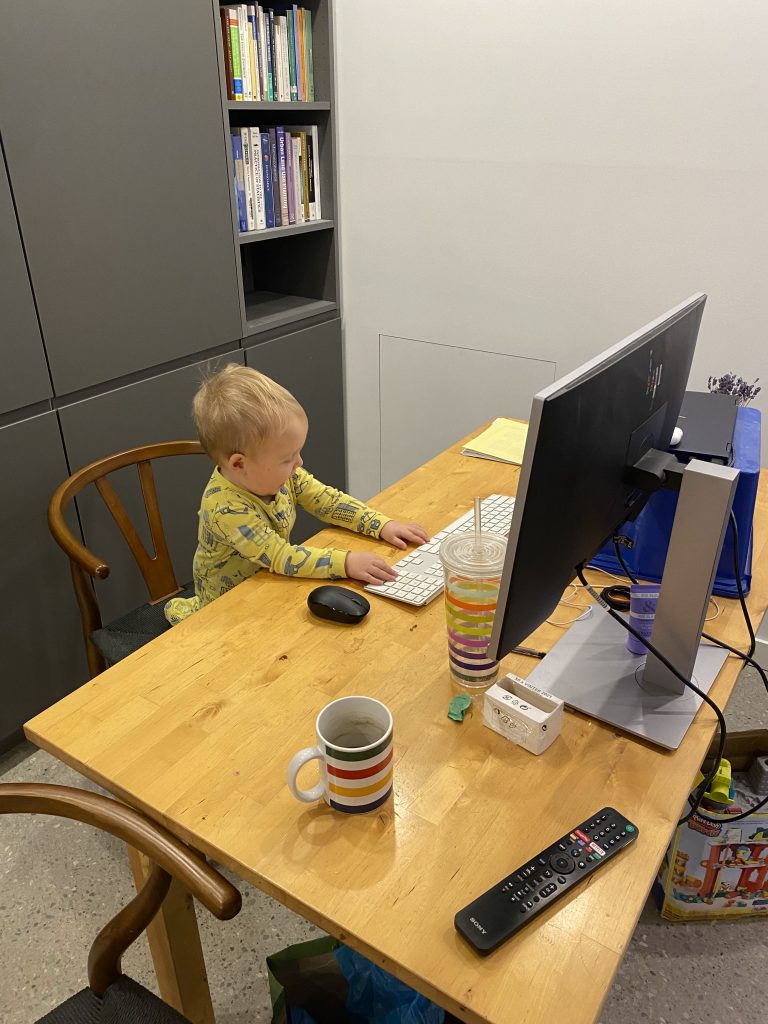
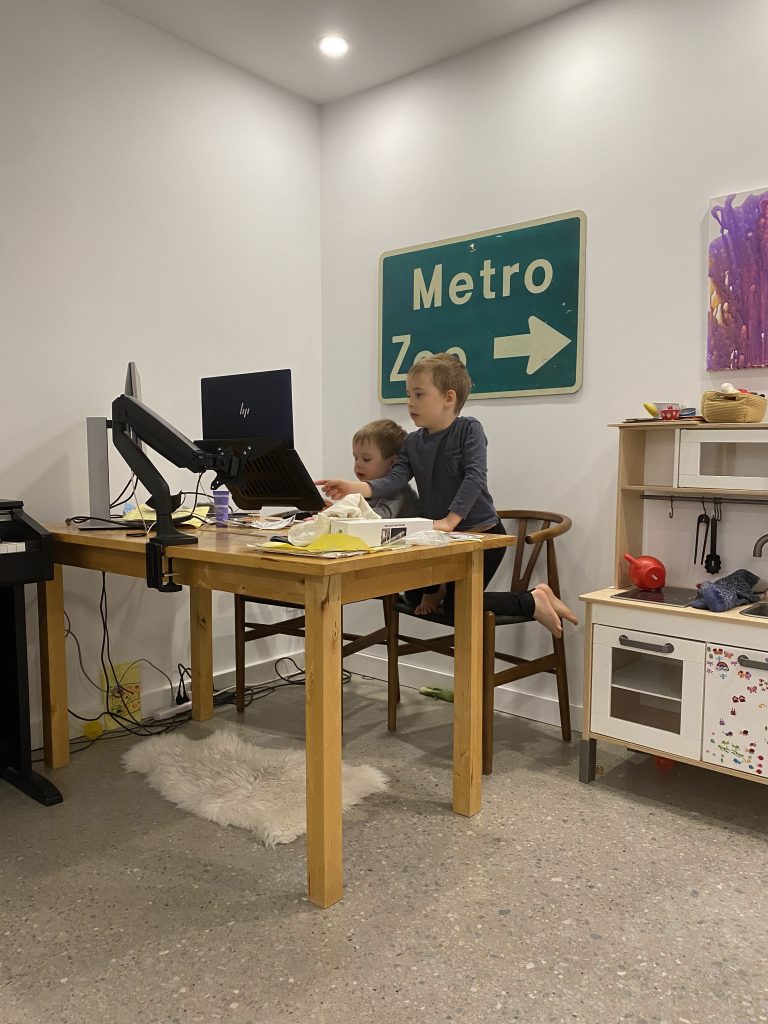
Alex stayed put, but I kept moving around the basement as we finished different parts of our renovation. My final resting place was to the side of our family room.
By 2024, Alex and I were going into the office frequently enough that we decided we could have only one desk in the house. We sold Alex’s desk and made a plan to create a more permanent location for a single desk.
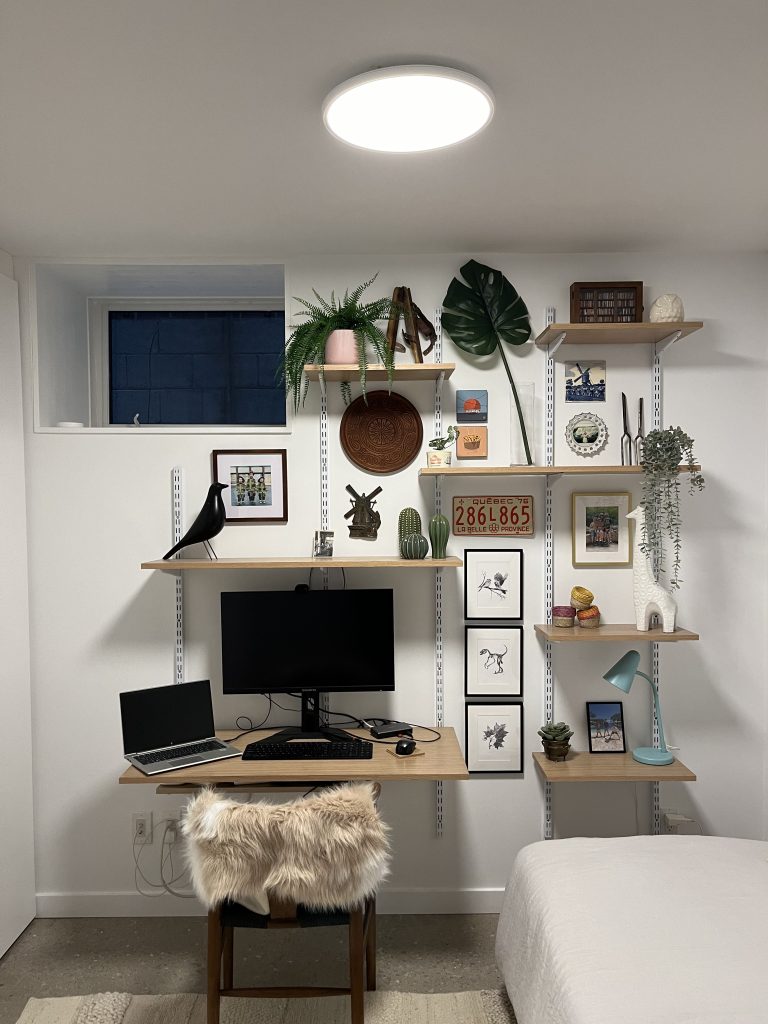
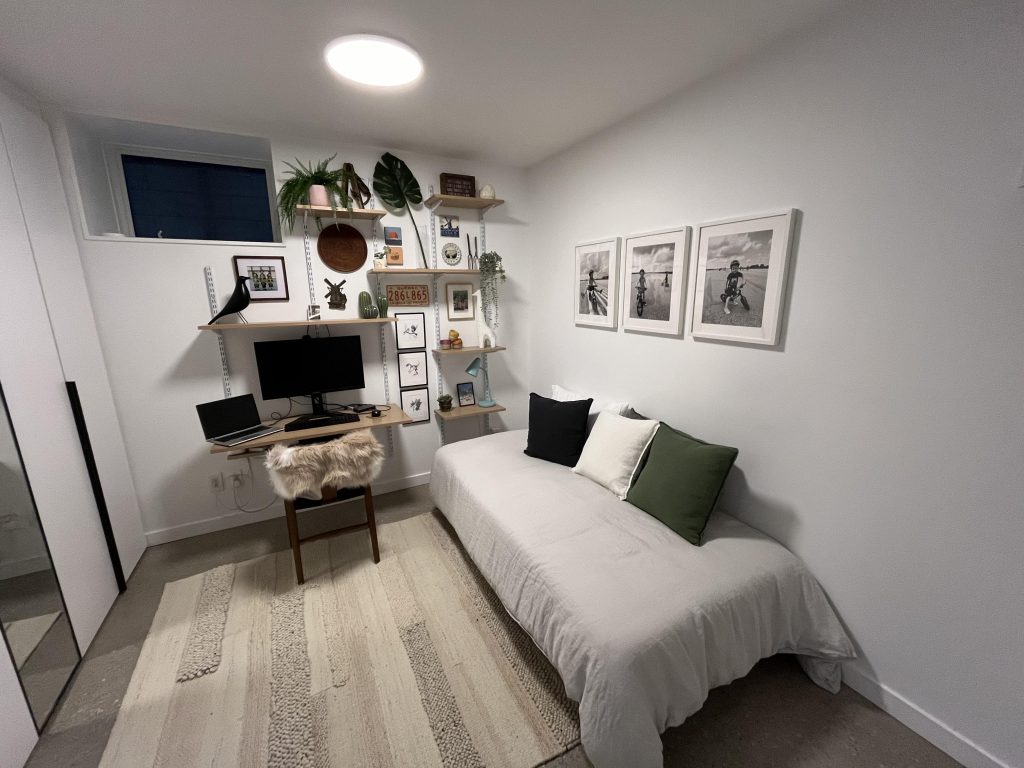
The best location for the desk was in the spare room, but fitting a bed and desk into the spare bedroom wasn’t possible. The solution we came up with was building a wall desk with shelves!
I planned the design and bought all of my shelving material – both the shelving supports and veneered plywood I’d need for the shelves. I used an old picture of the room to draw my extremely accurate picture of what the shelves could look like.
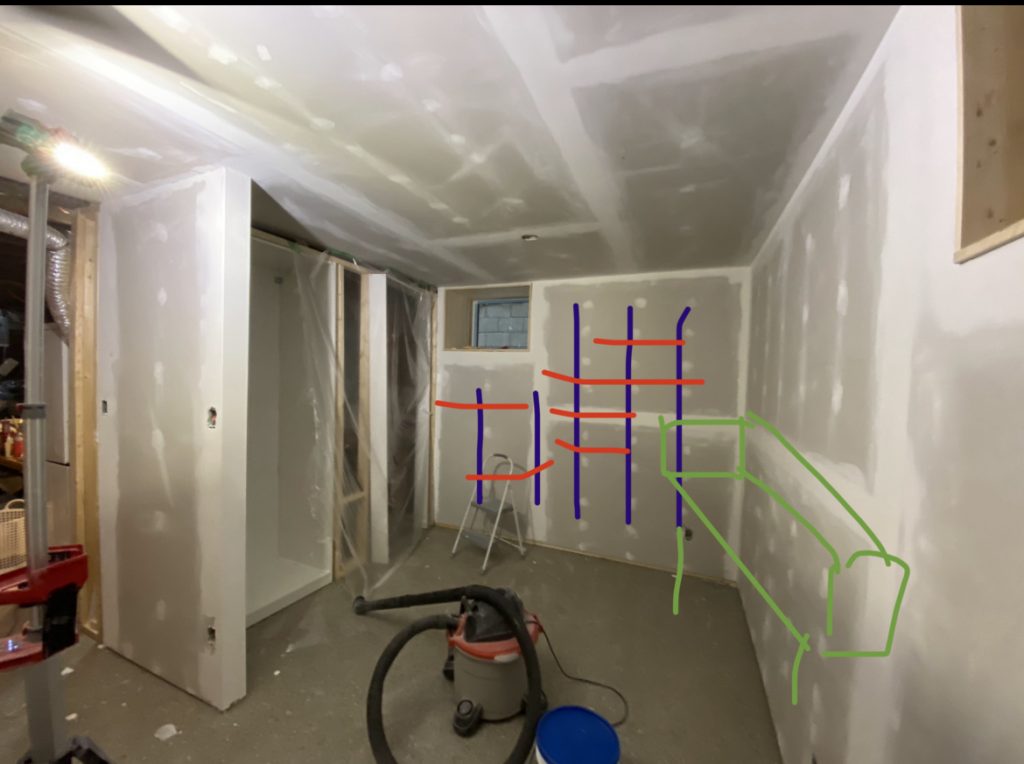
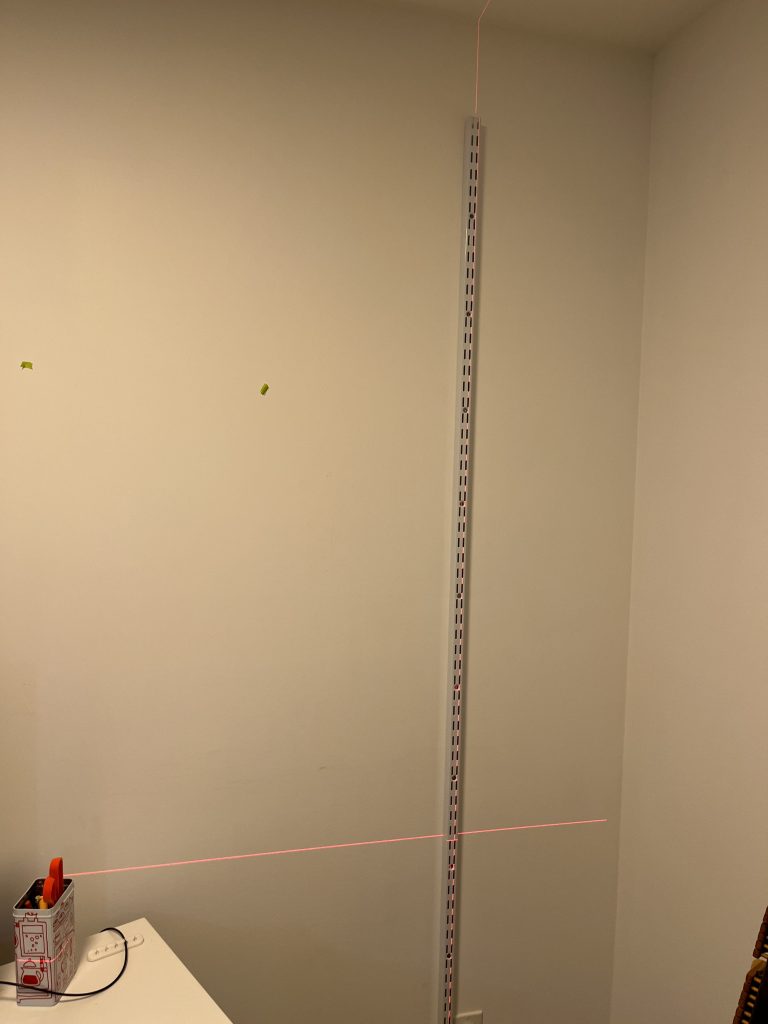
Once I sorted some of the details – particularly where the studs in the wall were and where the closet doors opened – I started installing the shelf supports. I was careful to make sure that all of the rails were installed at exactly the same height so that the shelves would be level once in place.
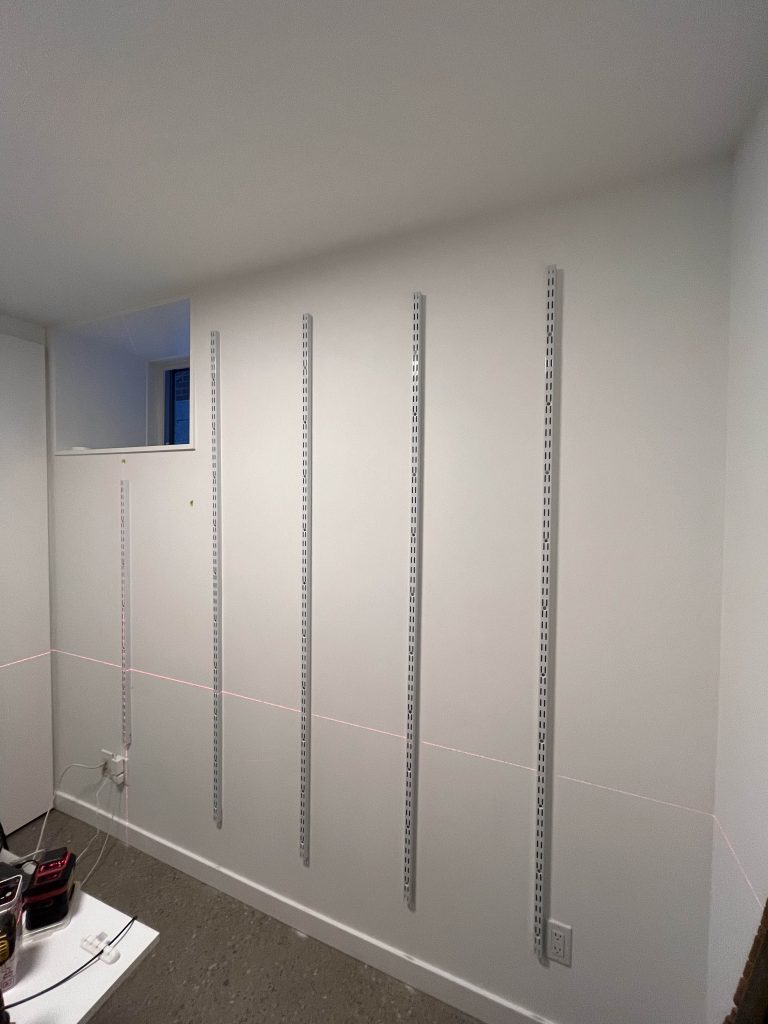
I then decided on the exact location of the shelves and the lengths of each shelf.
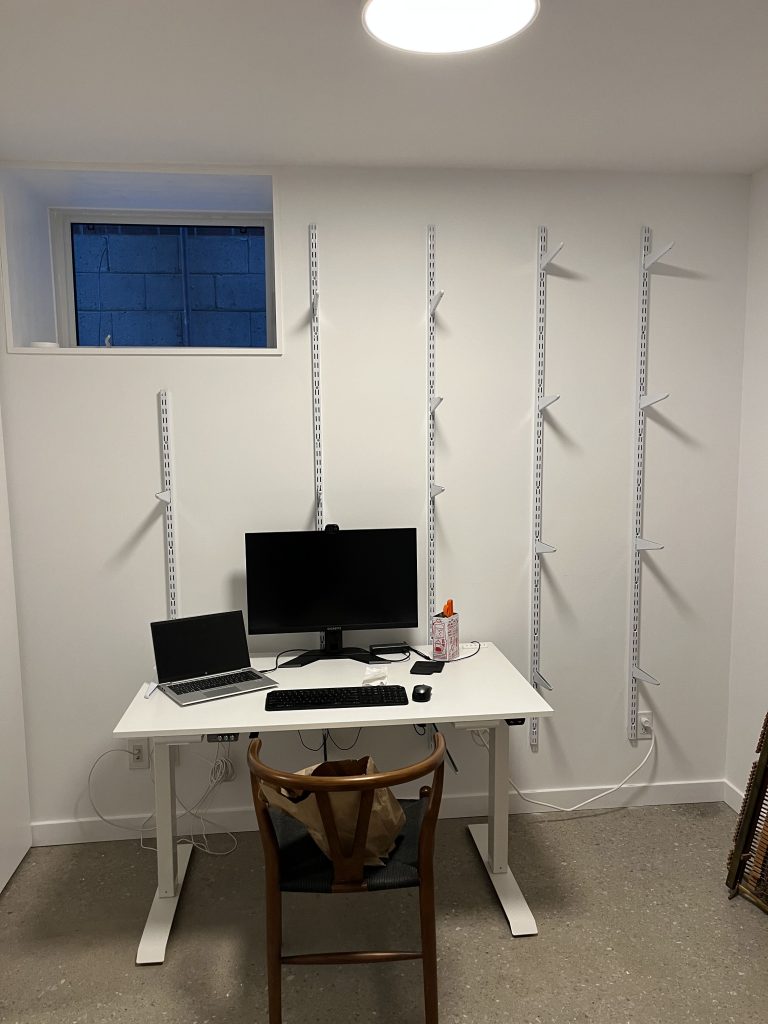
Once all the rails were in place, I then added the support pieces to map out exactly where my shelves would go so I could confirm the final dimensions for the shelf pieces.
One brilliant idea I had when buying my large veneered plywood pieces was to have the lumber place rip the plywood sheets to the depth I needed. They were then easy to transport into the car and I didn’t have to worry about getting help from Alex on the table saw. All I had to do was cut my pieces to length when I got home.
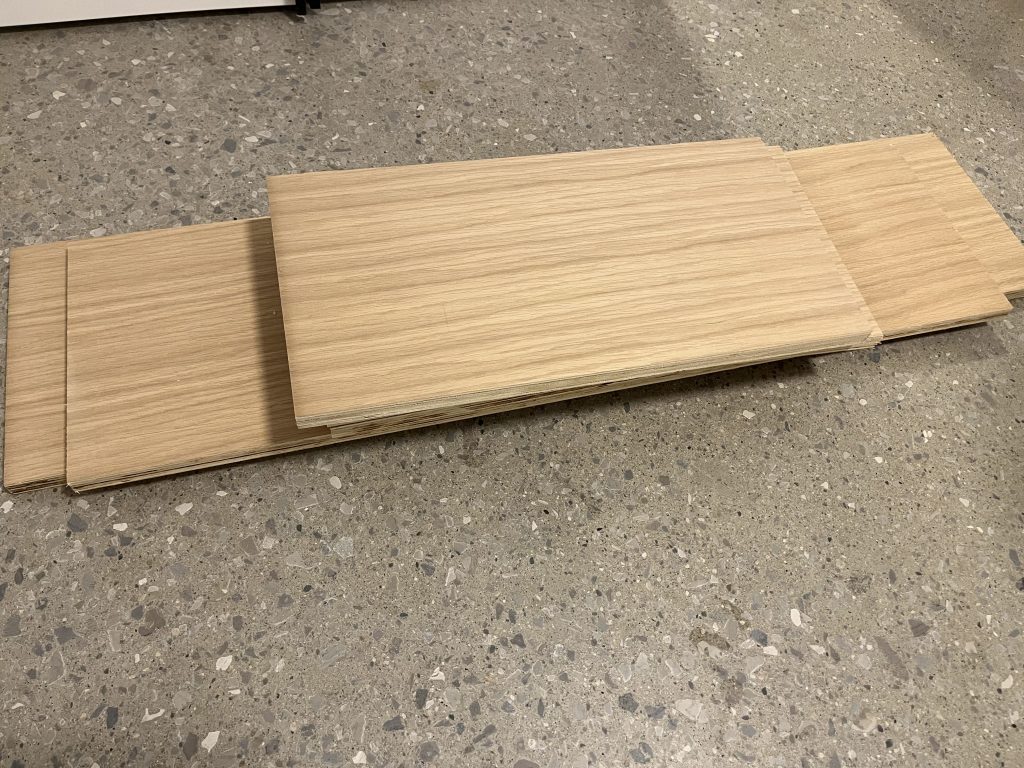
Once all the pieces were cut, I added veneer edging and applied a clear coat of varnish. It took a couple of days to varnish the pieces with all the drying time, but once they were done, I simply placed them on the shelf supports.
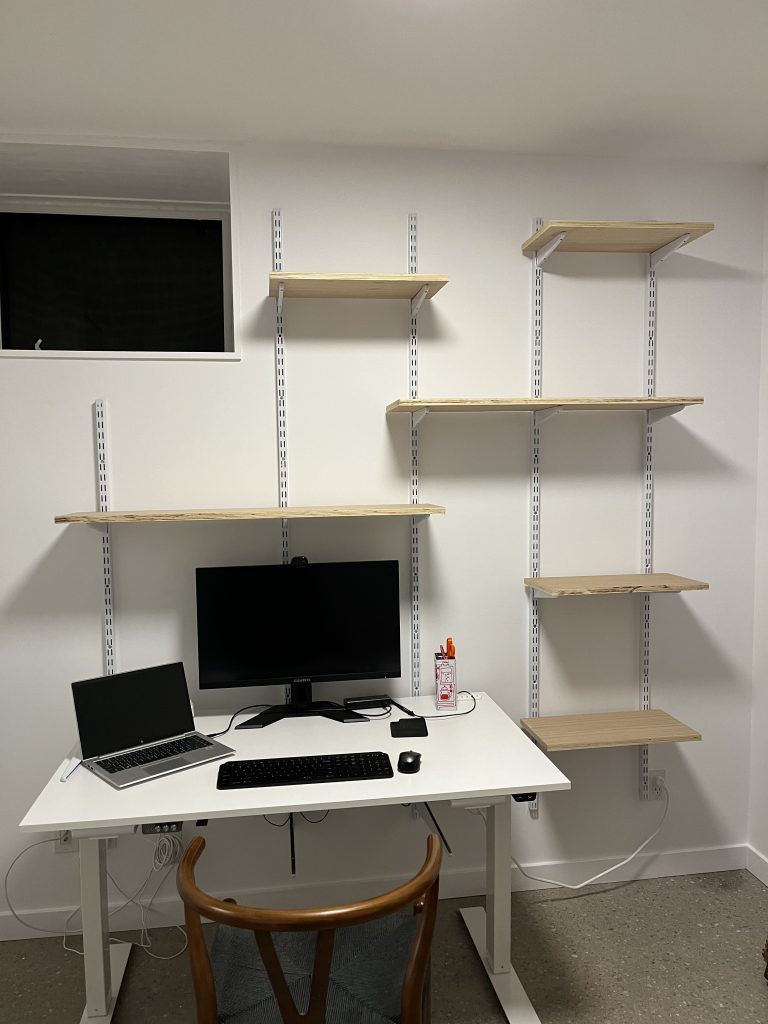
For the desk piece and some of the lower shelves that were at risk of getting bumped, I screwed the pieces to the supports so they wouldn’t move. But for all the other pieces, I simply used the weight of the items on the shelves to keep them in place.
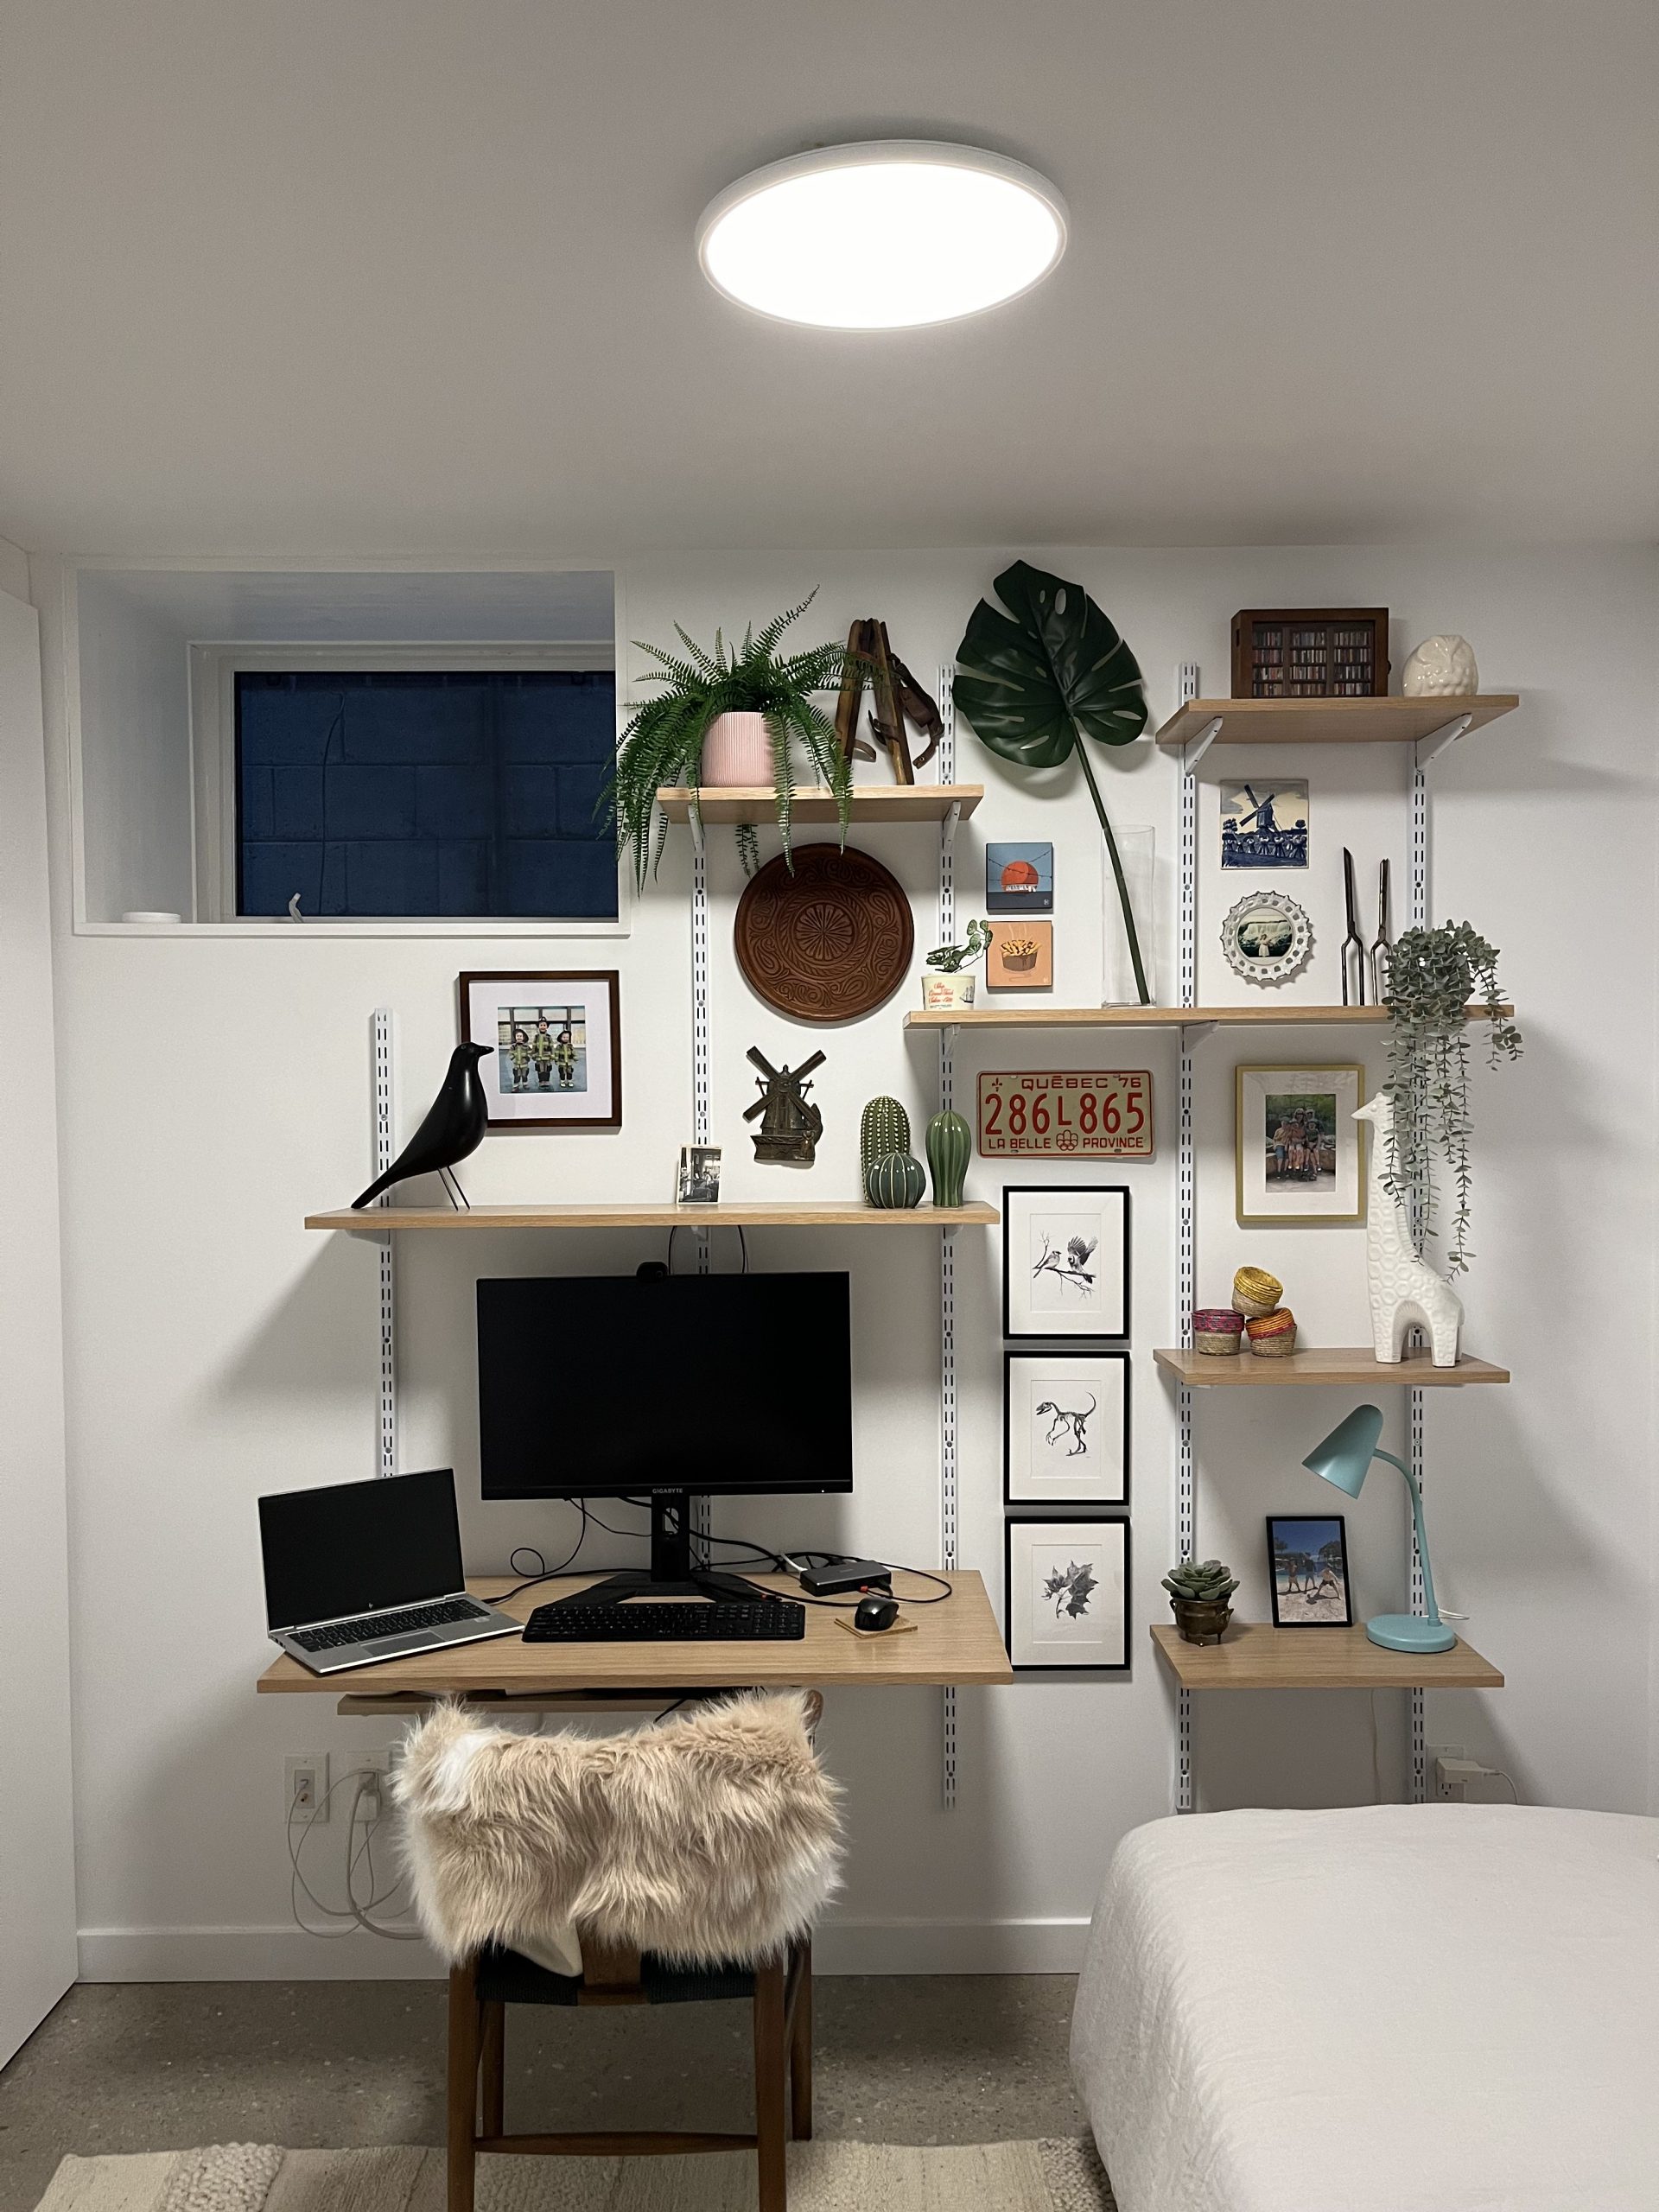
The most fun part of this project was styling the shelves. I had quite a few items in storage that I wanted to display and I filled any gaps with some random decorations/plants from Ikea.

When the shelves were in place, I also set up the spare bed that was in storage and added a comfy rug. My final touch was adding some art to the bed wall to fill the space. We don’t have many pictures of our family in our house, so it was nice to have a spot where we could stylishly display those.