
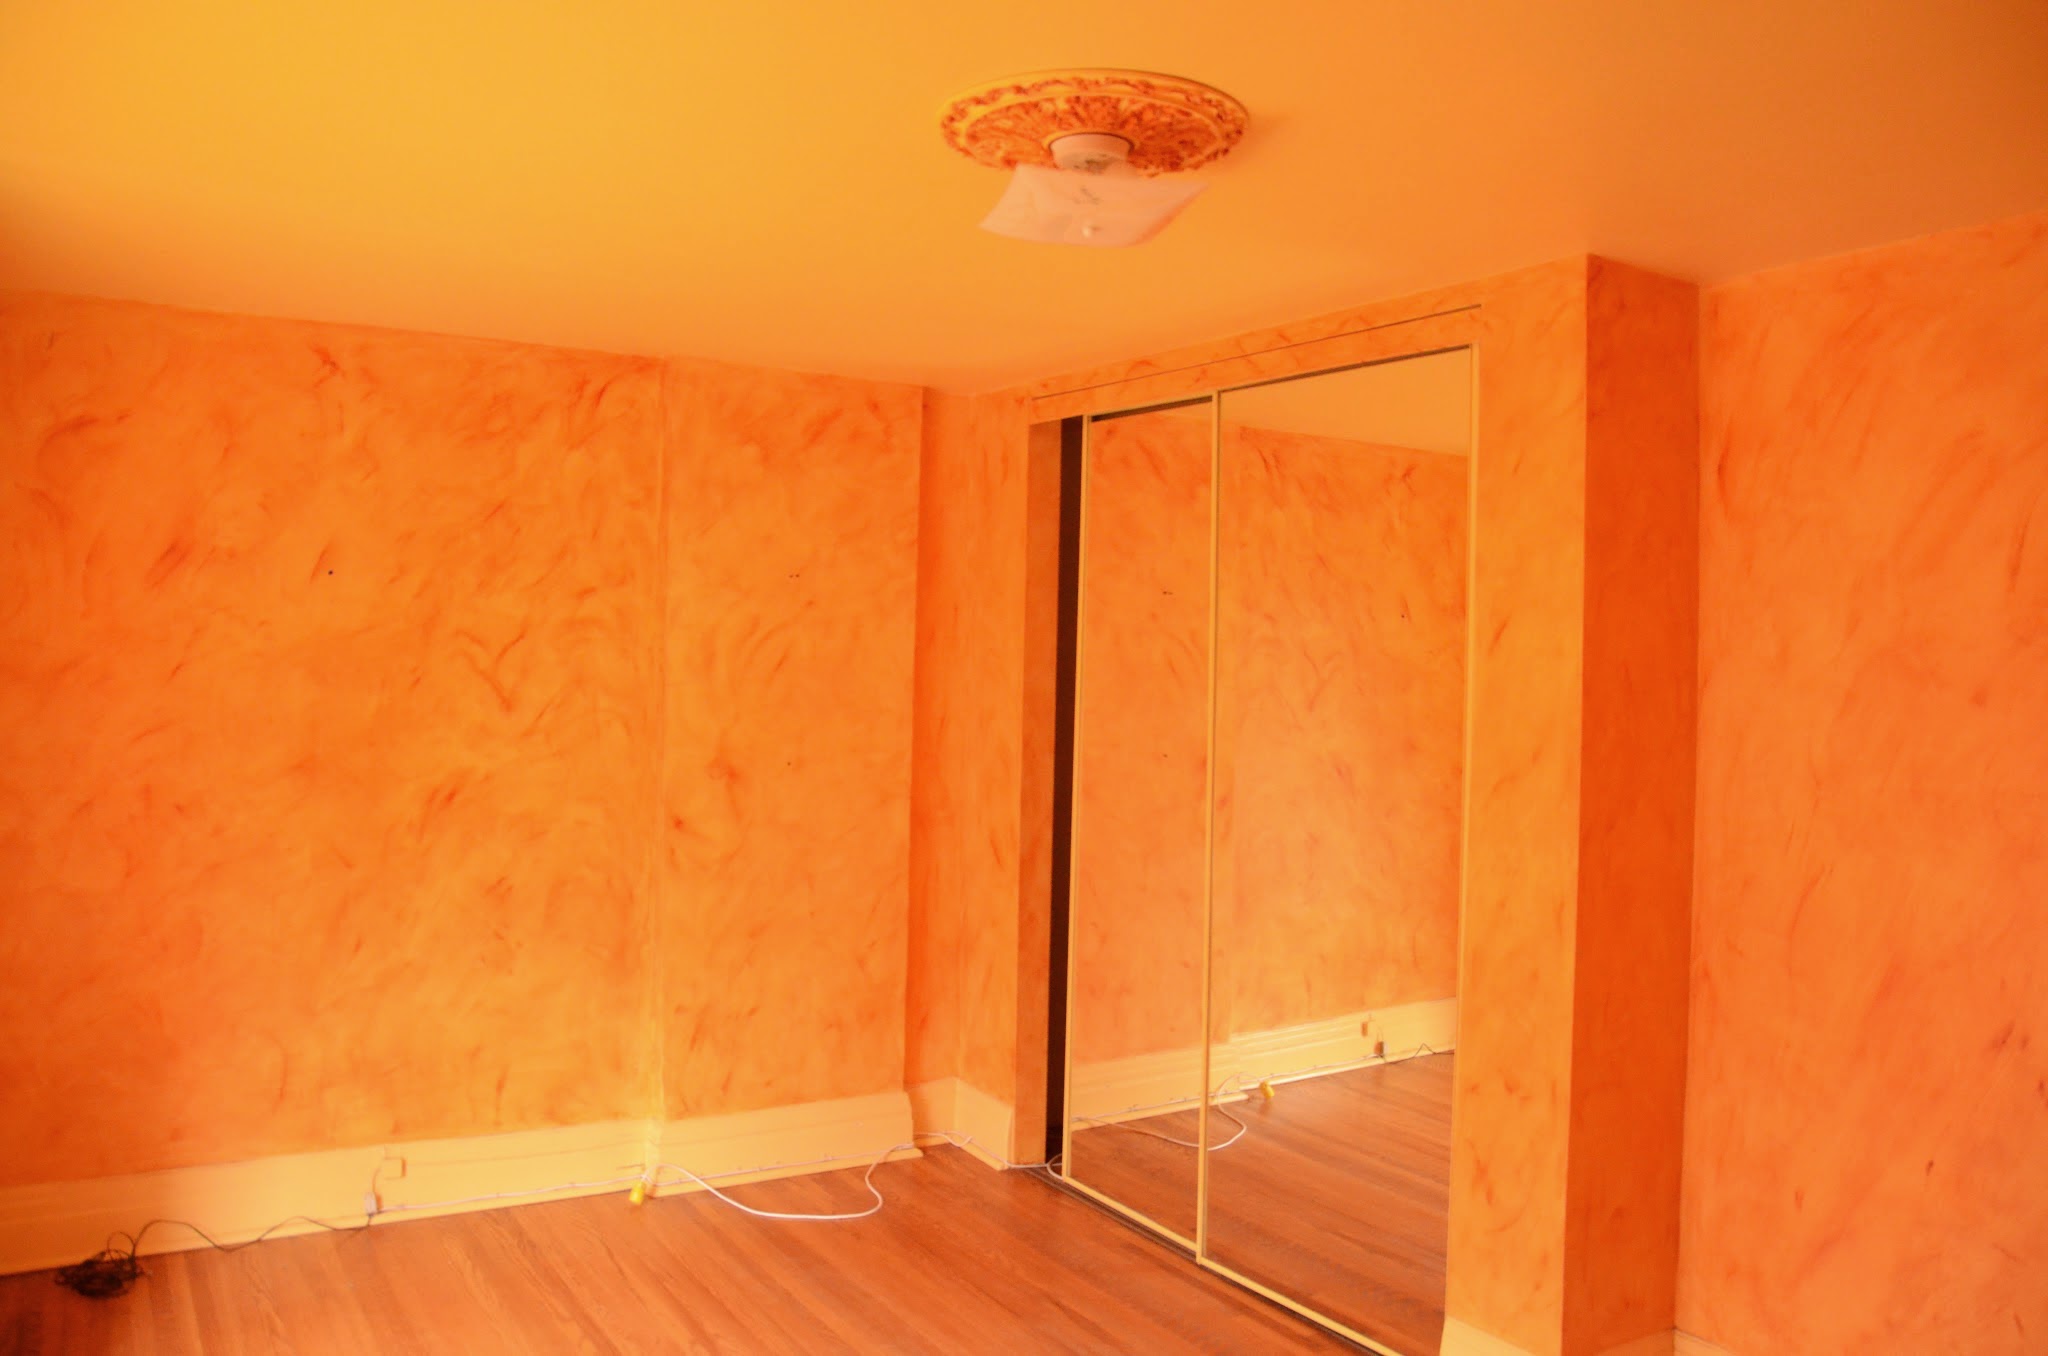
Once the washer and dryer were put back together, I started a new project: building a wall. Our bedroom is quite large, but has a slightly awkward layout: the doors, windows and closet only allow for the bed against one wall, and that wall has the chimney sticking out of it. It’s also in an awkward space, so really not ideal for good interior design.
I’ve never built a wall before, so naturally I went on YouTube to learn. After watching 6 or 7 videos, I was an expert.
The first step is to build the frame. Zach and I used 2x4s for the most part, except where the chimney jutted out. Once in place (and straight!) we nailed these to the floor. I died a little inside for each nail that went into our oak floors…
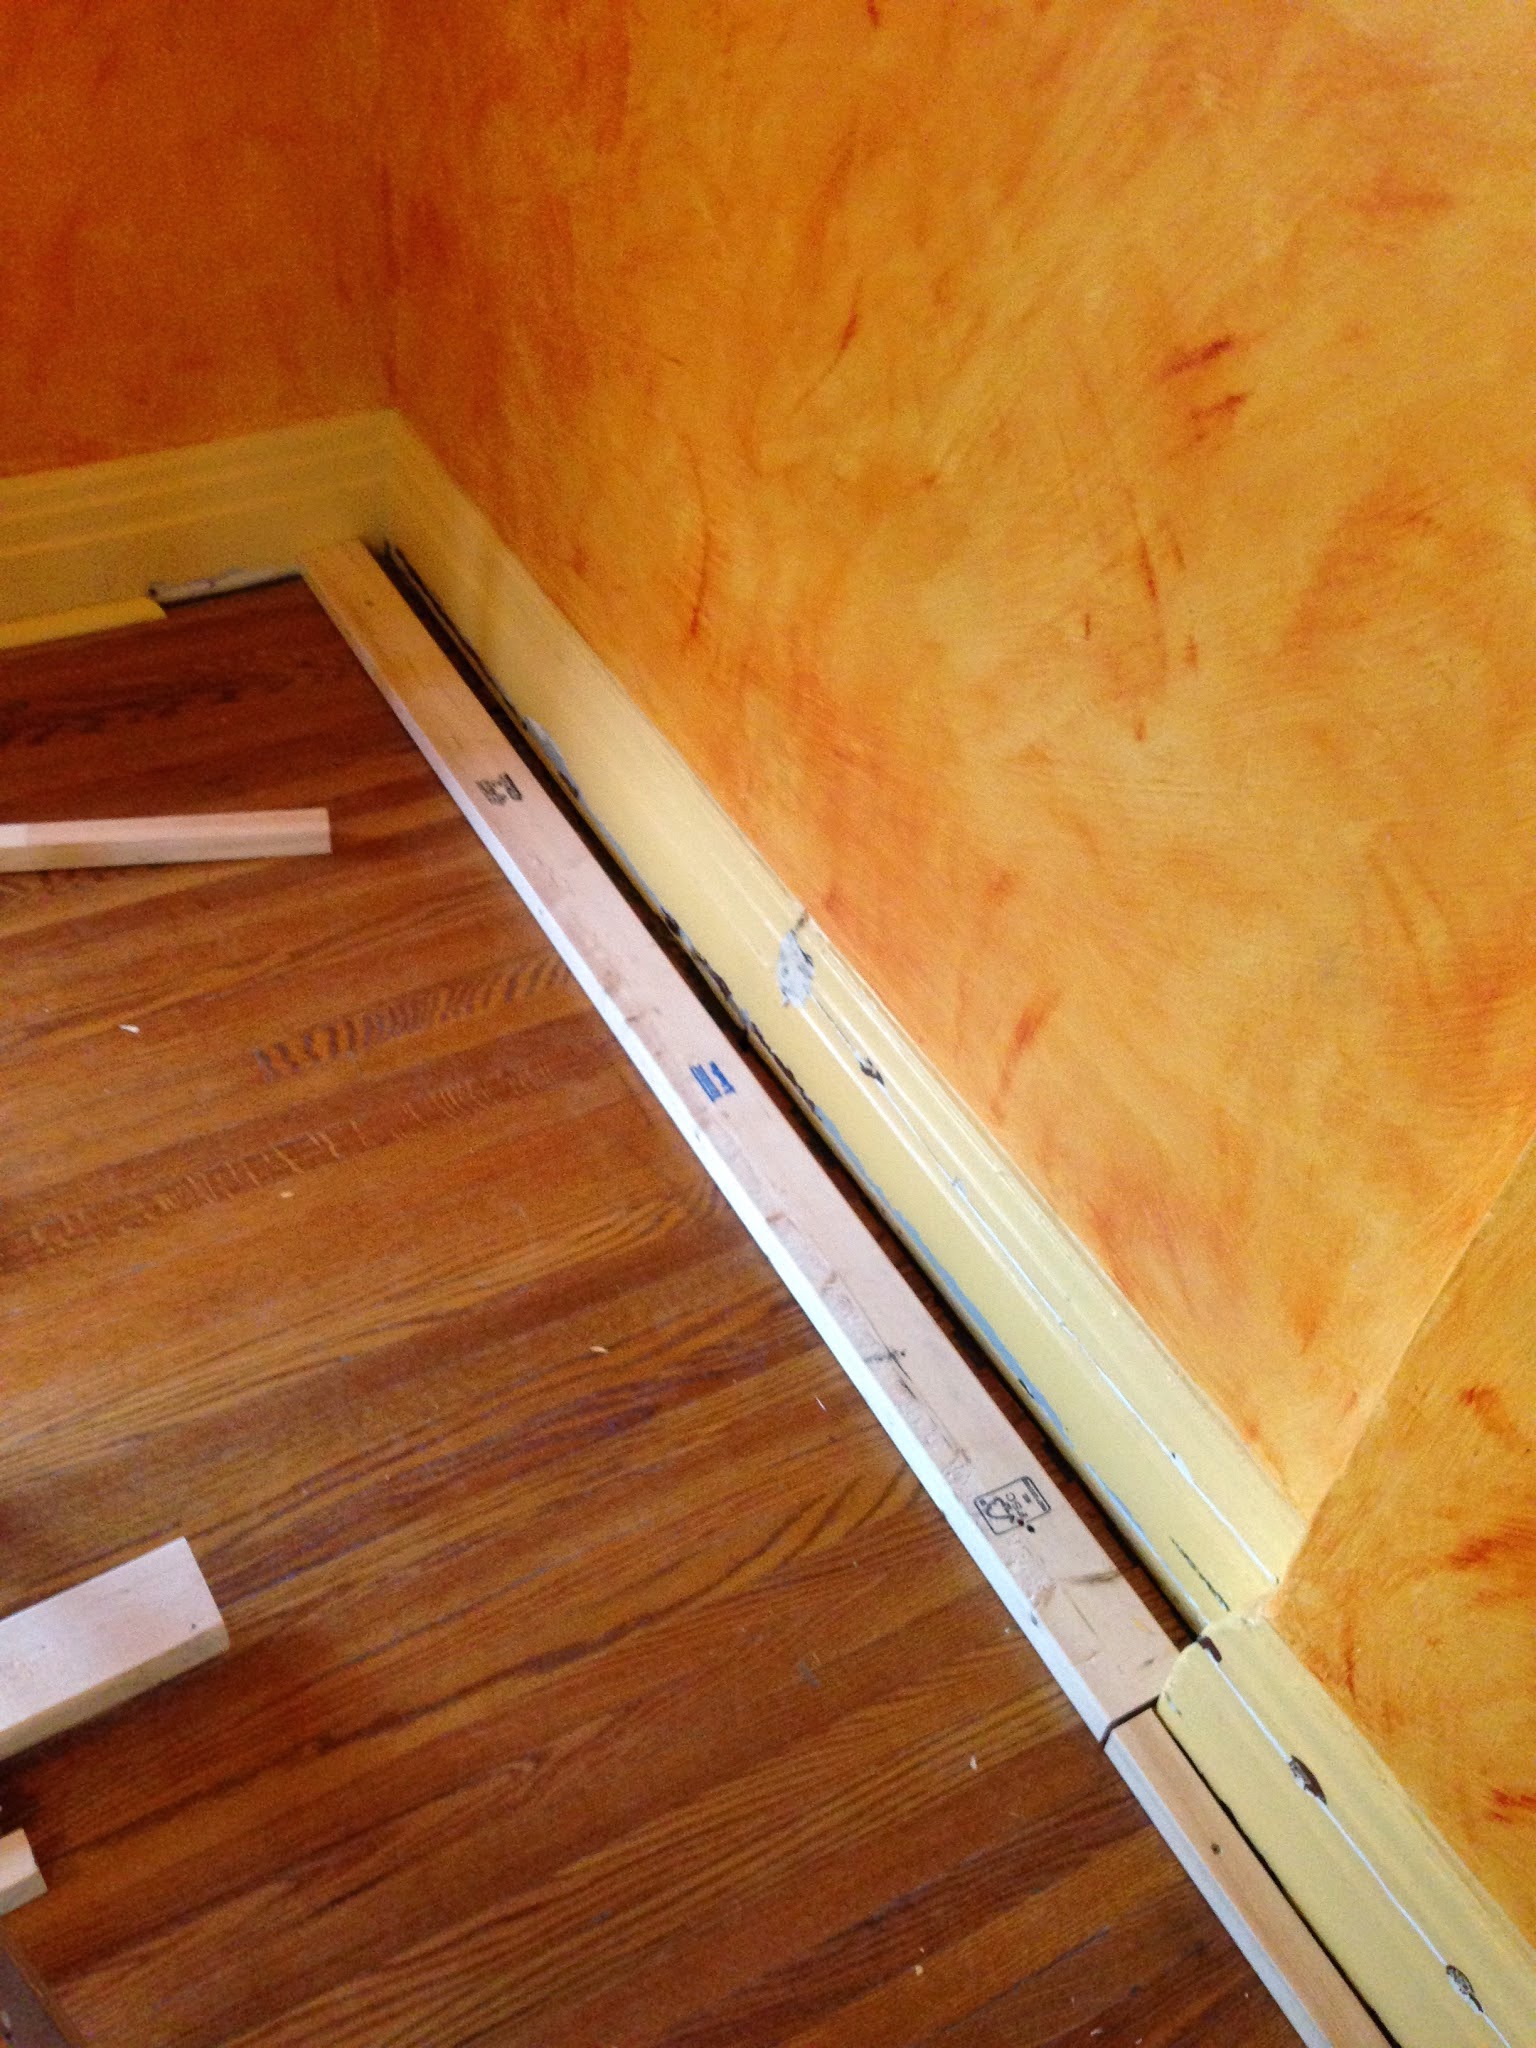
Once we had the floor finished, we needed the same deal on the ceiling. It was stressful trying to get the floor and ceiling to match up, but it worked!
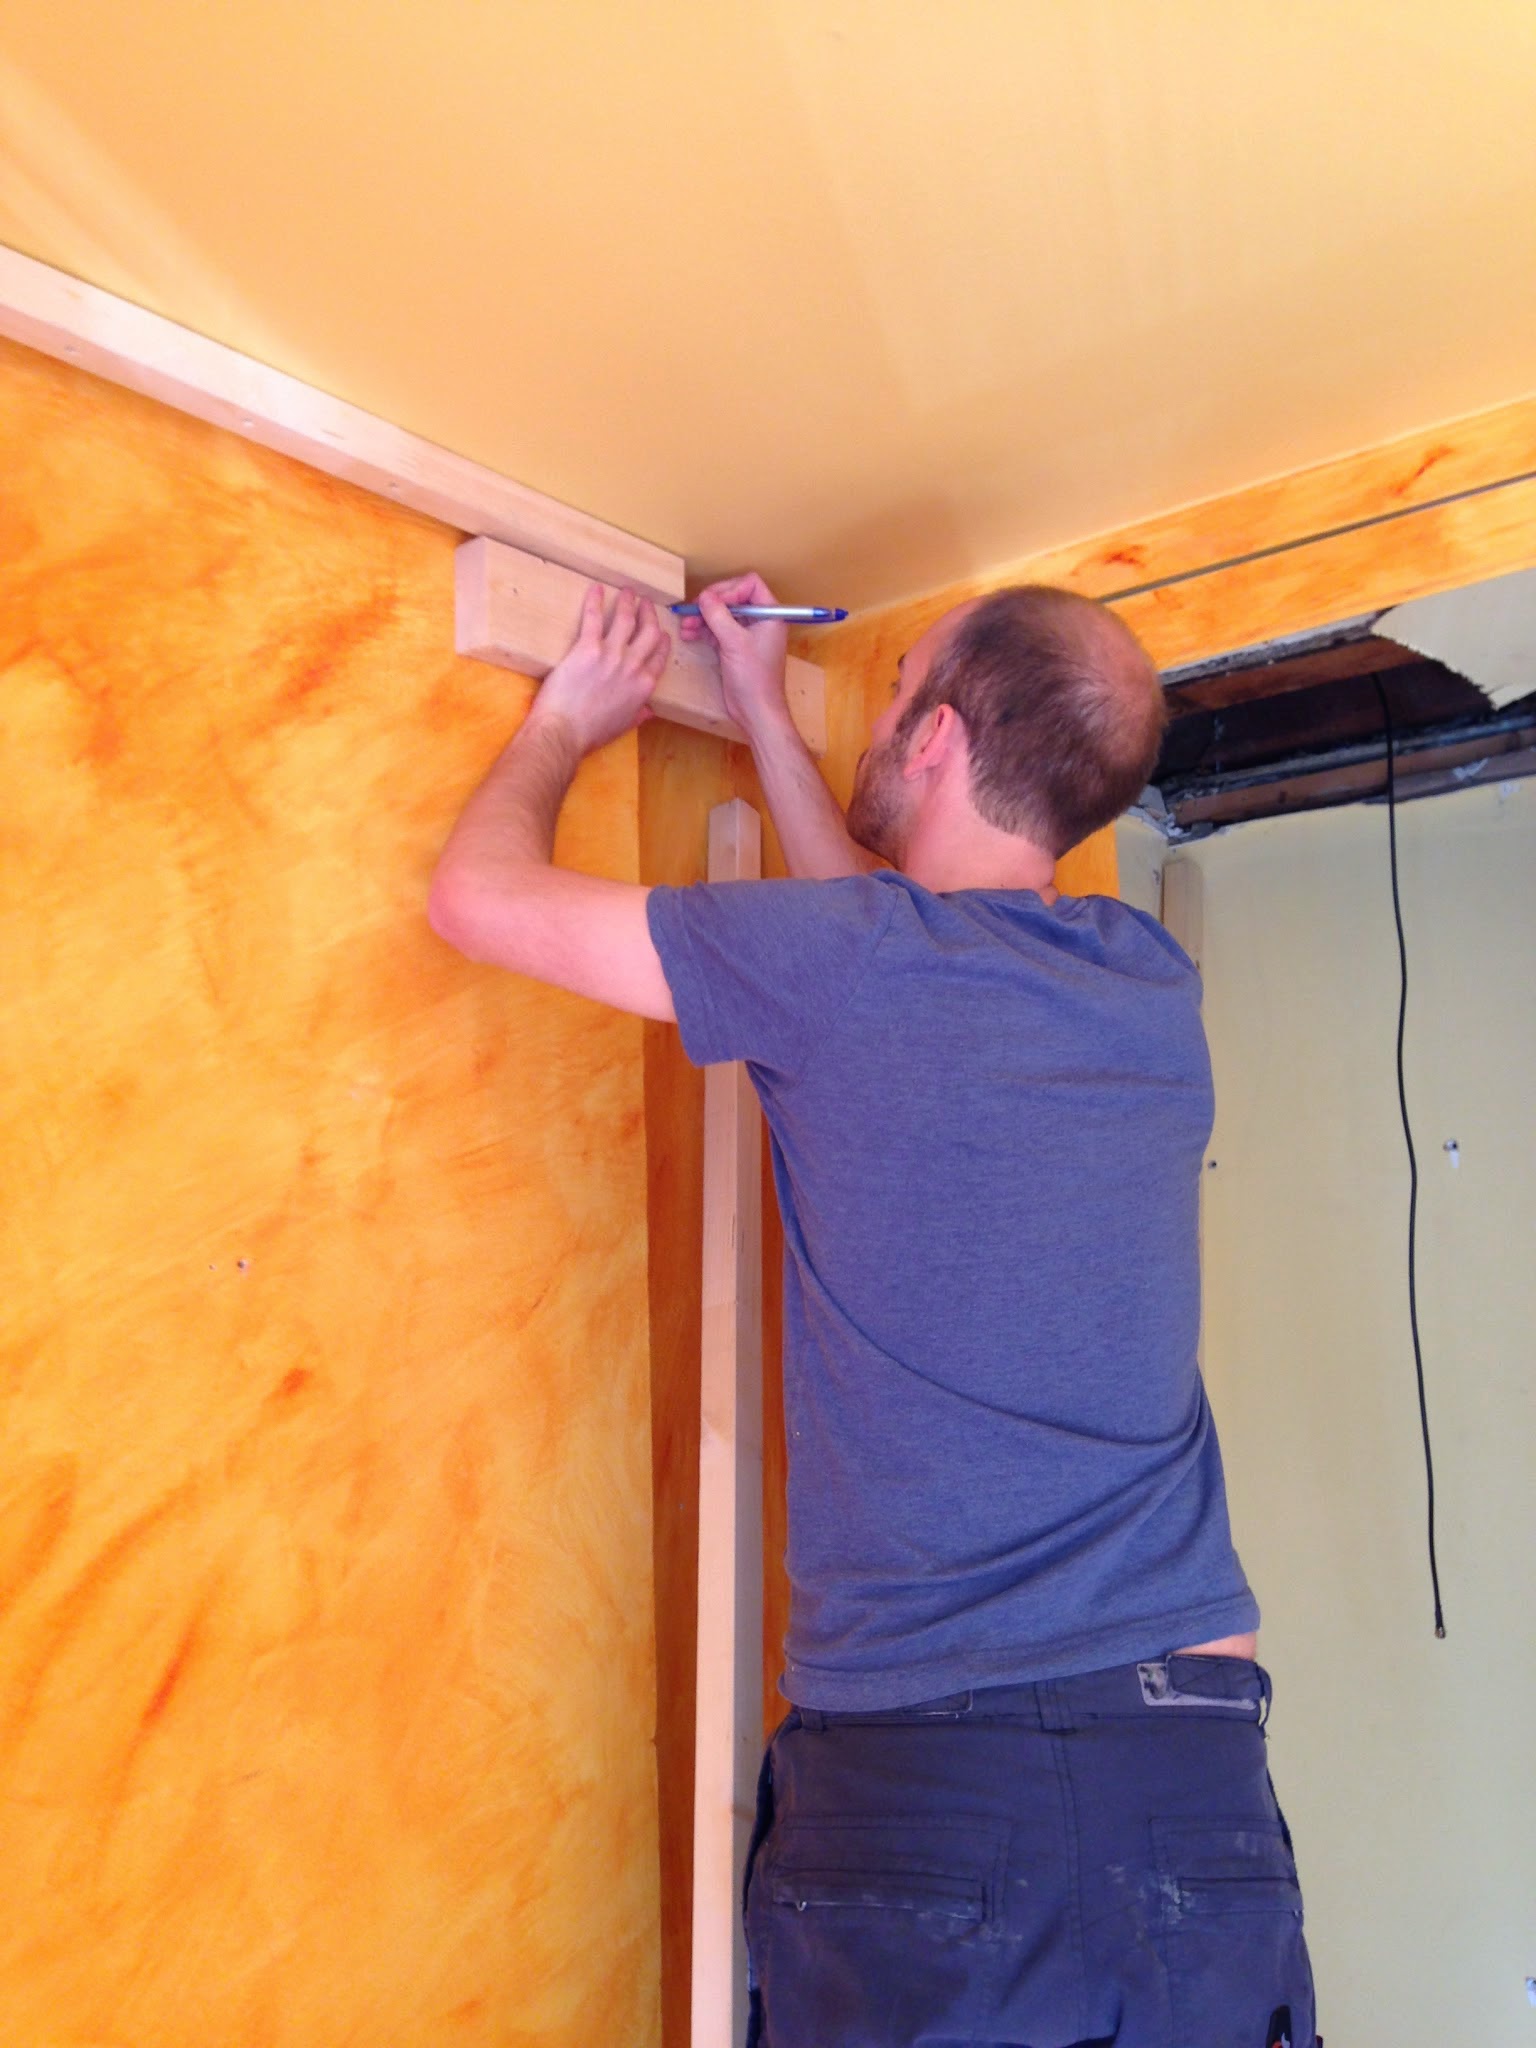
Our trick was to use the spare 2x4s and hold them vertically against both the floor and ceiling frame pieces. Once the vertical 2×4 was level, we marked the location of our ceiling piece and then screwed it in place. Perhaps not the most scientific, but whatever works…
Once the floor and ceiling pieces were in, we were well on our way. All we had to do next was put in our studs.

Not that kind of stud.
This kind of stud:

Our studs were 16″ apart, like any good studs should be. Ever wonder why some of the numbers of the measuring tape are red? It’s to easily mark 16″ distances.

You’ll note that our studs don’t go right up against the wall. This is because we left the original baseboards on the walls (because they would have split if removed), so we’ll put the drywall up starting in the centre and working our way out. But more on that later…
Here’s the finished frame!

Beautiful, eh? Especially with the beautiful orange/red paint mural behind it.
The frame is now ready for the electrical crew to wire our bedroom plugs. Not bad for an afternoon and a half, and about $36 in wood.
[…] drywalled before. It’s fine. I don’t mind the drywalling […]
[…] My first thought was to just build a wall on top of it, so we did that (more on the process here). […]