We’re getting there. It’s not pretty, but we’re getting there…
We’ve been working for about a week straight, and we’re getting cranky about it. We let dad take Friday night off and used the time to get our next set of electrical supplies.
We went to Rona first and saw that they were having a sale on Saturday morning. They were offering 15% back on gift cards if you shopped before noon. Since we’re up at 6:30 every morning stressed about the day’s events, this wouldn’t be a problem for us.
And it wasn’t. Saturday morning we returned to Rona with our list of items and our comparable prices for price-matching (they’ll give you the lowest cost you find). After spending about $600 on breakers, smoke detectors, and other random electrical things, we walked out with a pretty nice gift card amount that we can use on future electrical things.
Alex and Dad got to work on their stuff, and Zach and I went back to work on our project: The Wall.
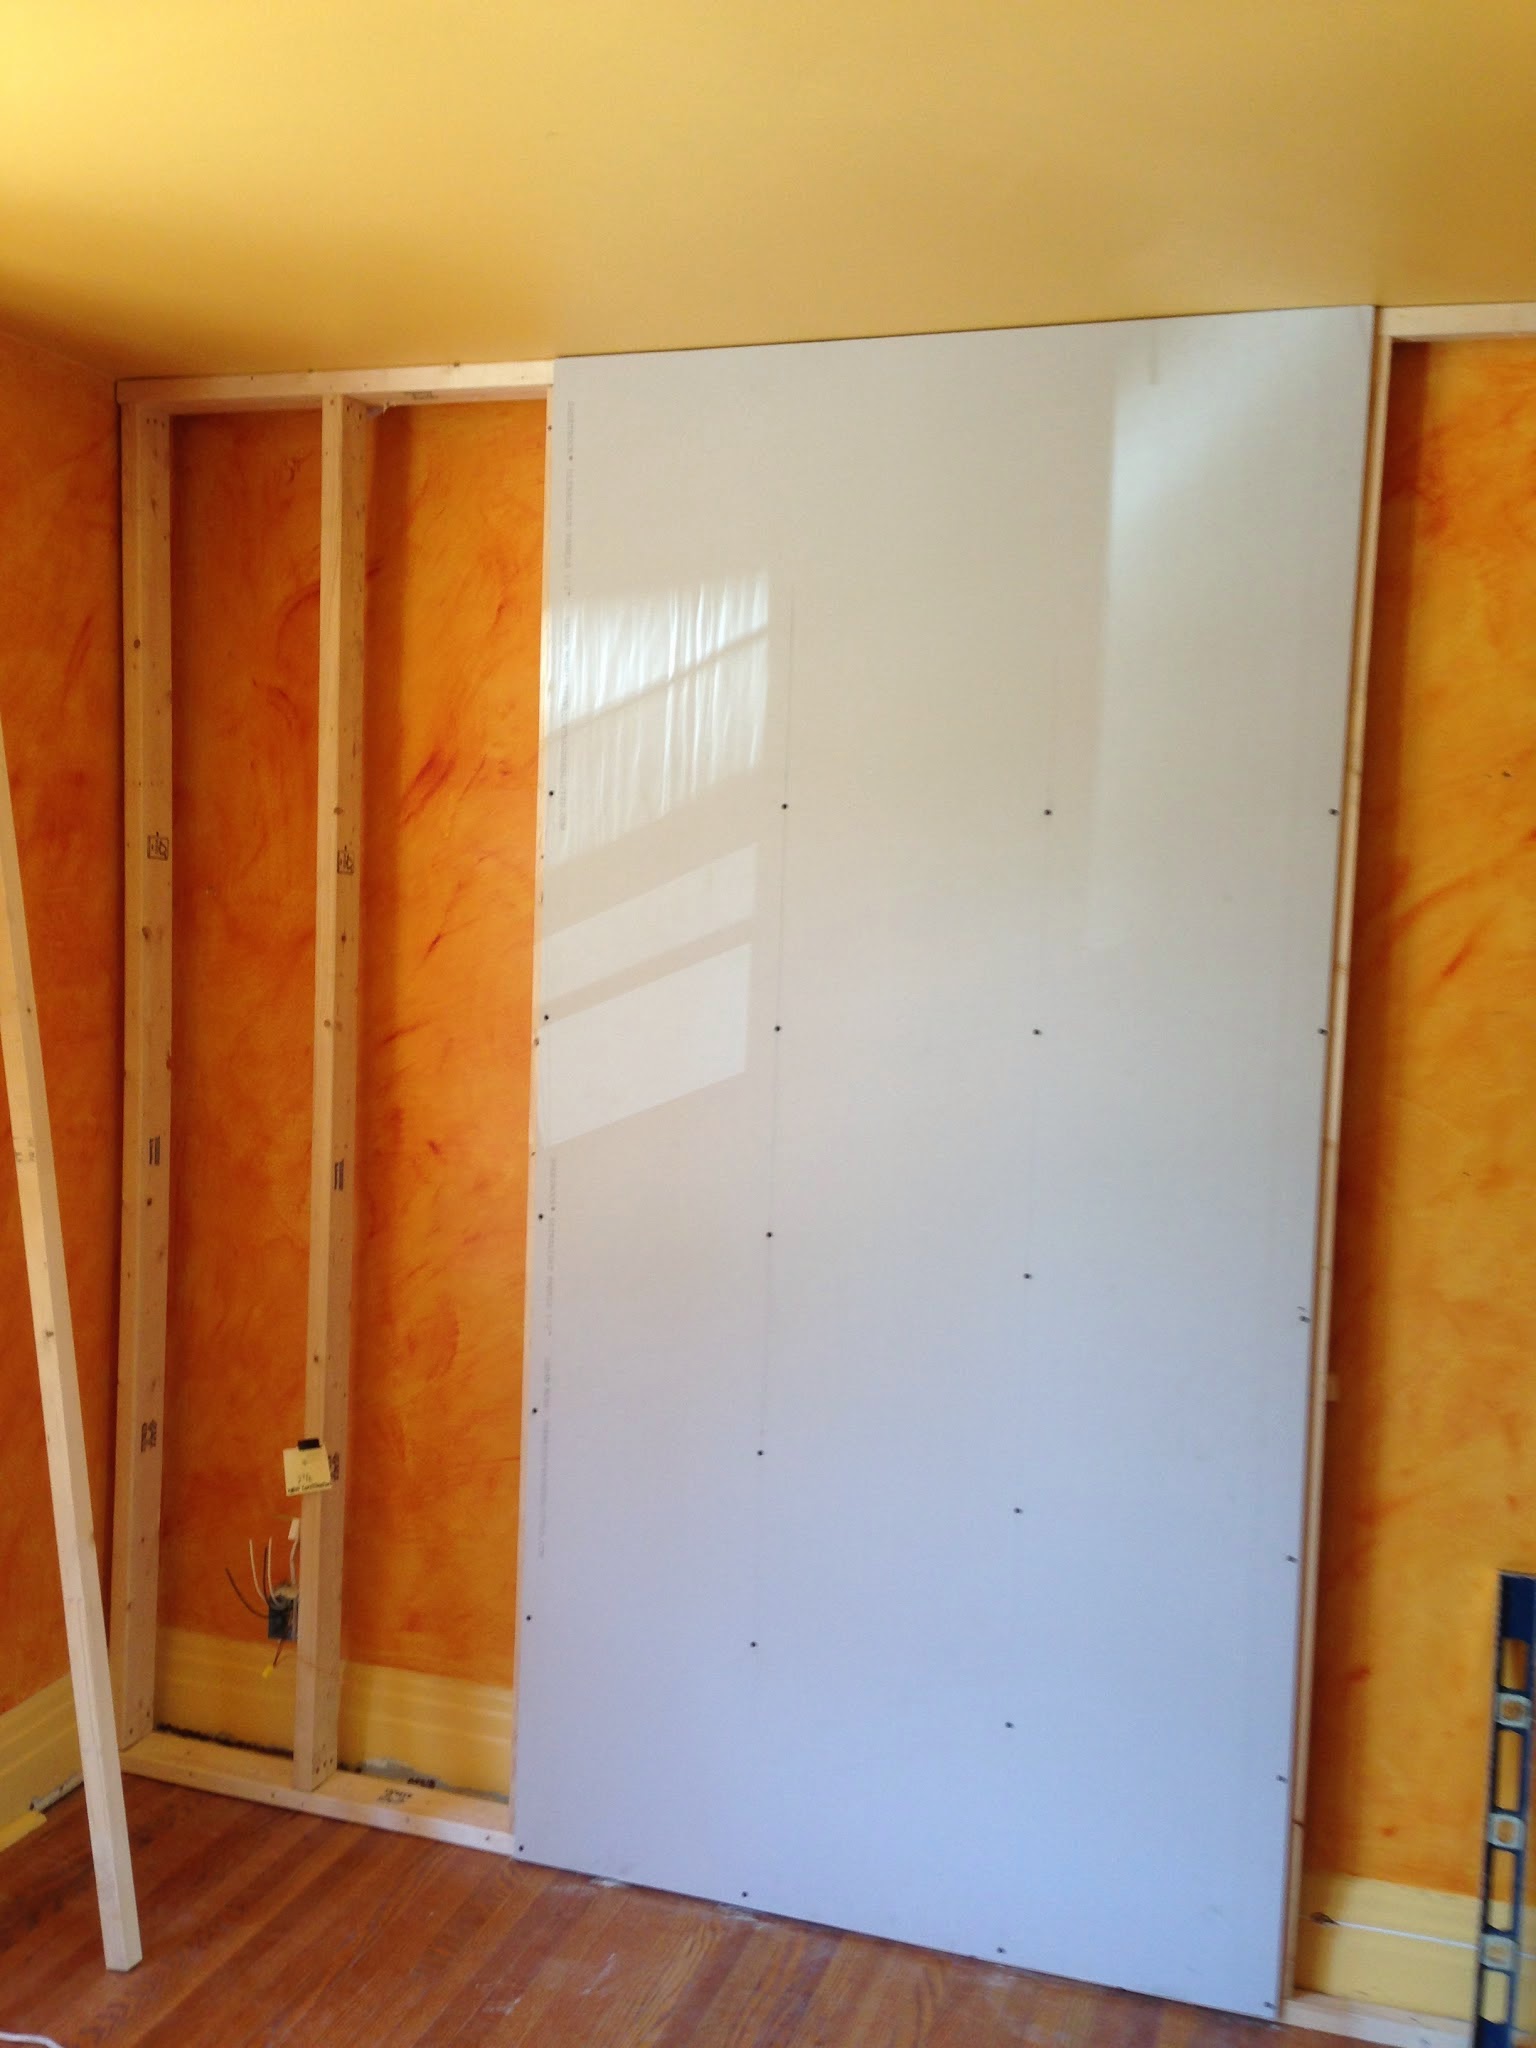
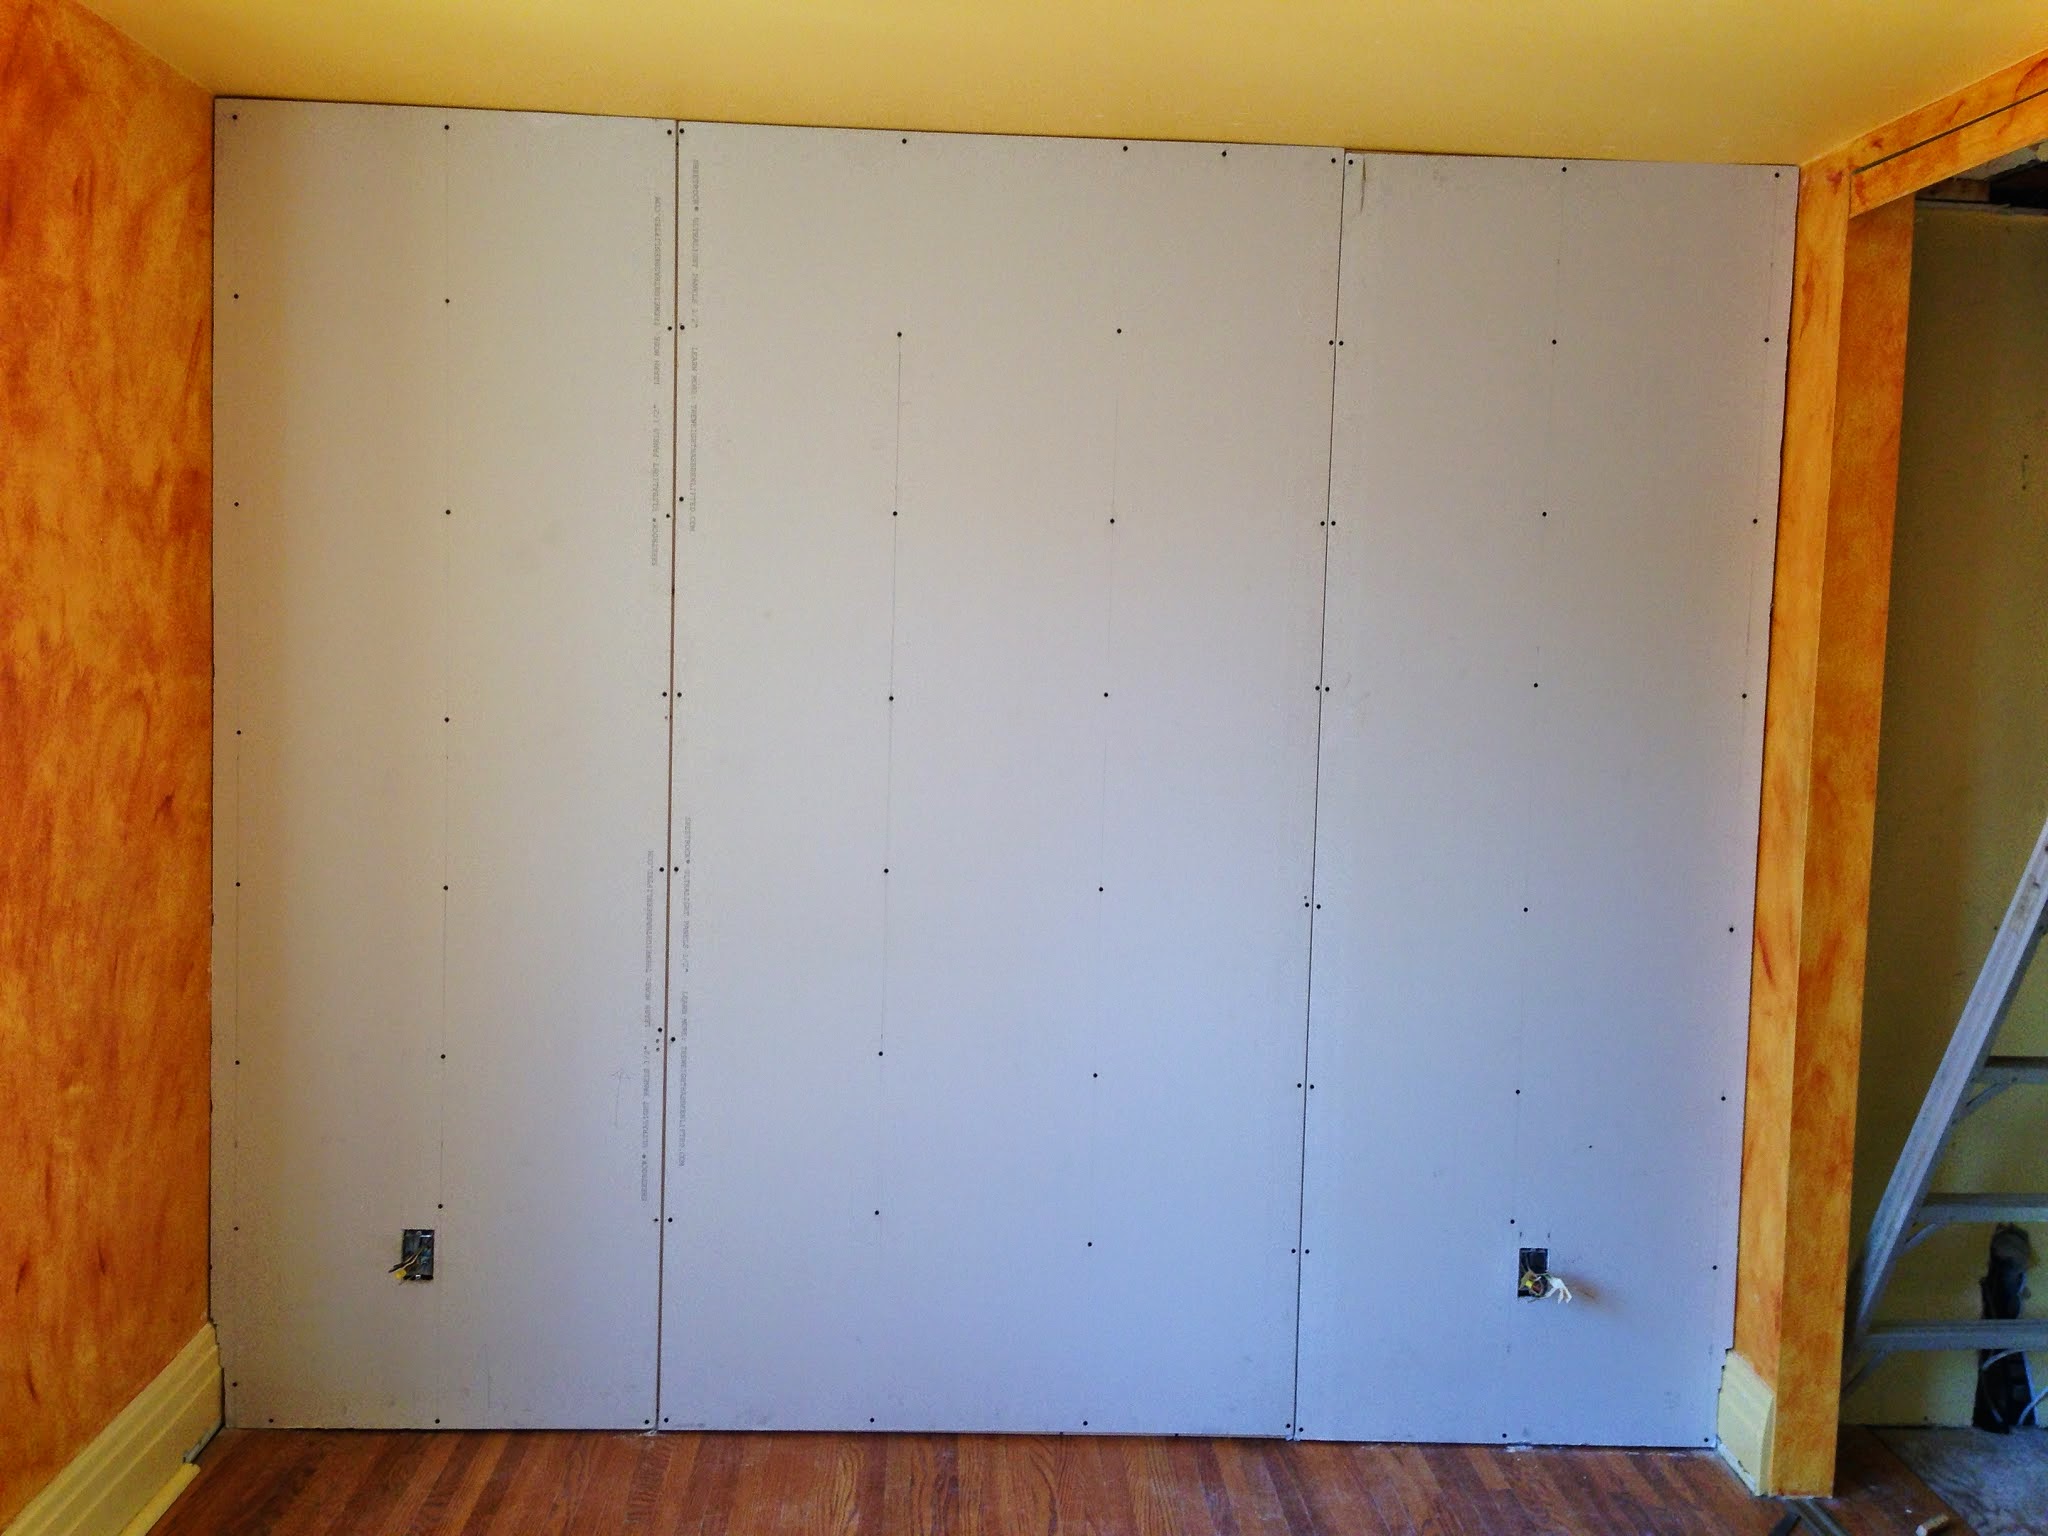
The first piece of drywall was easy. It was the perfect height and width and we just had to screw it in. Easy-peasy.
The next steps were not so easy.
Because the left and right gaps were smaller than the drywall slabs, we had to cut the drywall. Generally this isn’t difficult. You score one side of the drywall (paper-side) with a utility knife and then break it in half. Unfortunately our measurements were a bit off (ok, my measurements), so we had to cut it again. And again. And again. We just couldn’t get it right.
Once we had the right width, we then had another challenge. We had to cut out space for the baseboards:
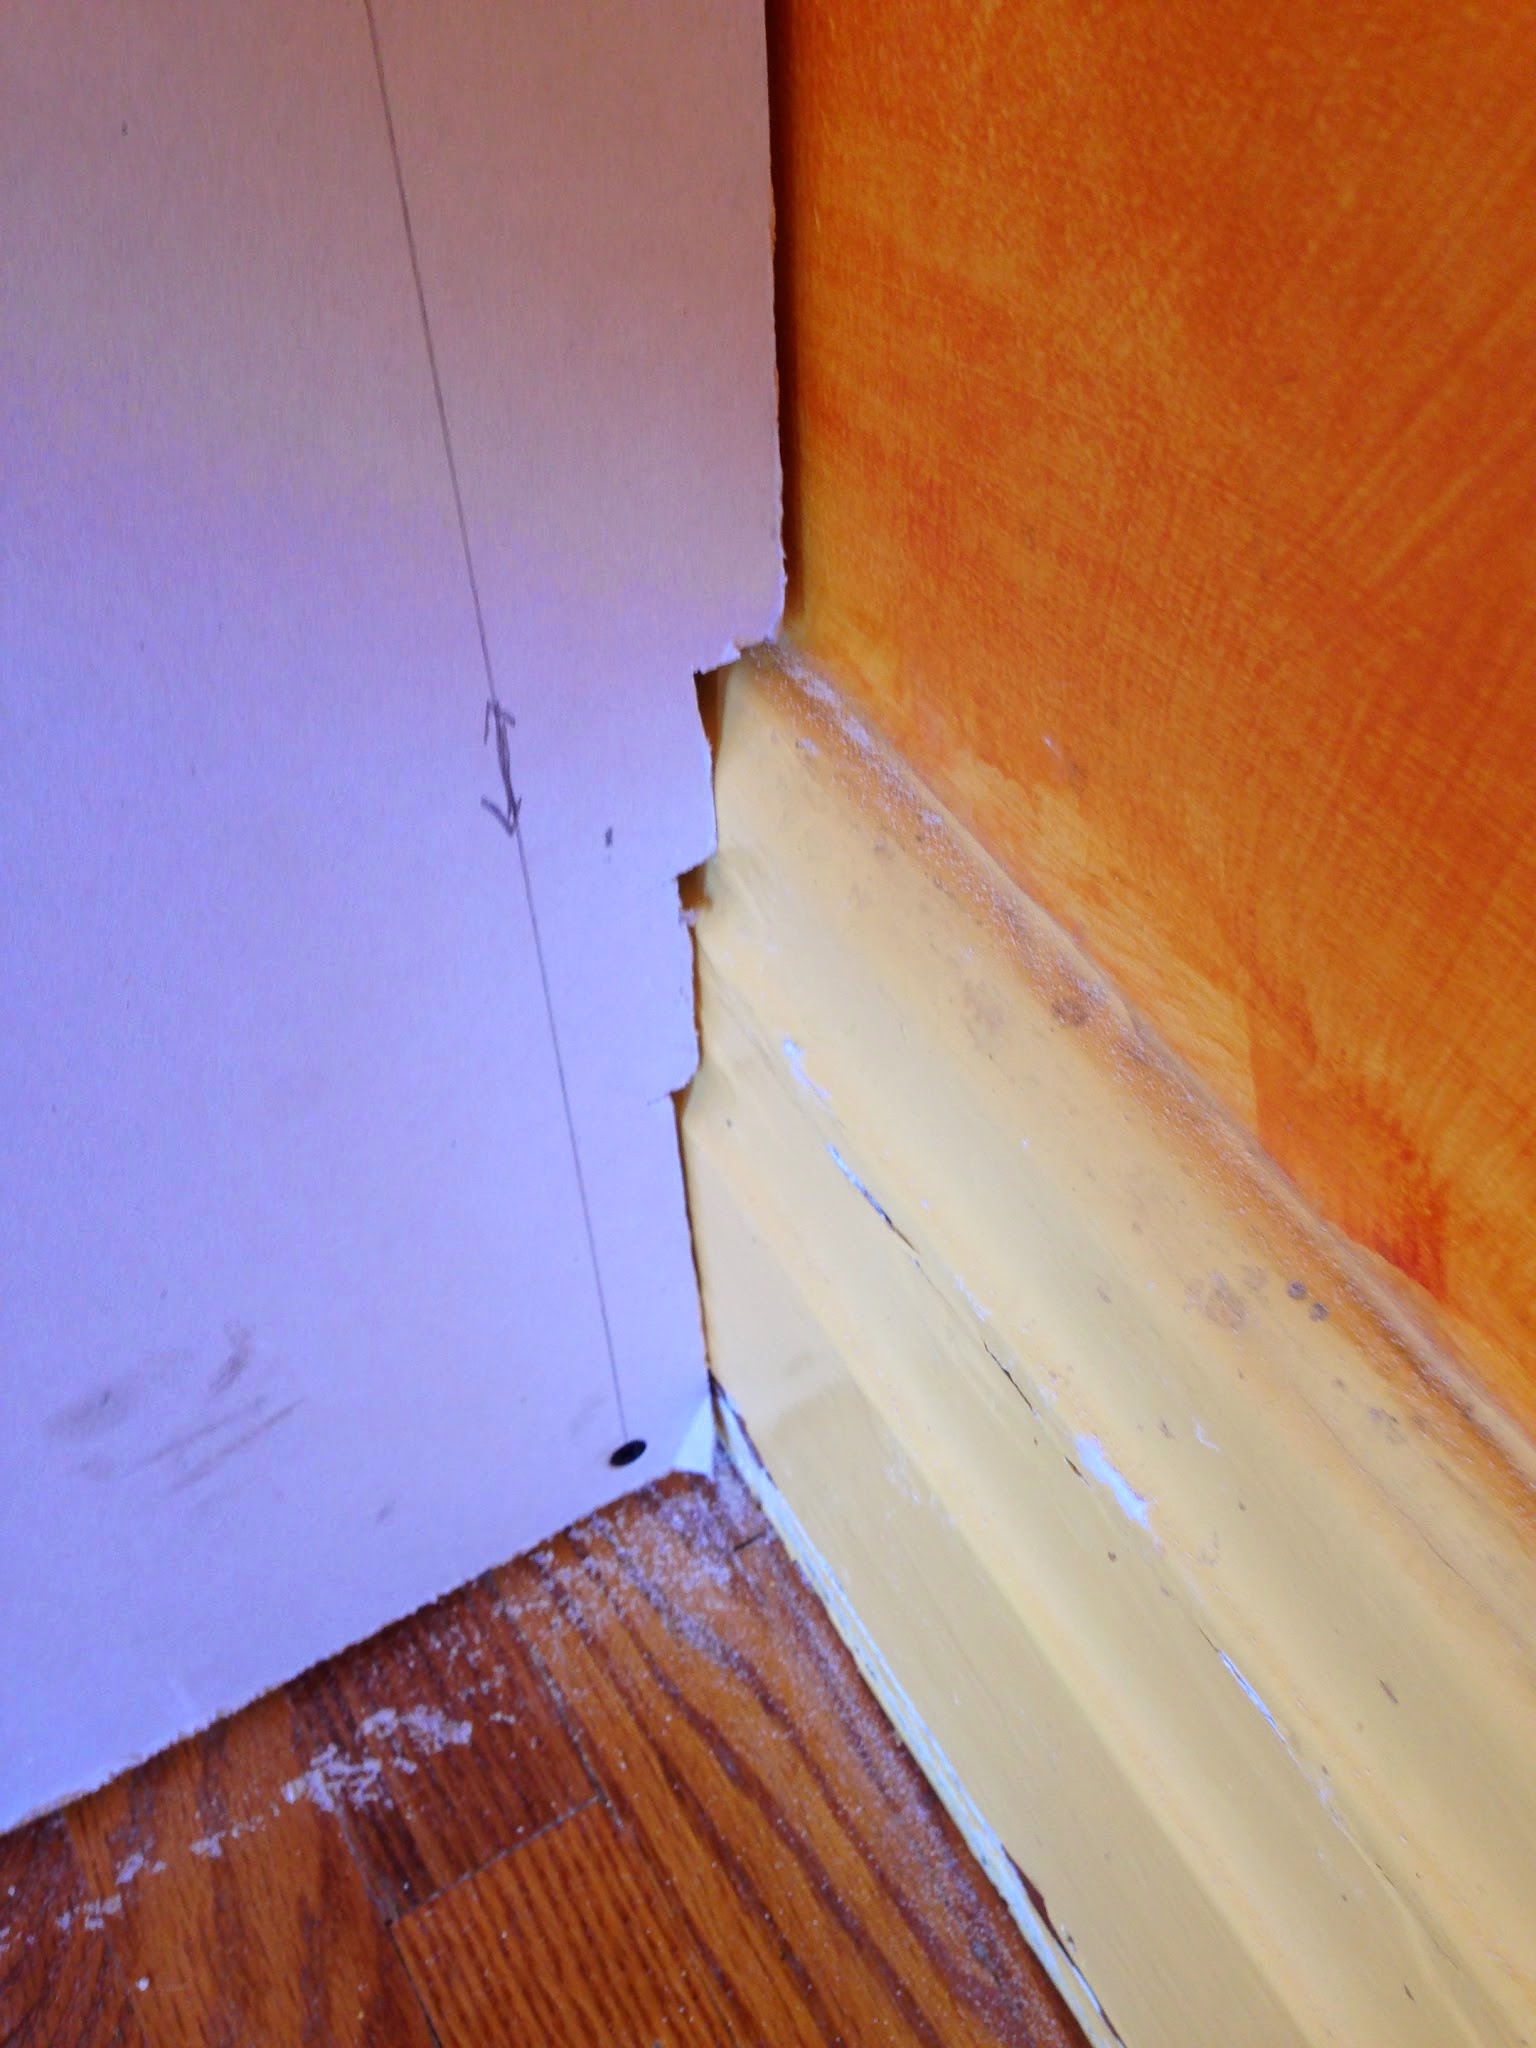
This wasn’t easy and it took us a few tries to get it right.
Then we had to cut out the space for our electrical plugs. Because we had so many issues with measuring and cutting the baseboard juts, we were really stressed about cutting holes for the electrical plugs. Fortunately our measuring just magically worked and we ended up with the perfect sized holes!

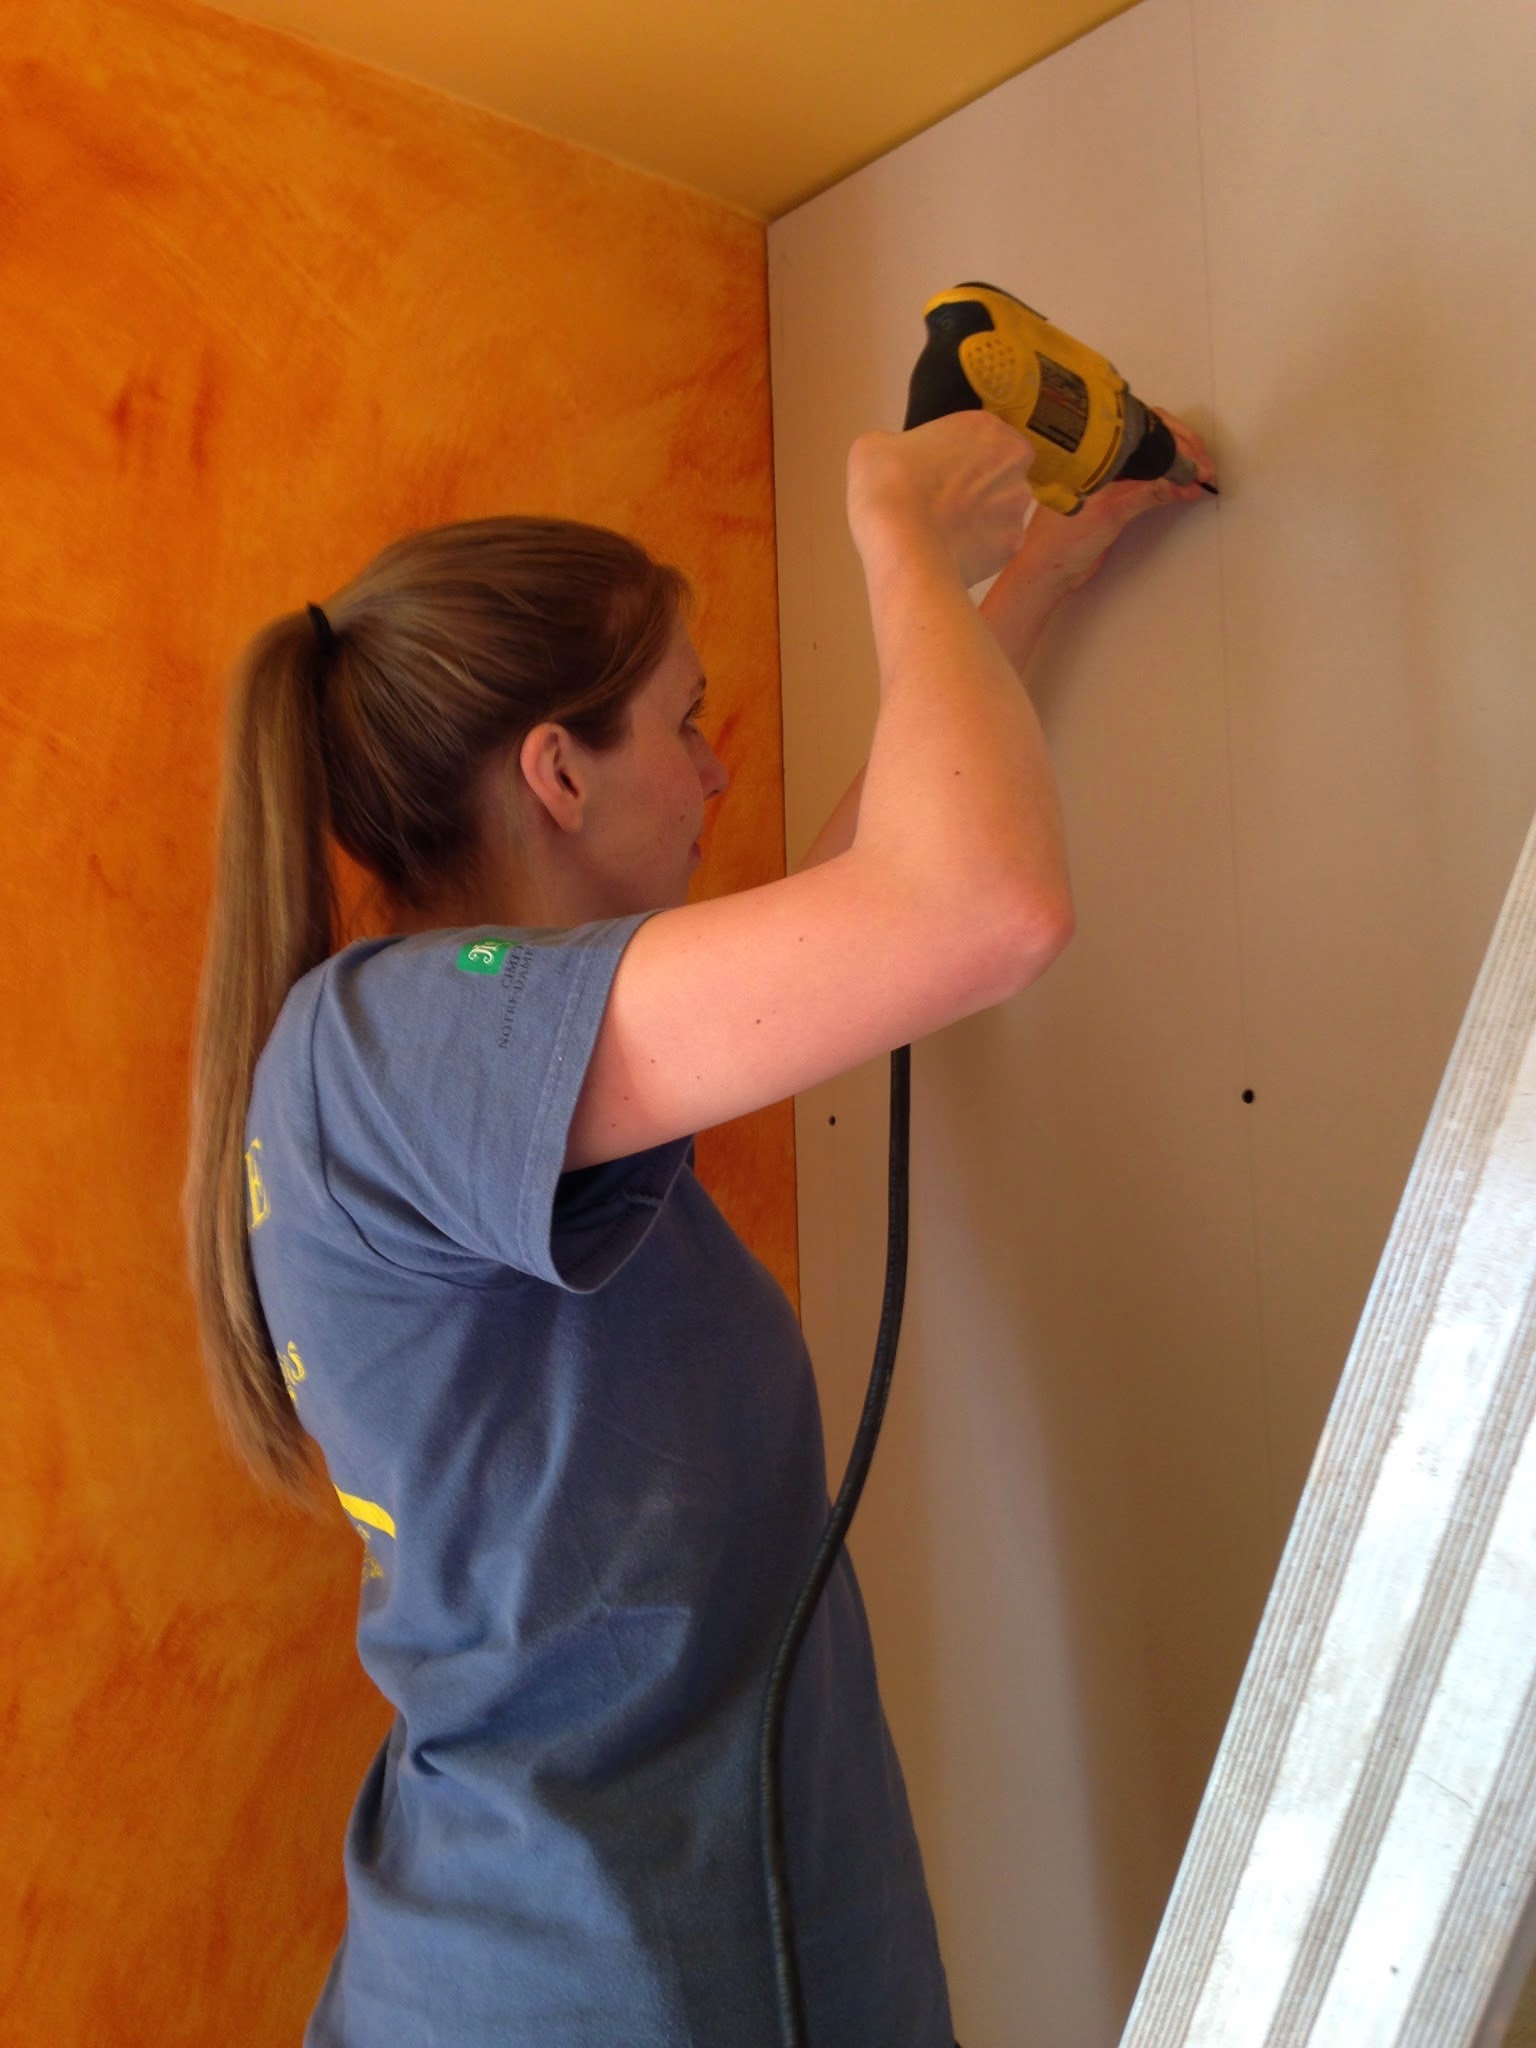
Screwing it into place also wasn’t easy. Because it fit right between the existing wall and the other drywall piece, we had very little room to work, and managing to keep a consistent space along the bottom was a challenge.
It wasn’t fun, and we had to do it twice.
When we were done, we had what looked a lot like a wall. Not too bad, eh? My picture is crooked, but my wall is not! The total cost was about $75, not including drywall screws and tools.
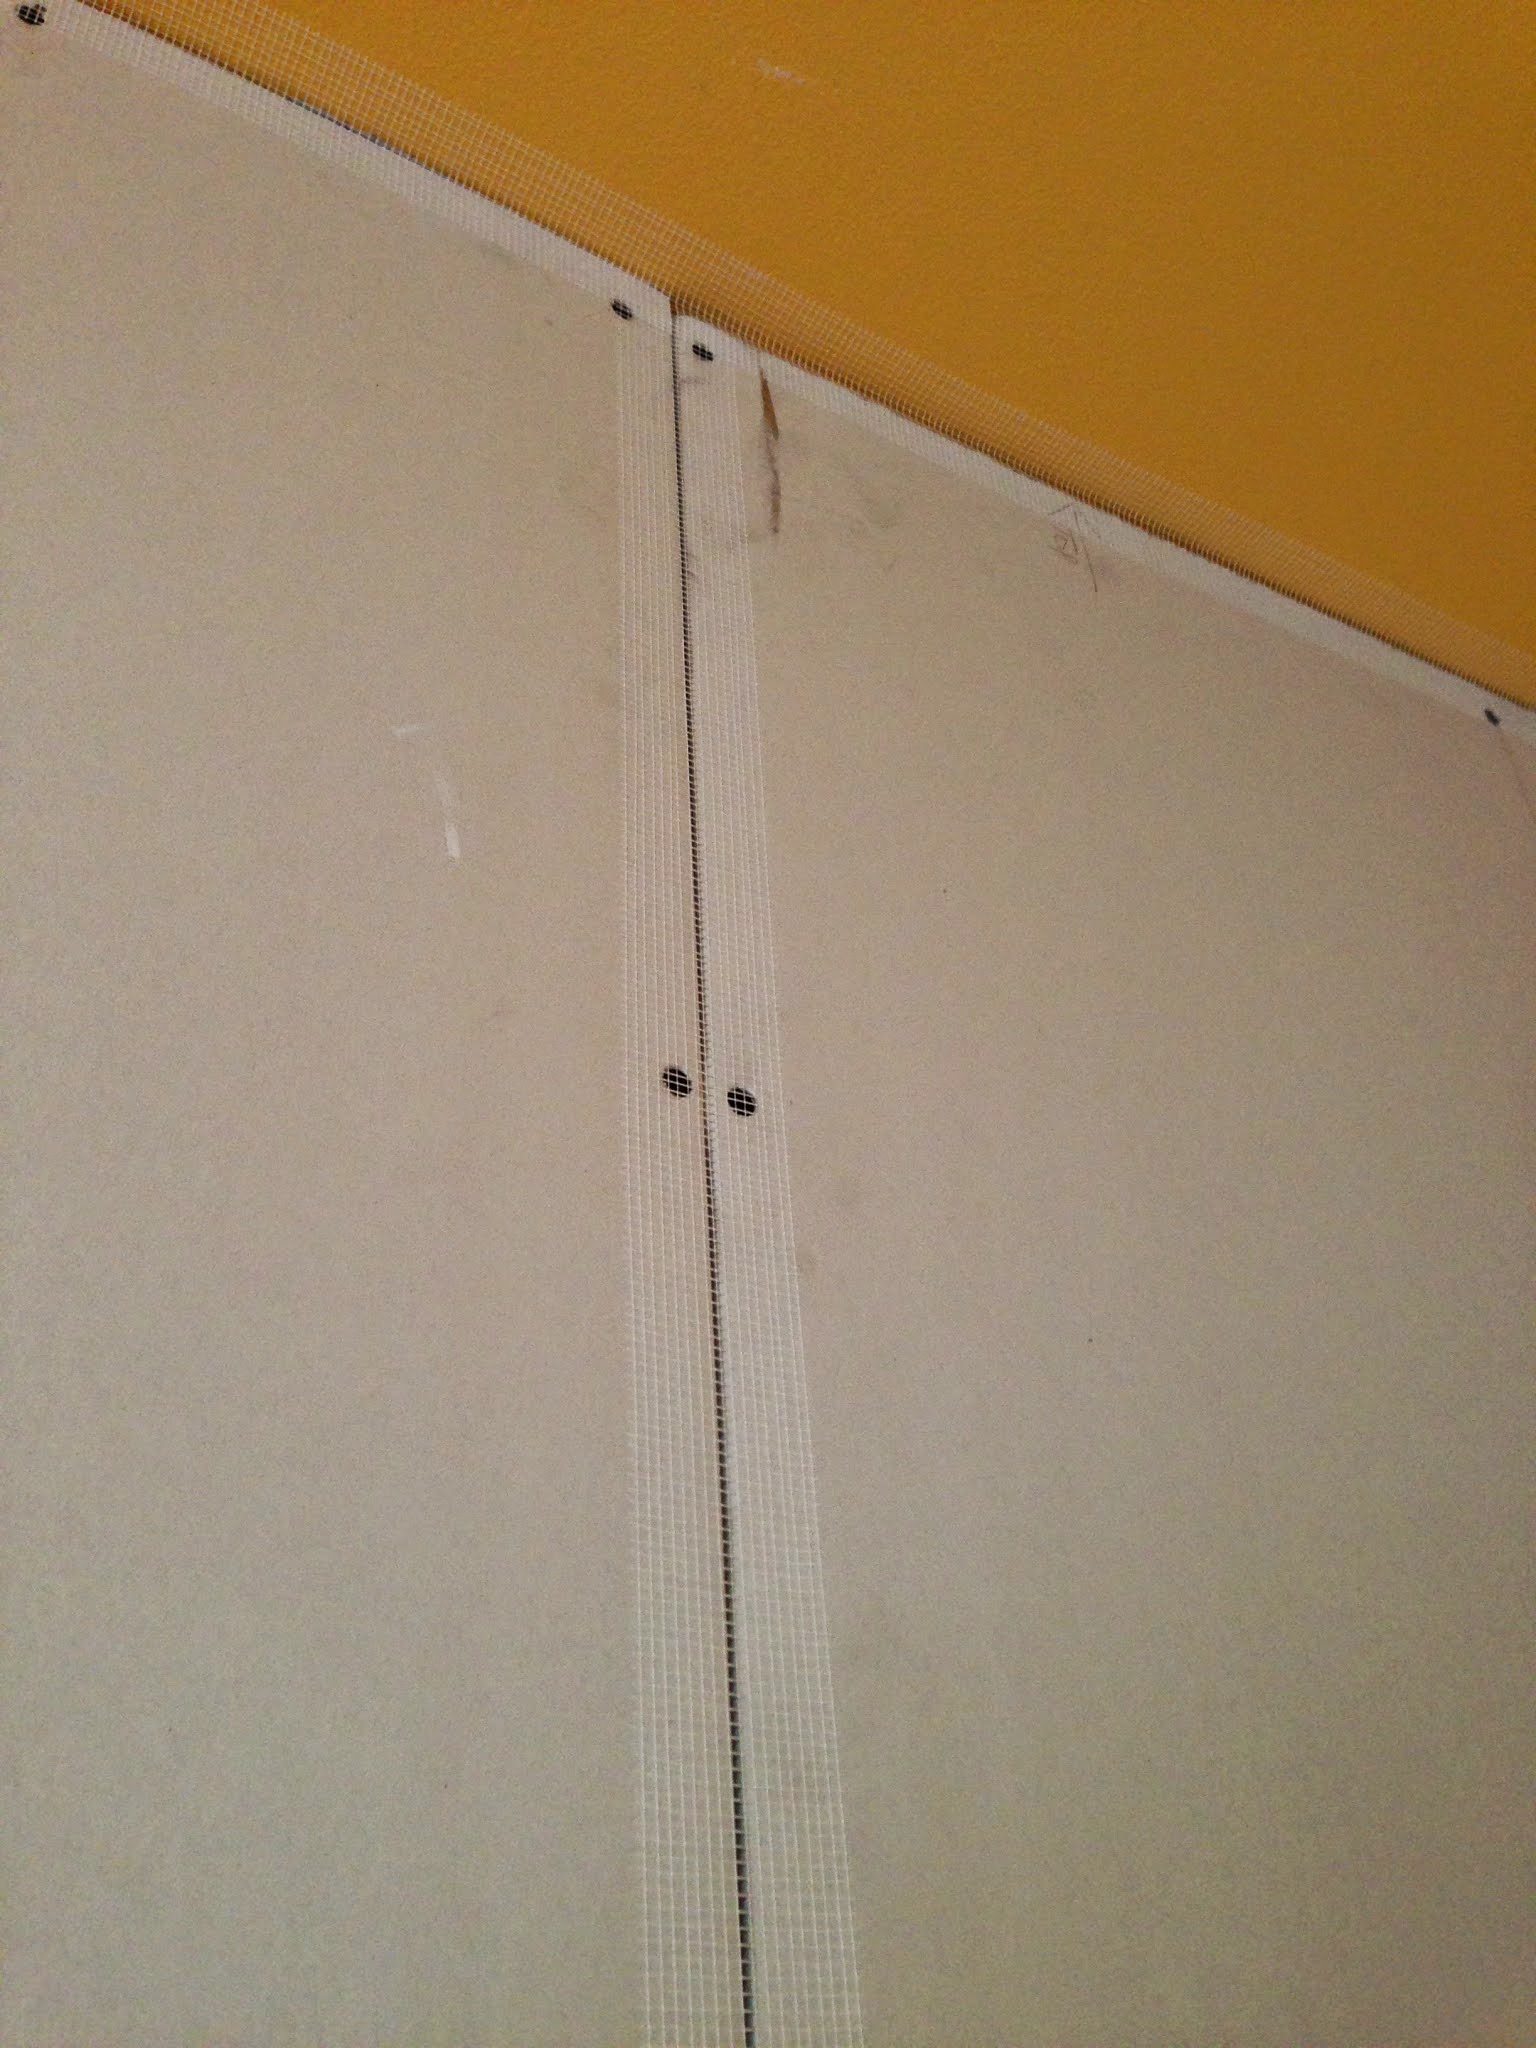
The next step was to tape the joints with drywall tape. This part was easy and relatively fast.
Then it was time to mud the sucker.
This was less fun, but worked. We used Sheetrock 20, which is a fast-setting compound and is perfect for filling small holes and joint gaps.
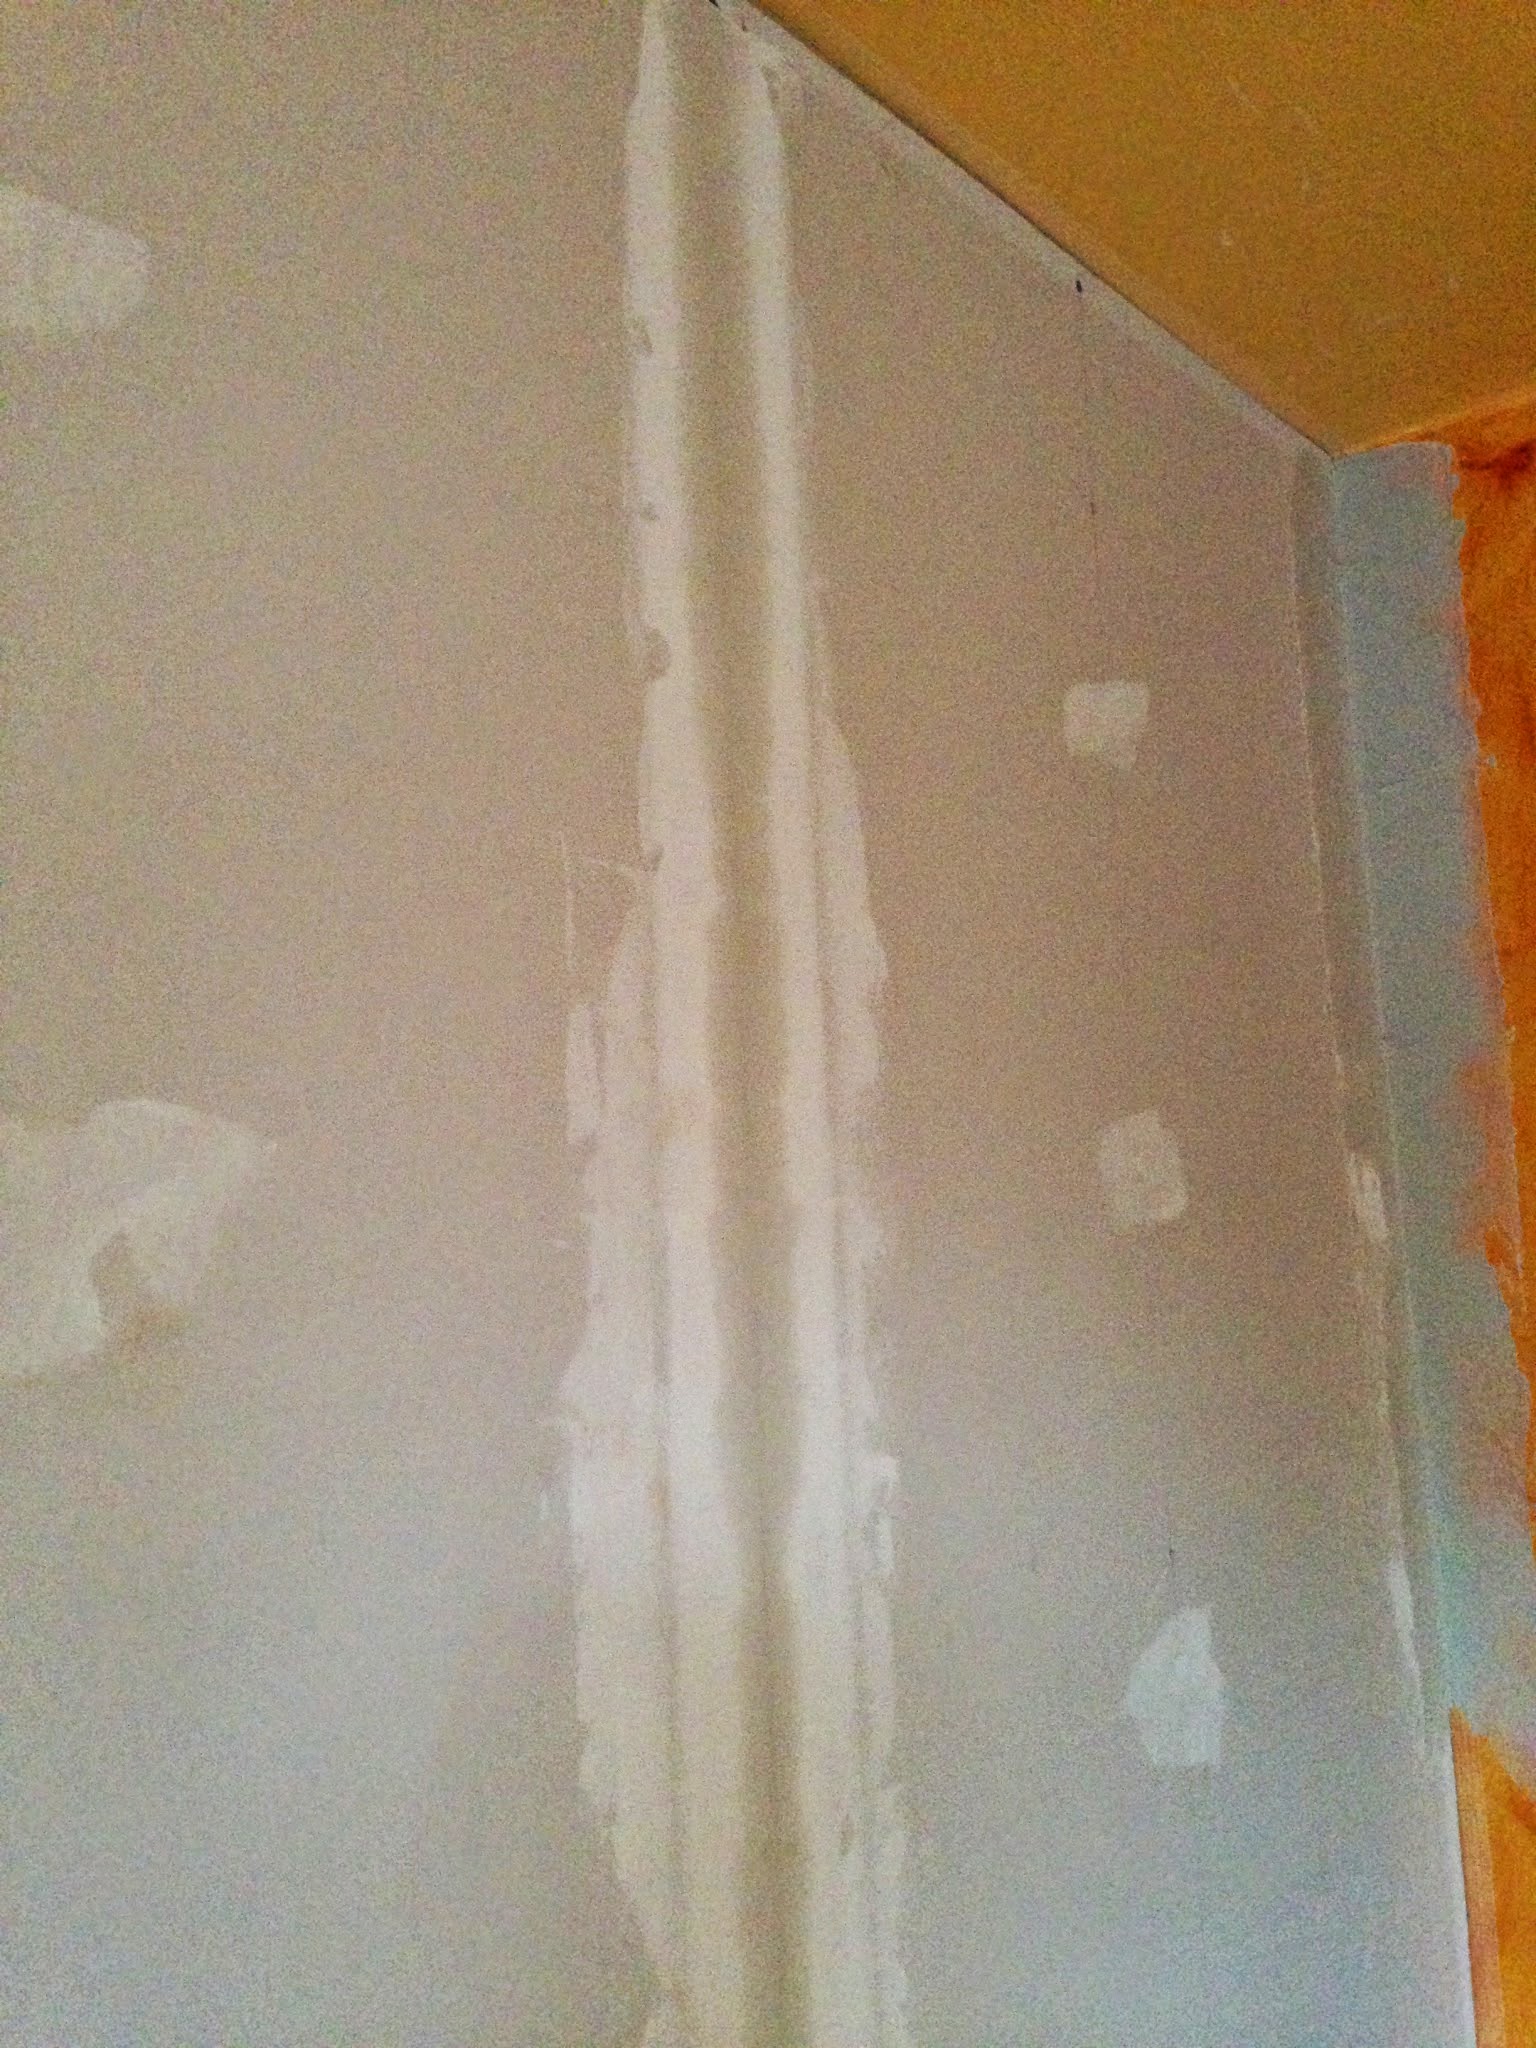
Once the compound was dry, it was time to sand. I managed to sand the main joints down the surface of the wall, but quit when my arms got sore. The next step is sanding where the new wall meets the existing walls and ceiling. I just couldn’t sand anymore.
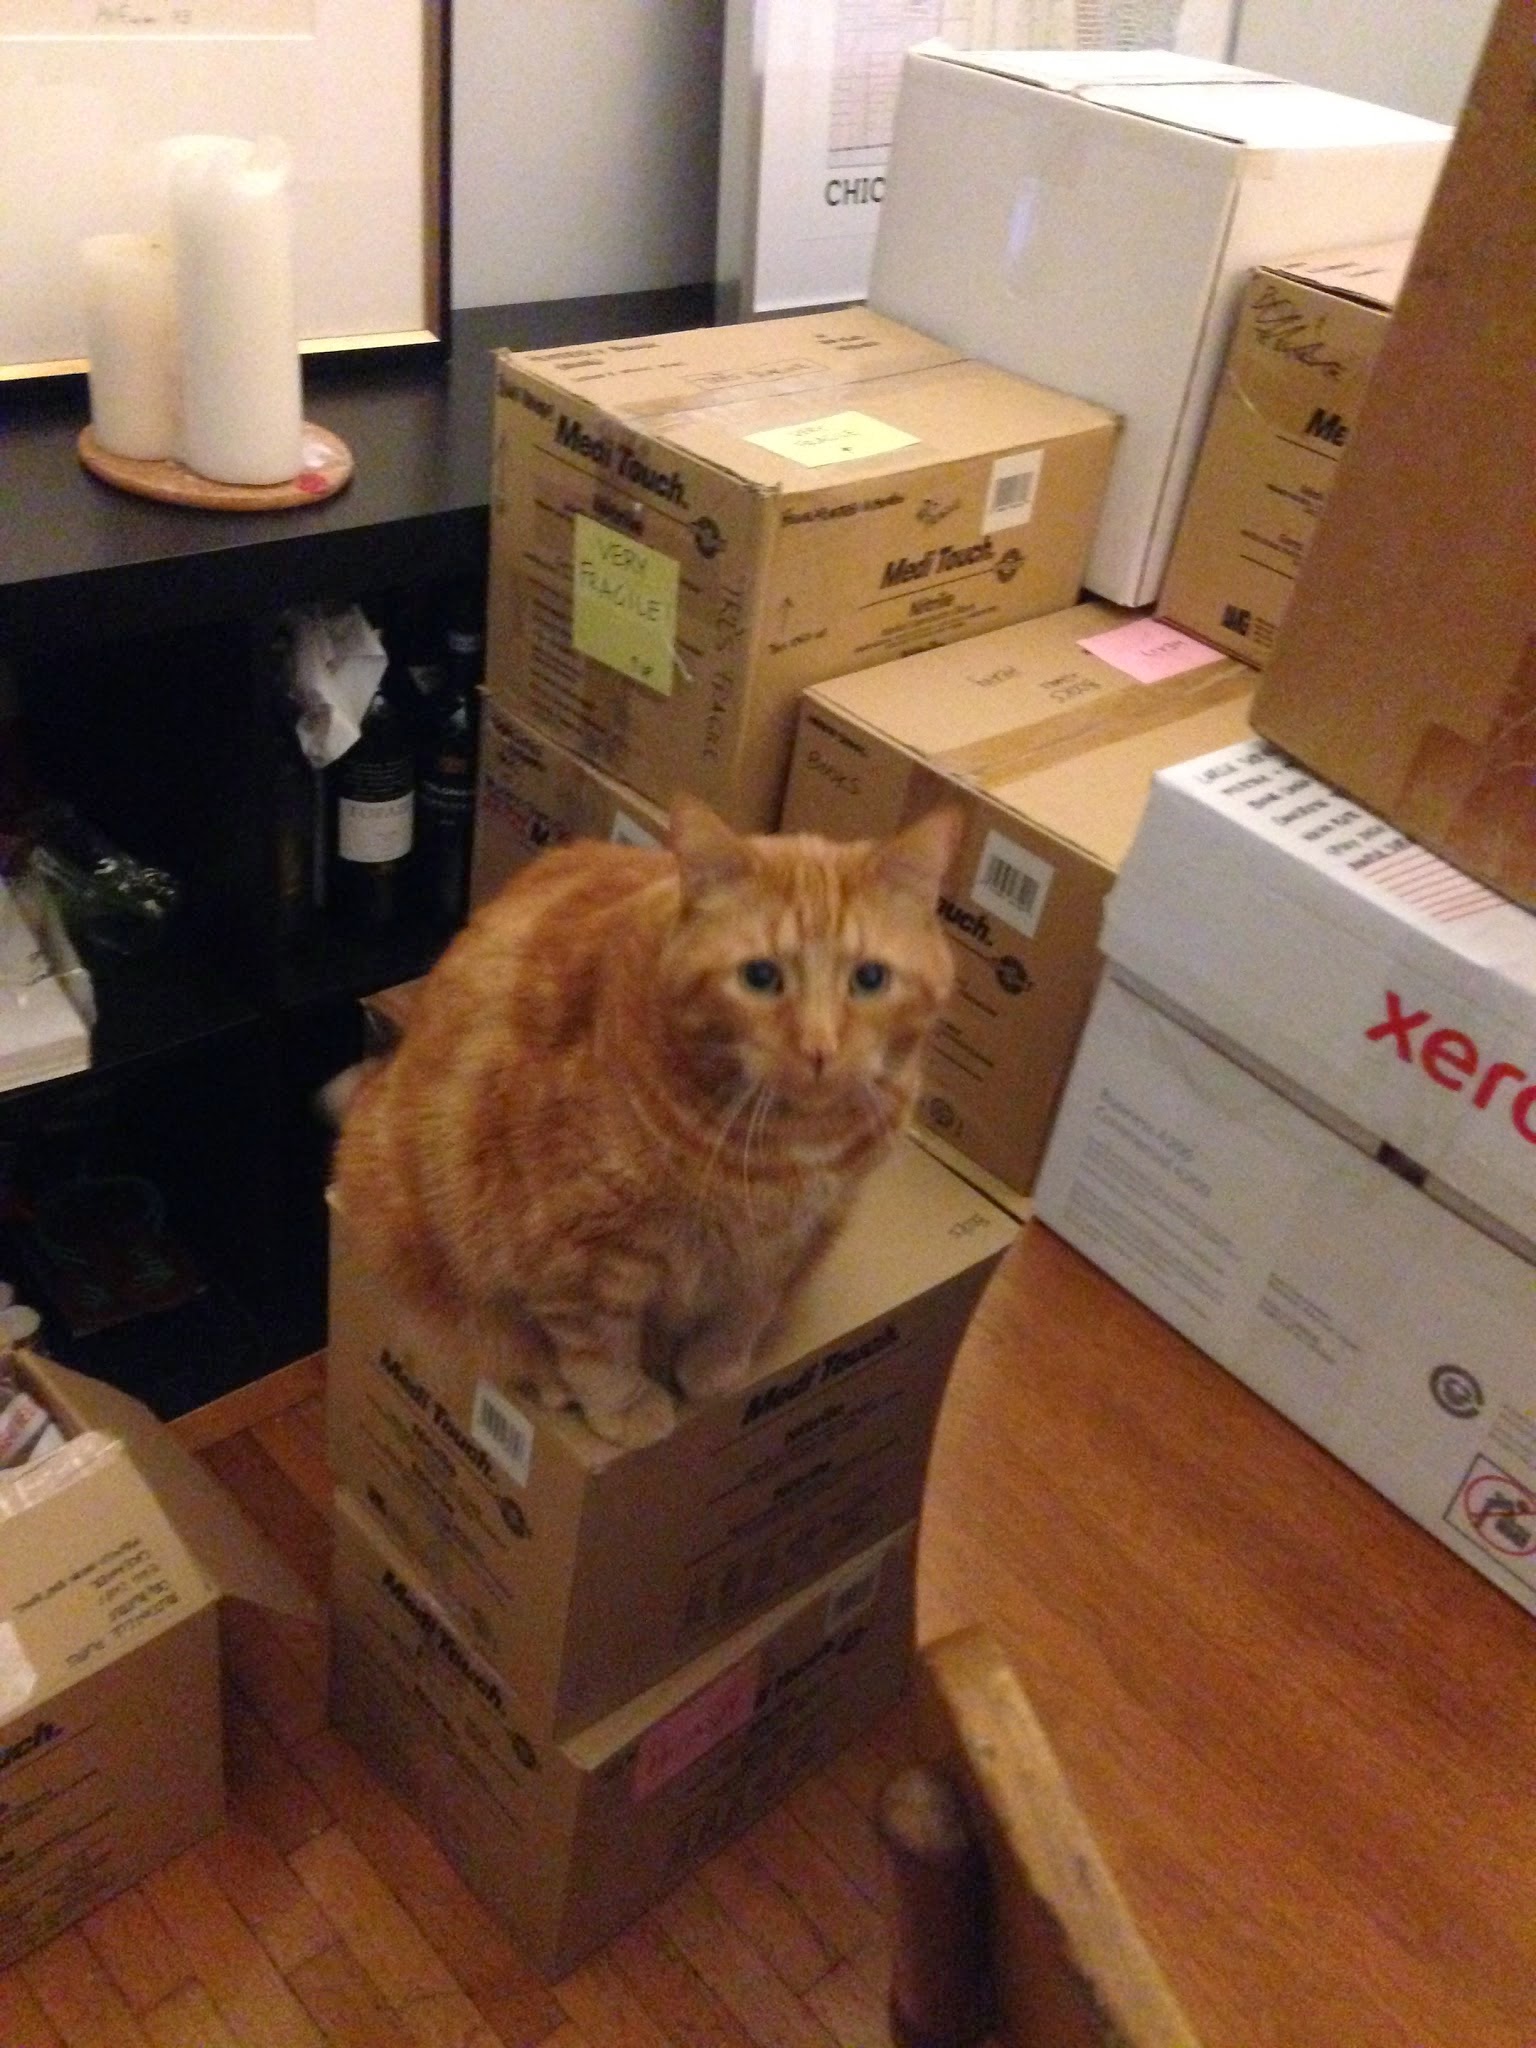
So I went home to pack, since we’re moving in a week and I really haven’t started. Good thing Gus was around to help.