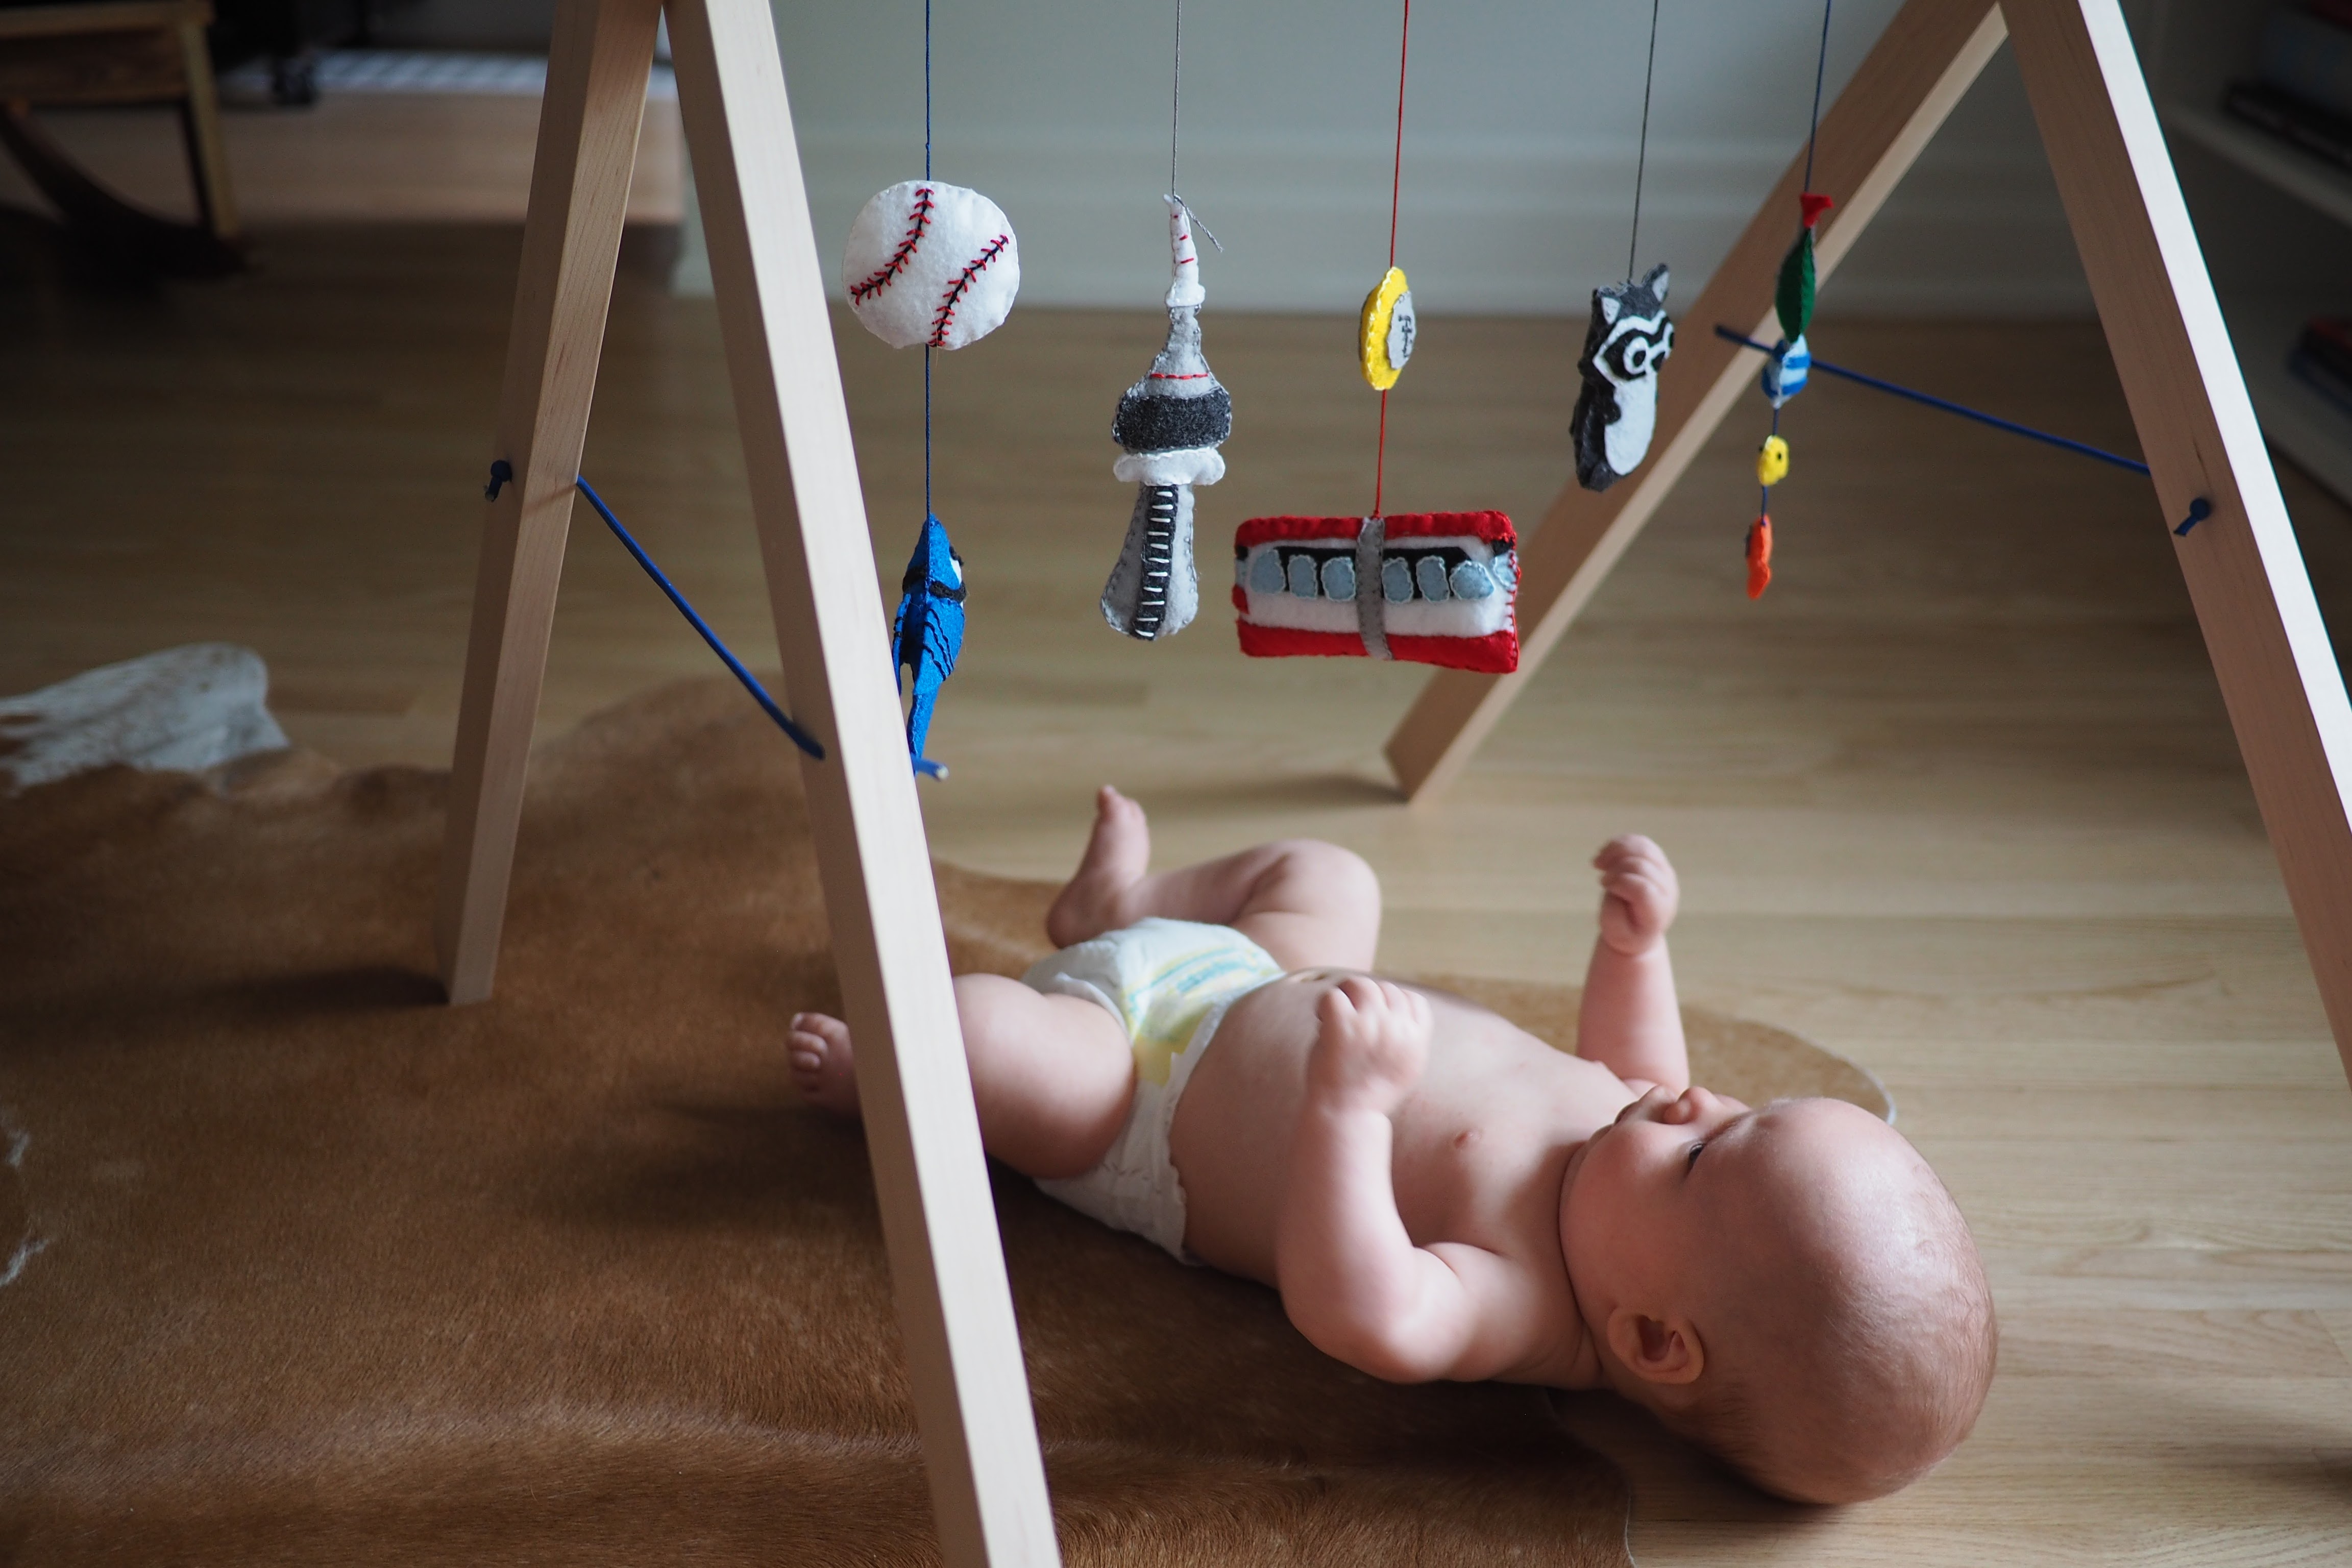
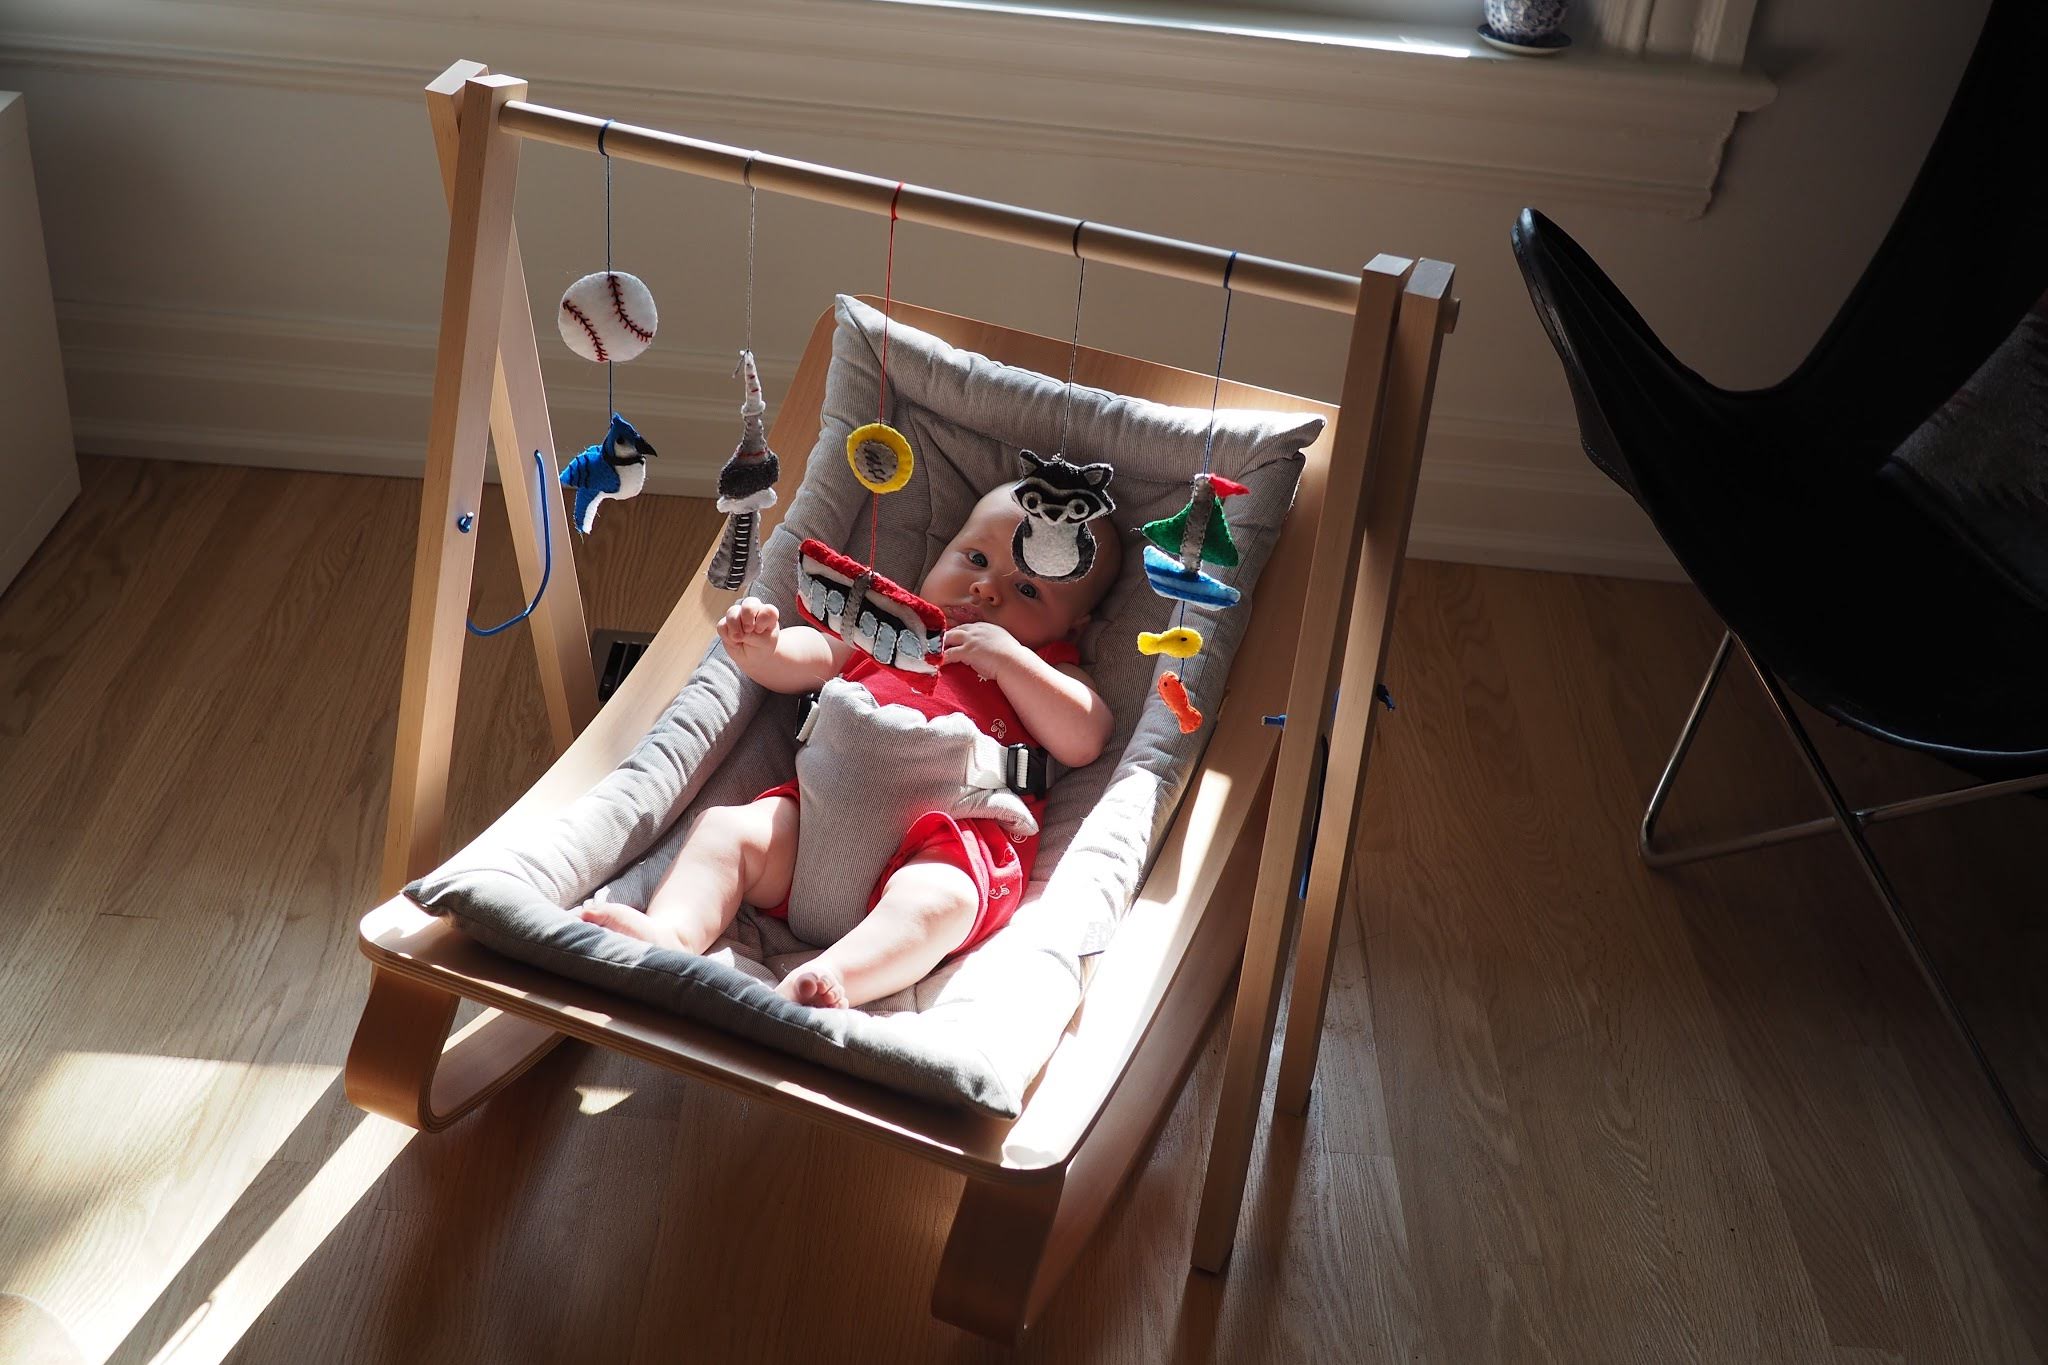
Now that we have a baby, we’re doing less construction. But my natural inkling to build stuff is still strong so when I was looking for a non-ugly baby gym, I naturally had to build my own.
I really tried to buy a nice-looking baby gym, but anything that matched my style was crazy expensive and was something I could build myself.
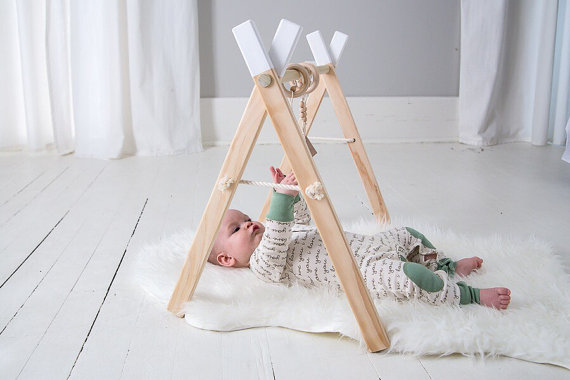
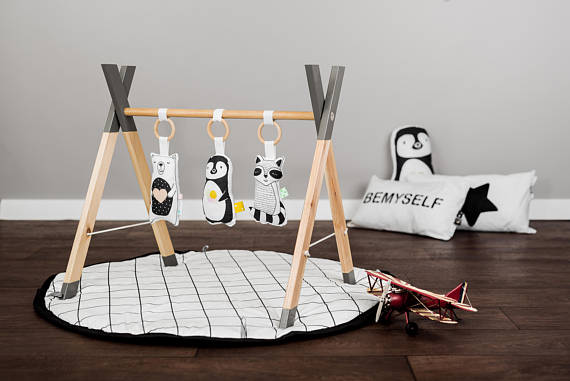
I found some inspiration online and created my own design.

Design
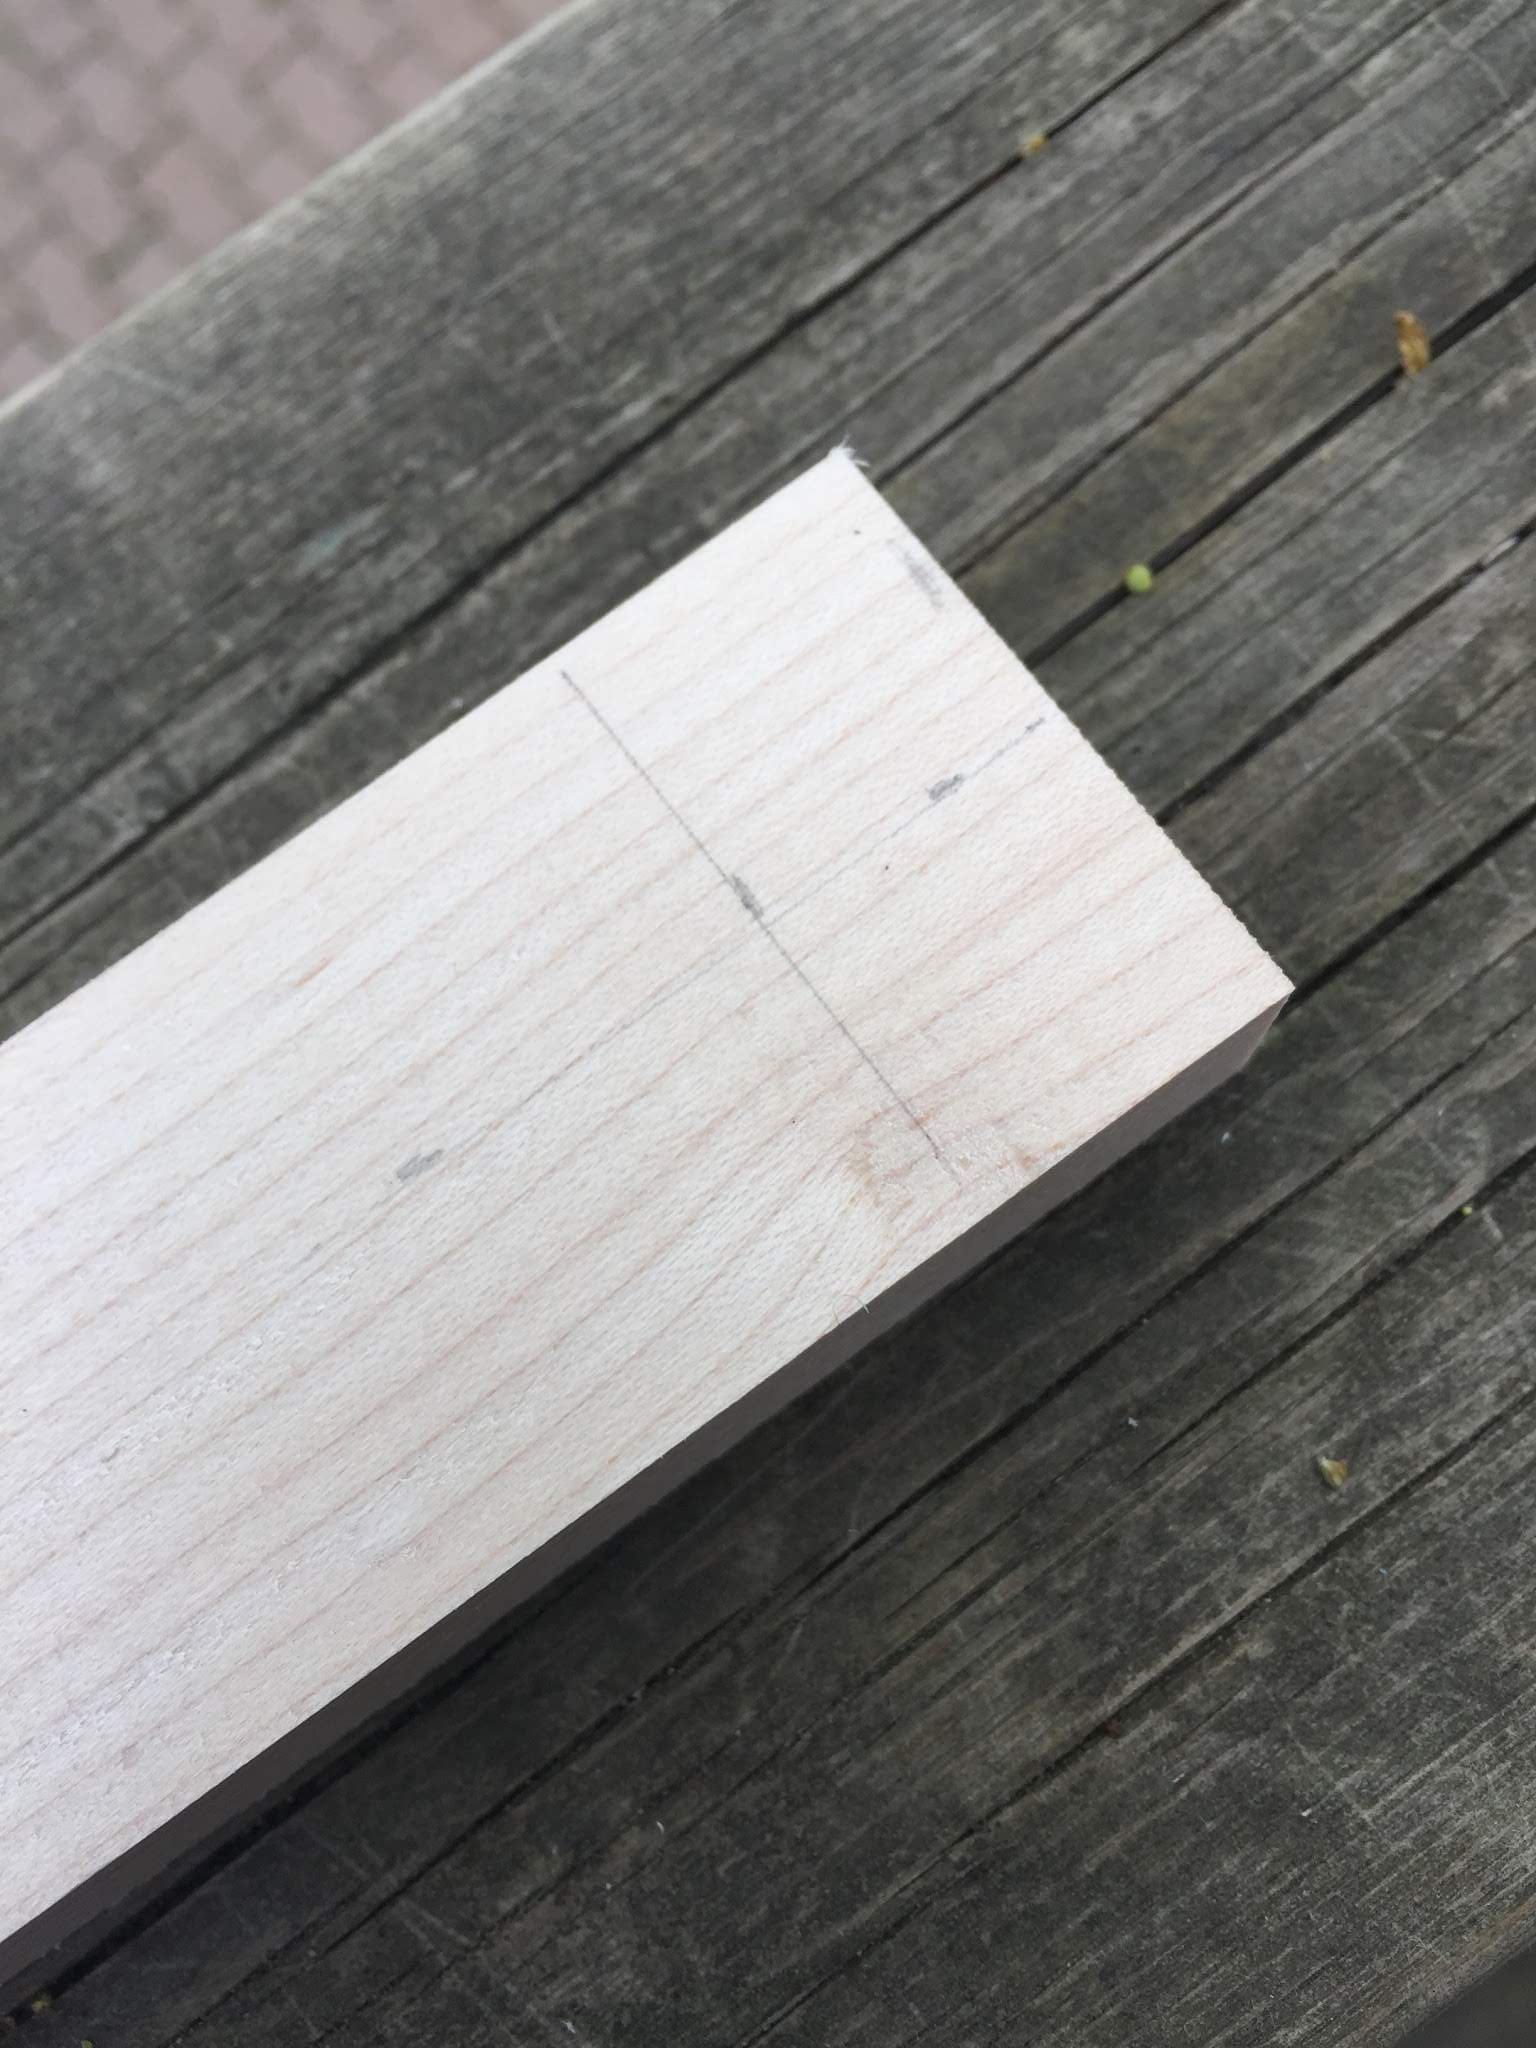
I purchased 2″x1″ (nominal) maple hobby wood from Home Depot and a 3/4″ dowel for the wooden construction.
I did some trial and error to figure out the height of the gym, but ended up cutting the maple side pieces to 26″ long. I cut 4 pieces total.
Making the Gym
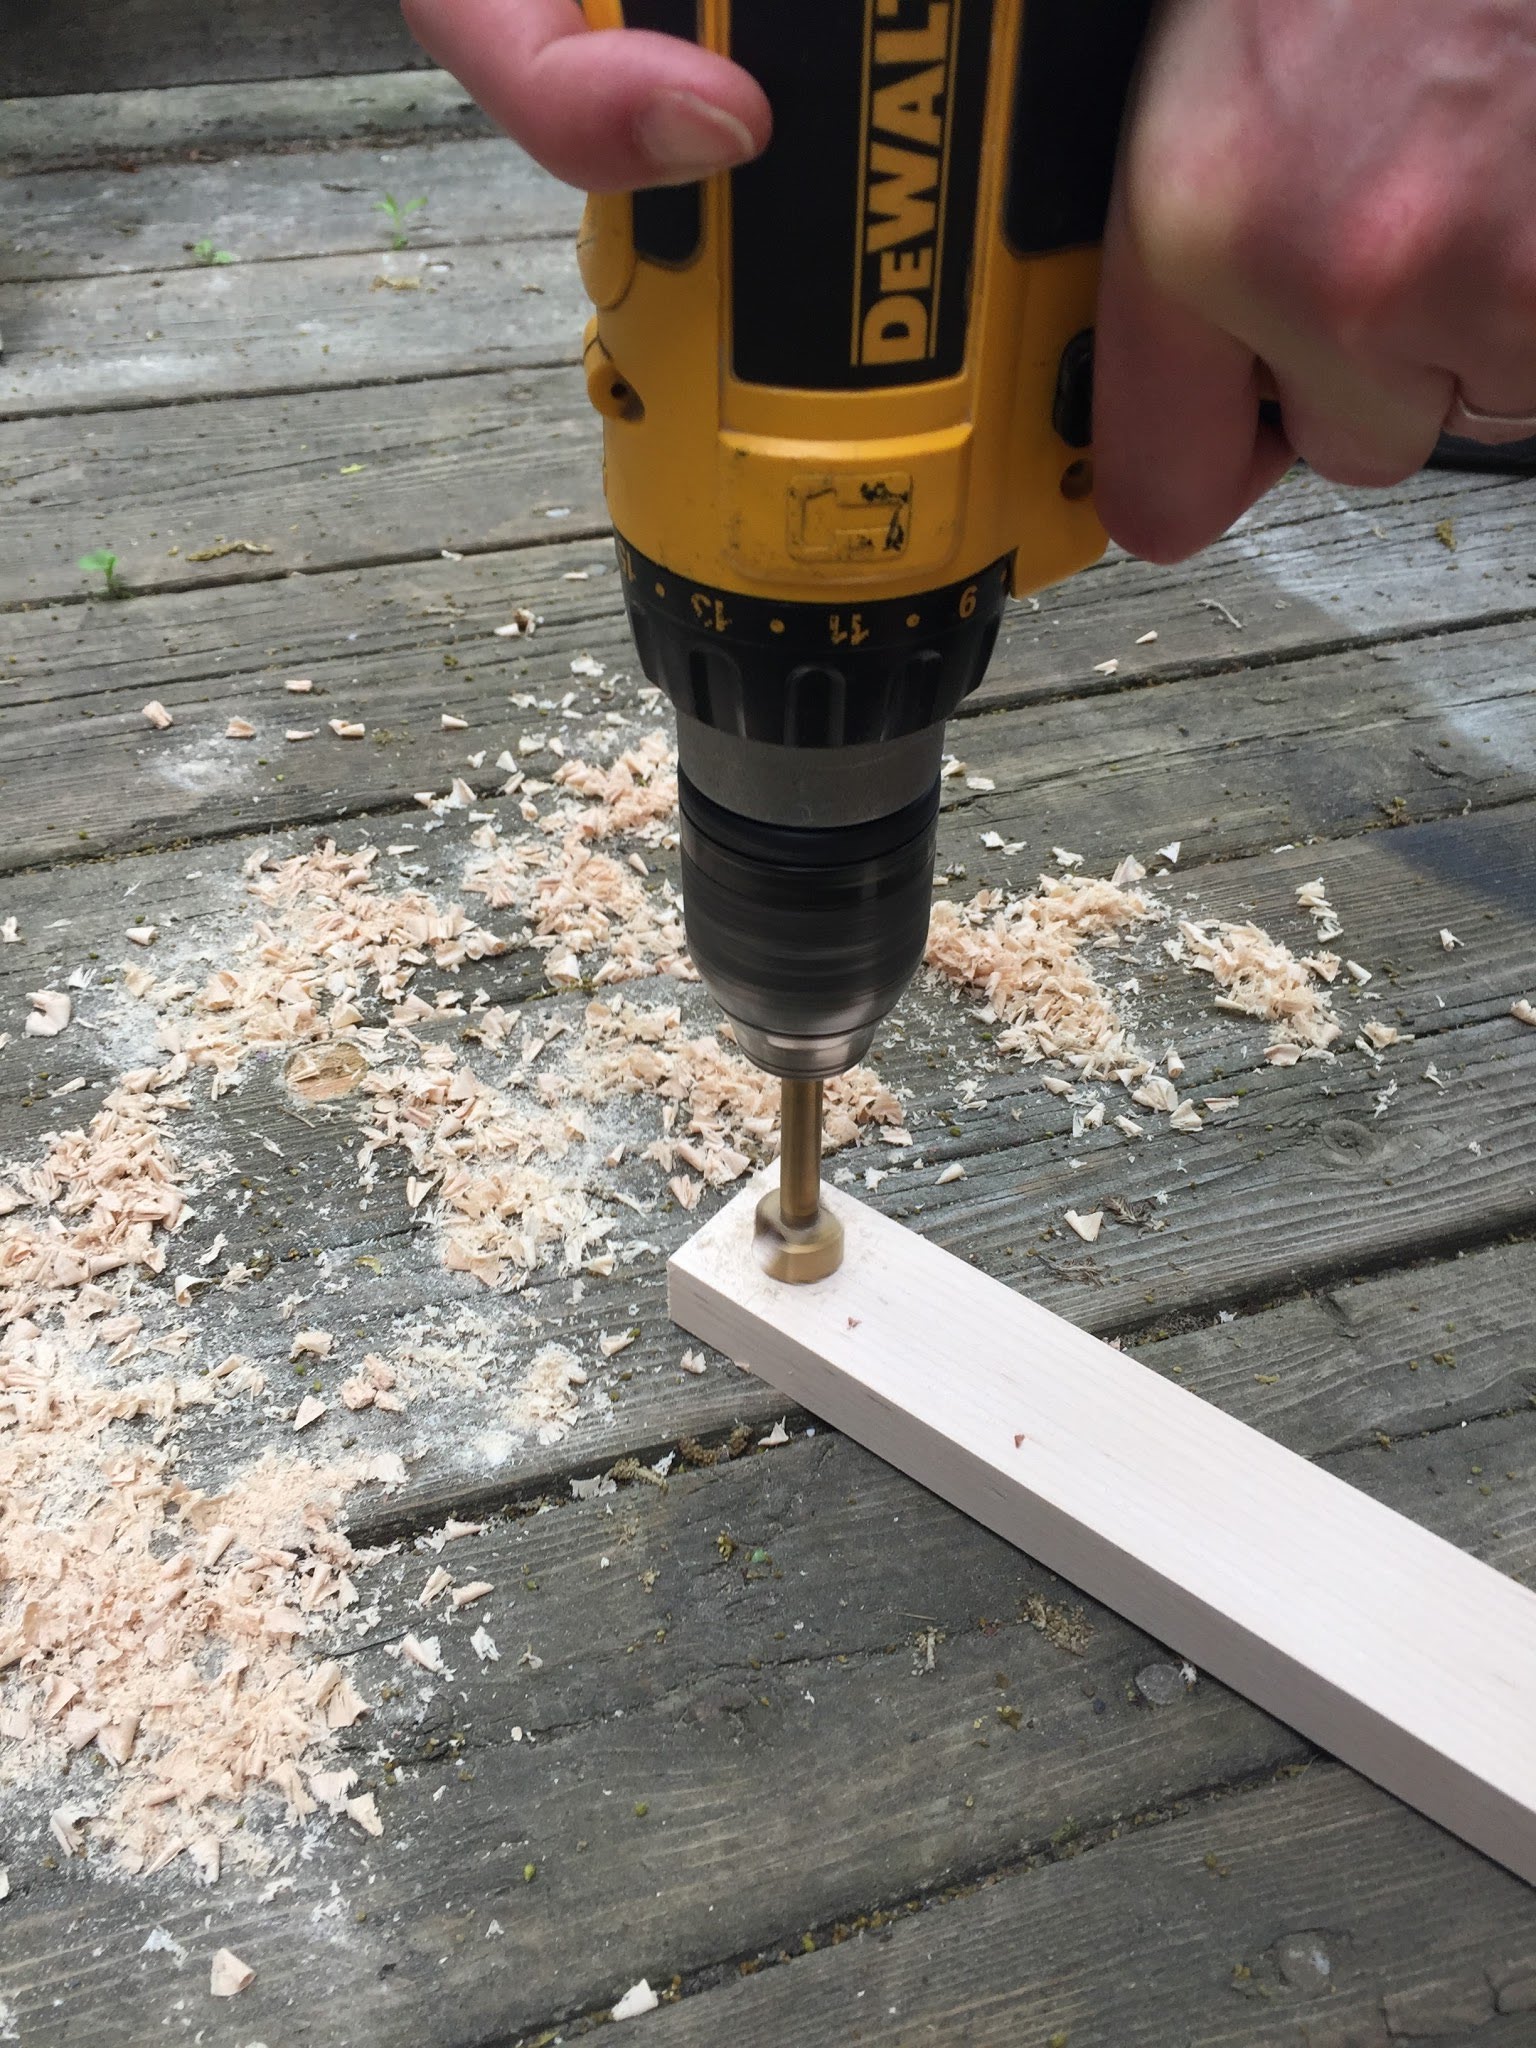
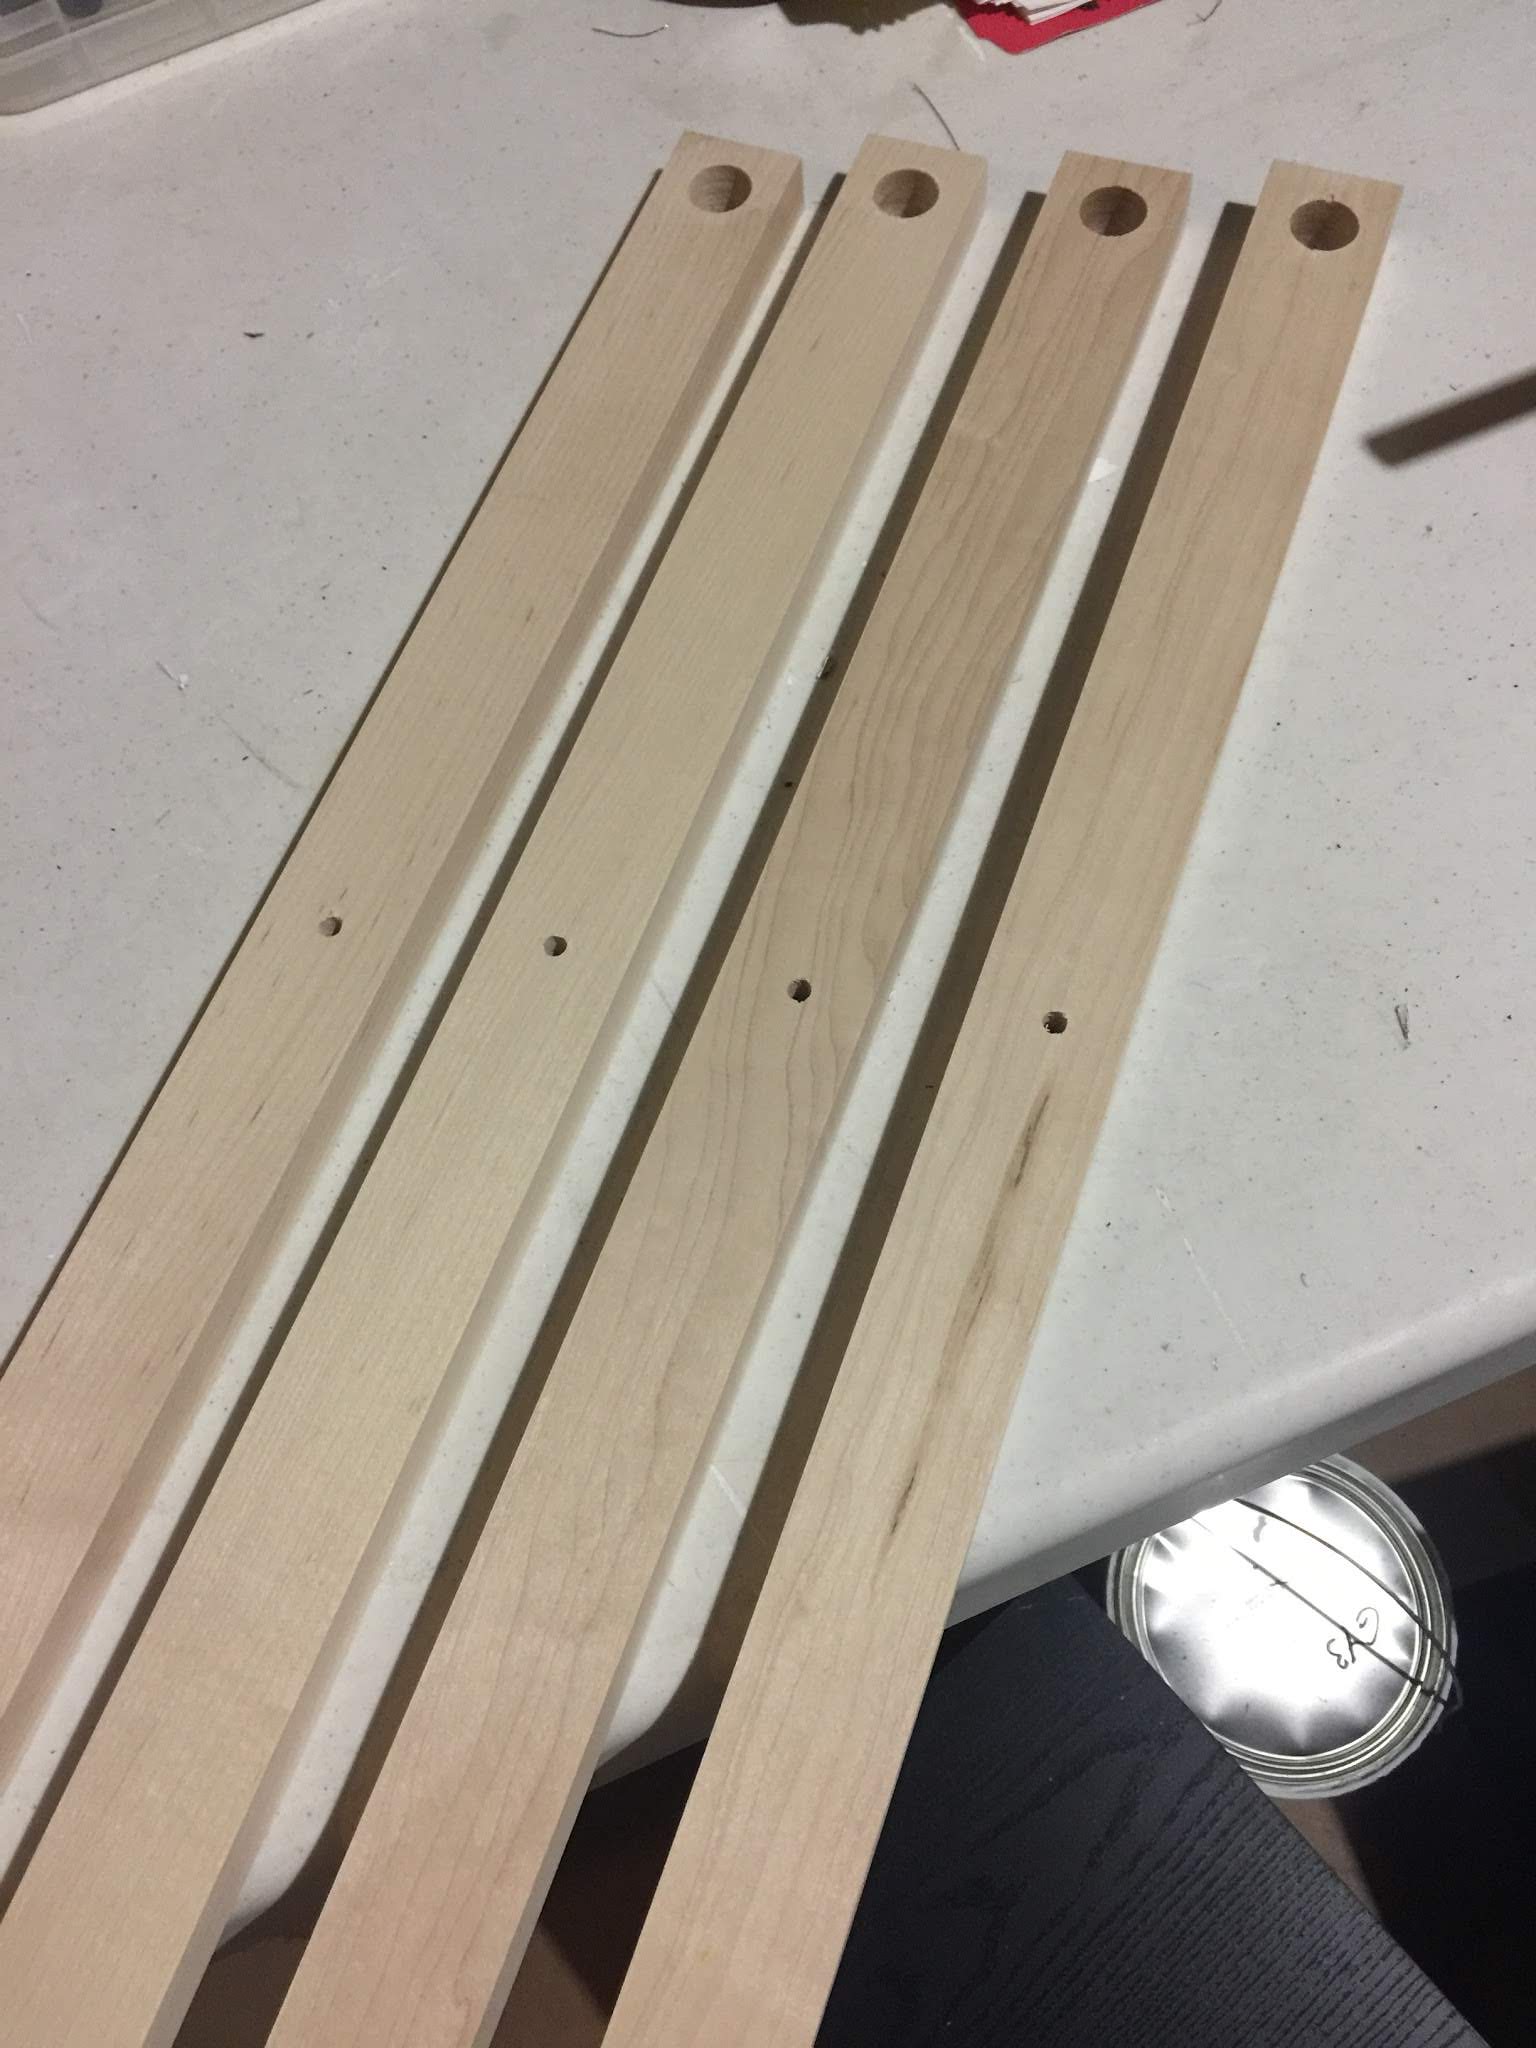
The next step was to drill the holes at the top for the dowel. I wanted the dowel to sit close to top, so I drilled a ¾” hole through all four pieces. The centre of the hole was ¾” from the top of the piece.
I then cut the dowel piece to 25″ long.
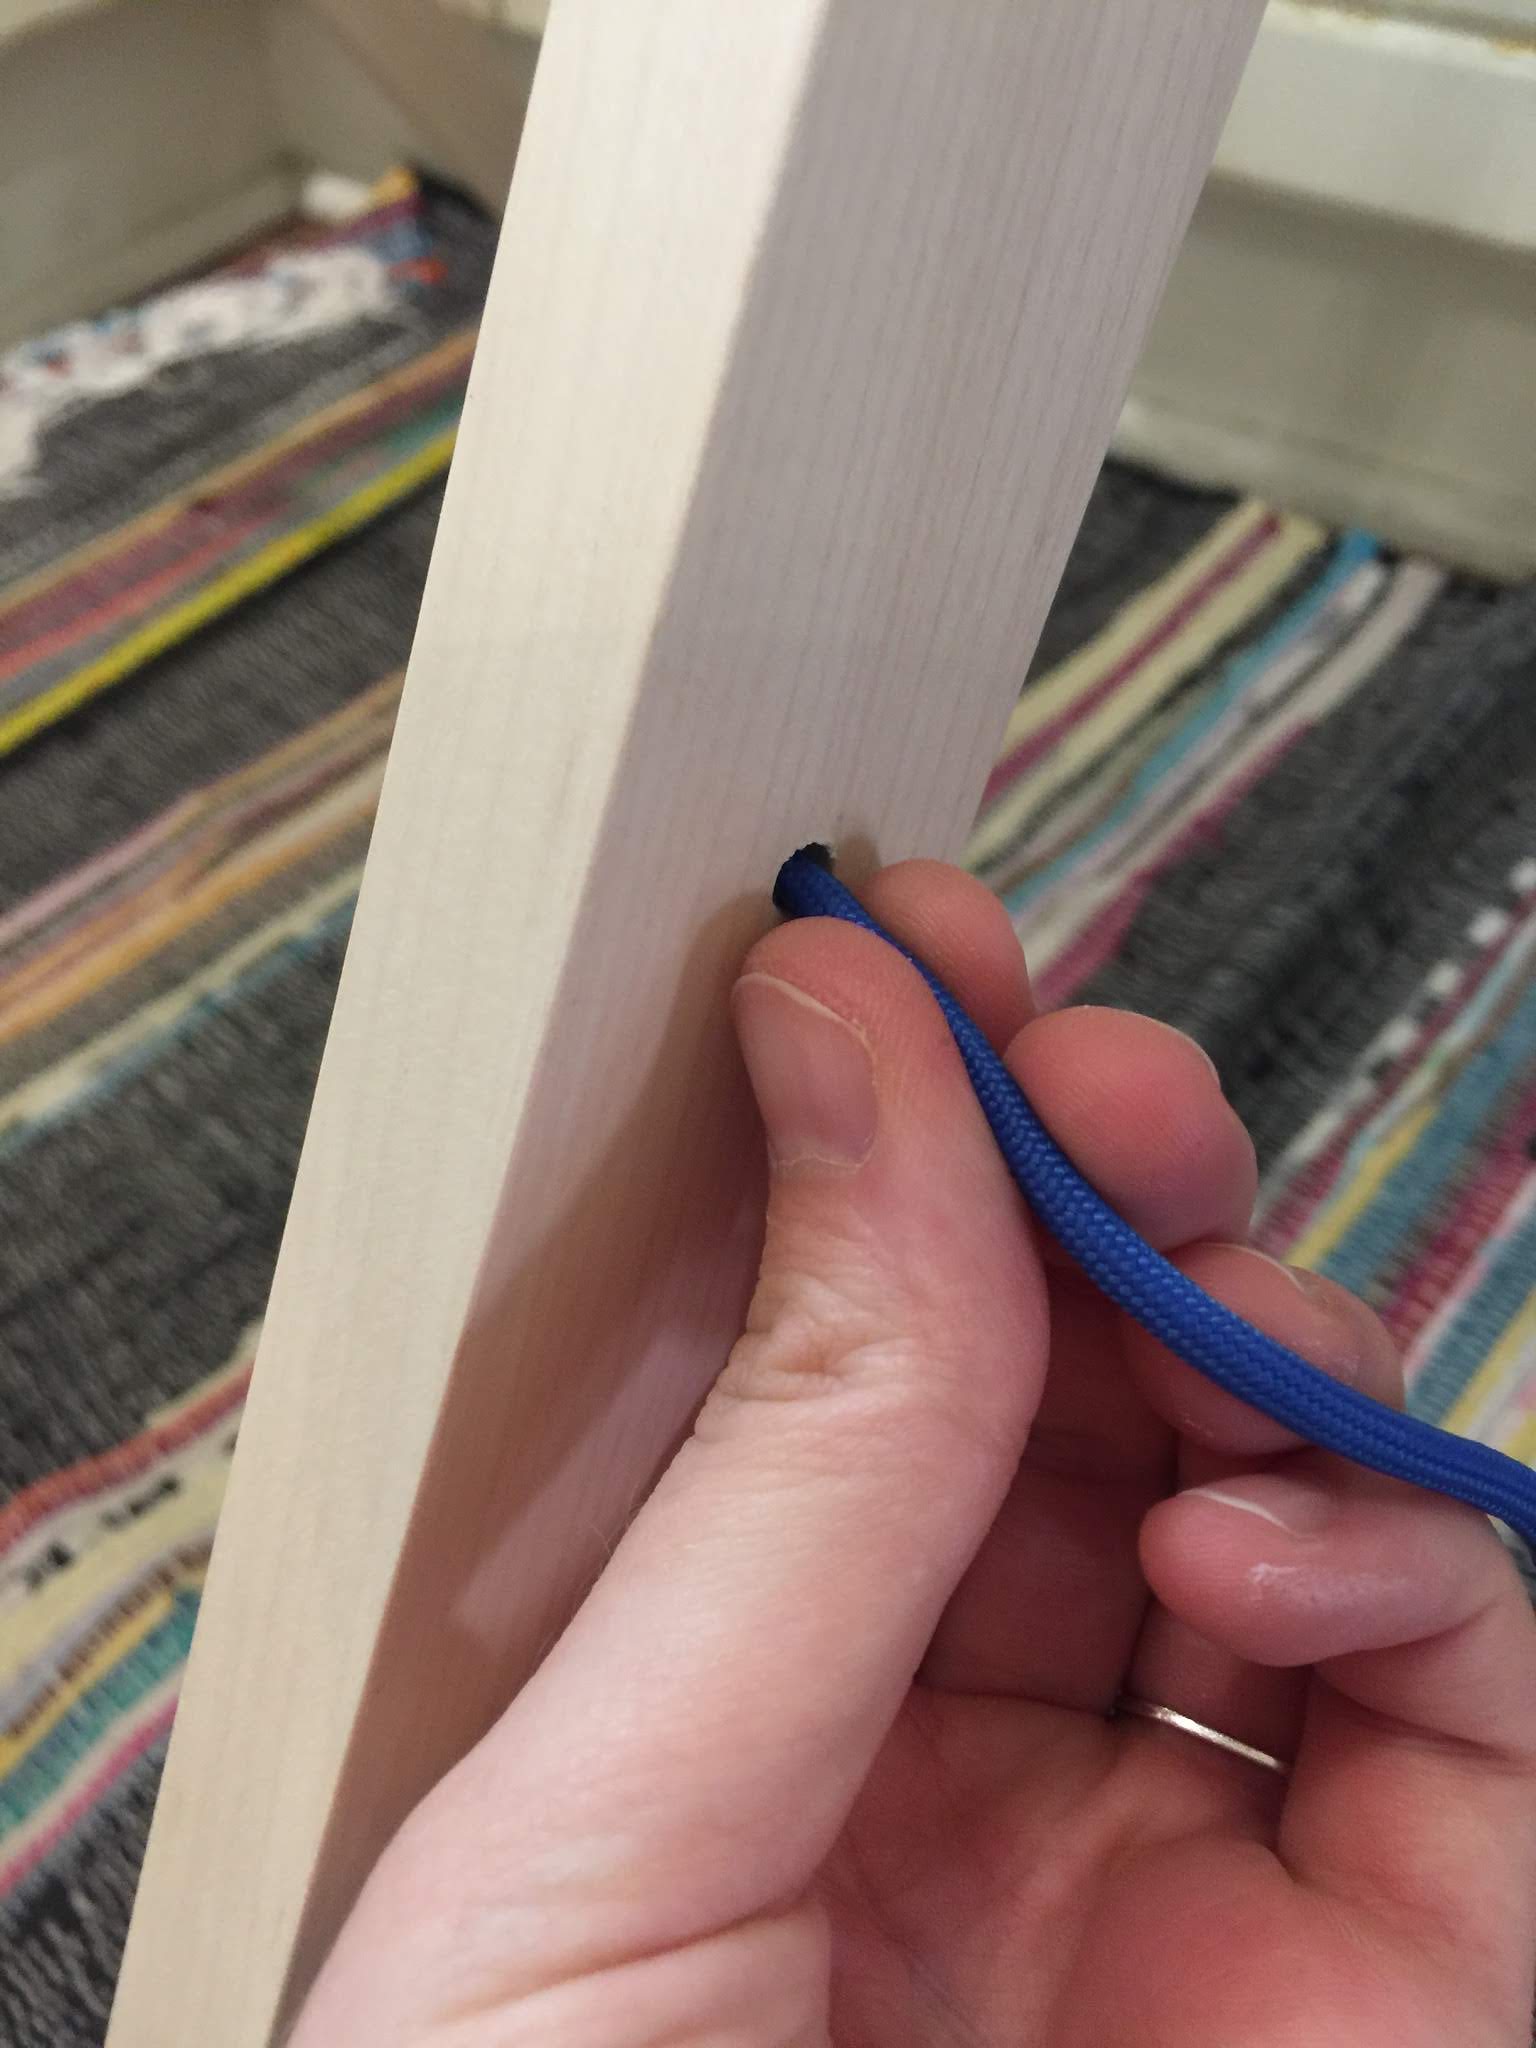
I used a piece of nylon rope to hold the structure in place so I drilled a second hole in all 4 maple pieces 11″ from the top and just large enough to fit the nylon rope through (in my case, ¼”).
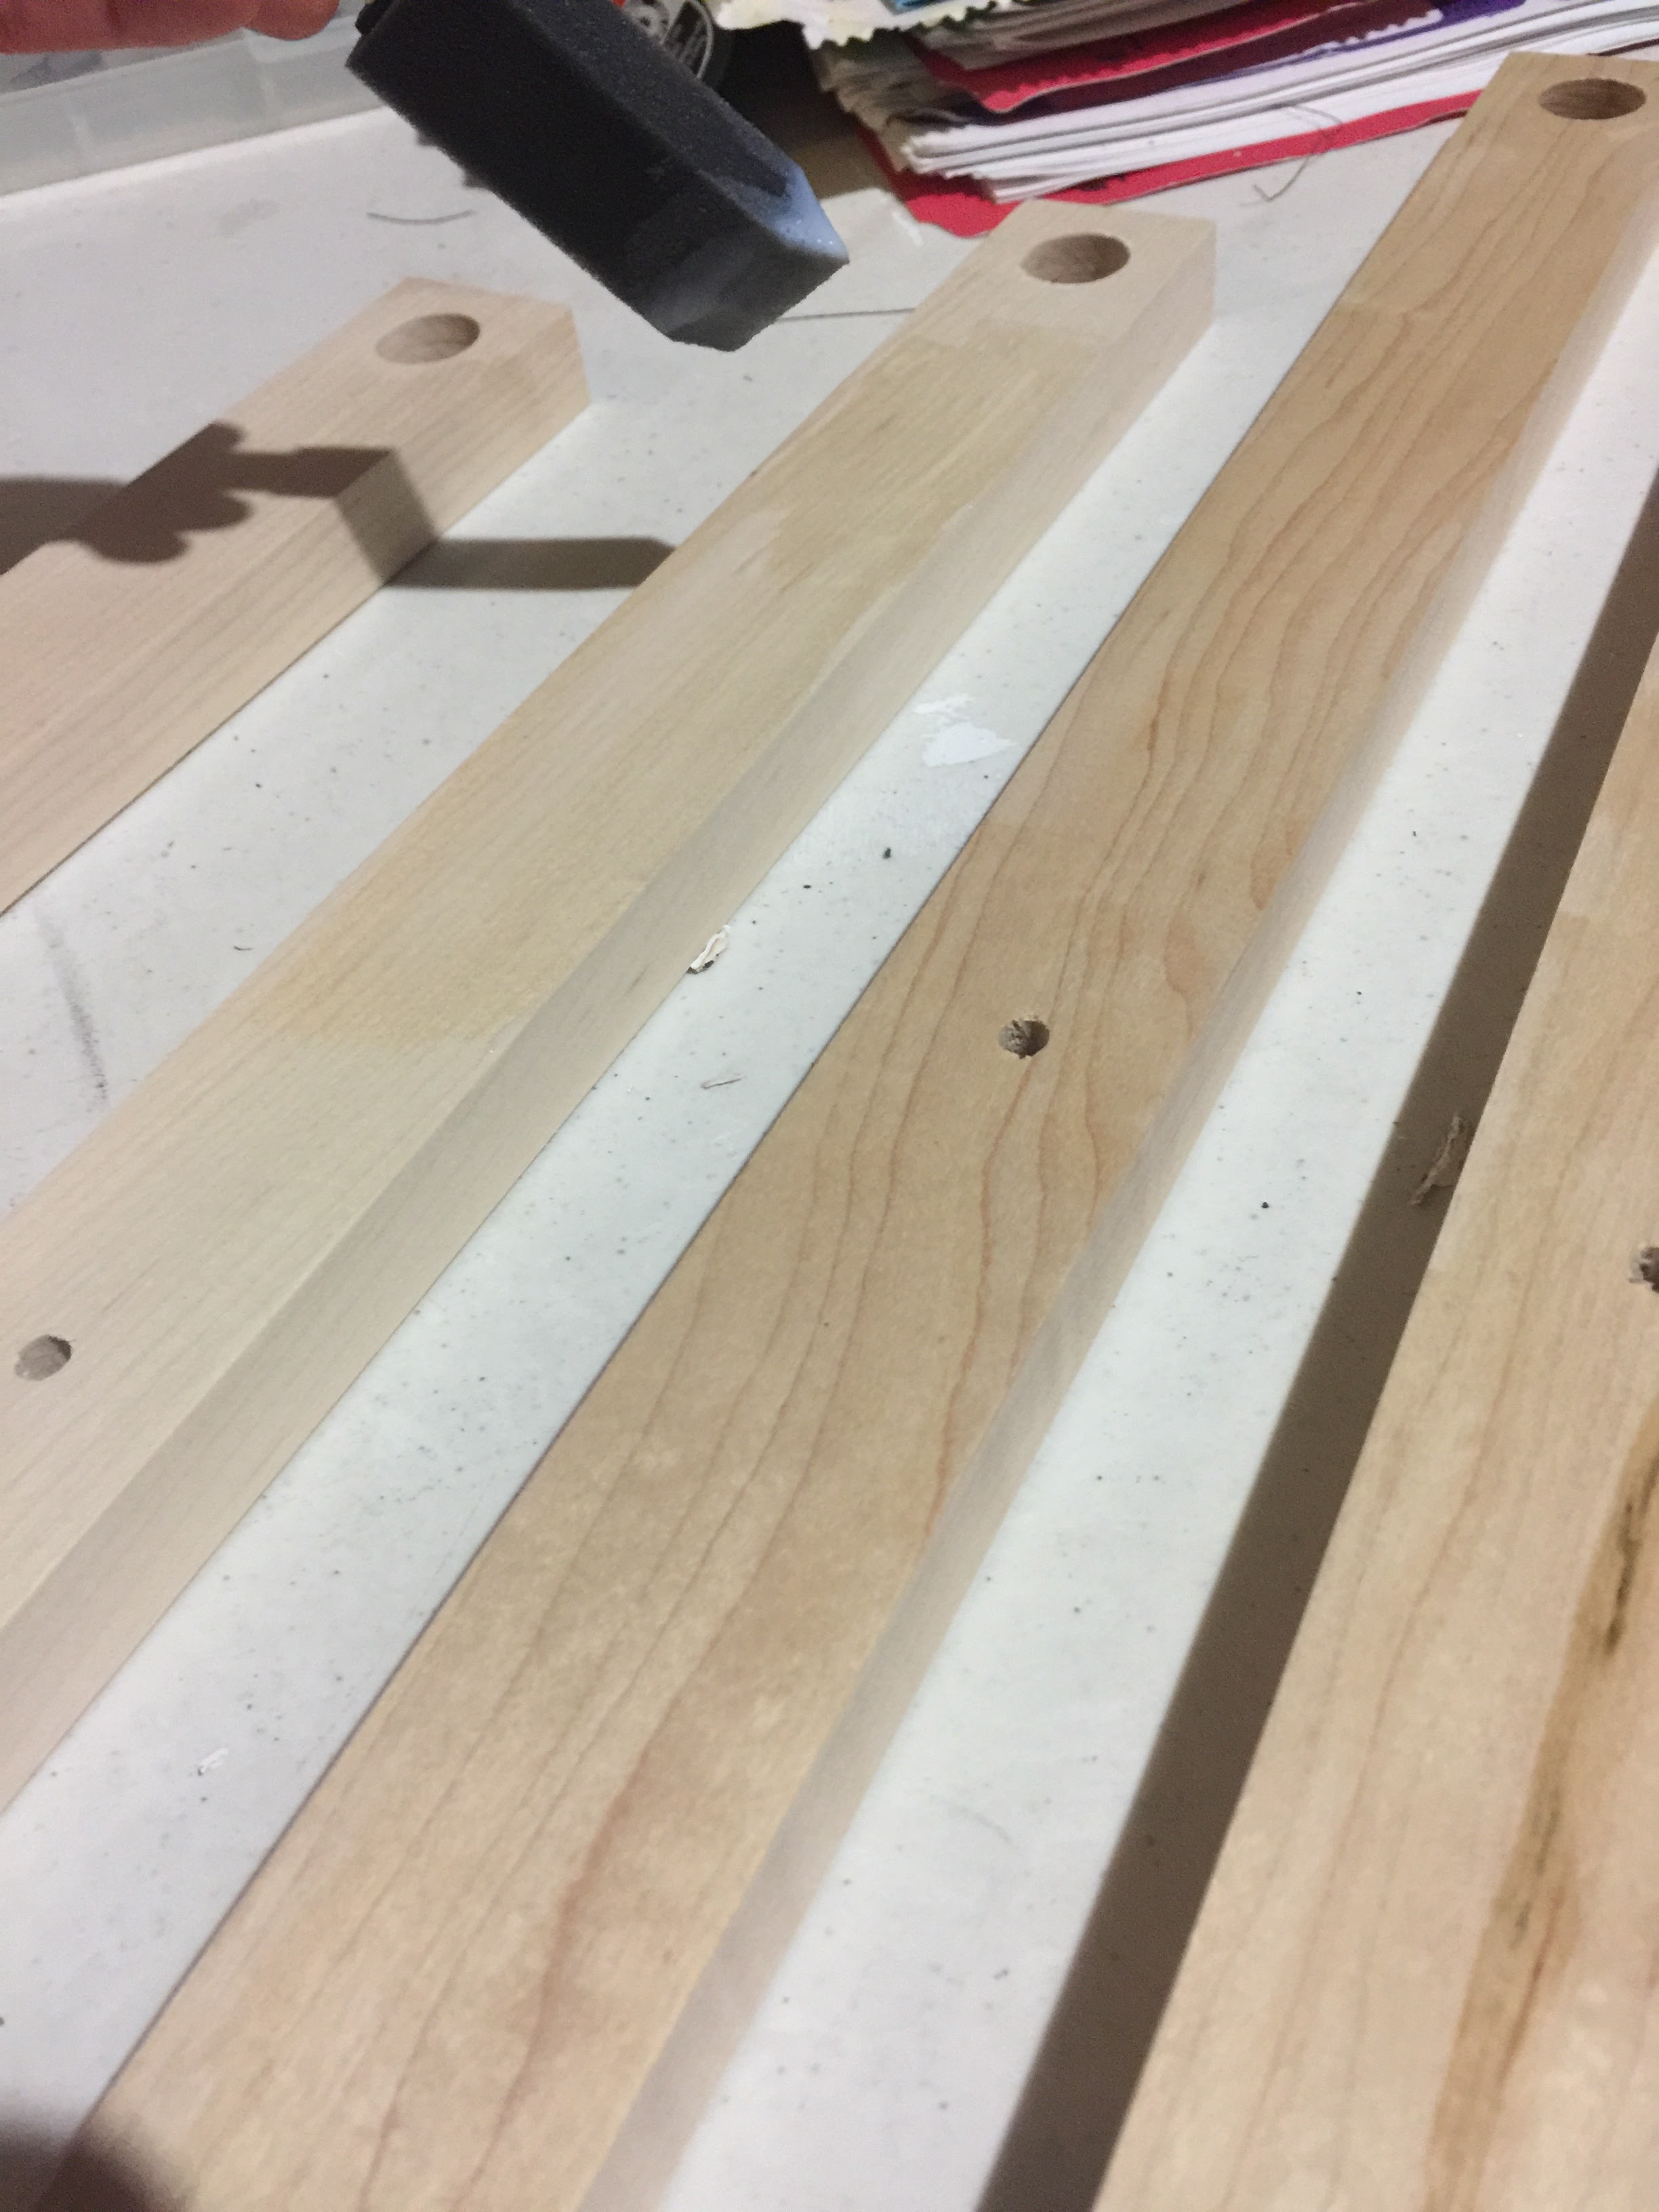
Once all the pieces were drilled and cut, I sanded them using 220 grit and finishing with 400 grit sandpaper.
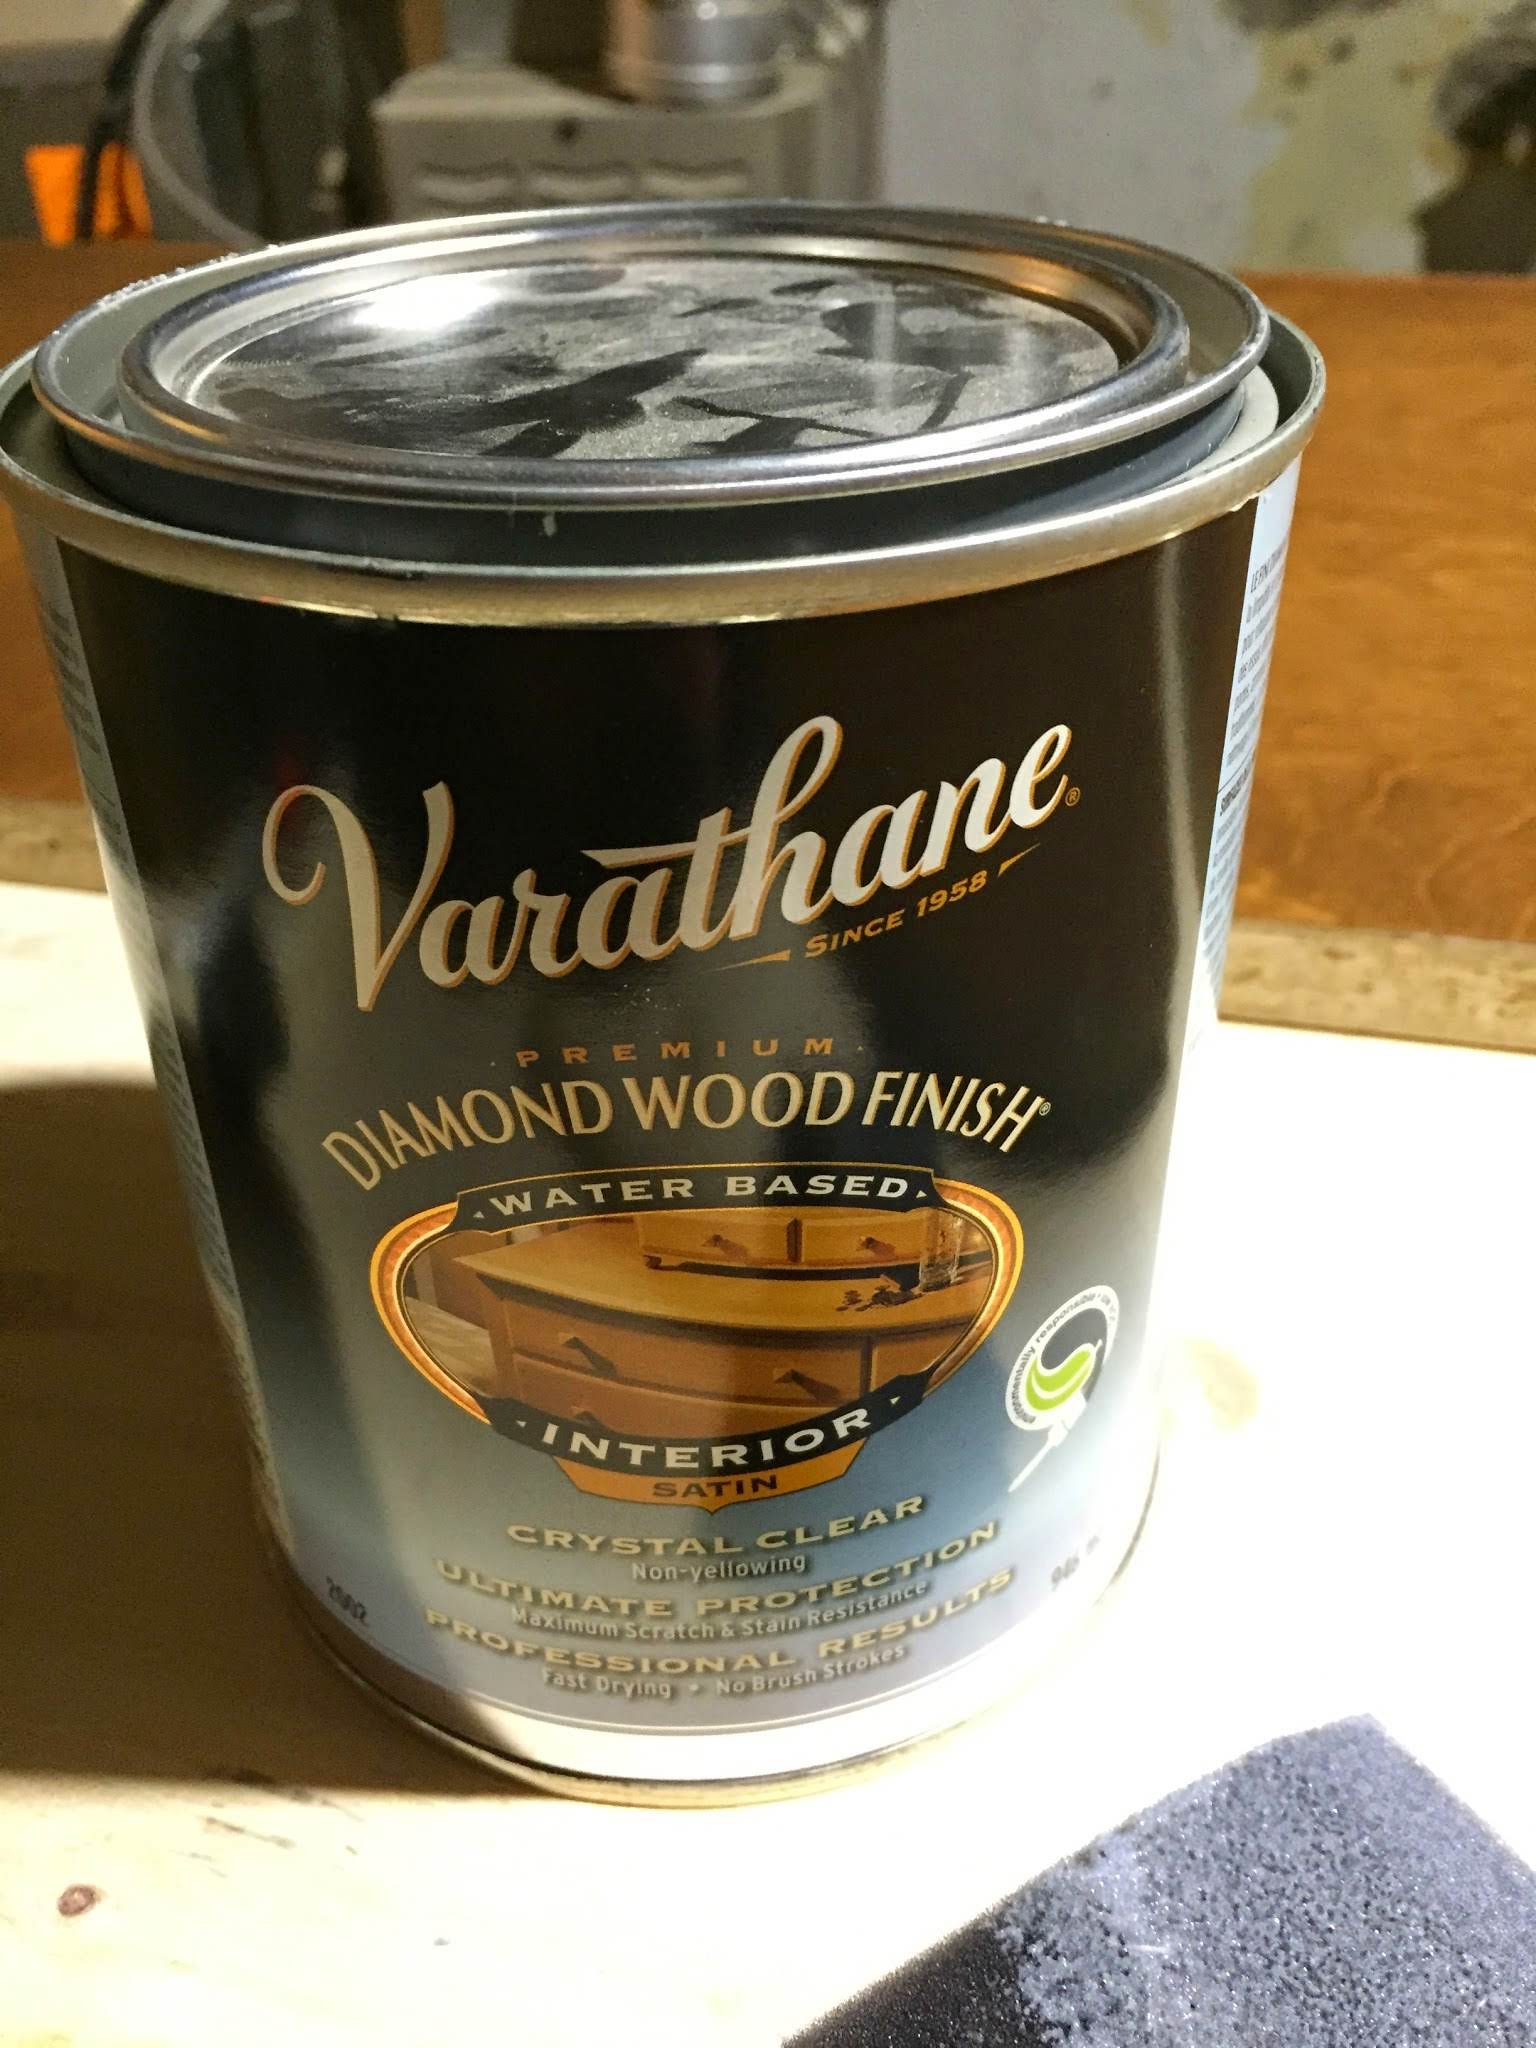
Once the pieces were sanded, I finished them with a water-based finish that I had leftover from another project.
Once the four maple pieces and the dowel were sanded and varathaned, it was time to assemble the pieces.
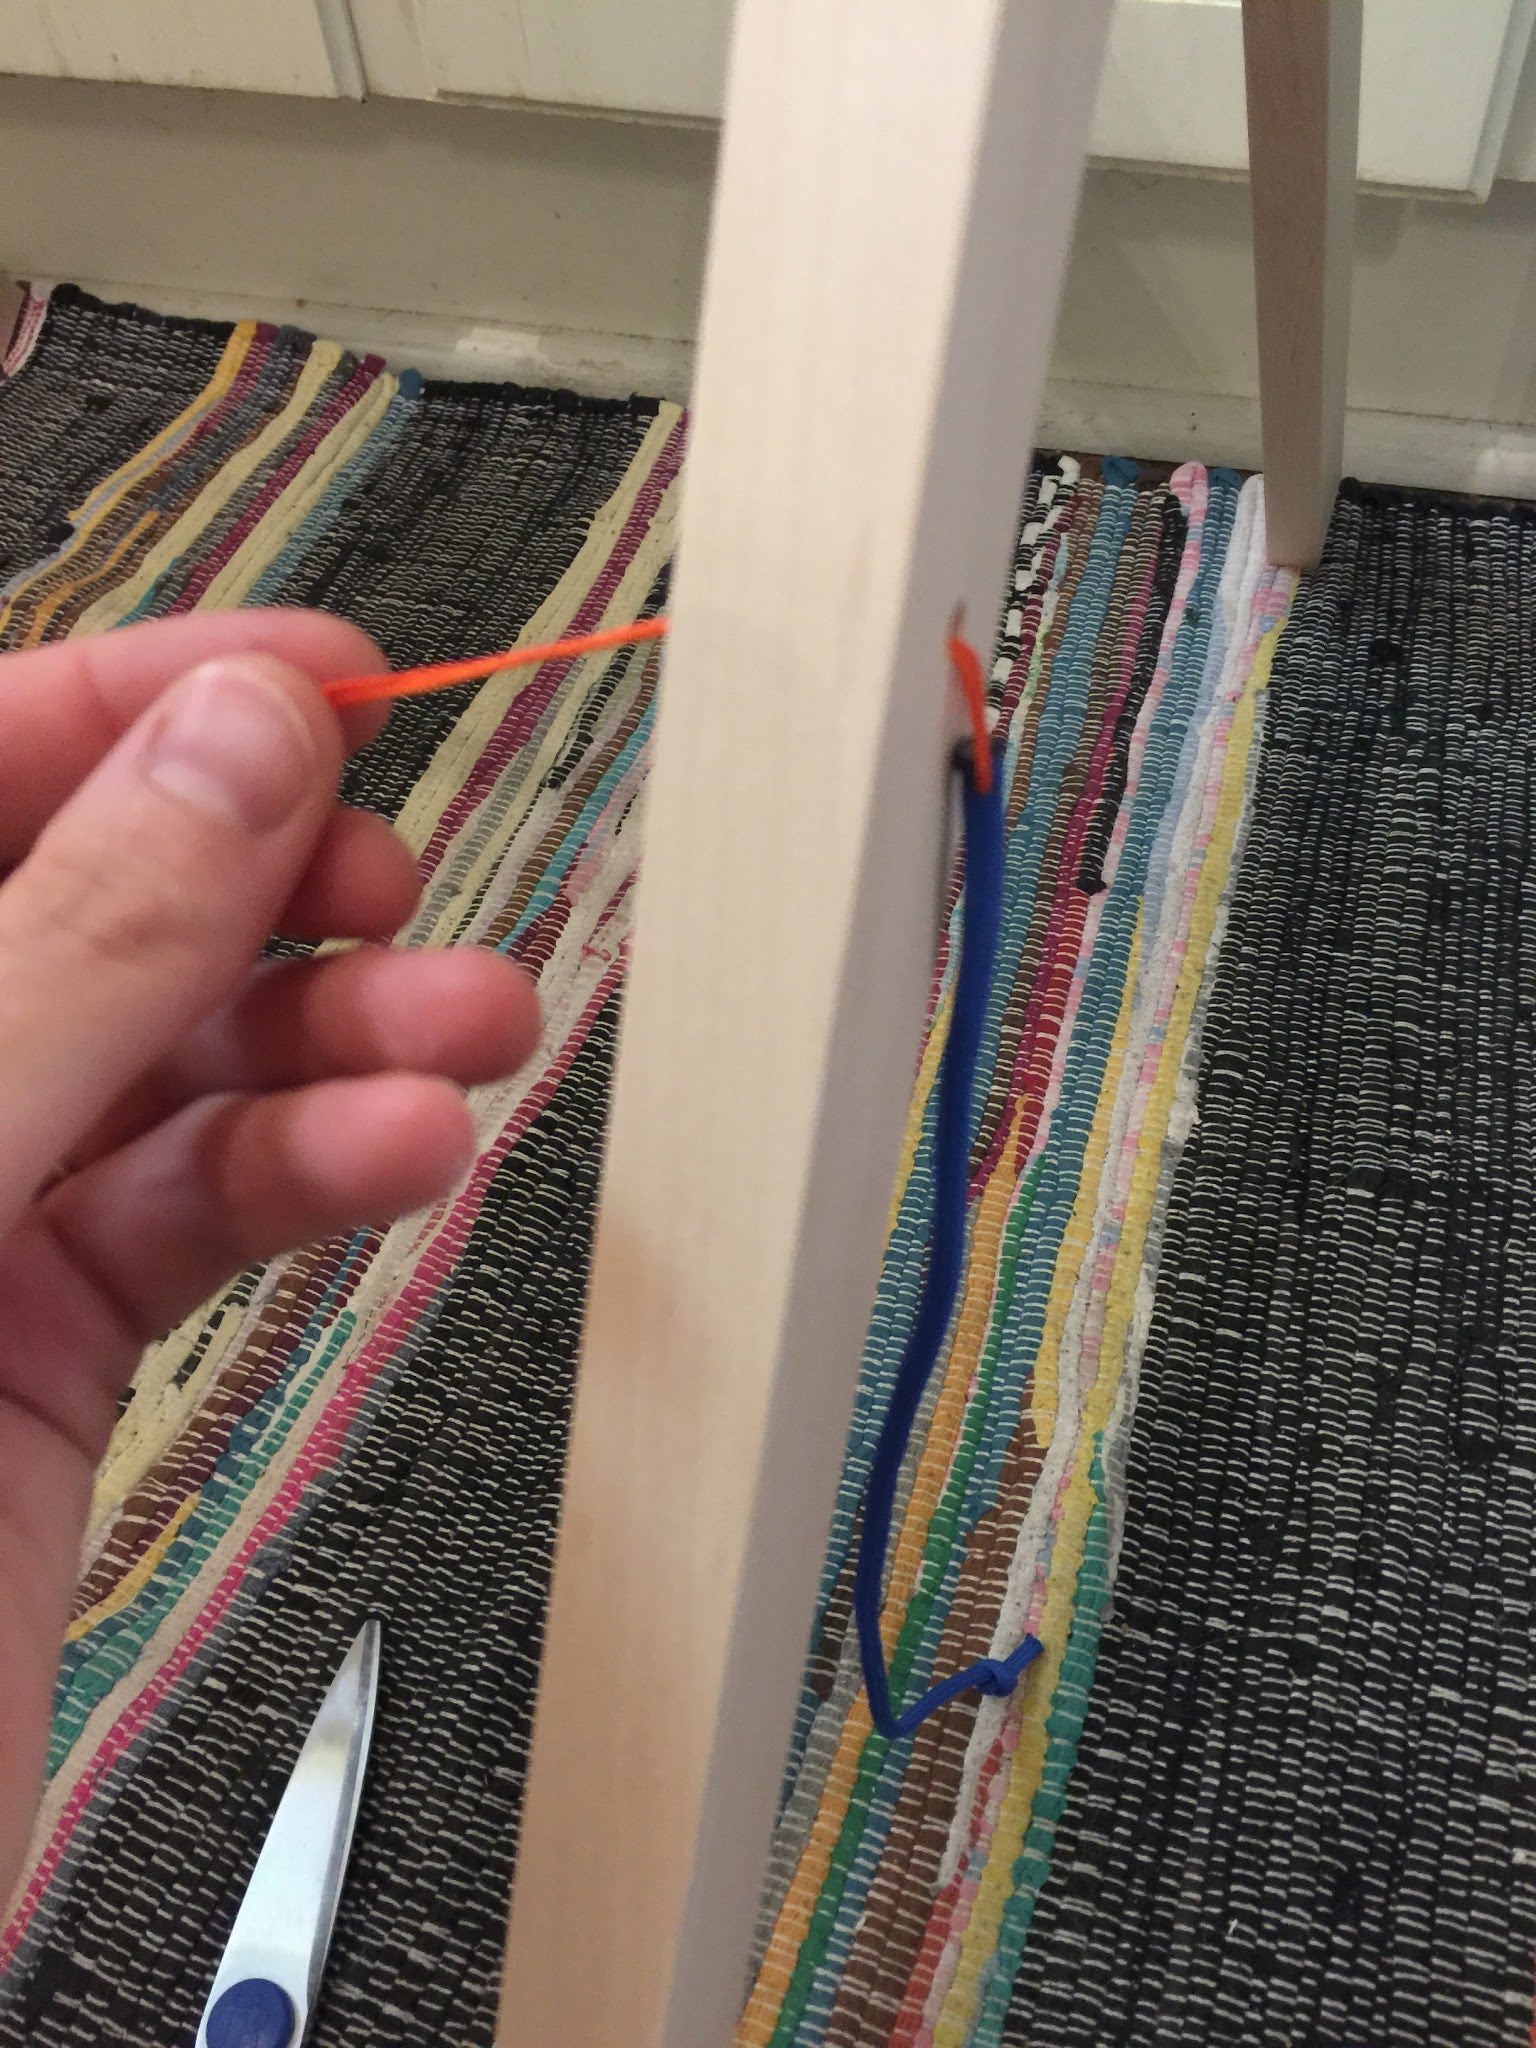
I cut two nylon pieces and inserted them into the holes. They wouldn’t go in easily, so I threaded a piece of thread into one end to help pull it through.
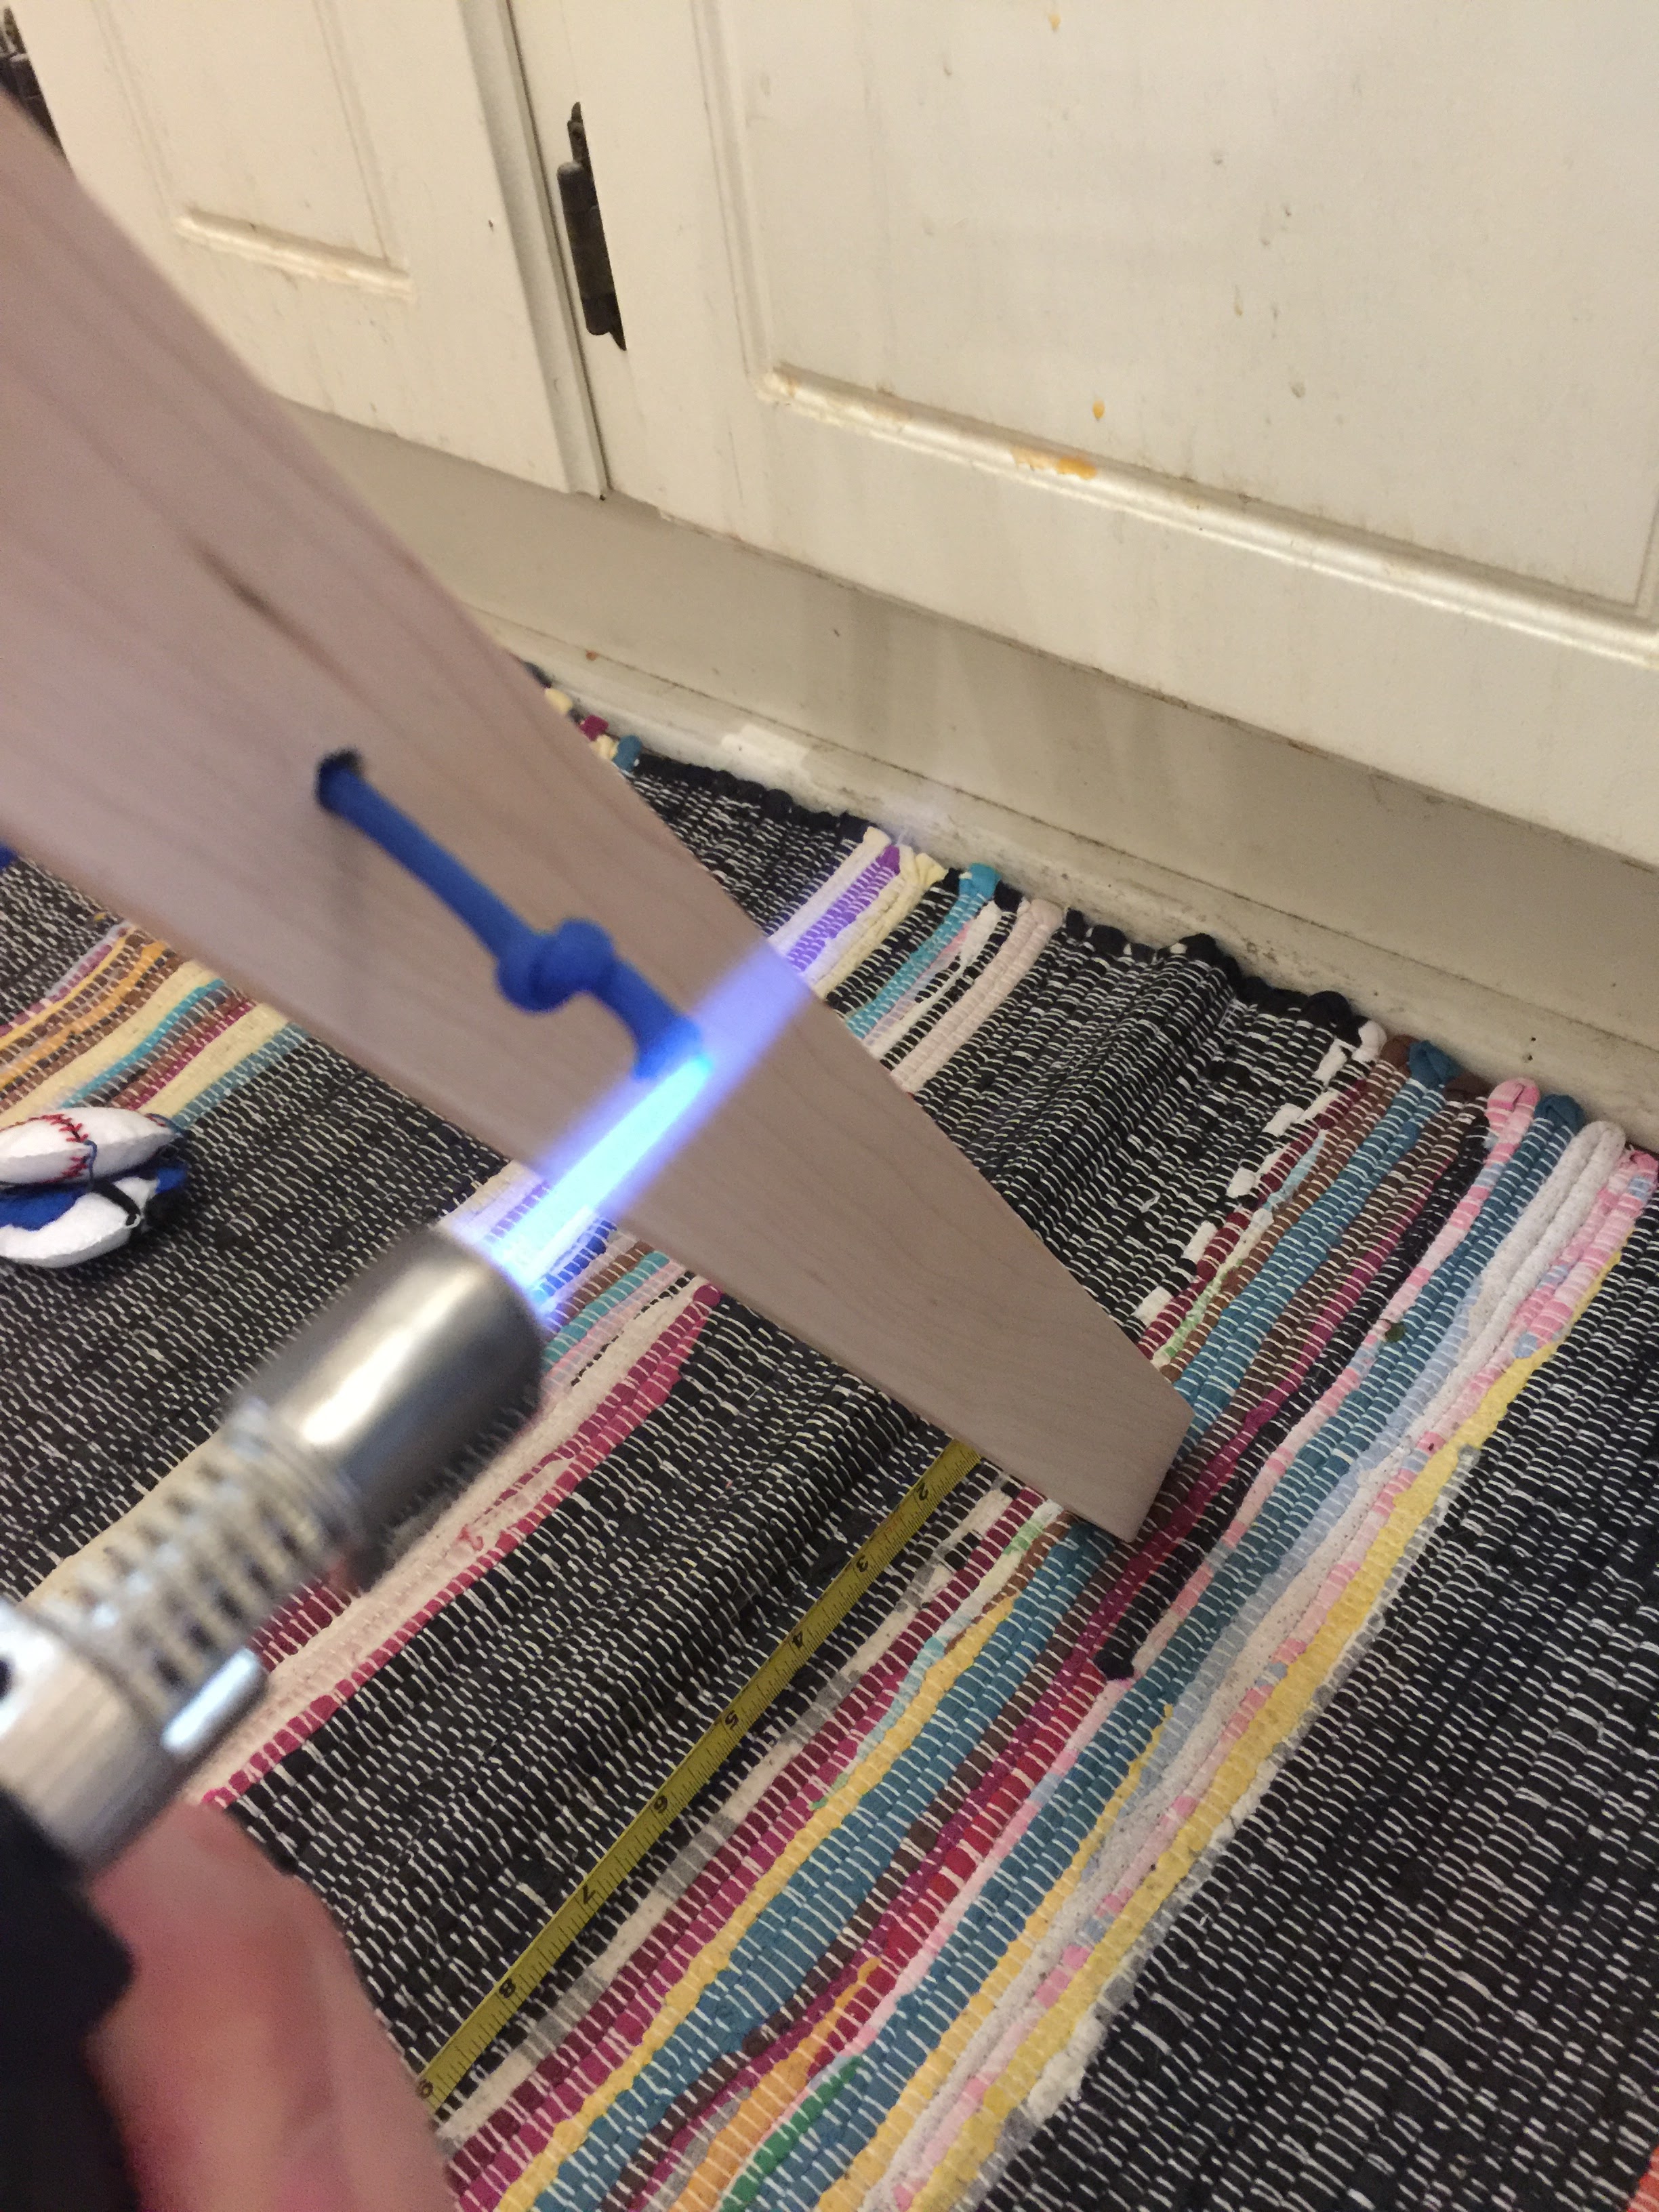
I then figured out how long the nylon pieces needed to be. I wanted the entire gym to stand at around 22″ tall and 30″ wide, so I cut the nylon so they were each 12″ long. Since it’s nylon, I had to burn the cut end to keep it from fraying. I used my handy kitchen torch.
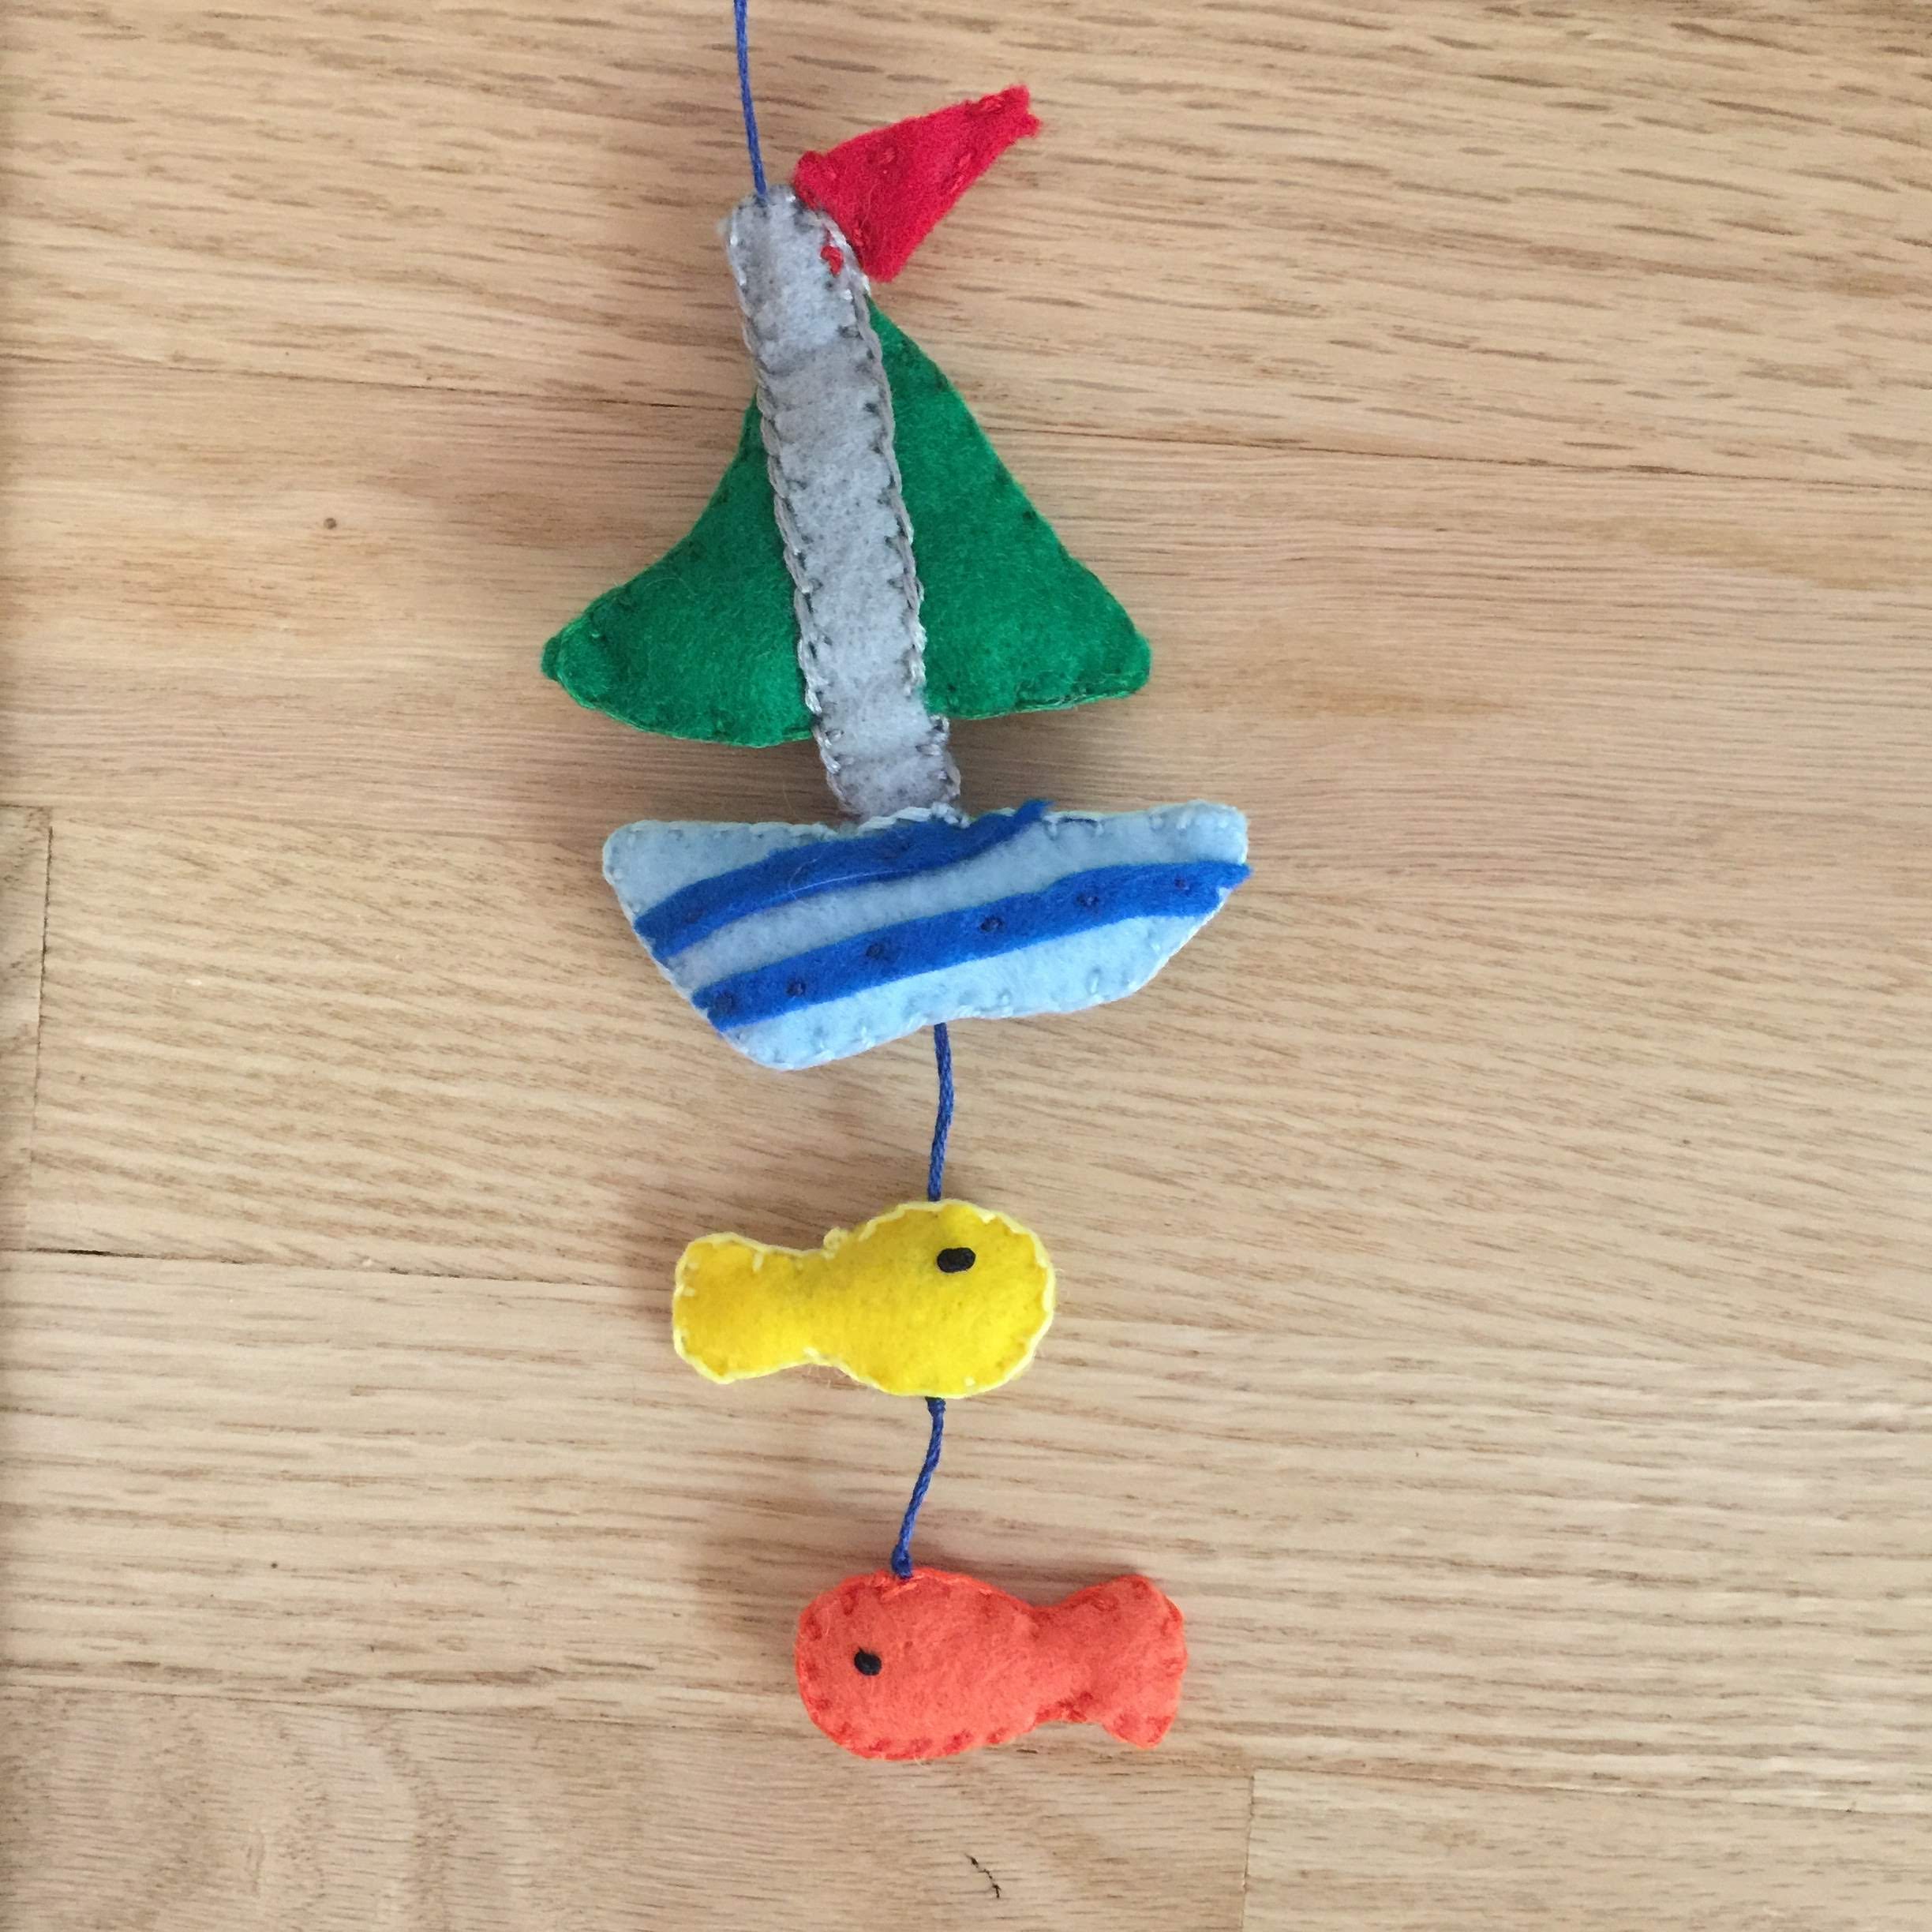
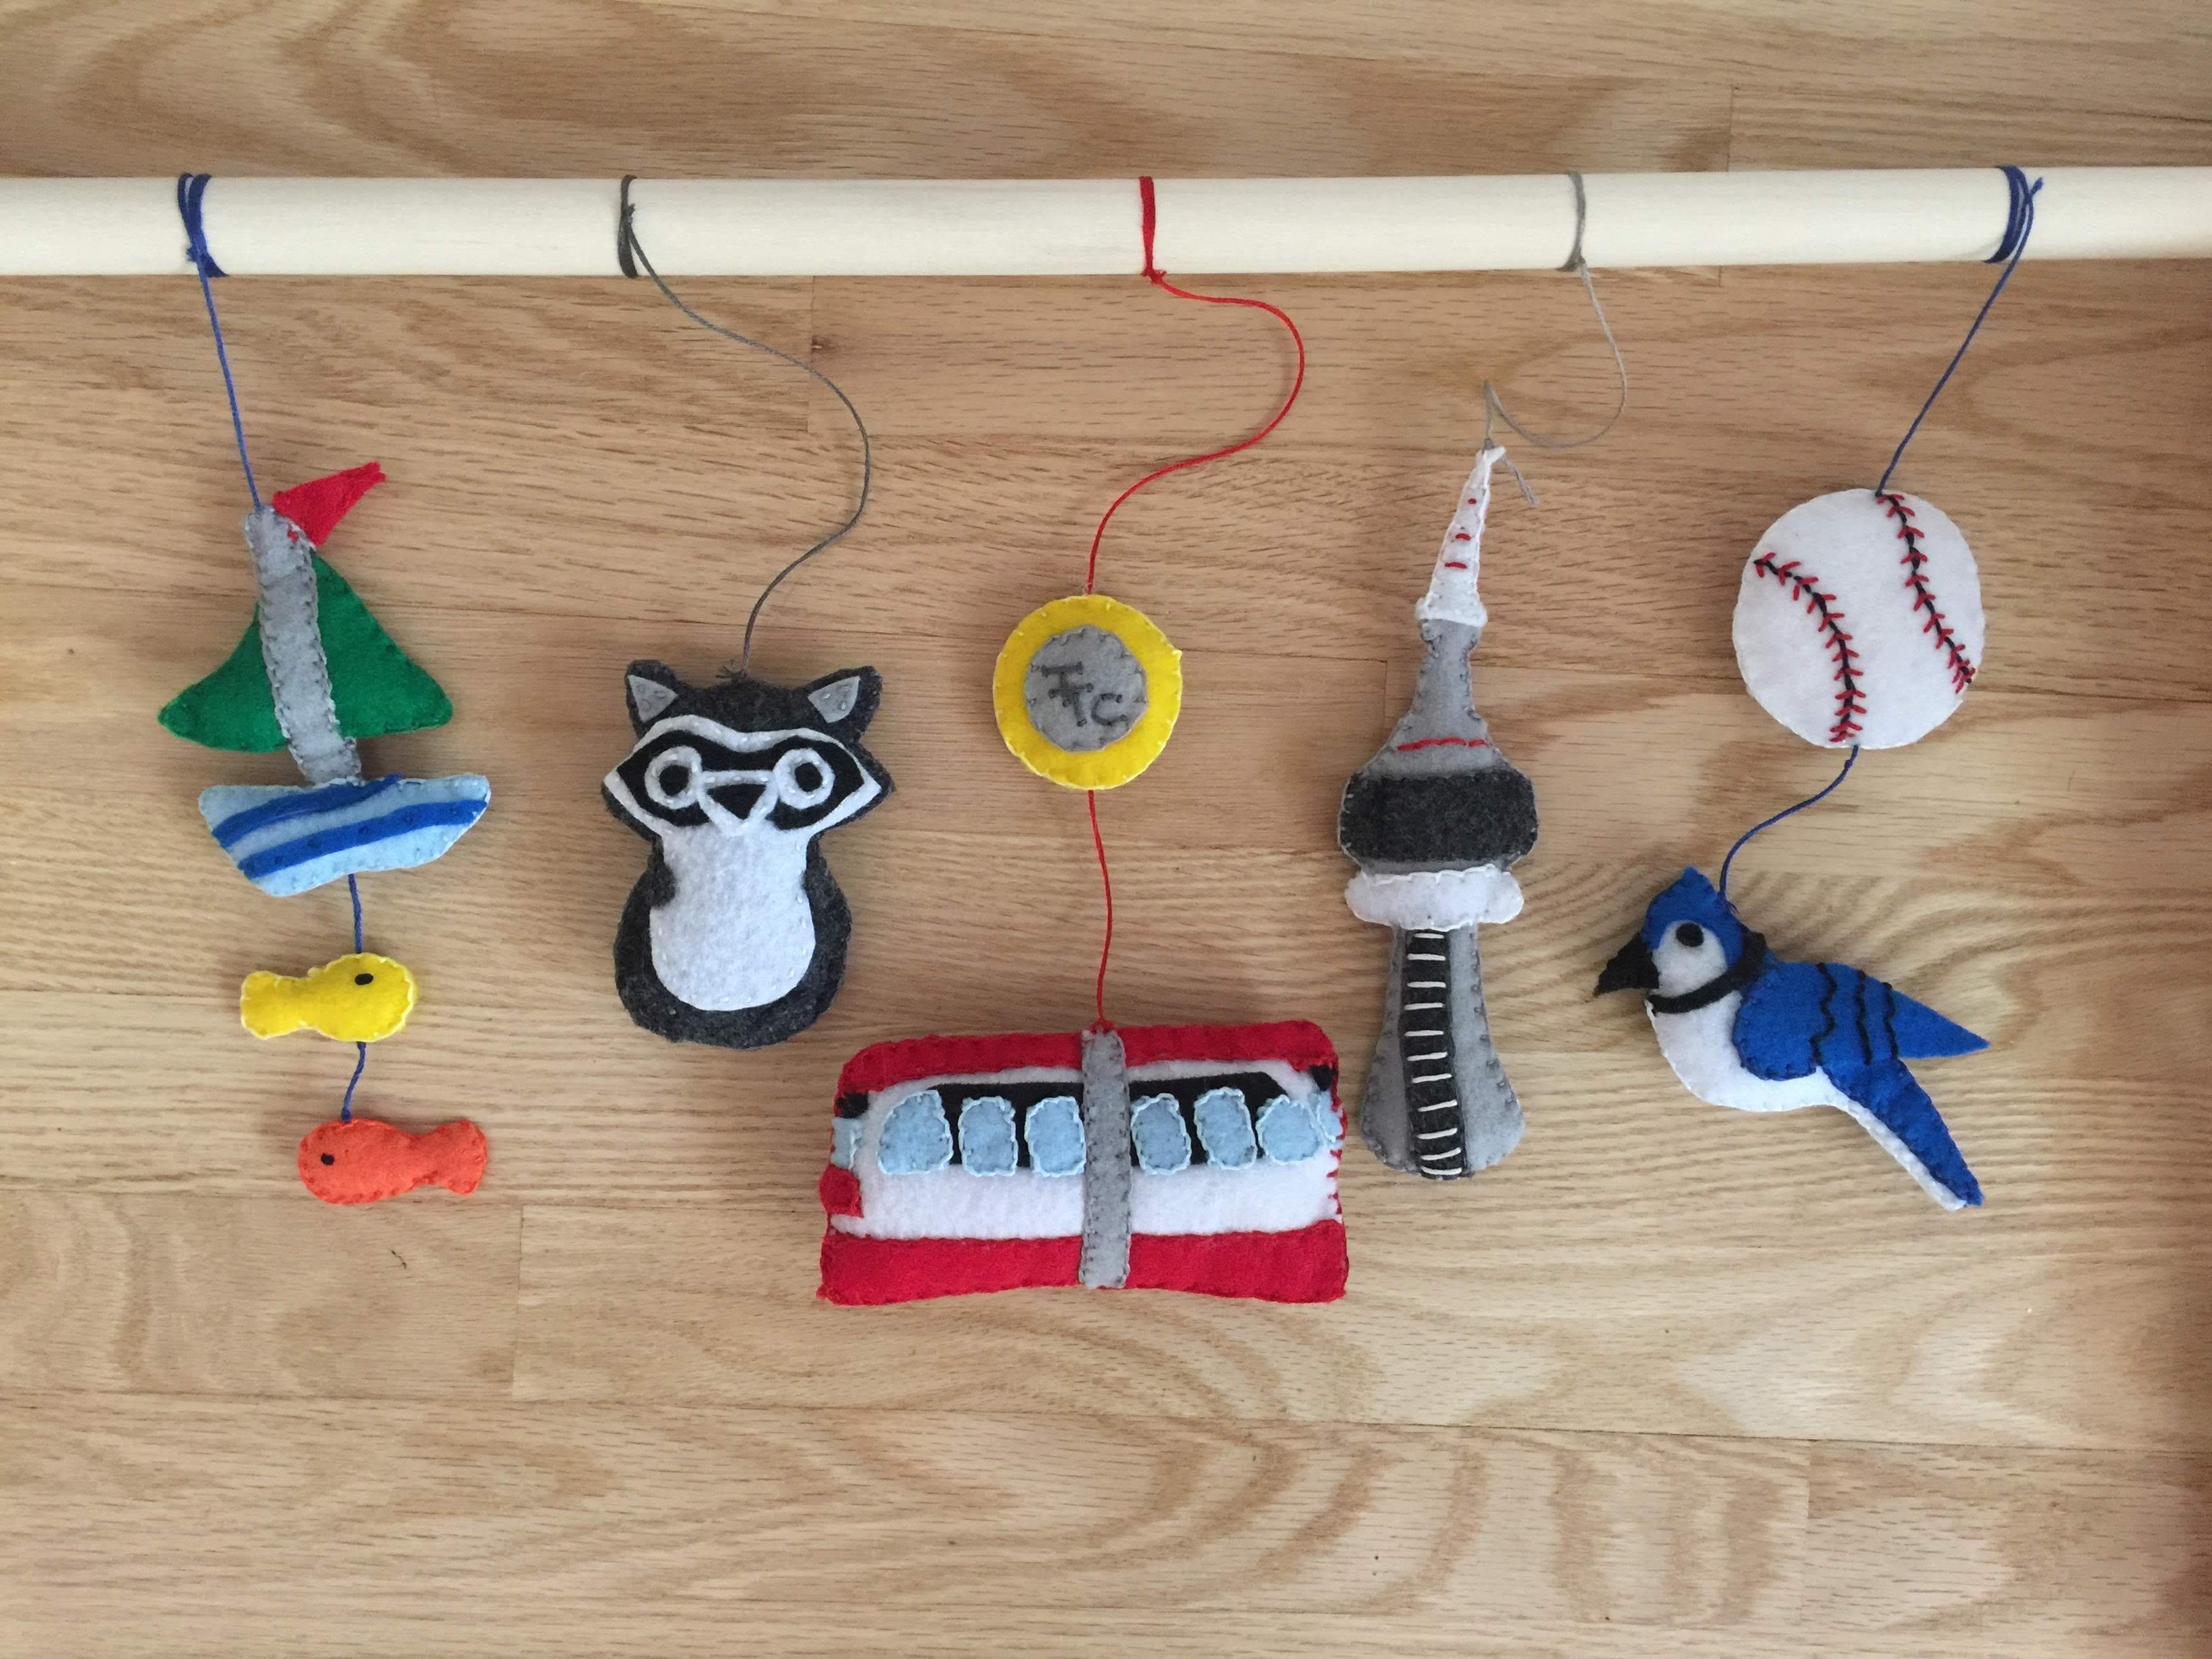
The final component of the baby gym was creating the little toys that hang from the dowel. I looked online to try to find some that I could buy, but they were pretty expensive and also pretty tacky (as is the case with most baby toys). So I decided to make the toys as well.
Making the Toys
I was inspired by some etsy sellers who made little plush toys from felt. I decided to make Toronto-themed toys, so went online to find inspiration or patterns for what I wanted to make. I couldn’t find many patterns, so I had to do it myself.
I didn’t take many pictures of this step because I had to do most of the sewing in very small batches of time in between caring for a cranky baby. I cut the felt pieces based on my pattern, sewed them and stuffed them with a little bit of polyester fill.
I decided to make 5 toys in total.
A boat and fish to represent Lake Ontario:
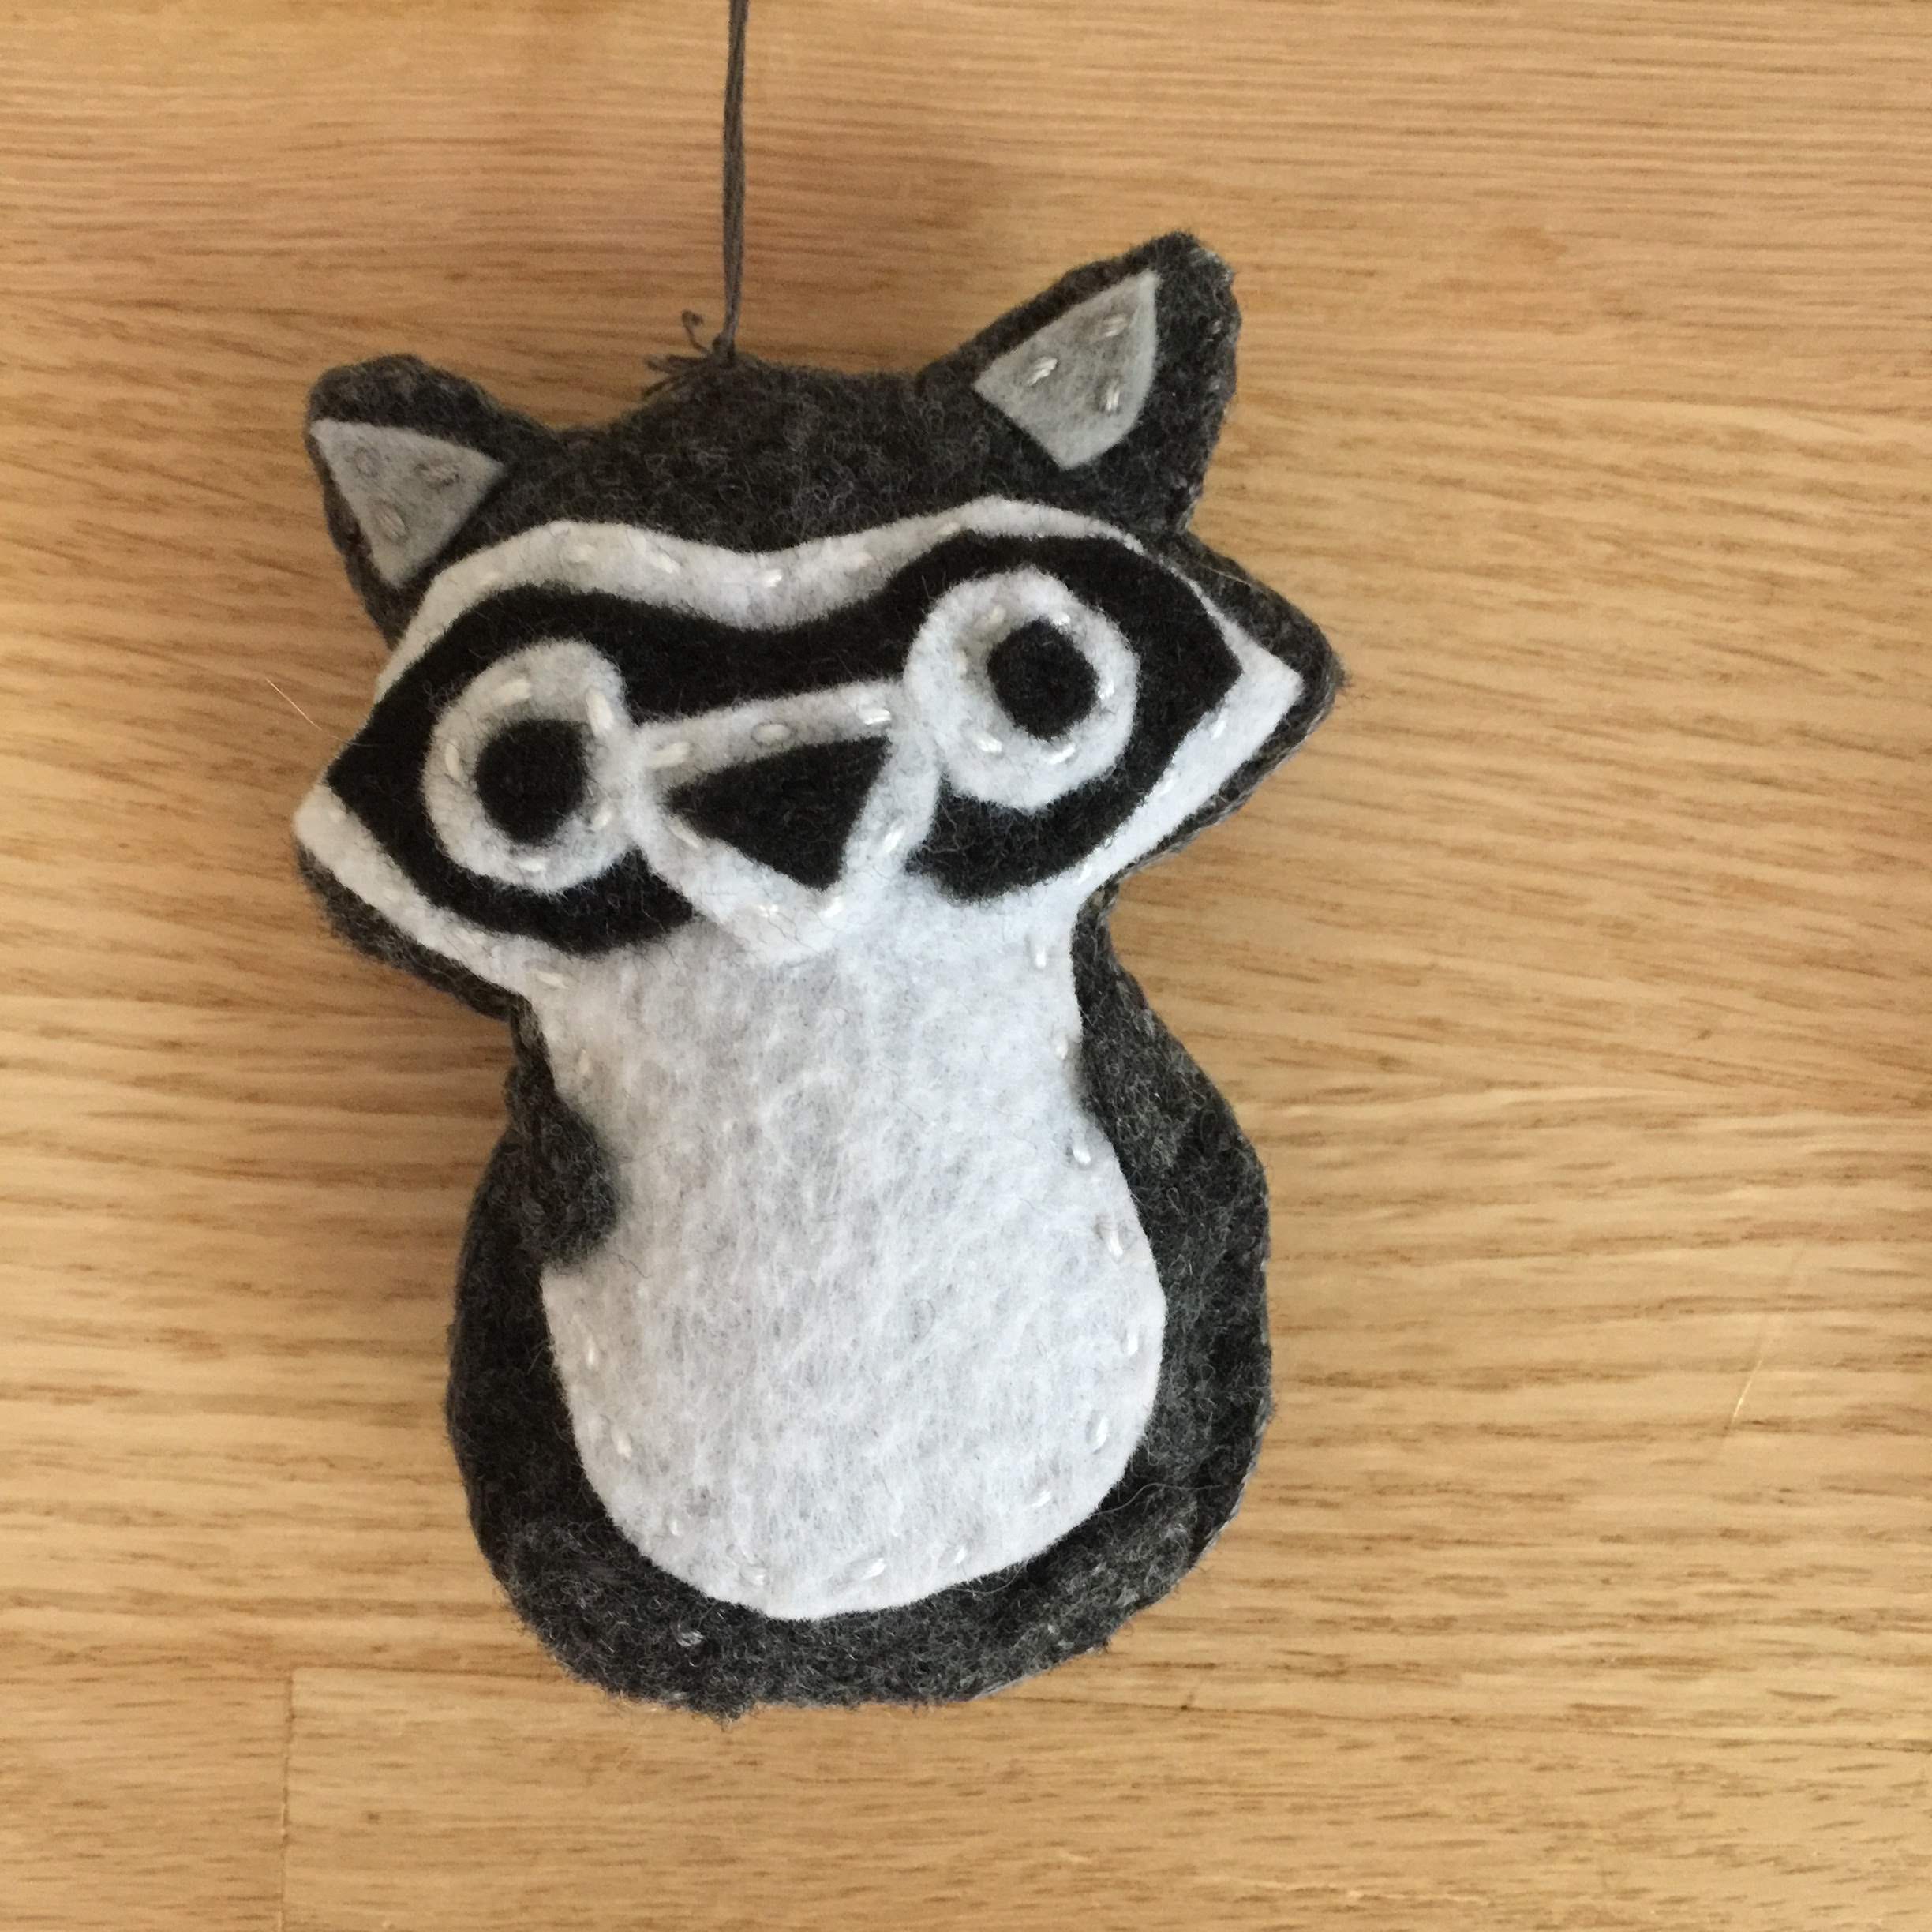
A racoon (basically our city mascot):

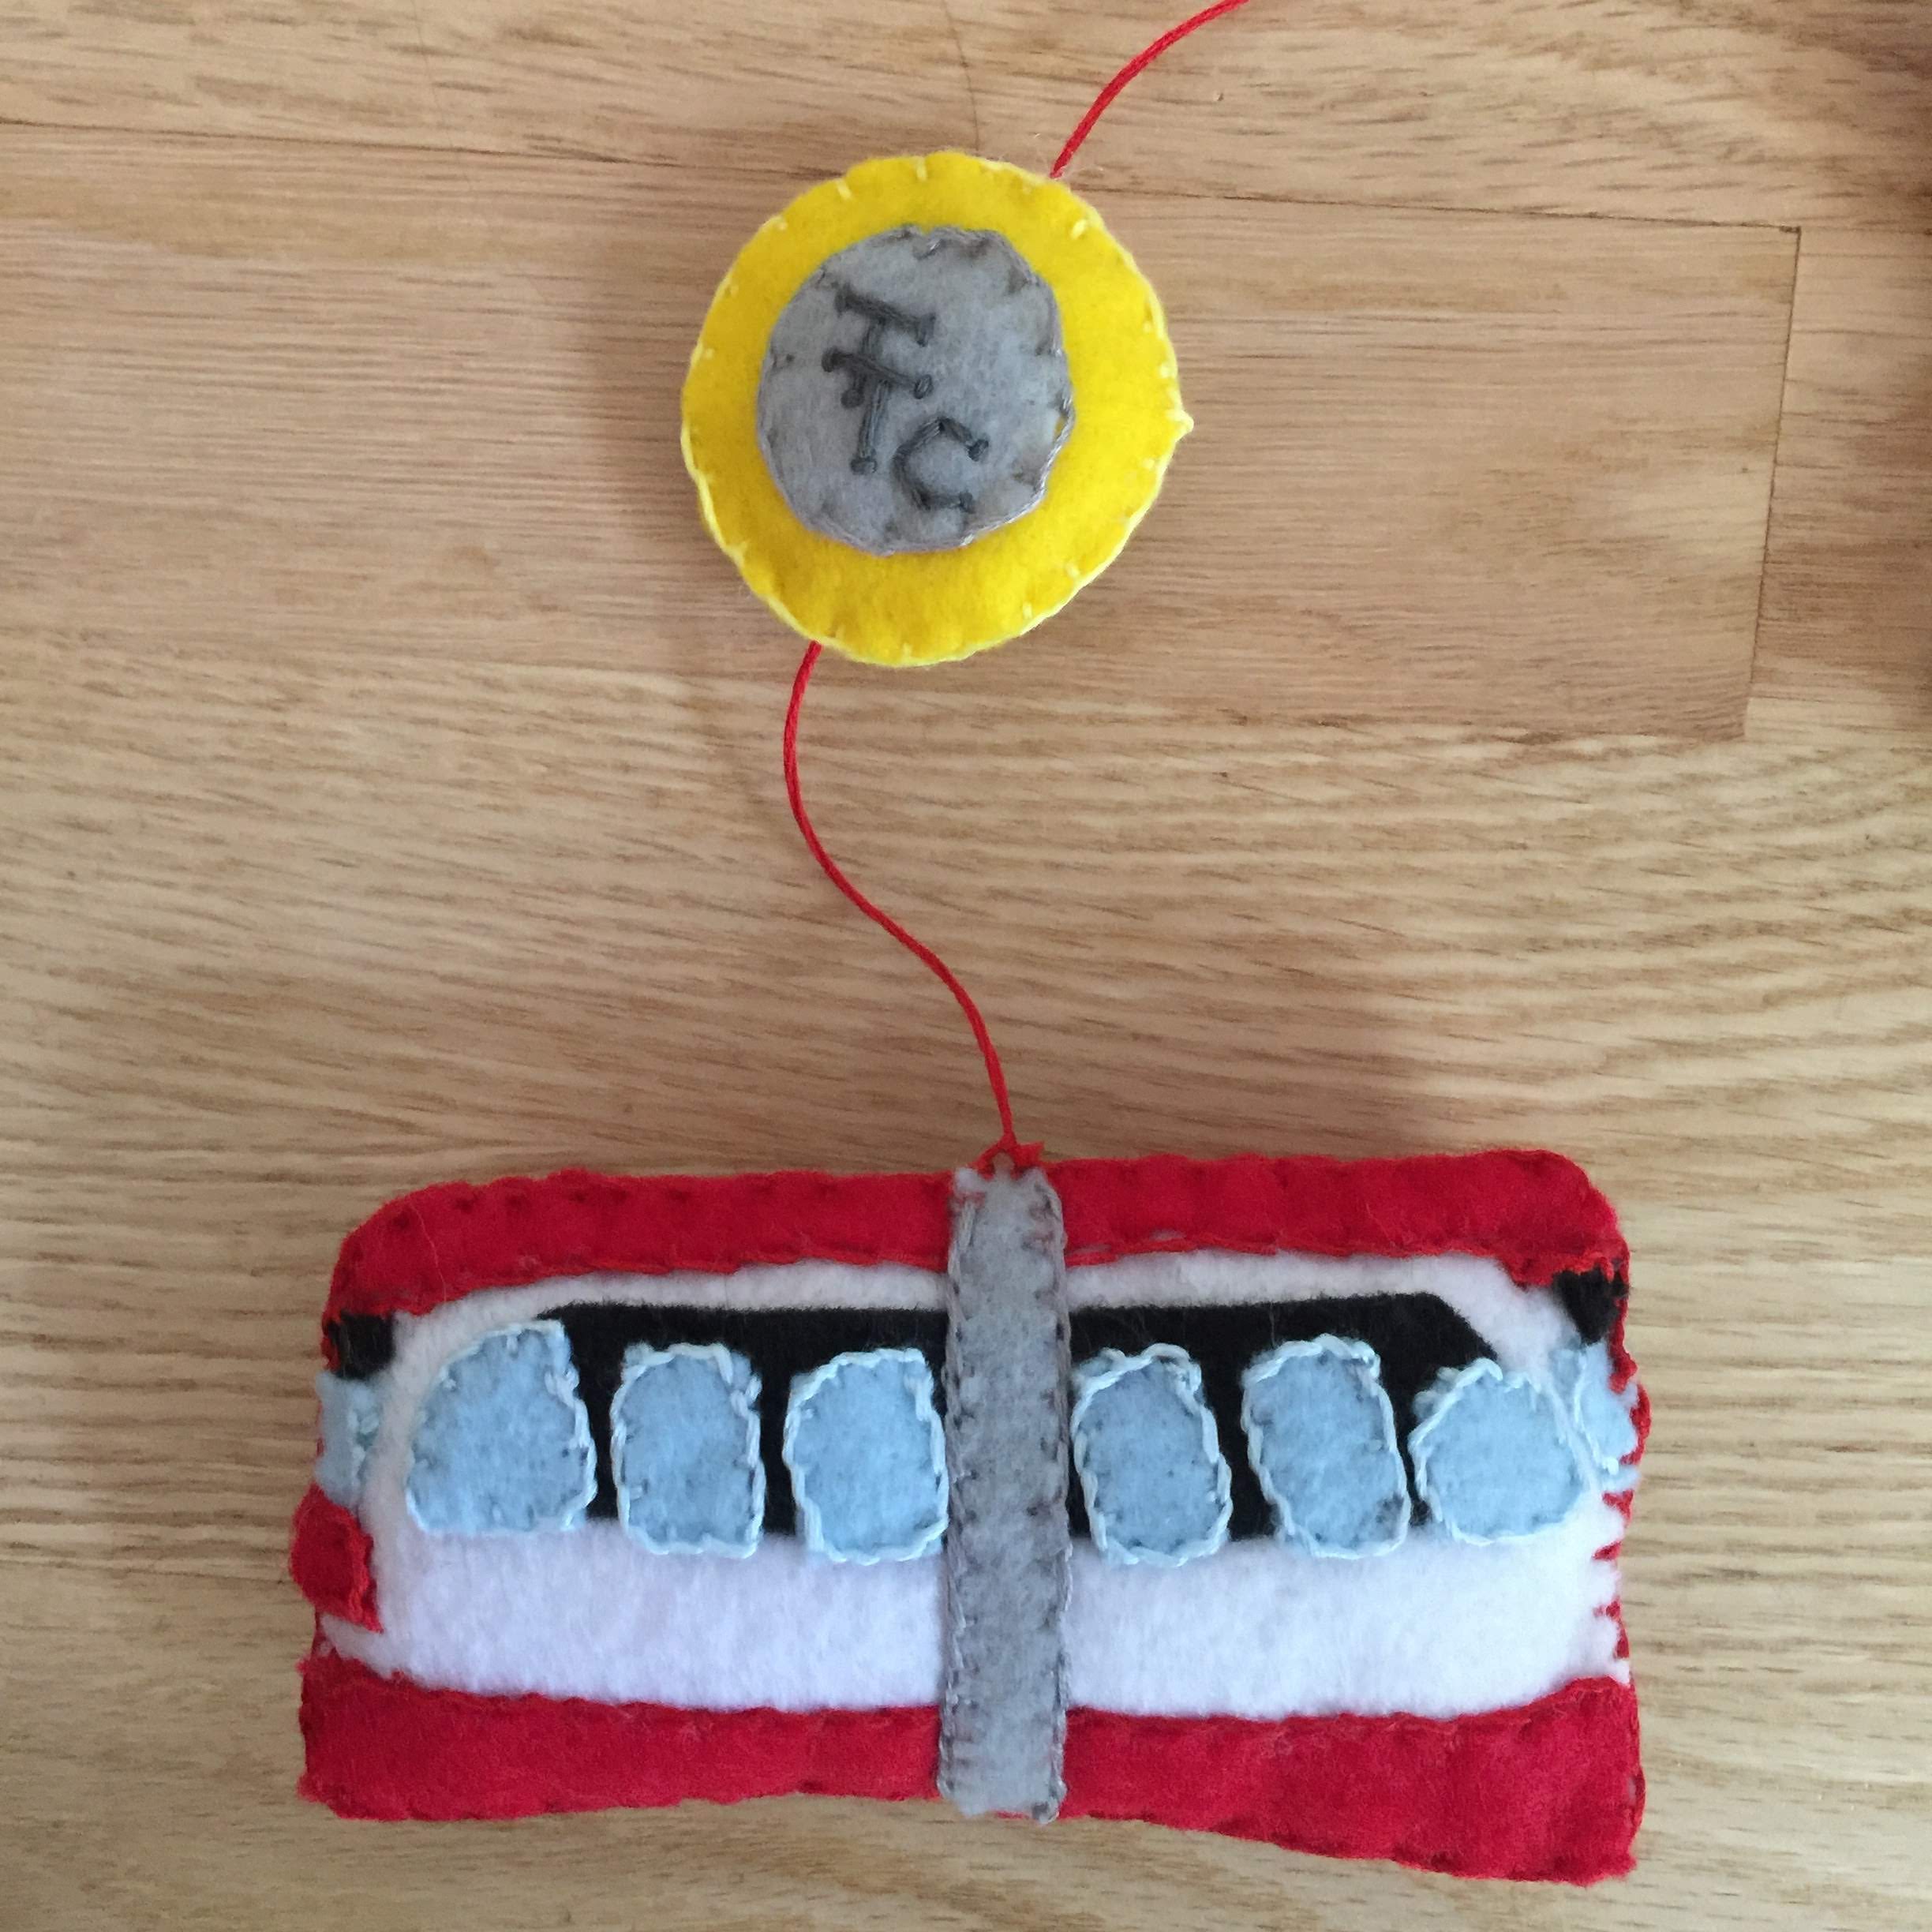
A streetcar and TTC token:
The CN tower:

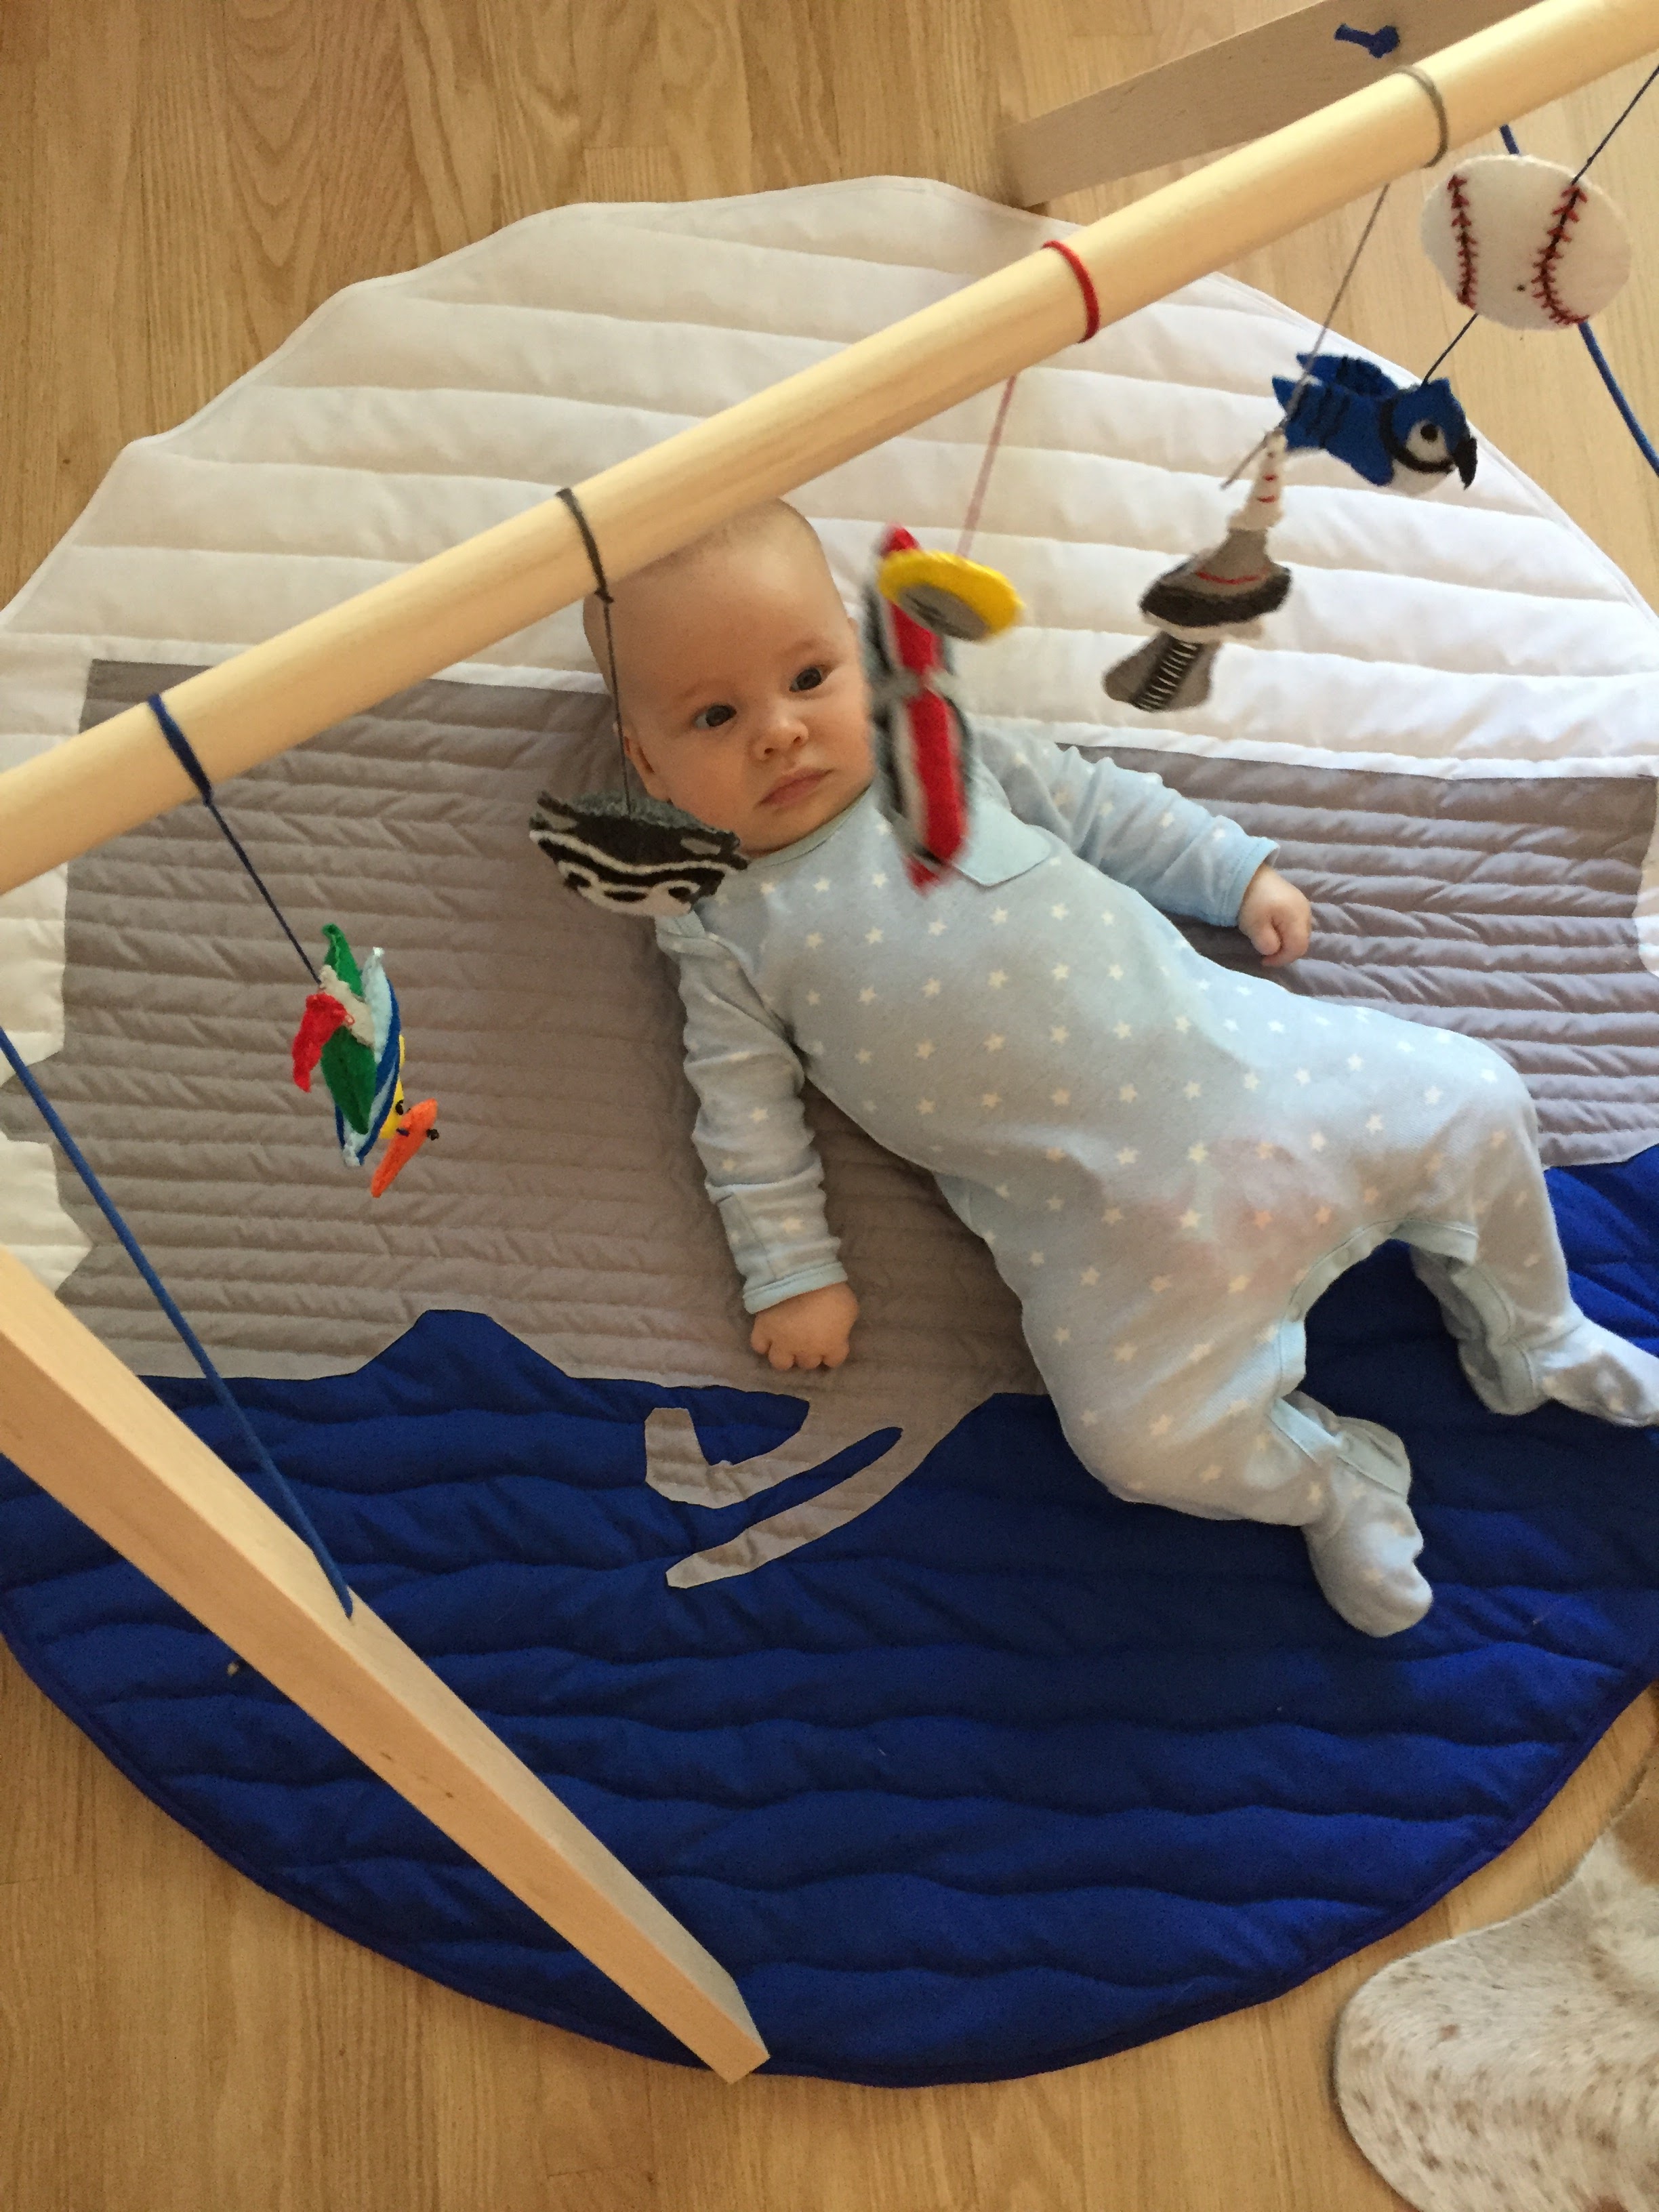
And a blue jay and baseball to represent our local team.

It took a few days to make all the little toys, but I’m very happy with the outcome.
Making the Quilted Mat
I also wanted to make a mat to go under the gym so the baby could lay comfortably on the floor.
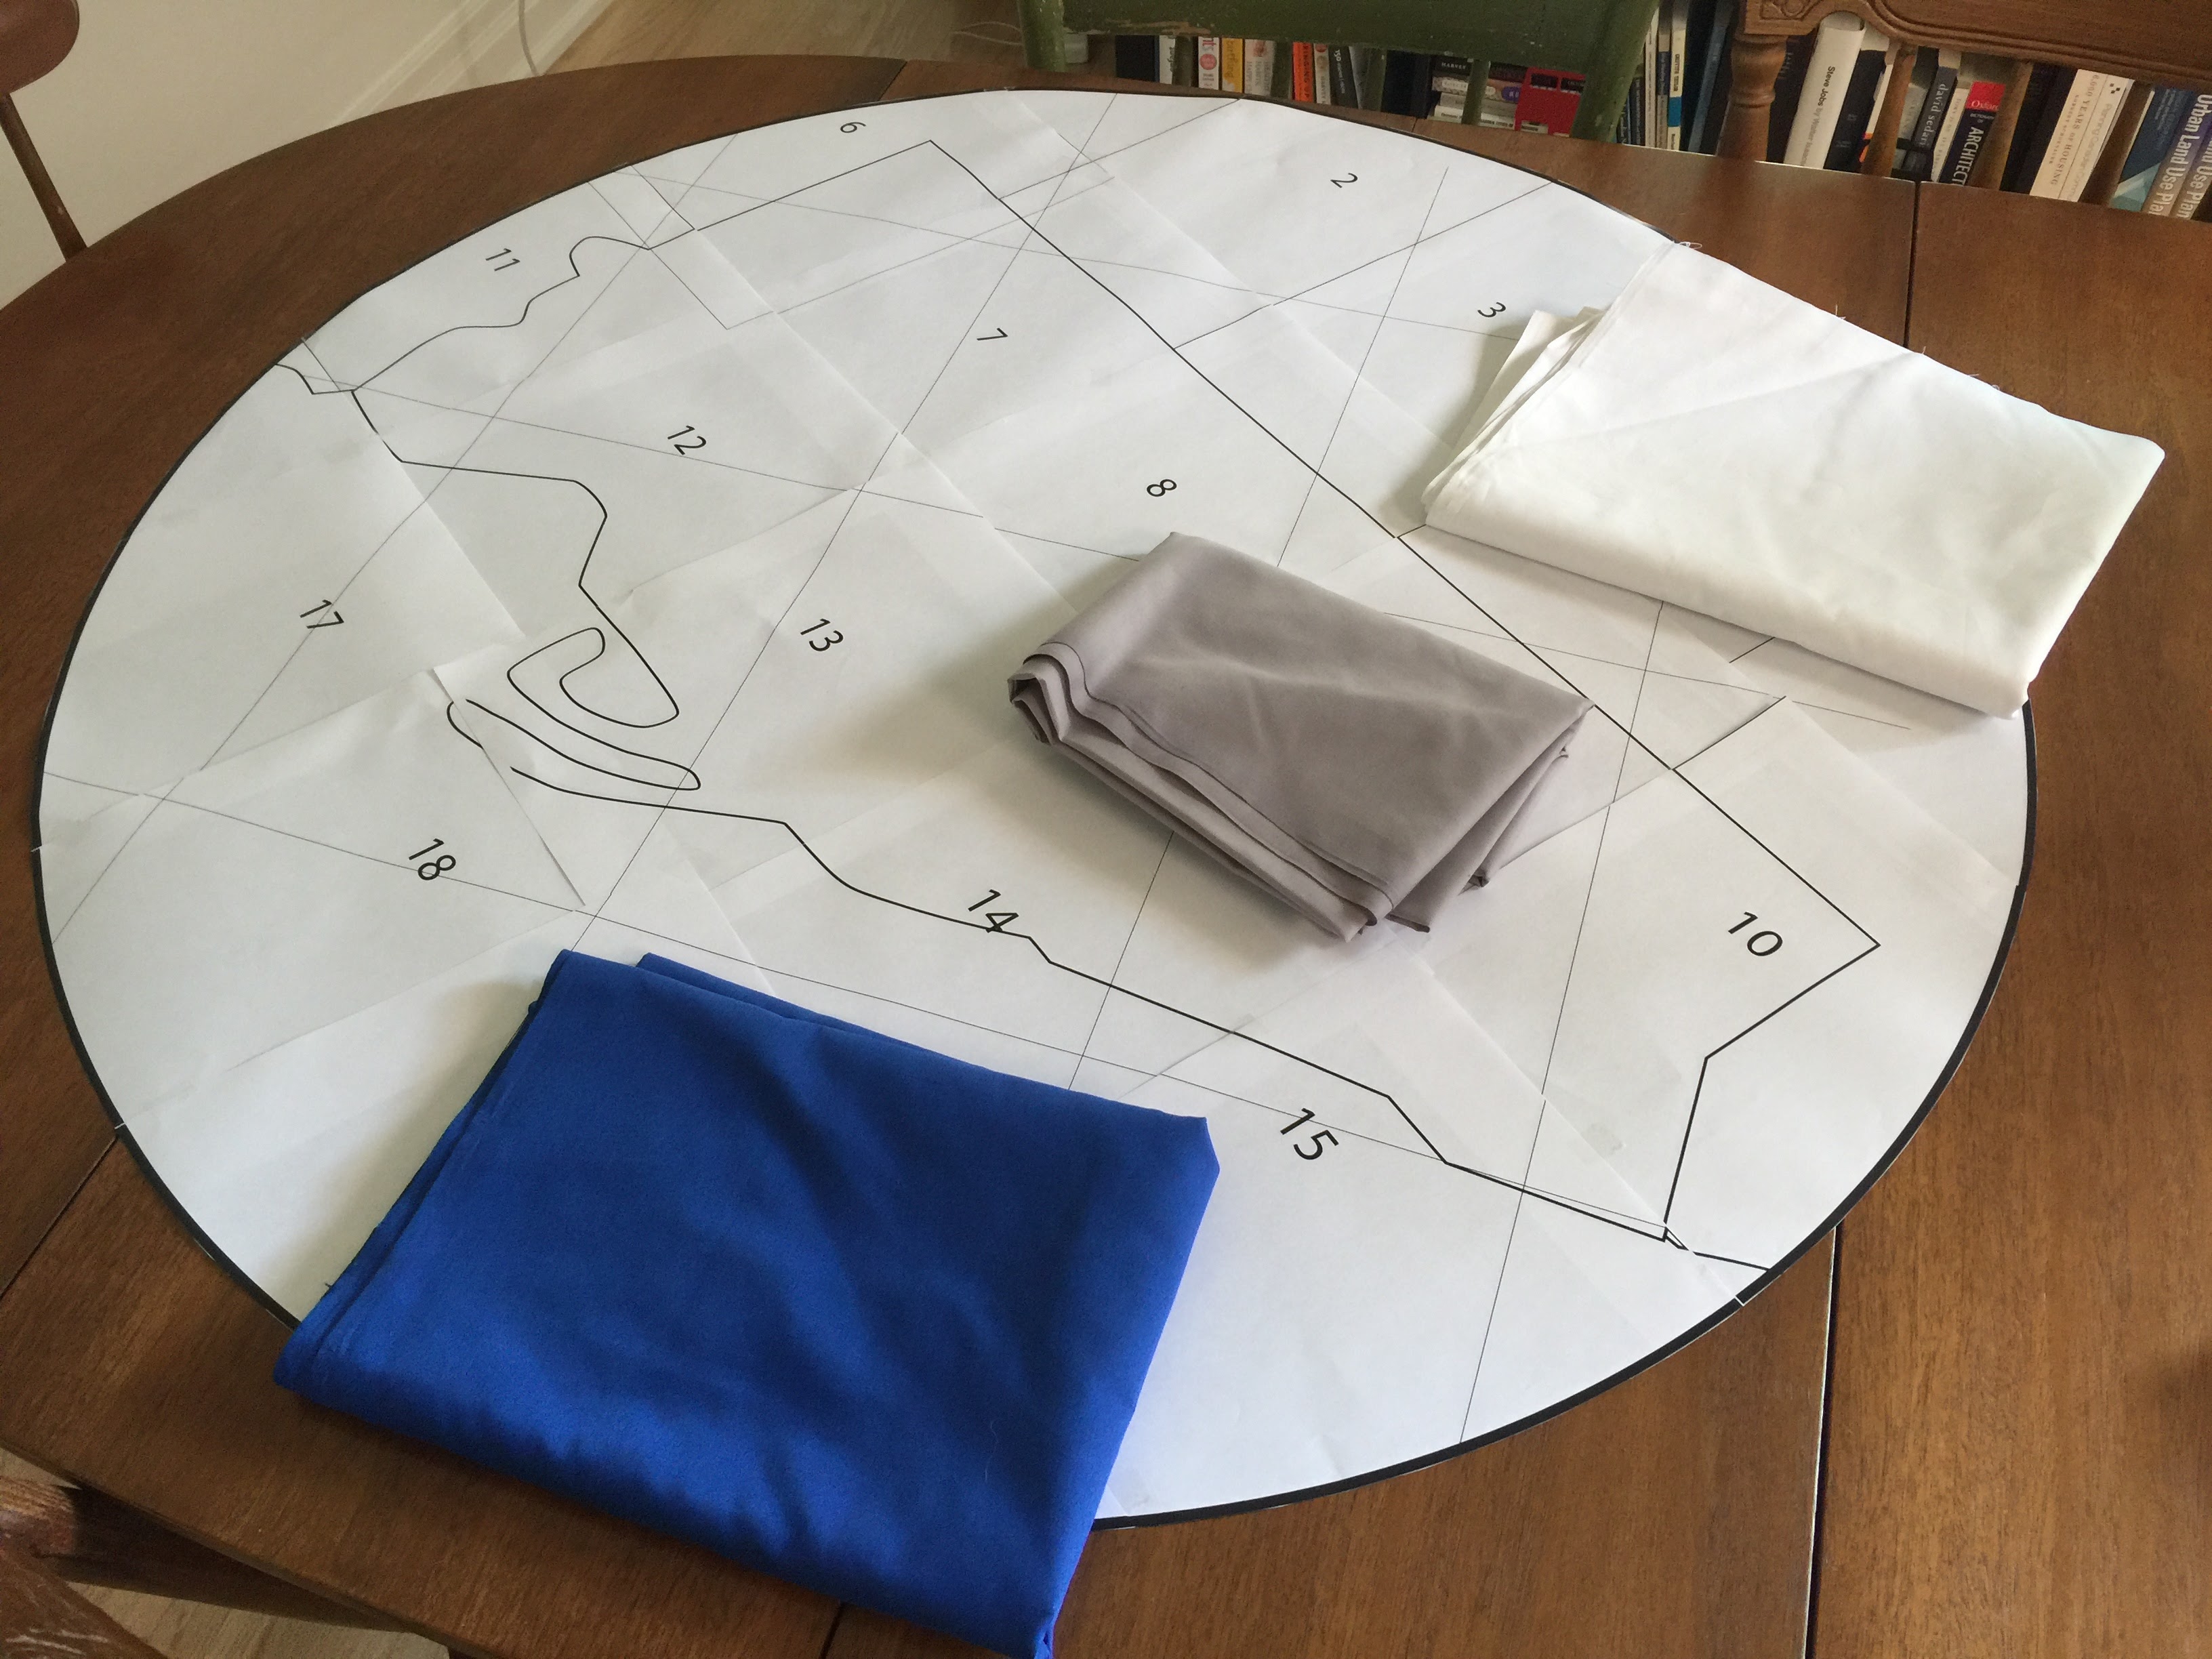
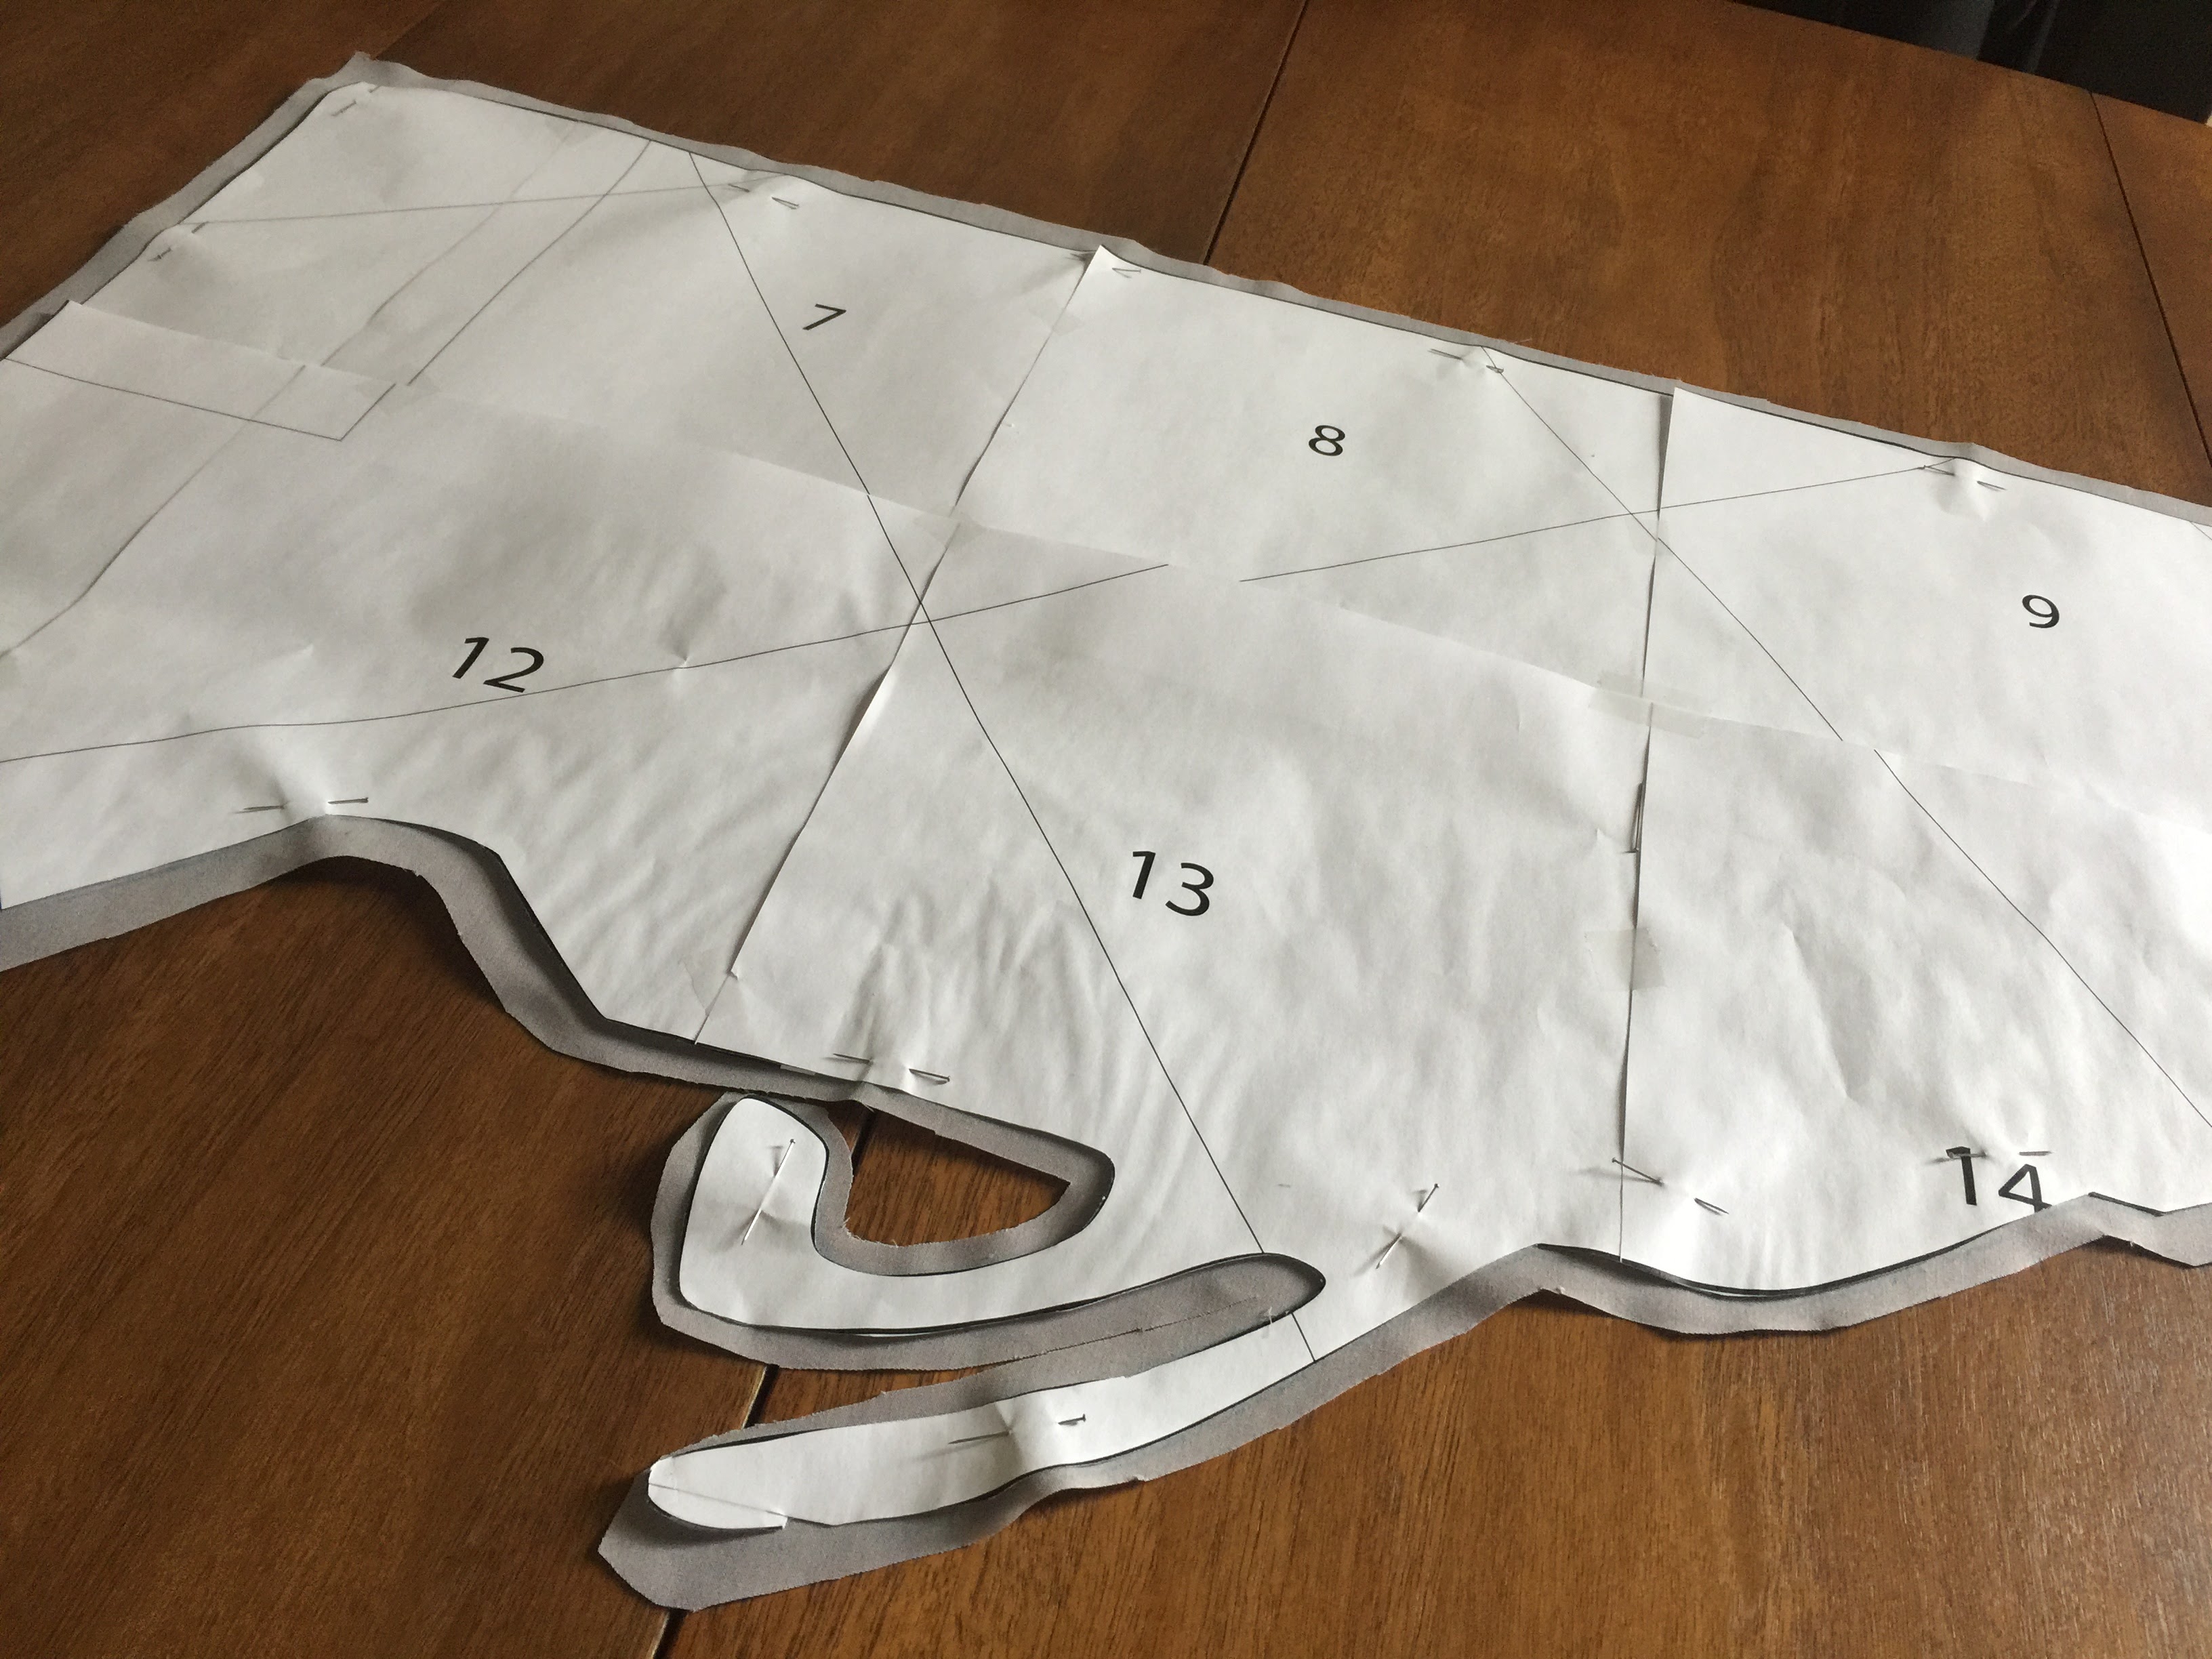
I used Illustrator and googled vectors of Toronto to create the pattern and then printed it to size. I bought cotton broadcloth in fairly neutral colours, but ones that went with my little felt creations.
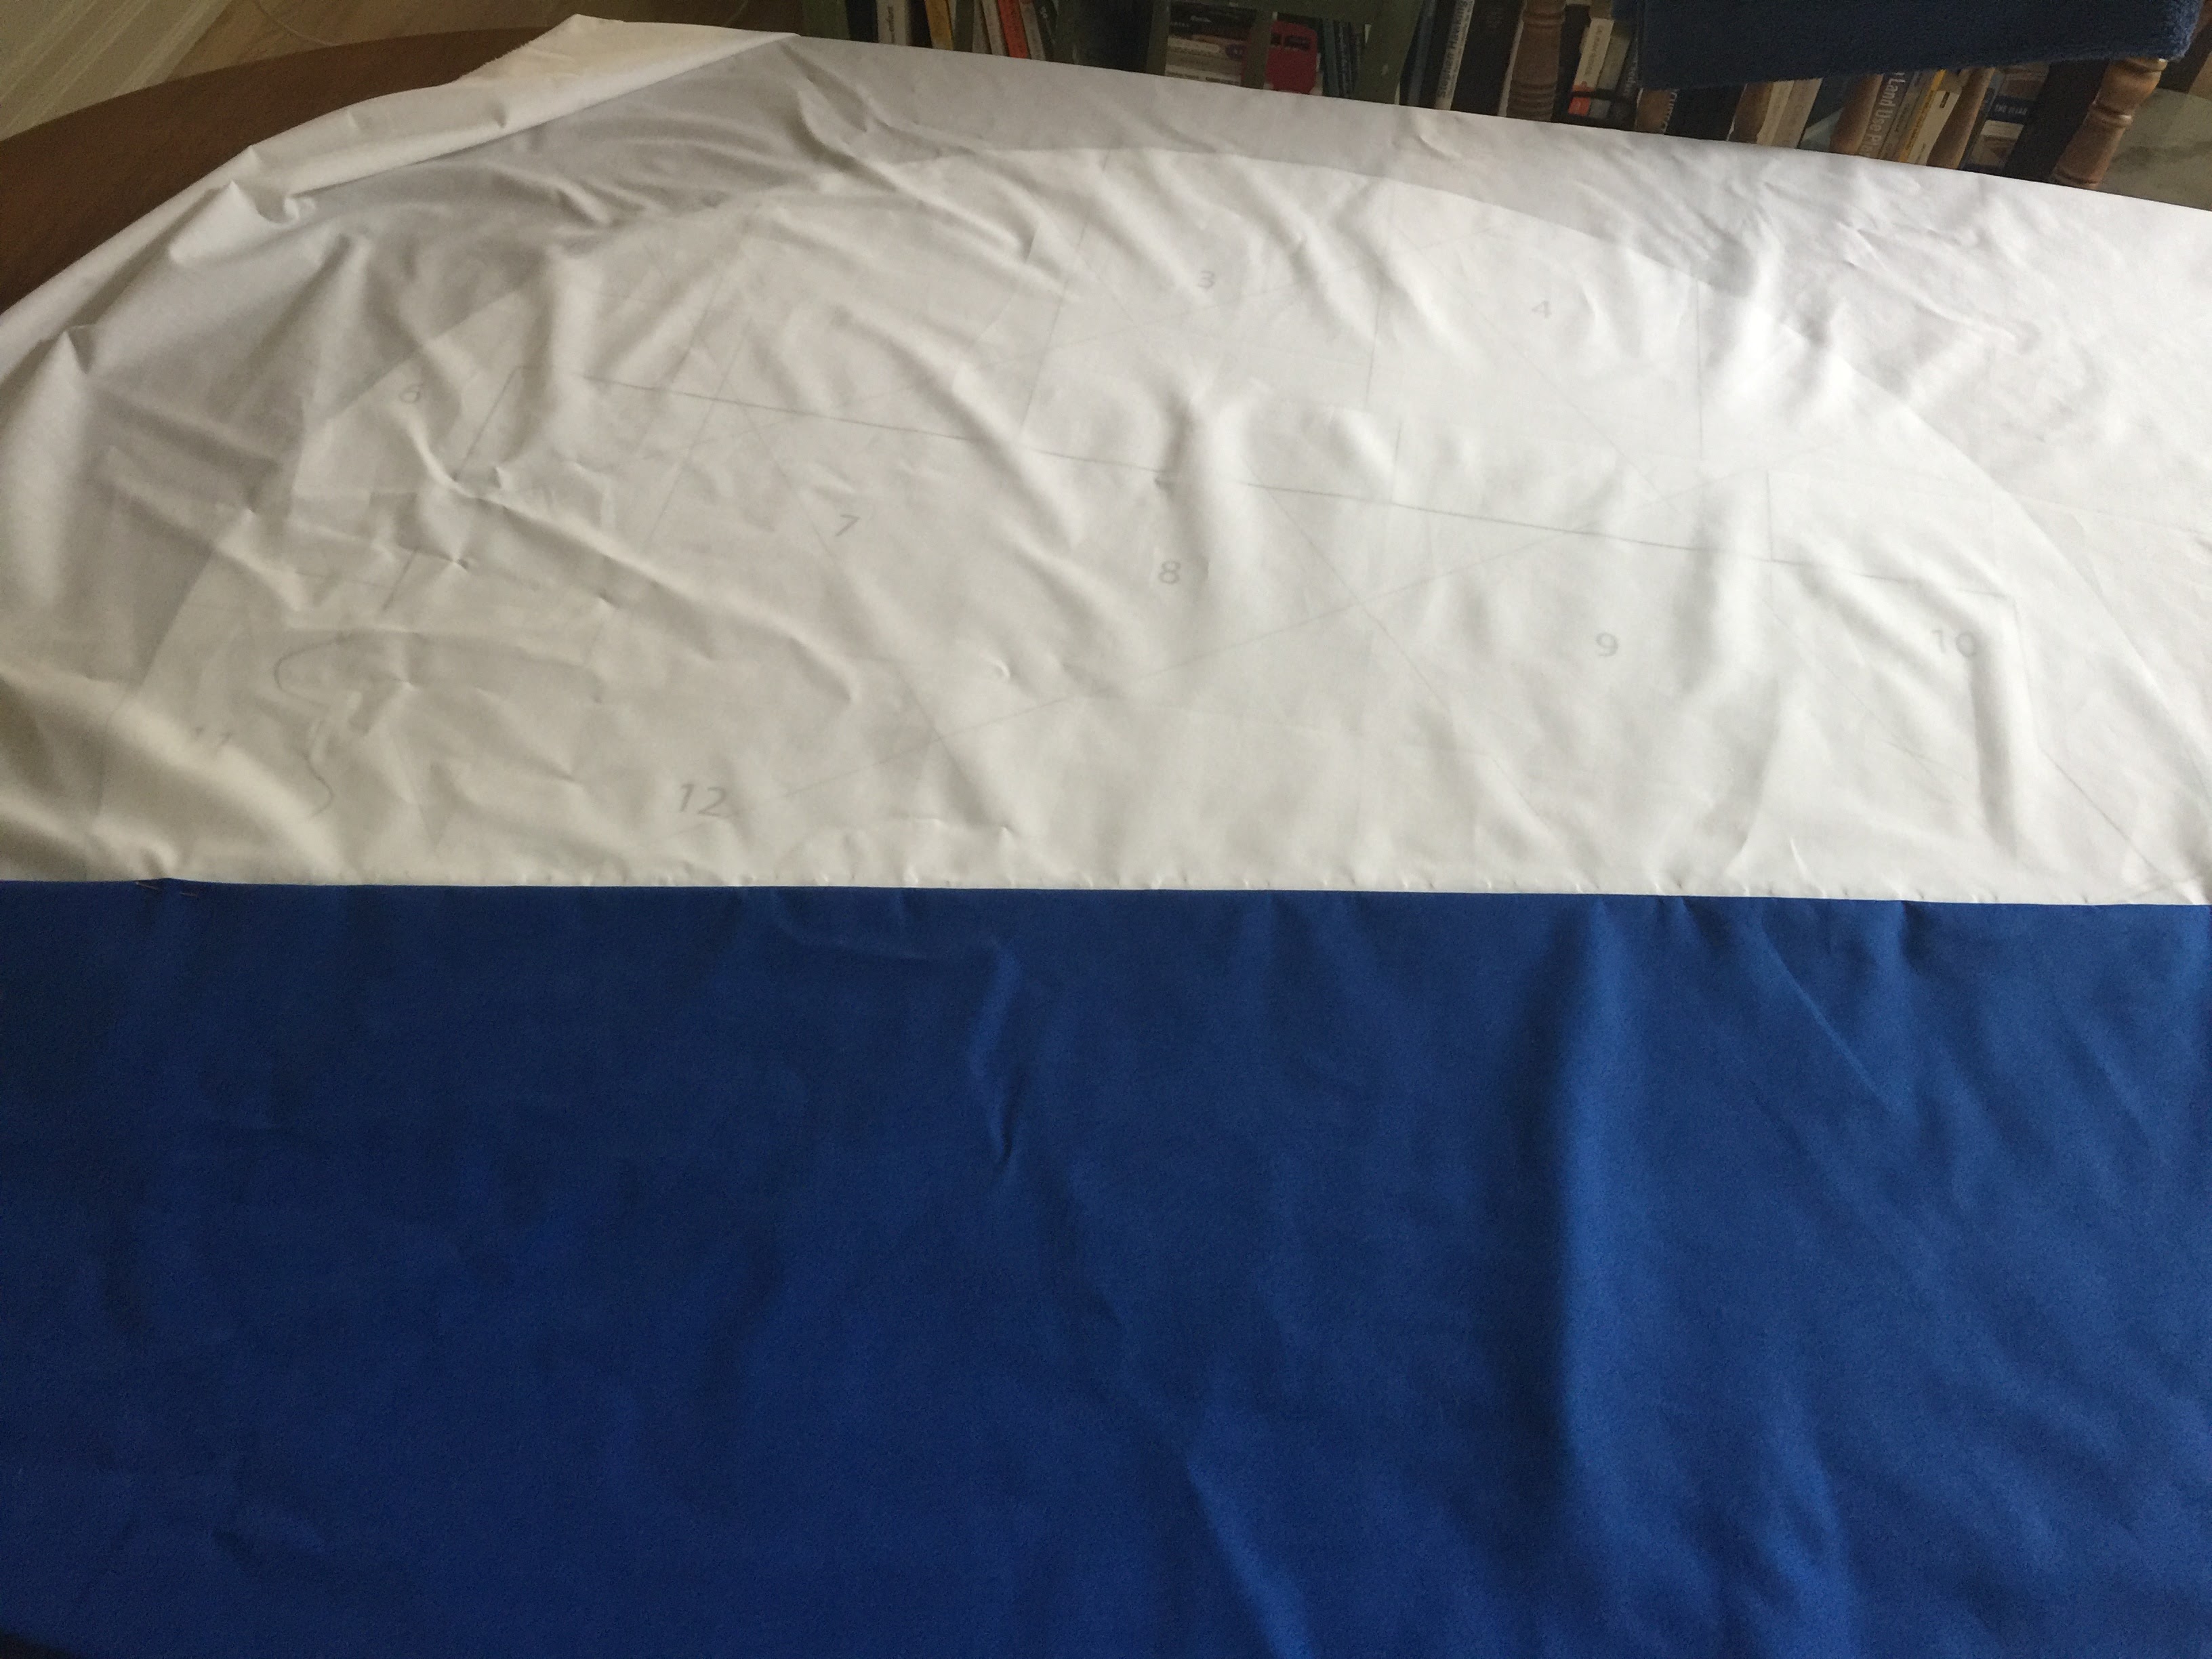
After ironing each piece, I sewed the white and blue pieces together (using a regular sewing machine stitch, wrong sides together) and the ironed them flat.
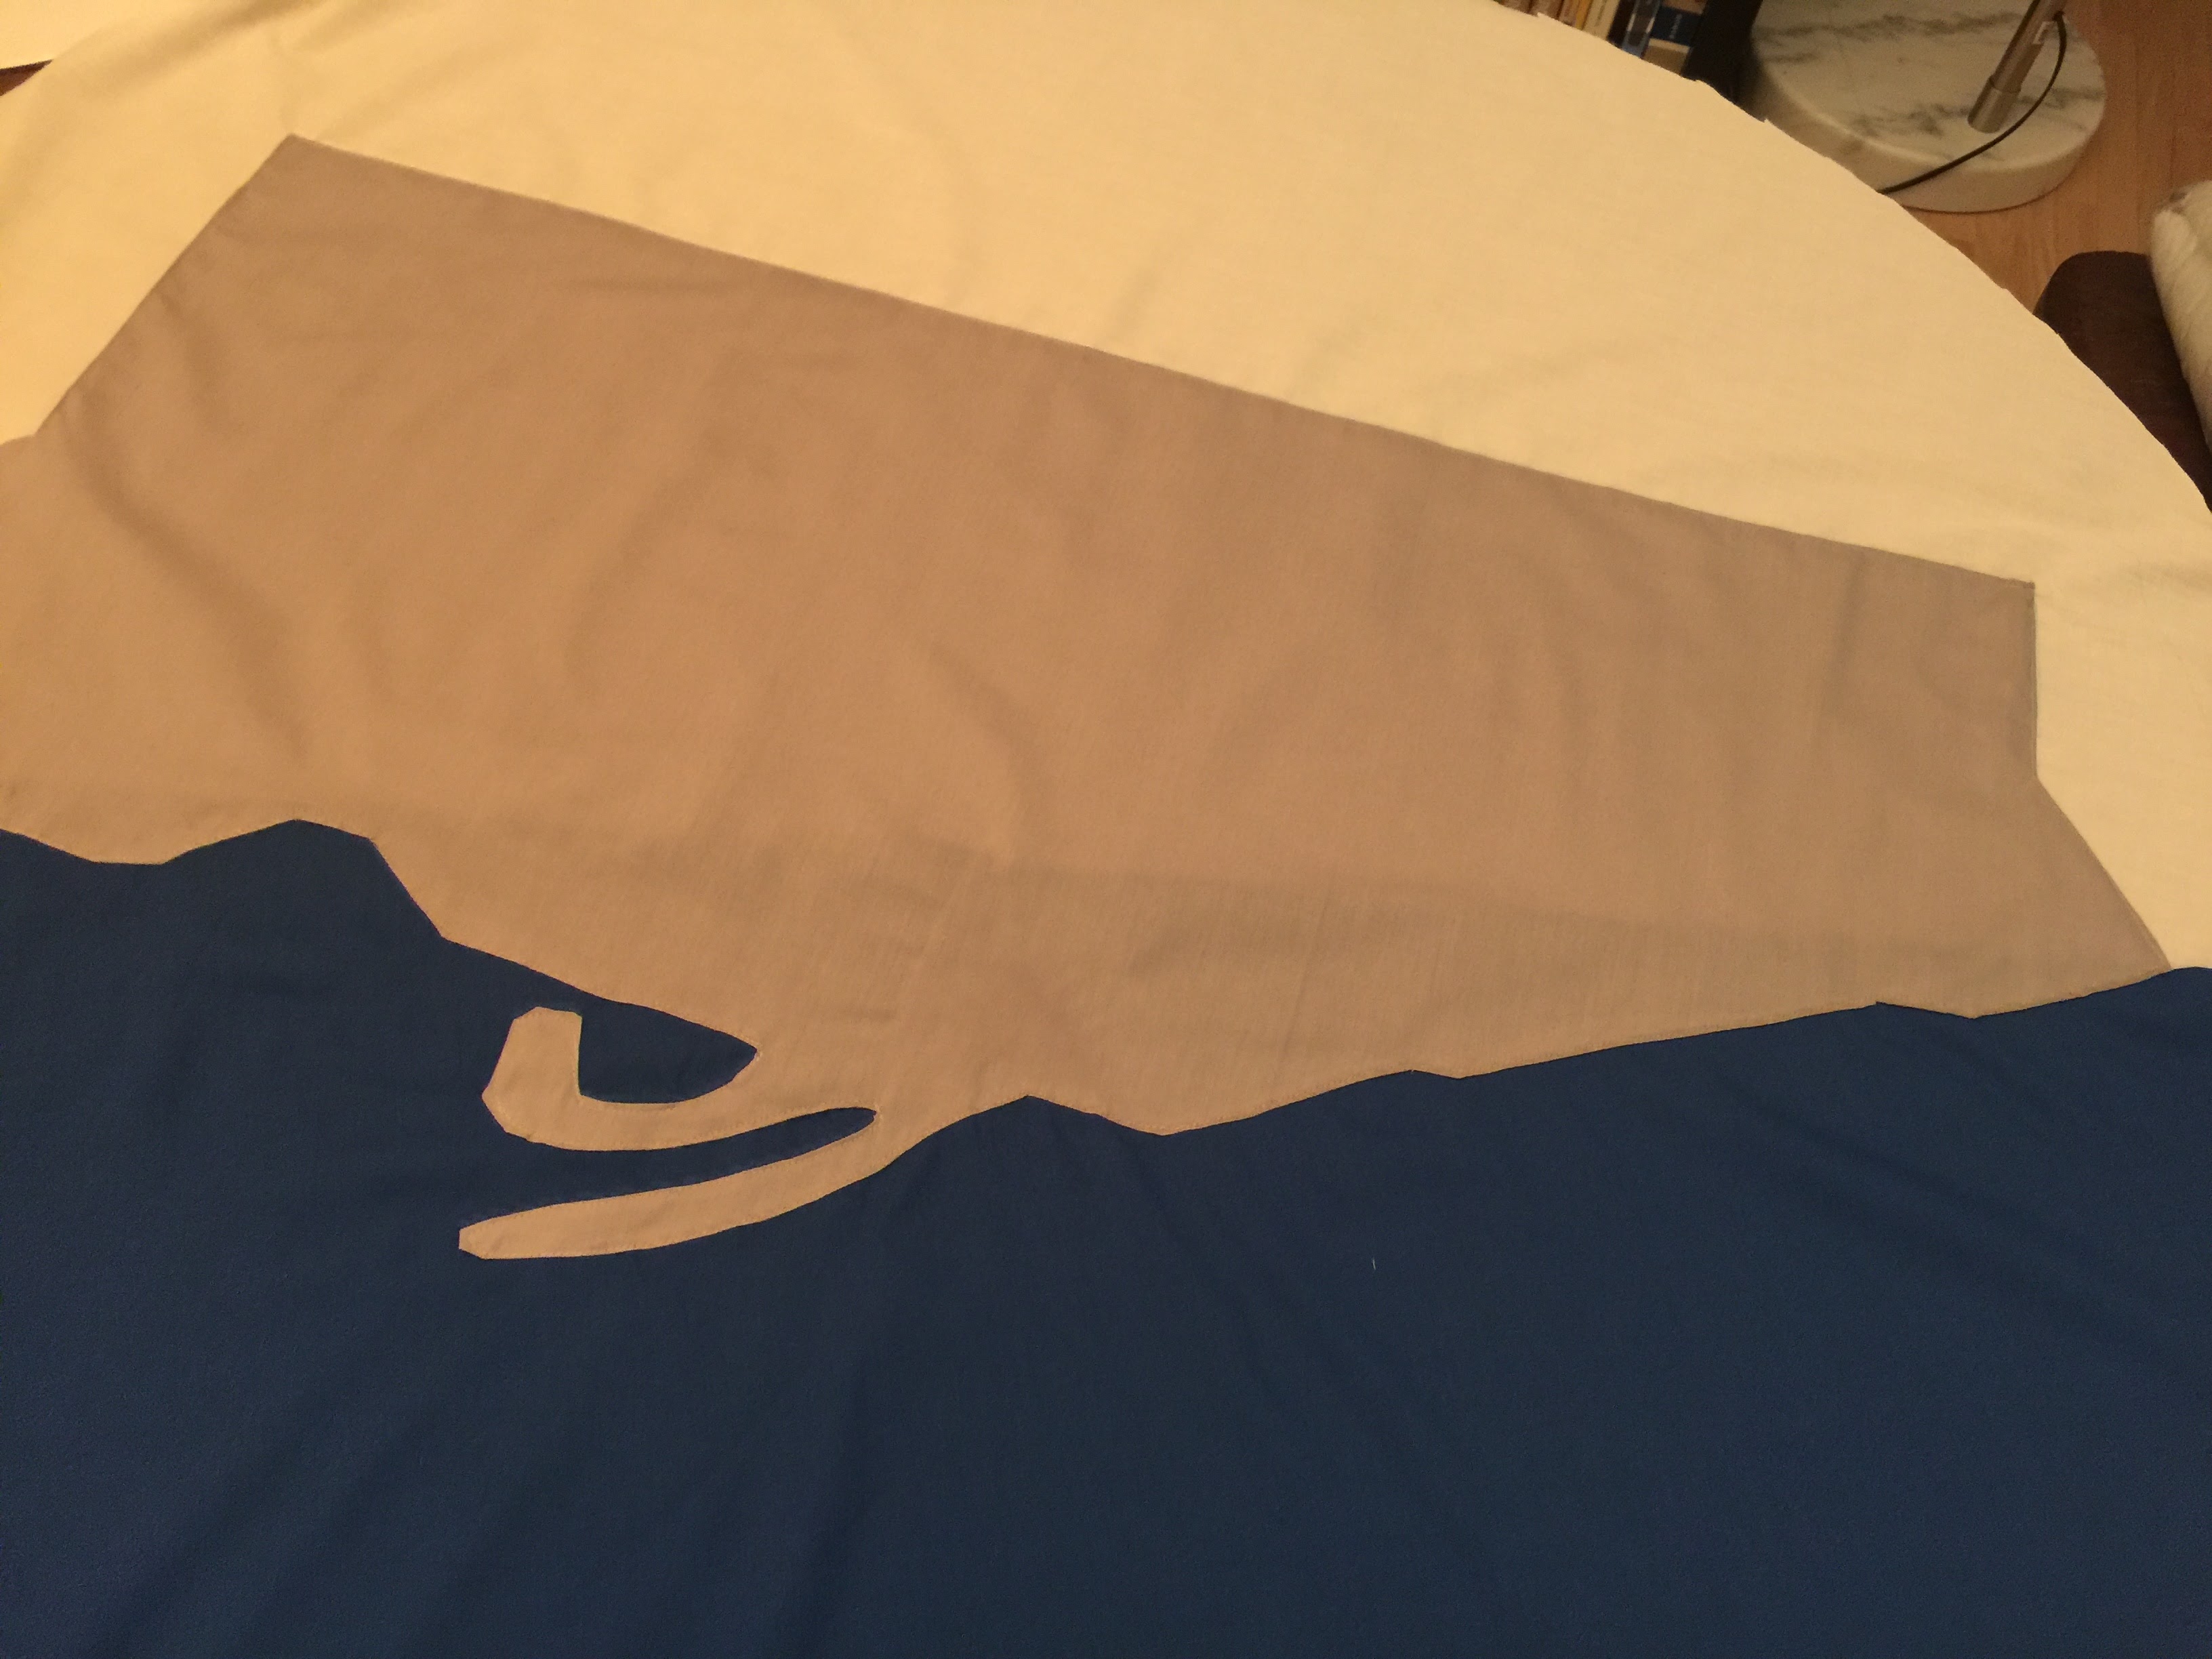
I then used the template and cut out the city shape that would go on top, as well as the large circle that would eventually be the shape of my mat.
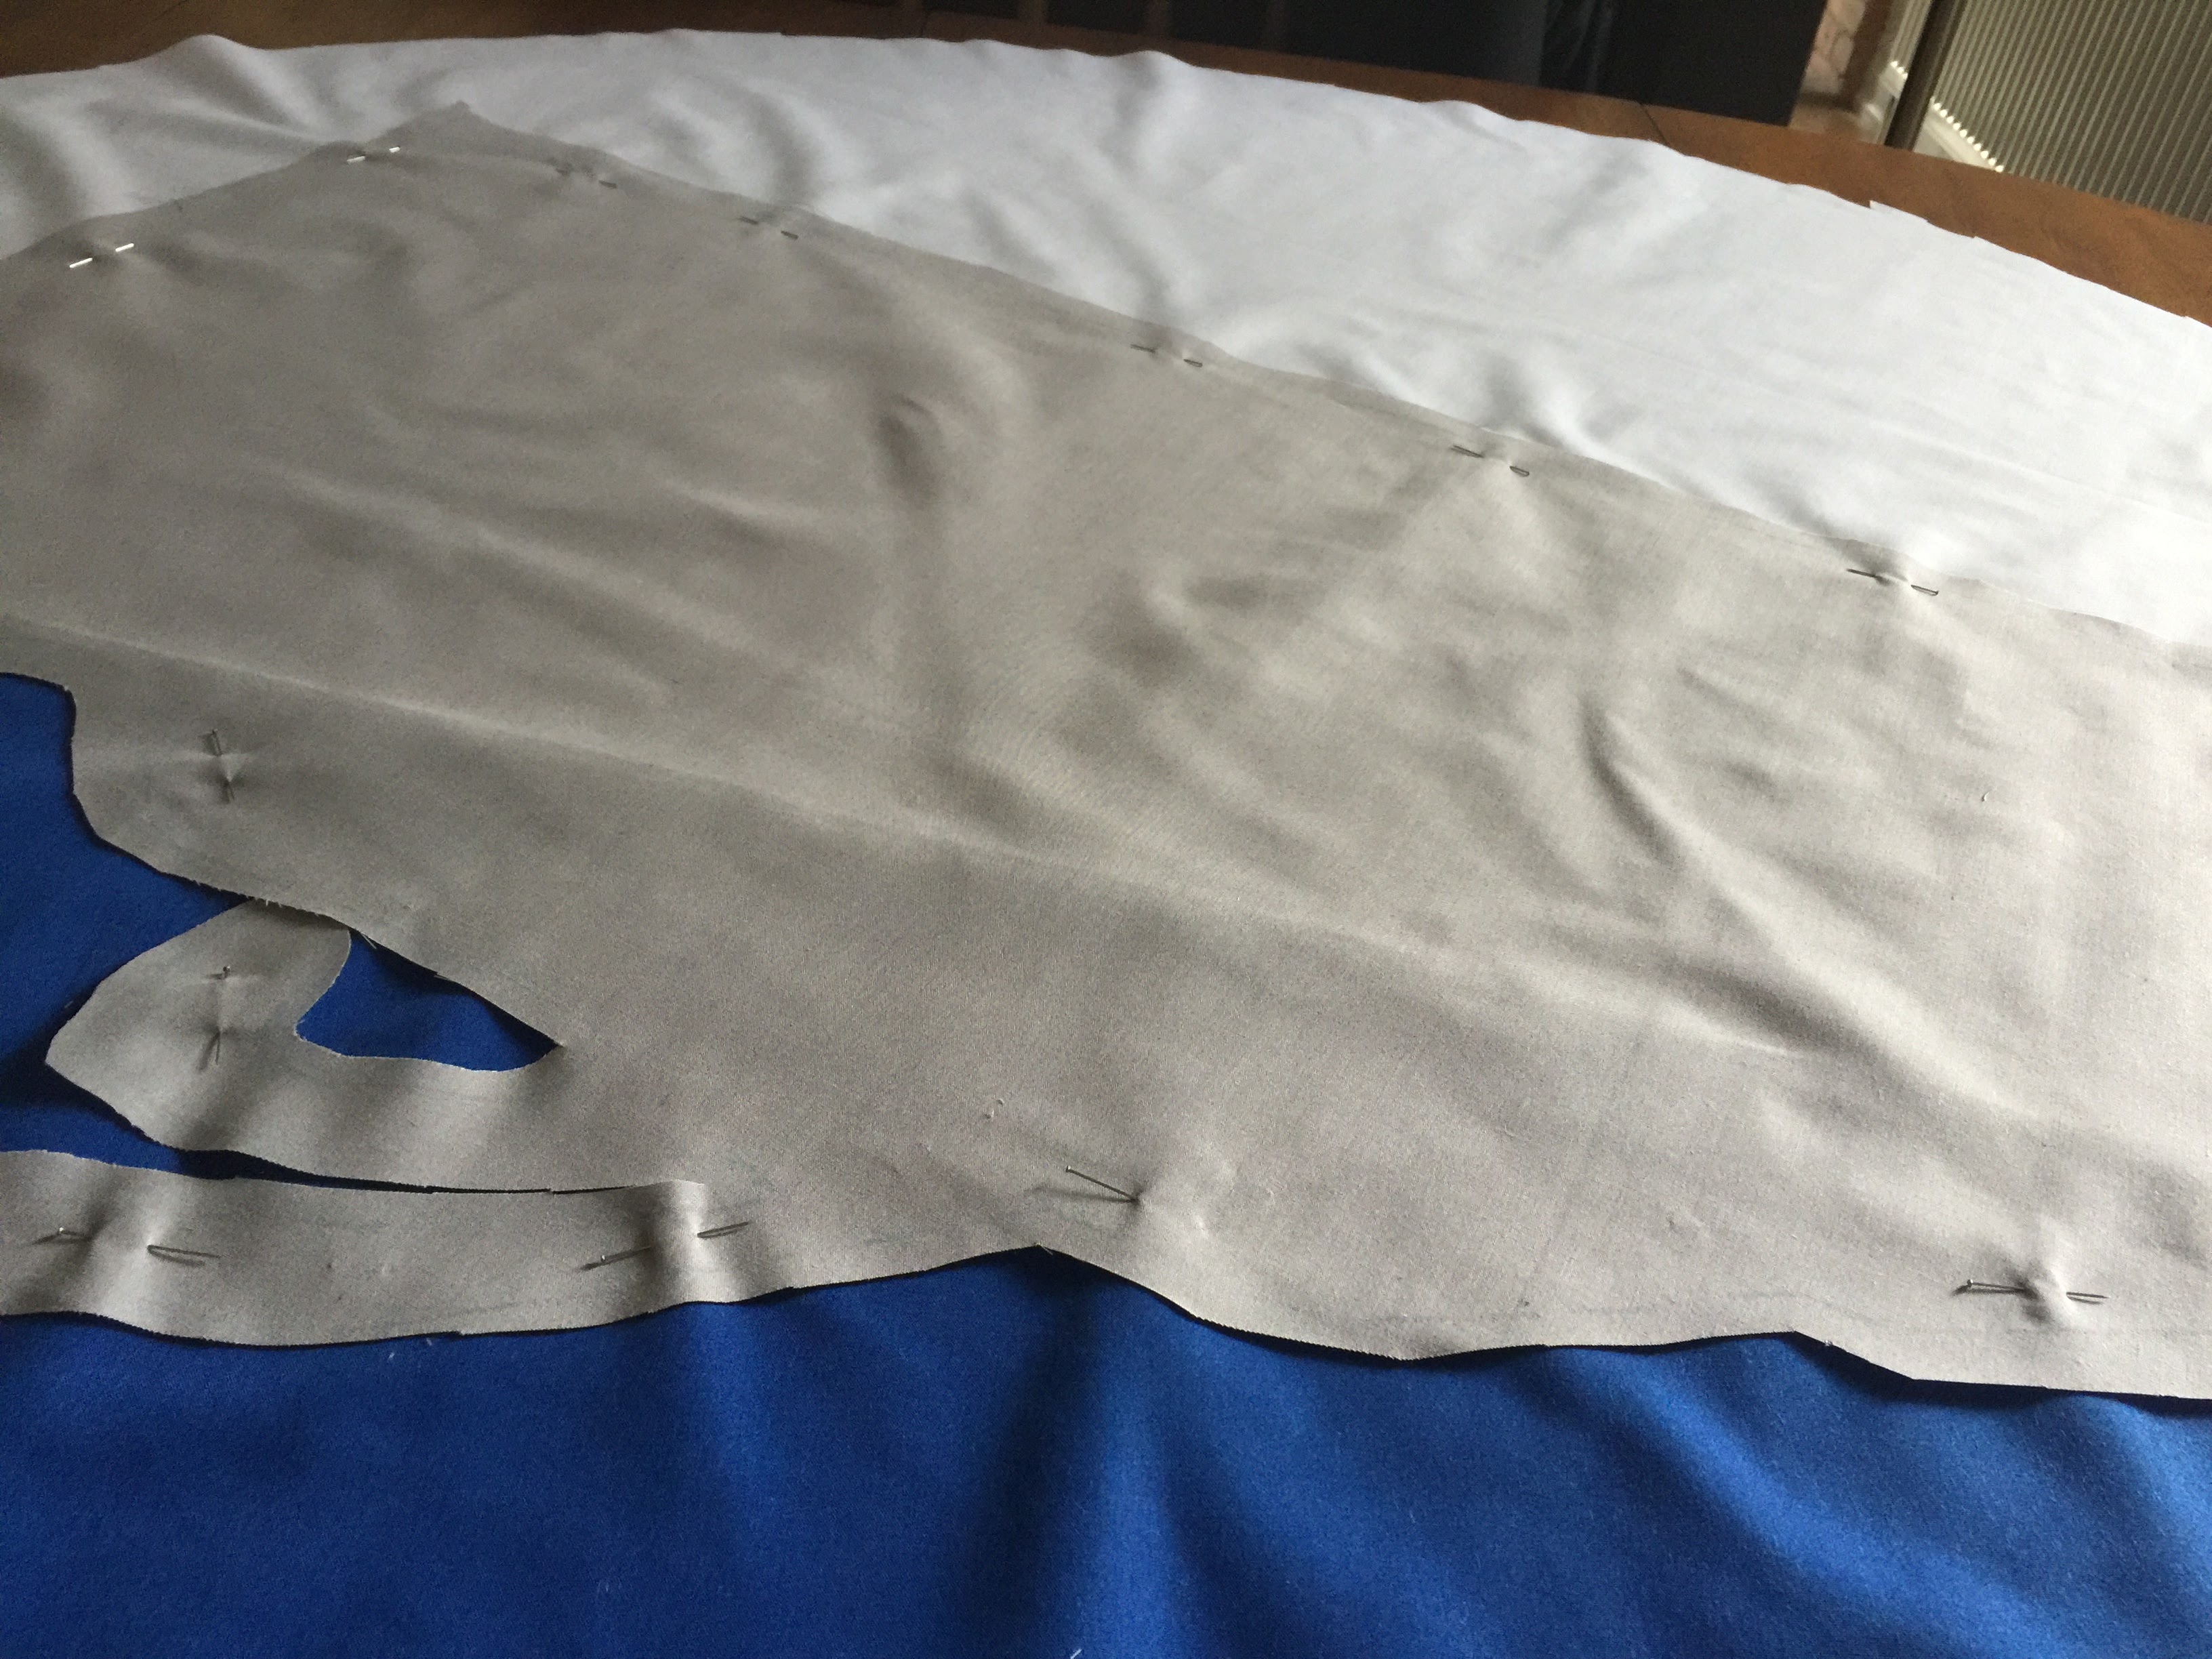
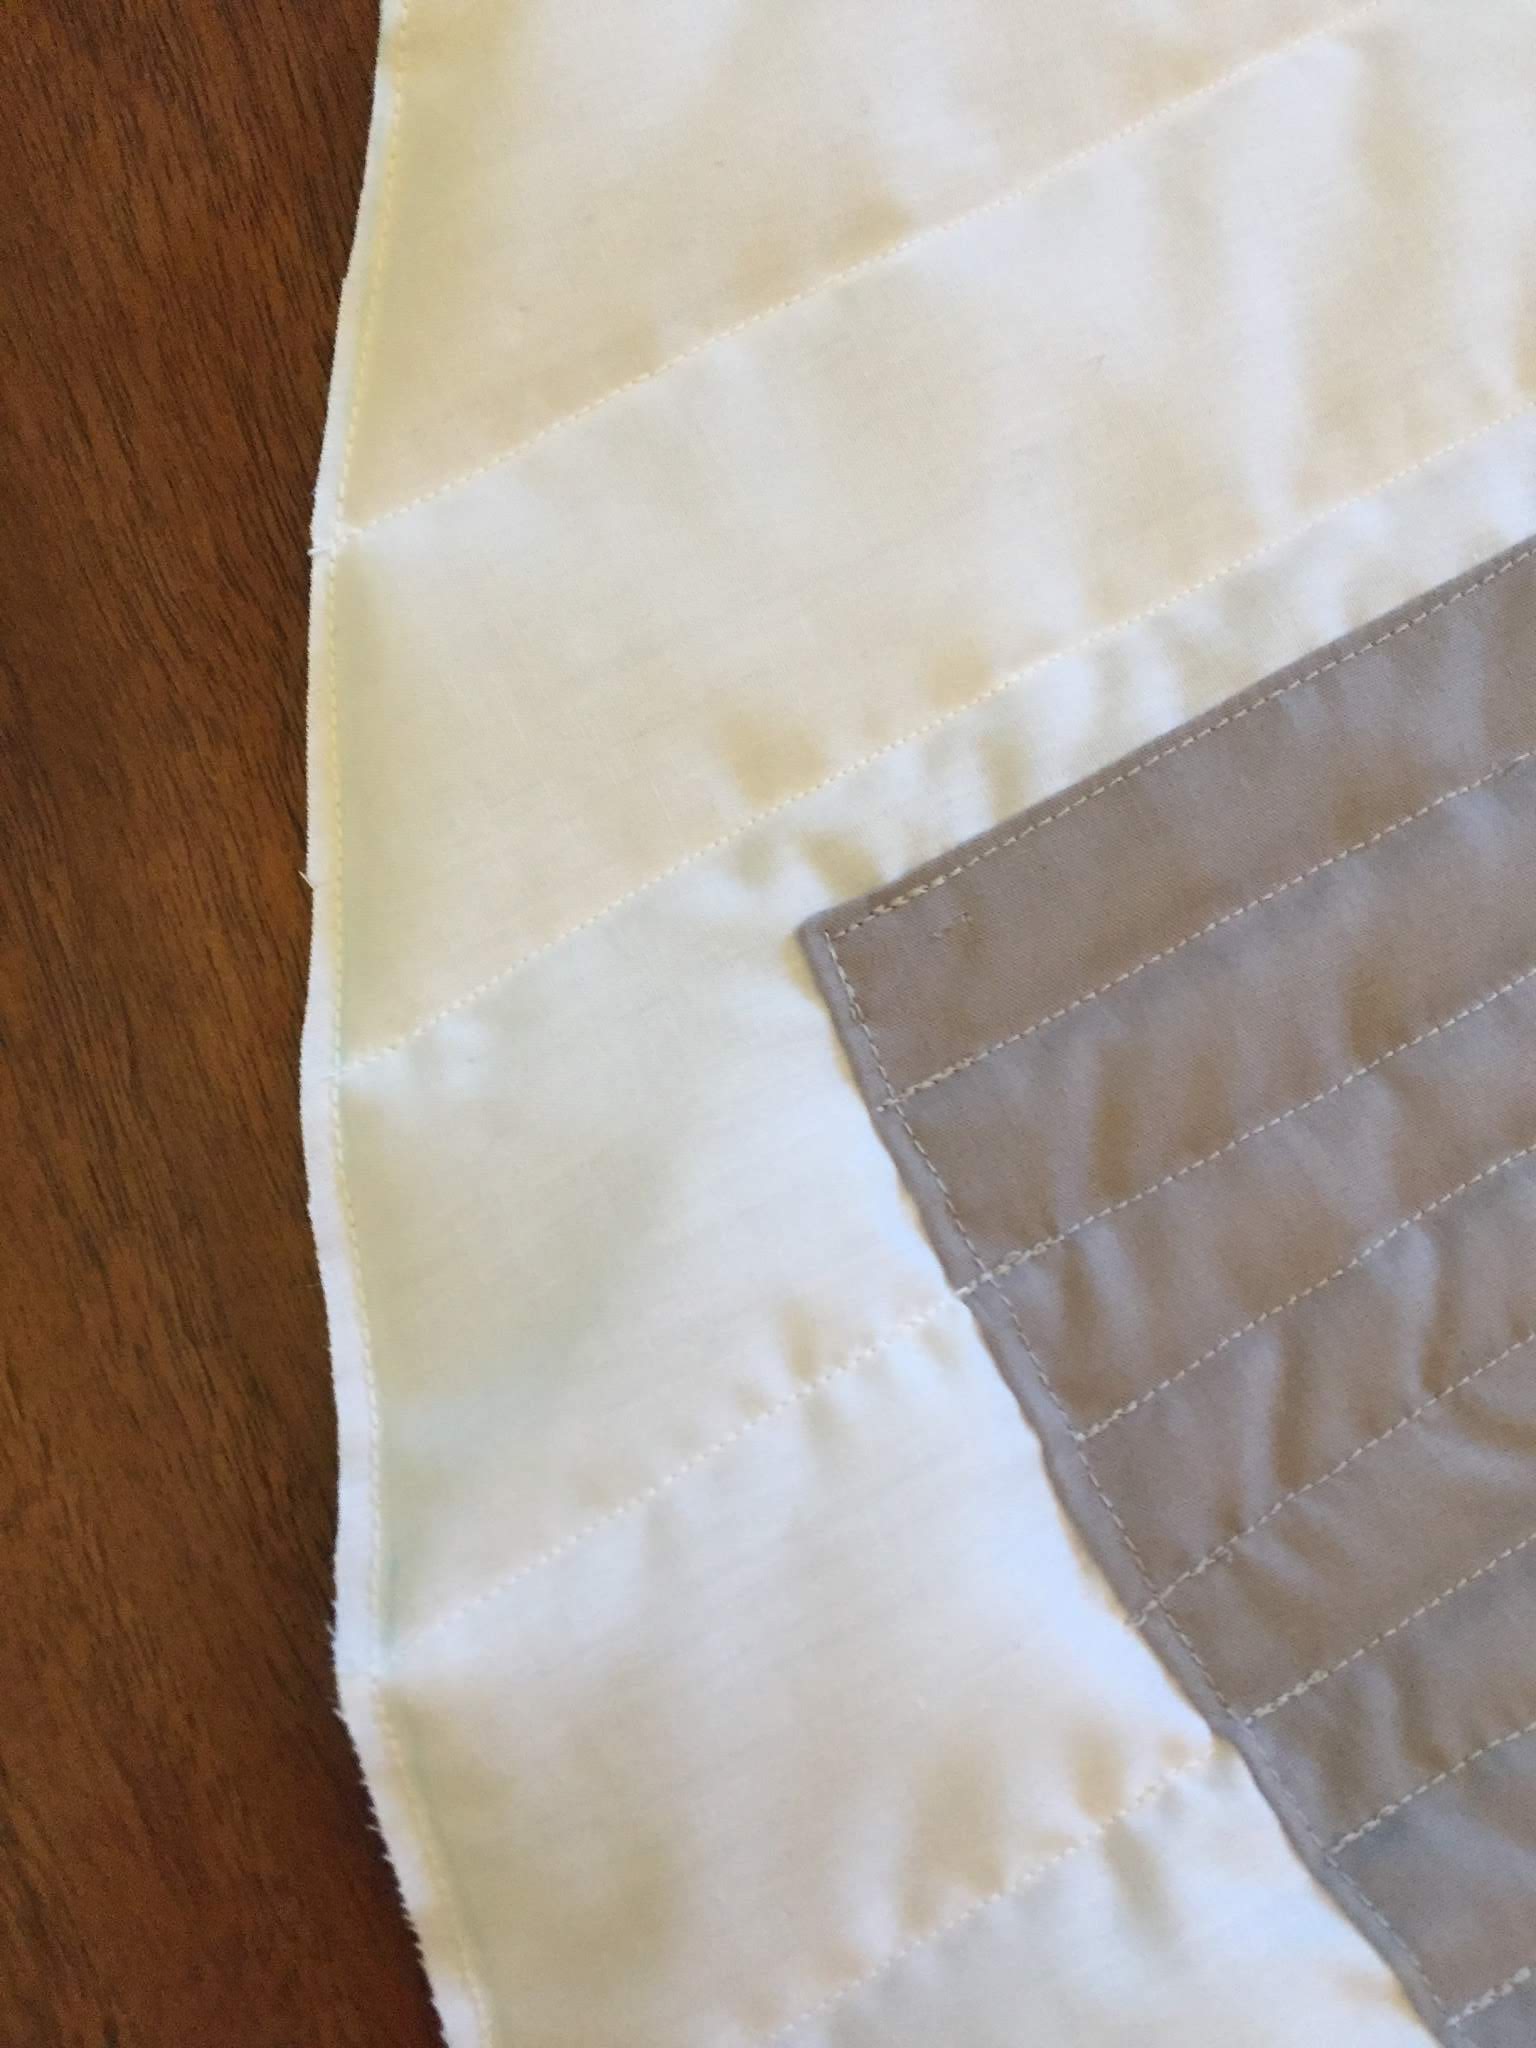
When I put the city shape on top of my water/background circle, I noticed that I would see the blue of the water through the material (because the broadcloth was so thin). I wasn’t quite sure what to do, but once I sewed the city shape on, I was able to turn it over and cut away the fabric since attaching the city shape had secured it.
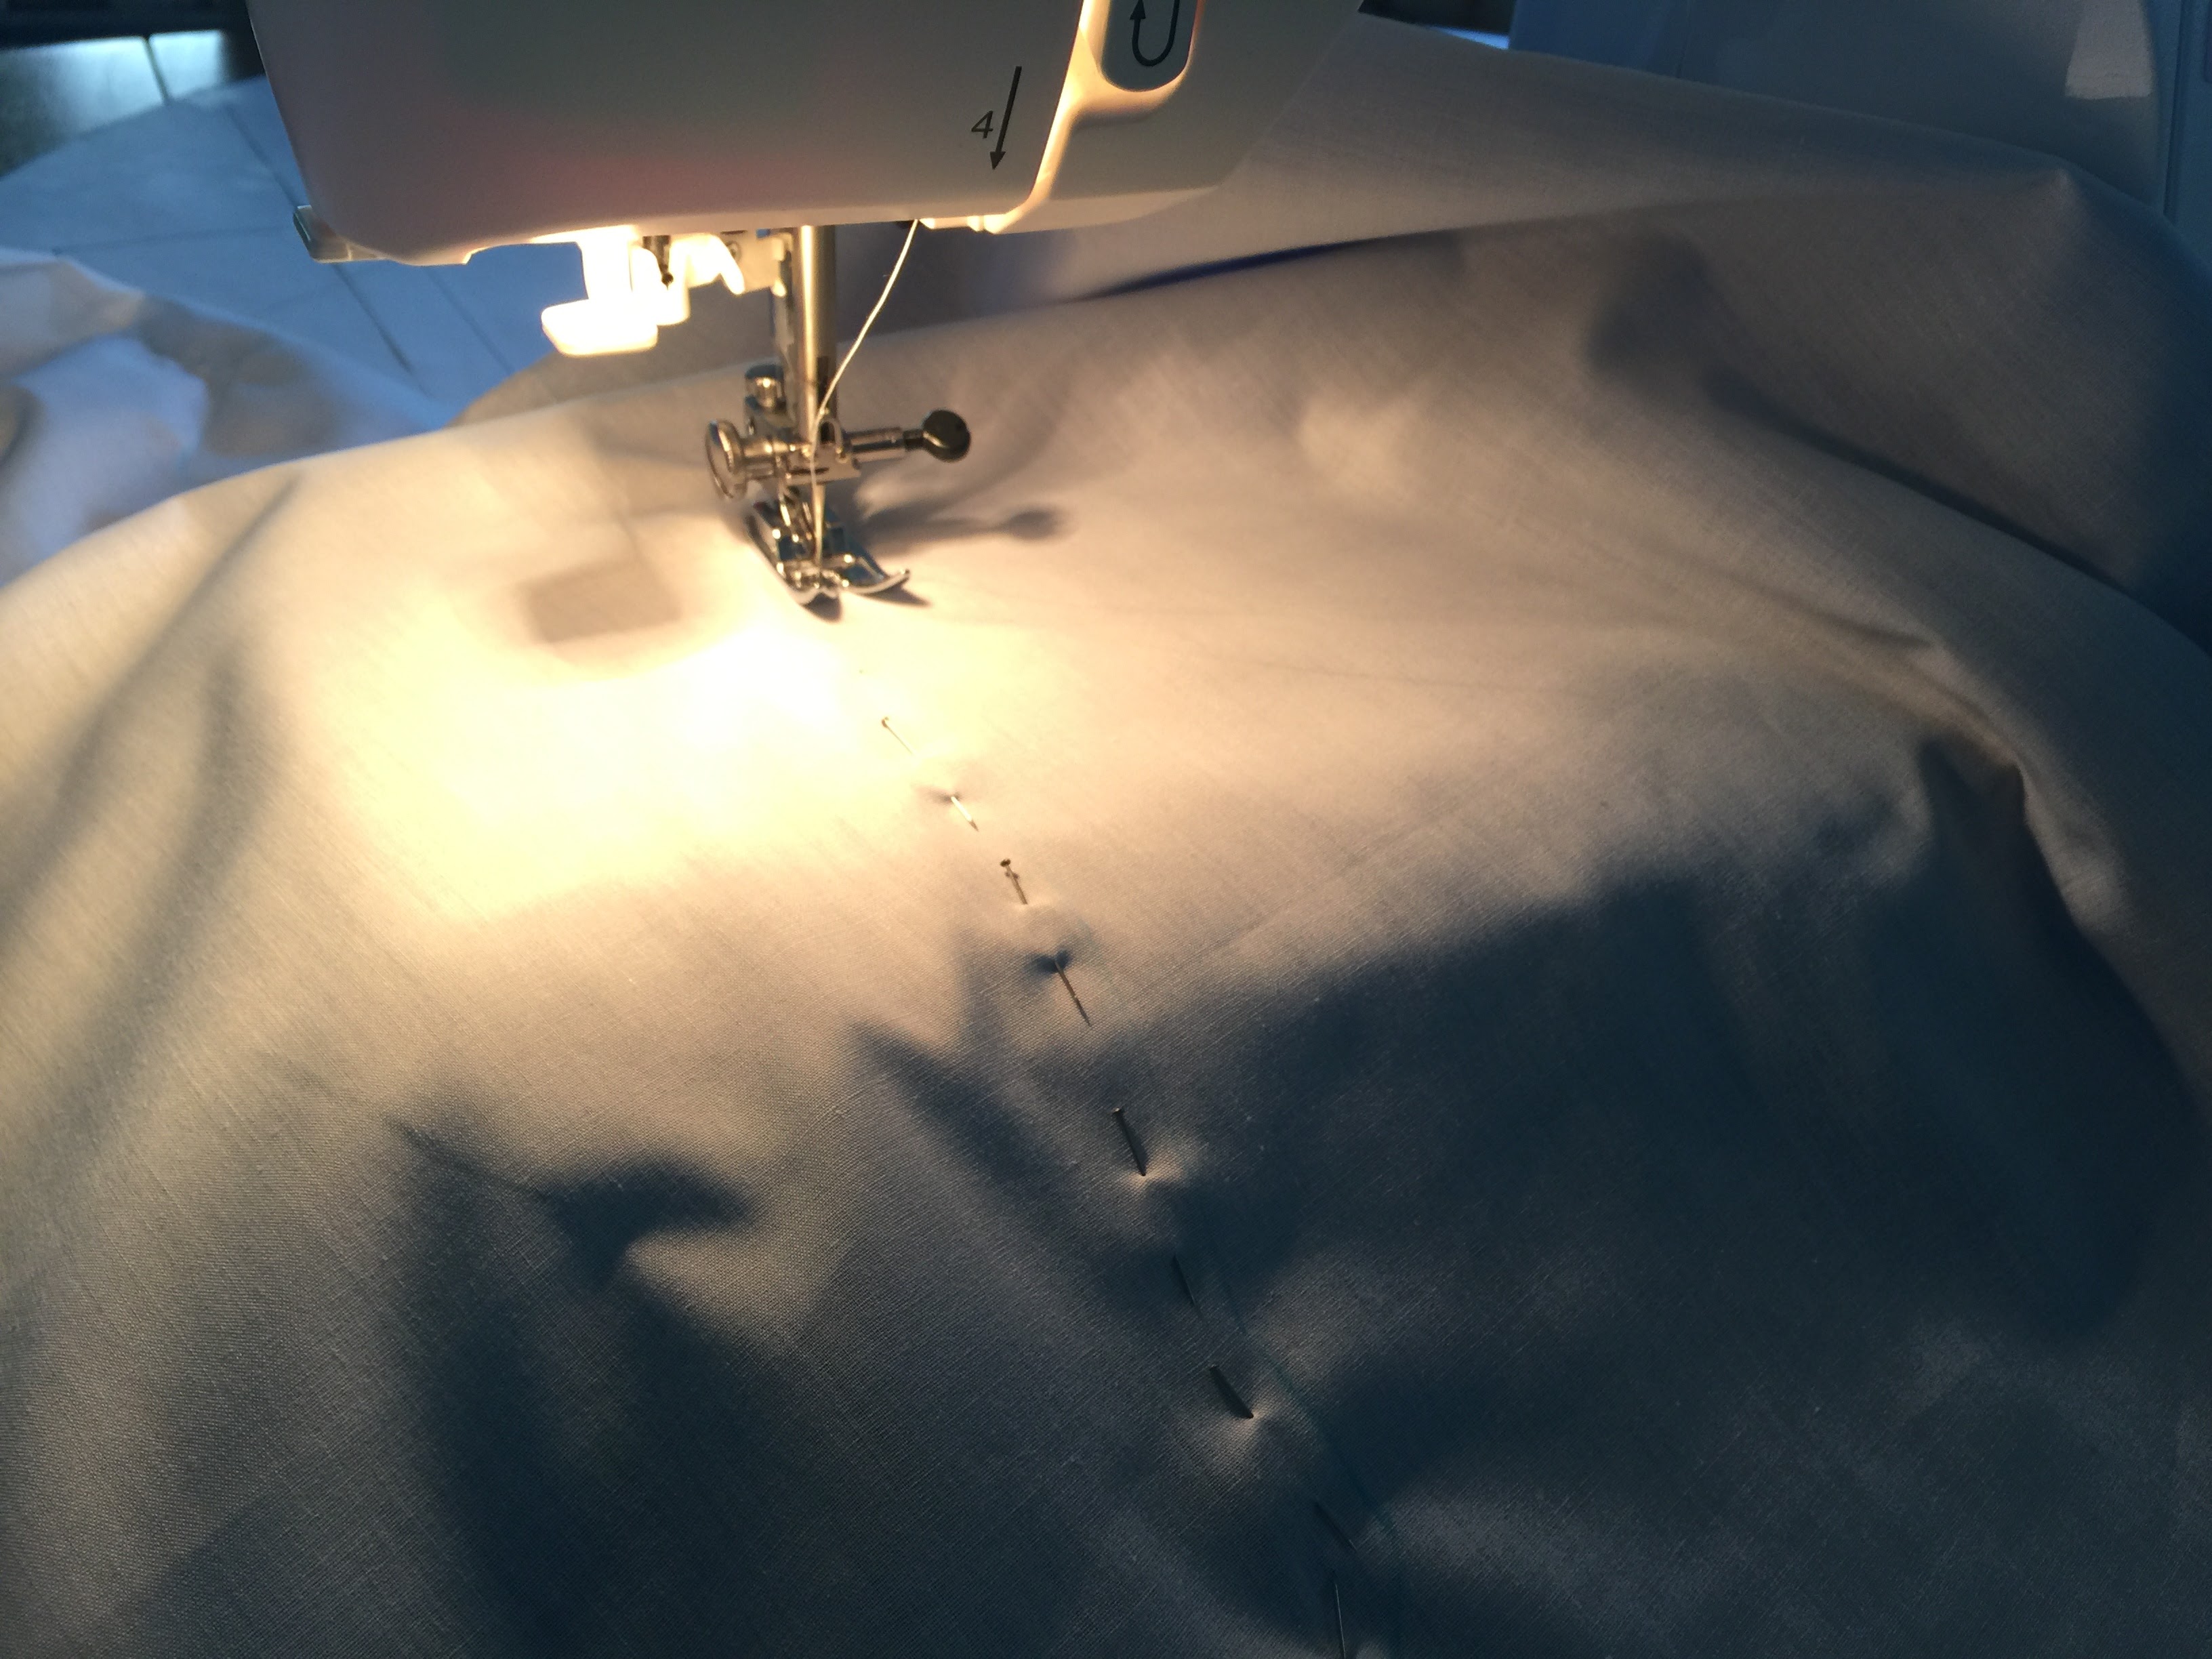
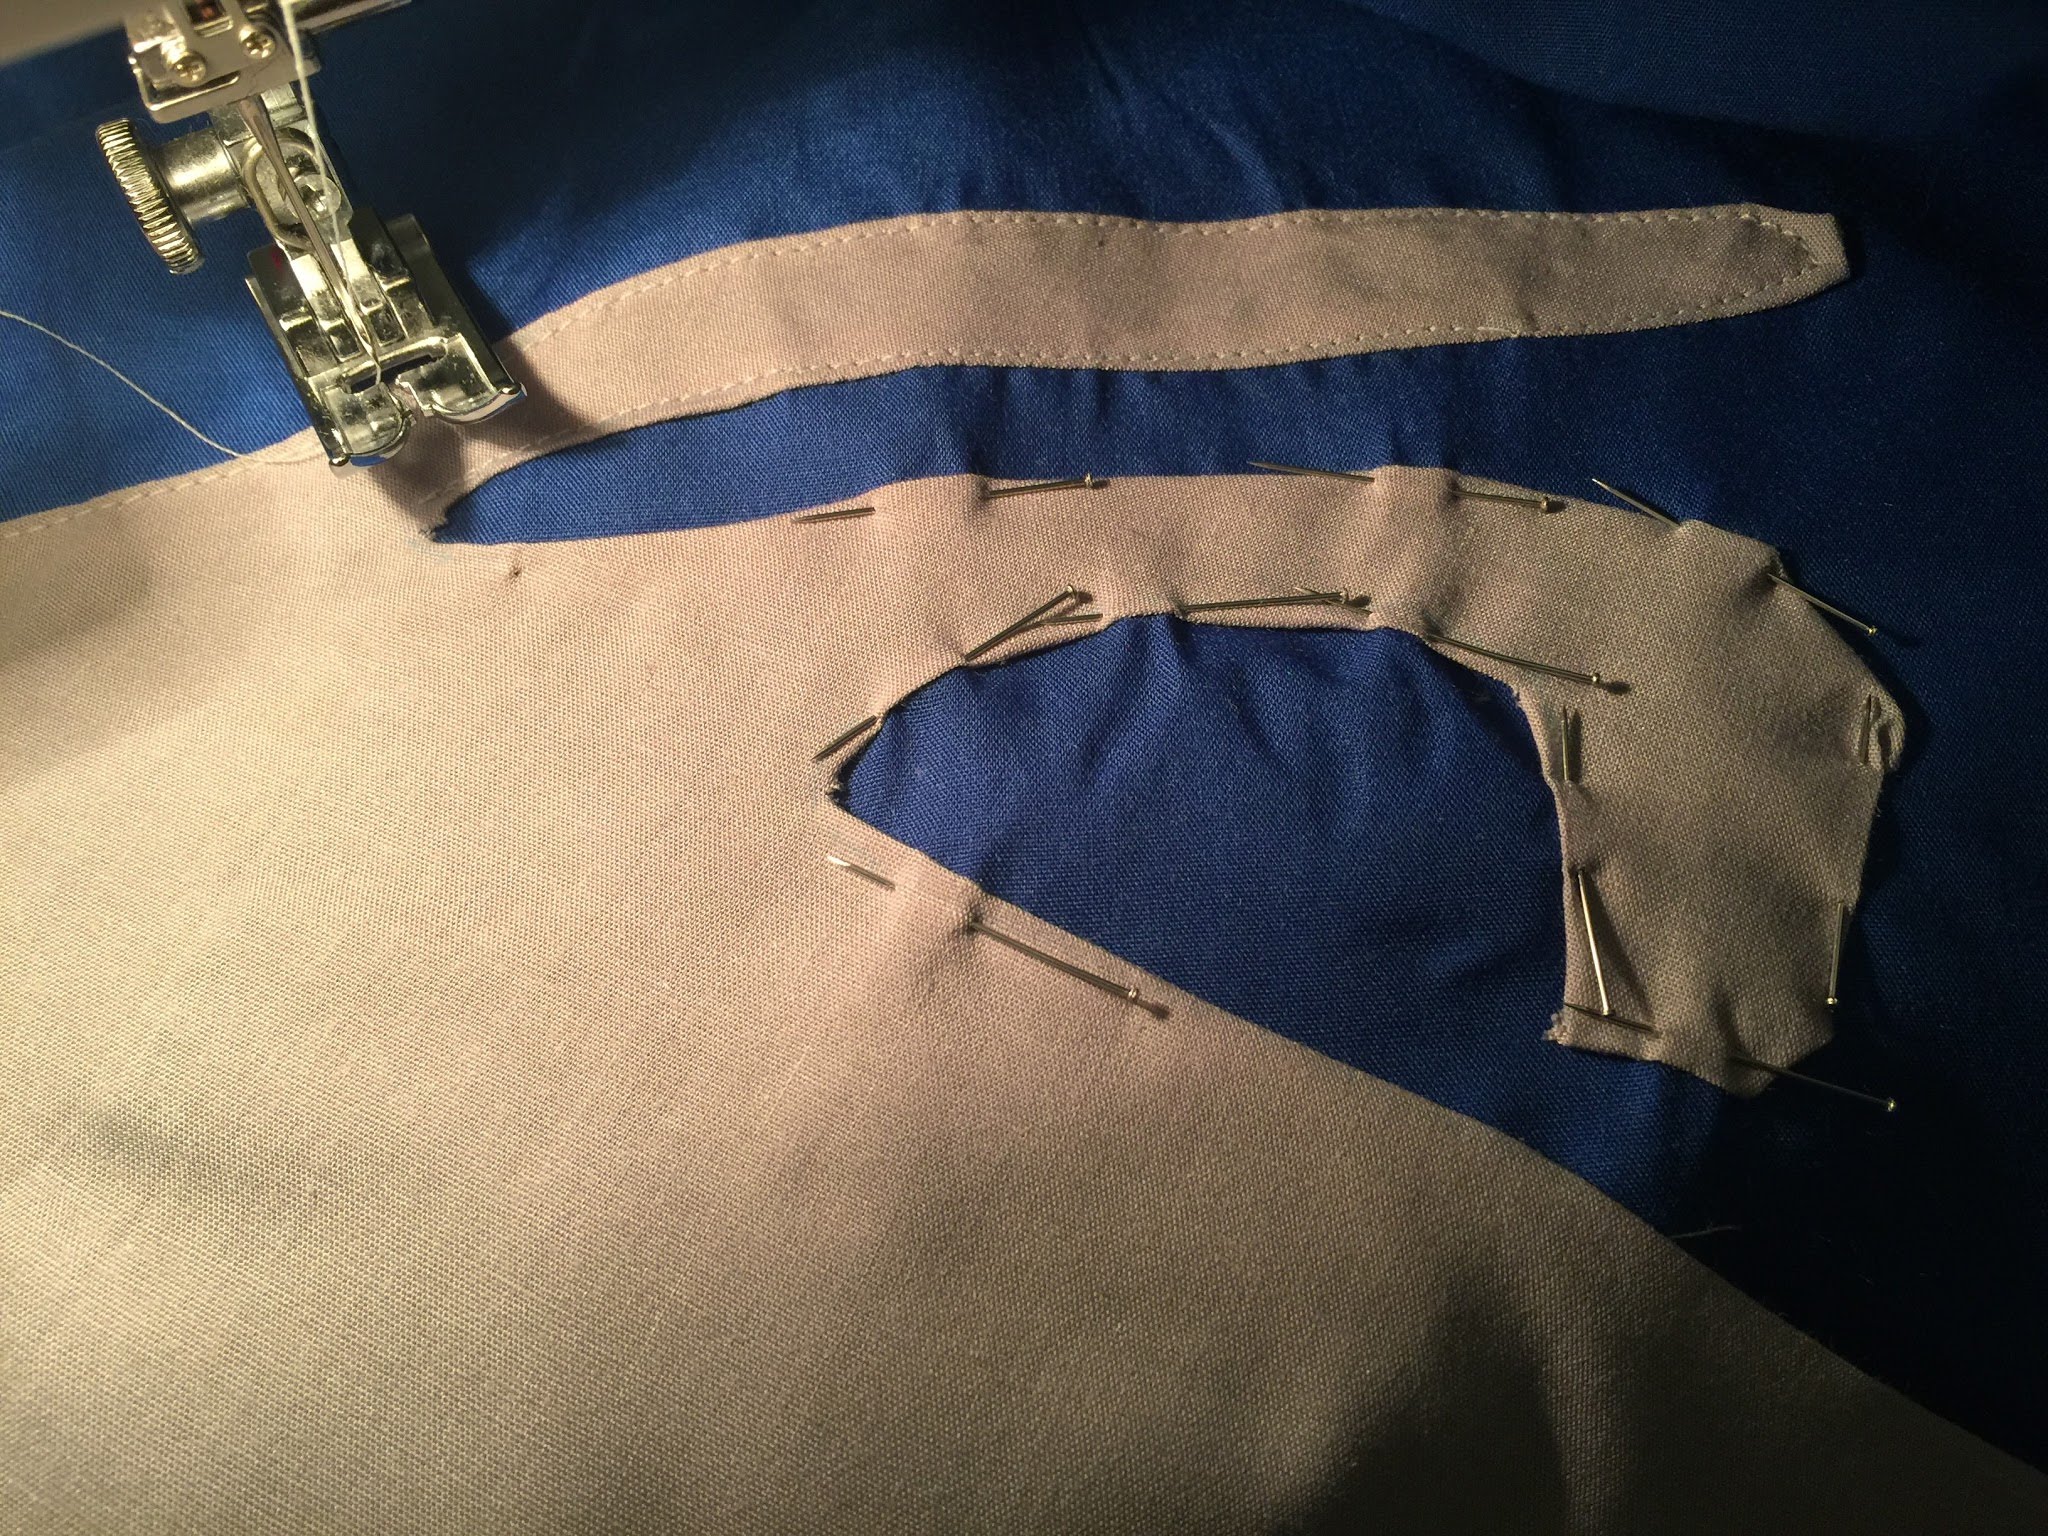
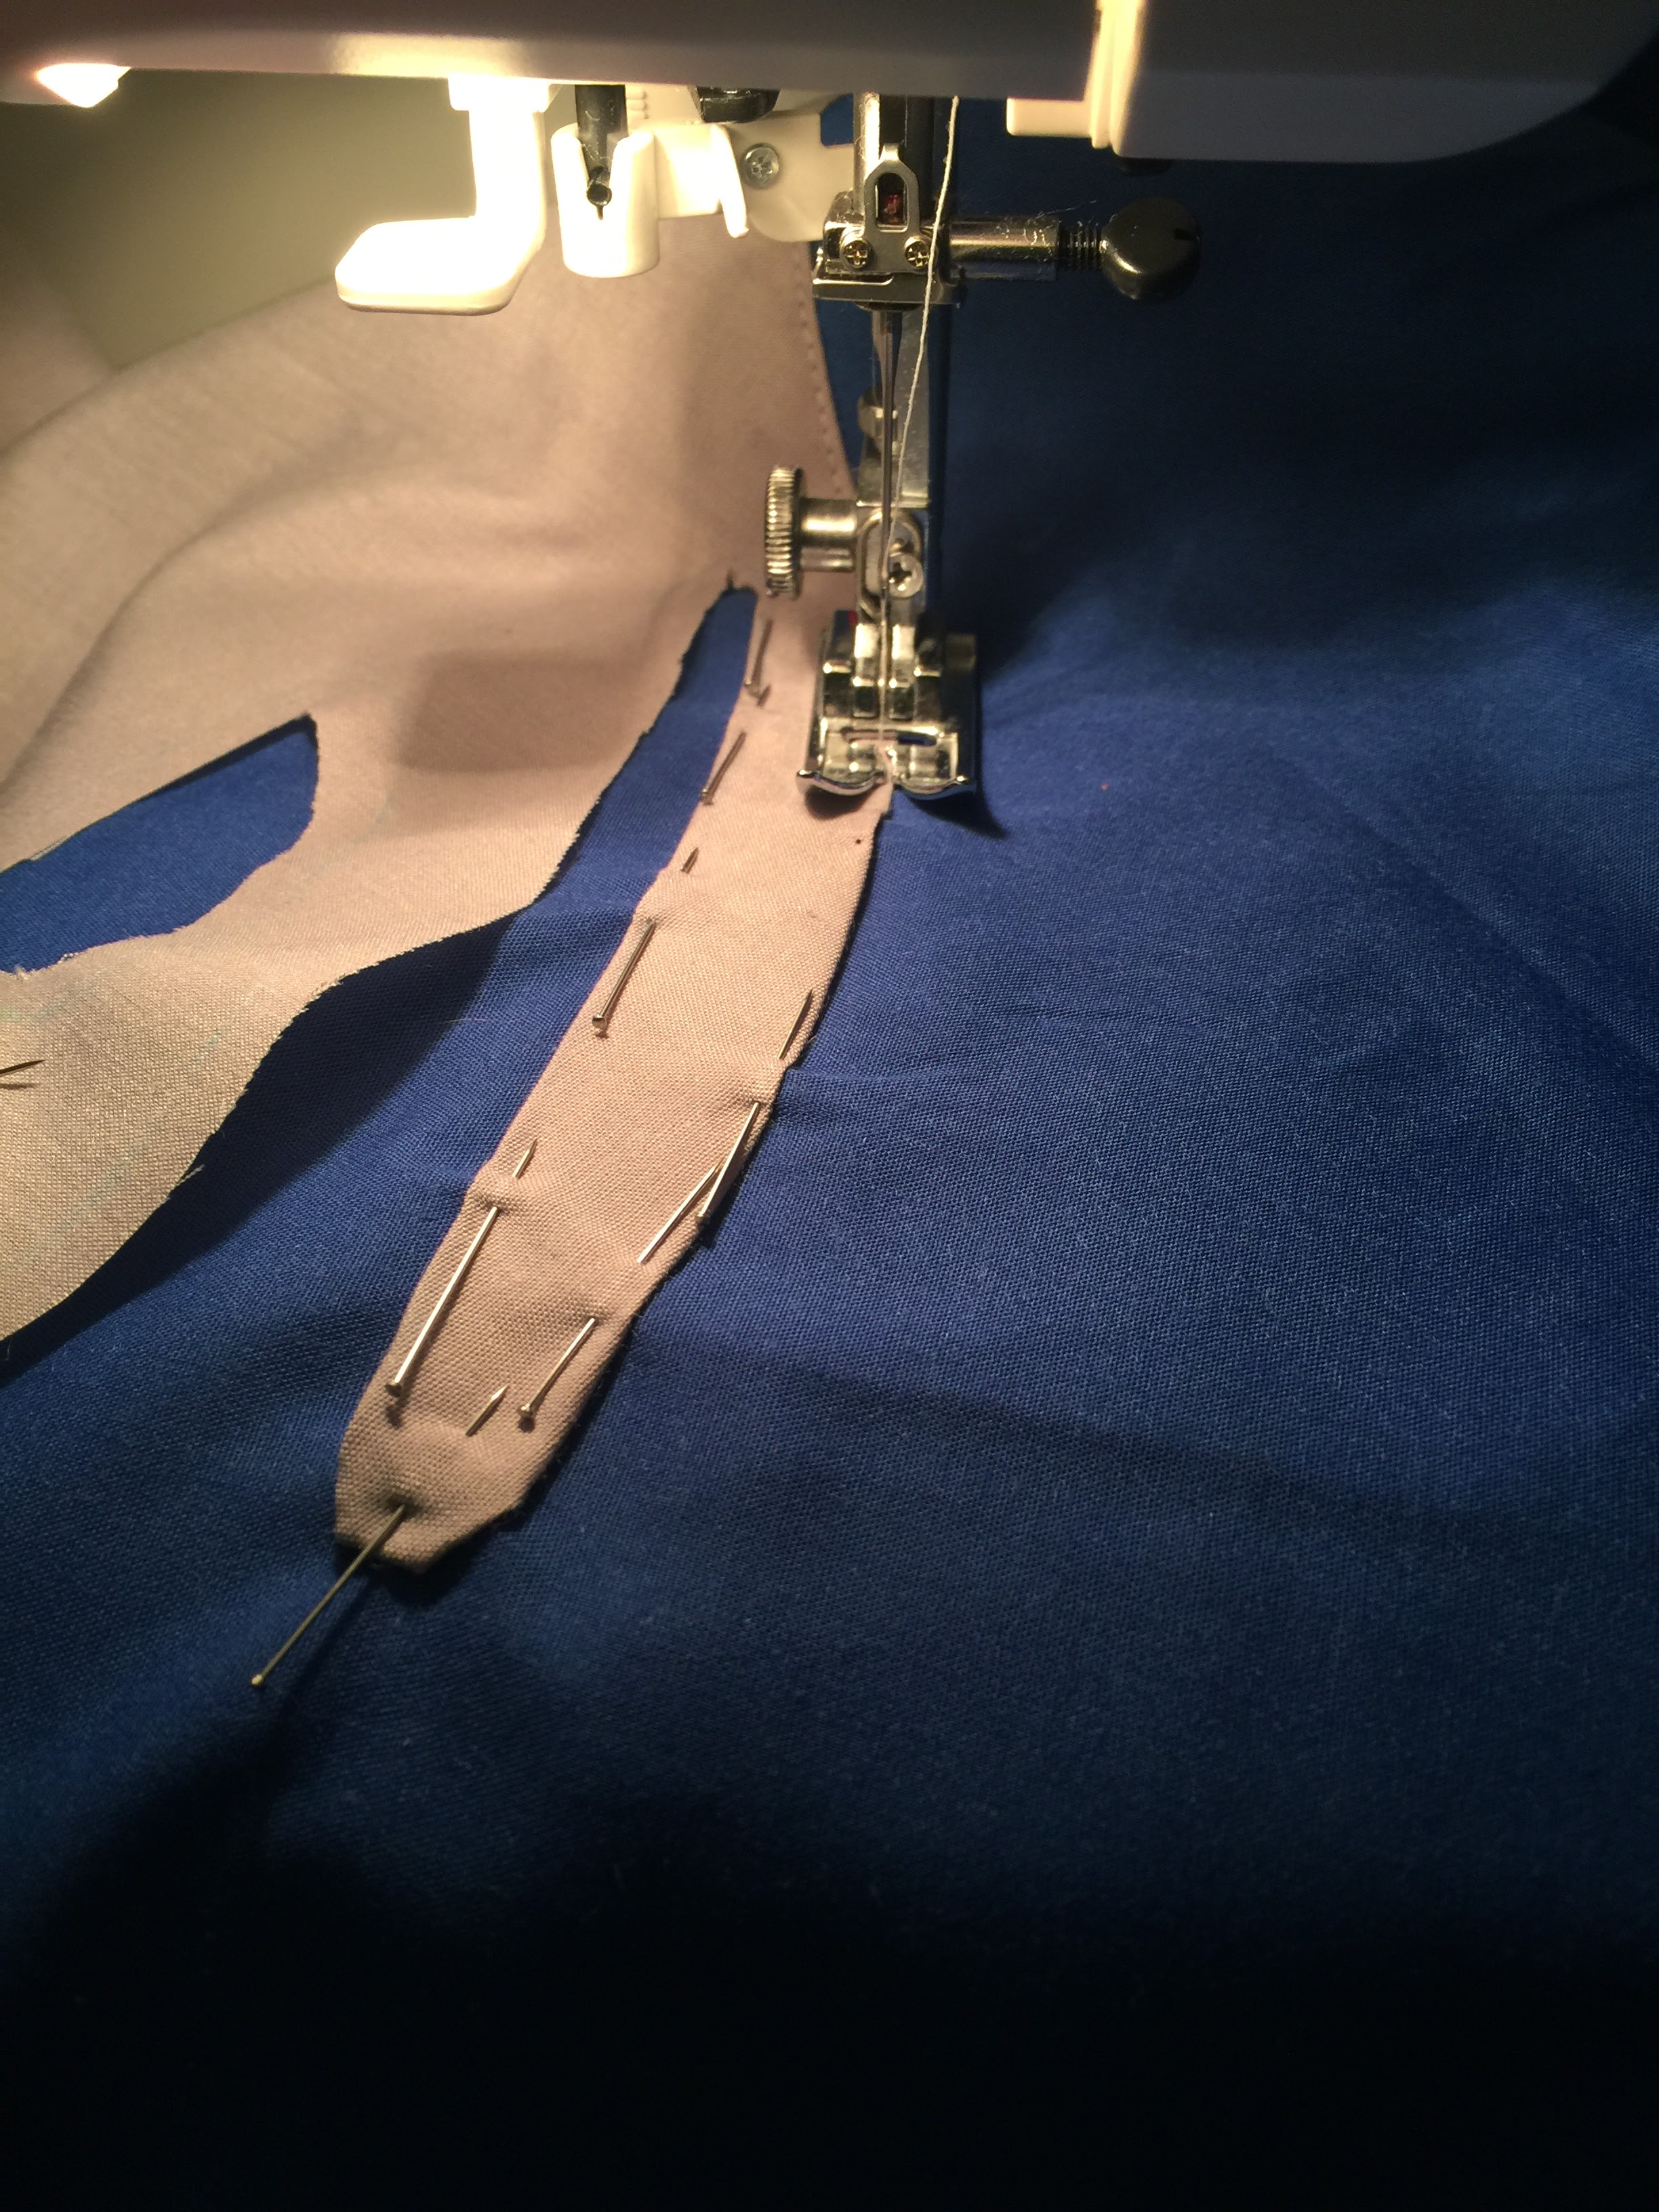
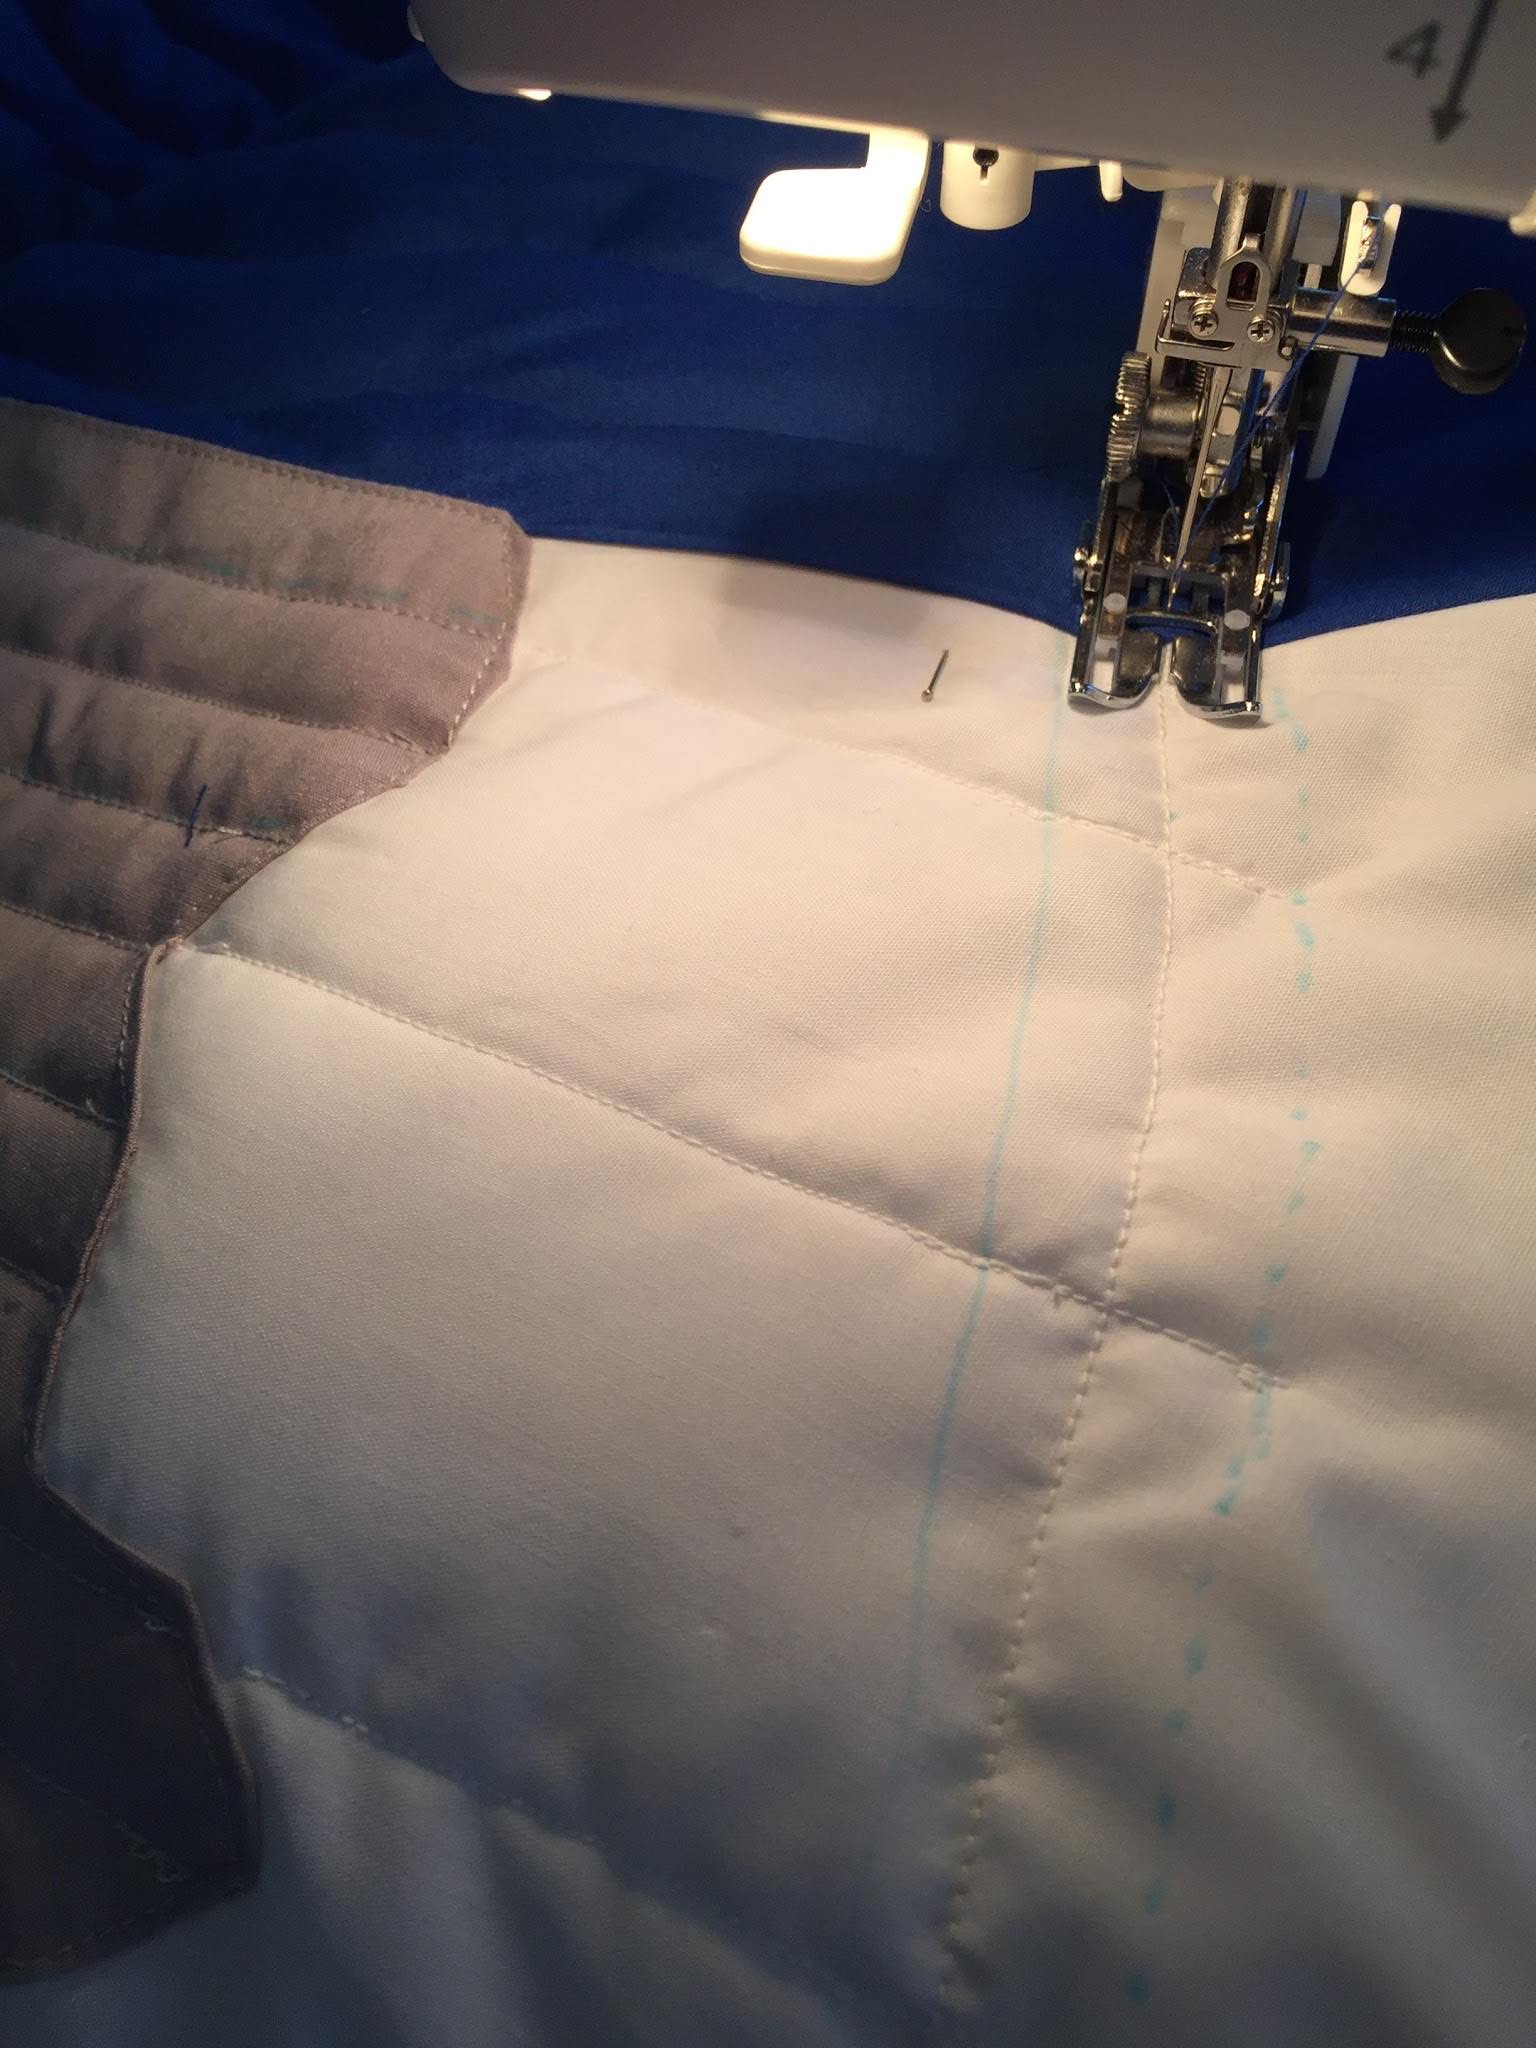
Sewing on the city shape was a bit challenging. I wasn’t quite sure how to do it. I considered an iron-on solution, but wasn’t convinced it would look right. I also didn’t want to use a blanket stitch or regular appliqué stitch, so I went to the internet to see what I could do. I eventually found an example (which I now can’t find) of folding the material under and stitching close to the edge. I thought that would have the cleanest look, so that’s what I did.
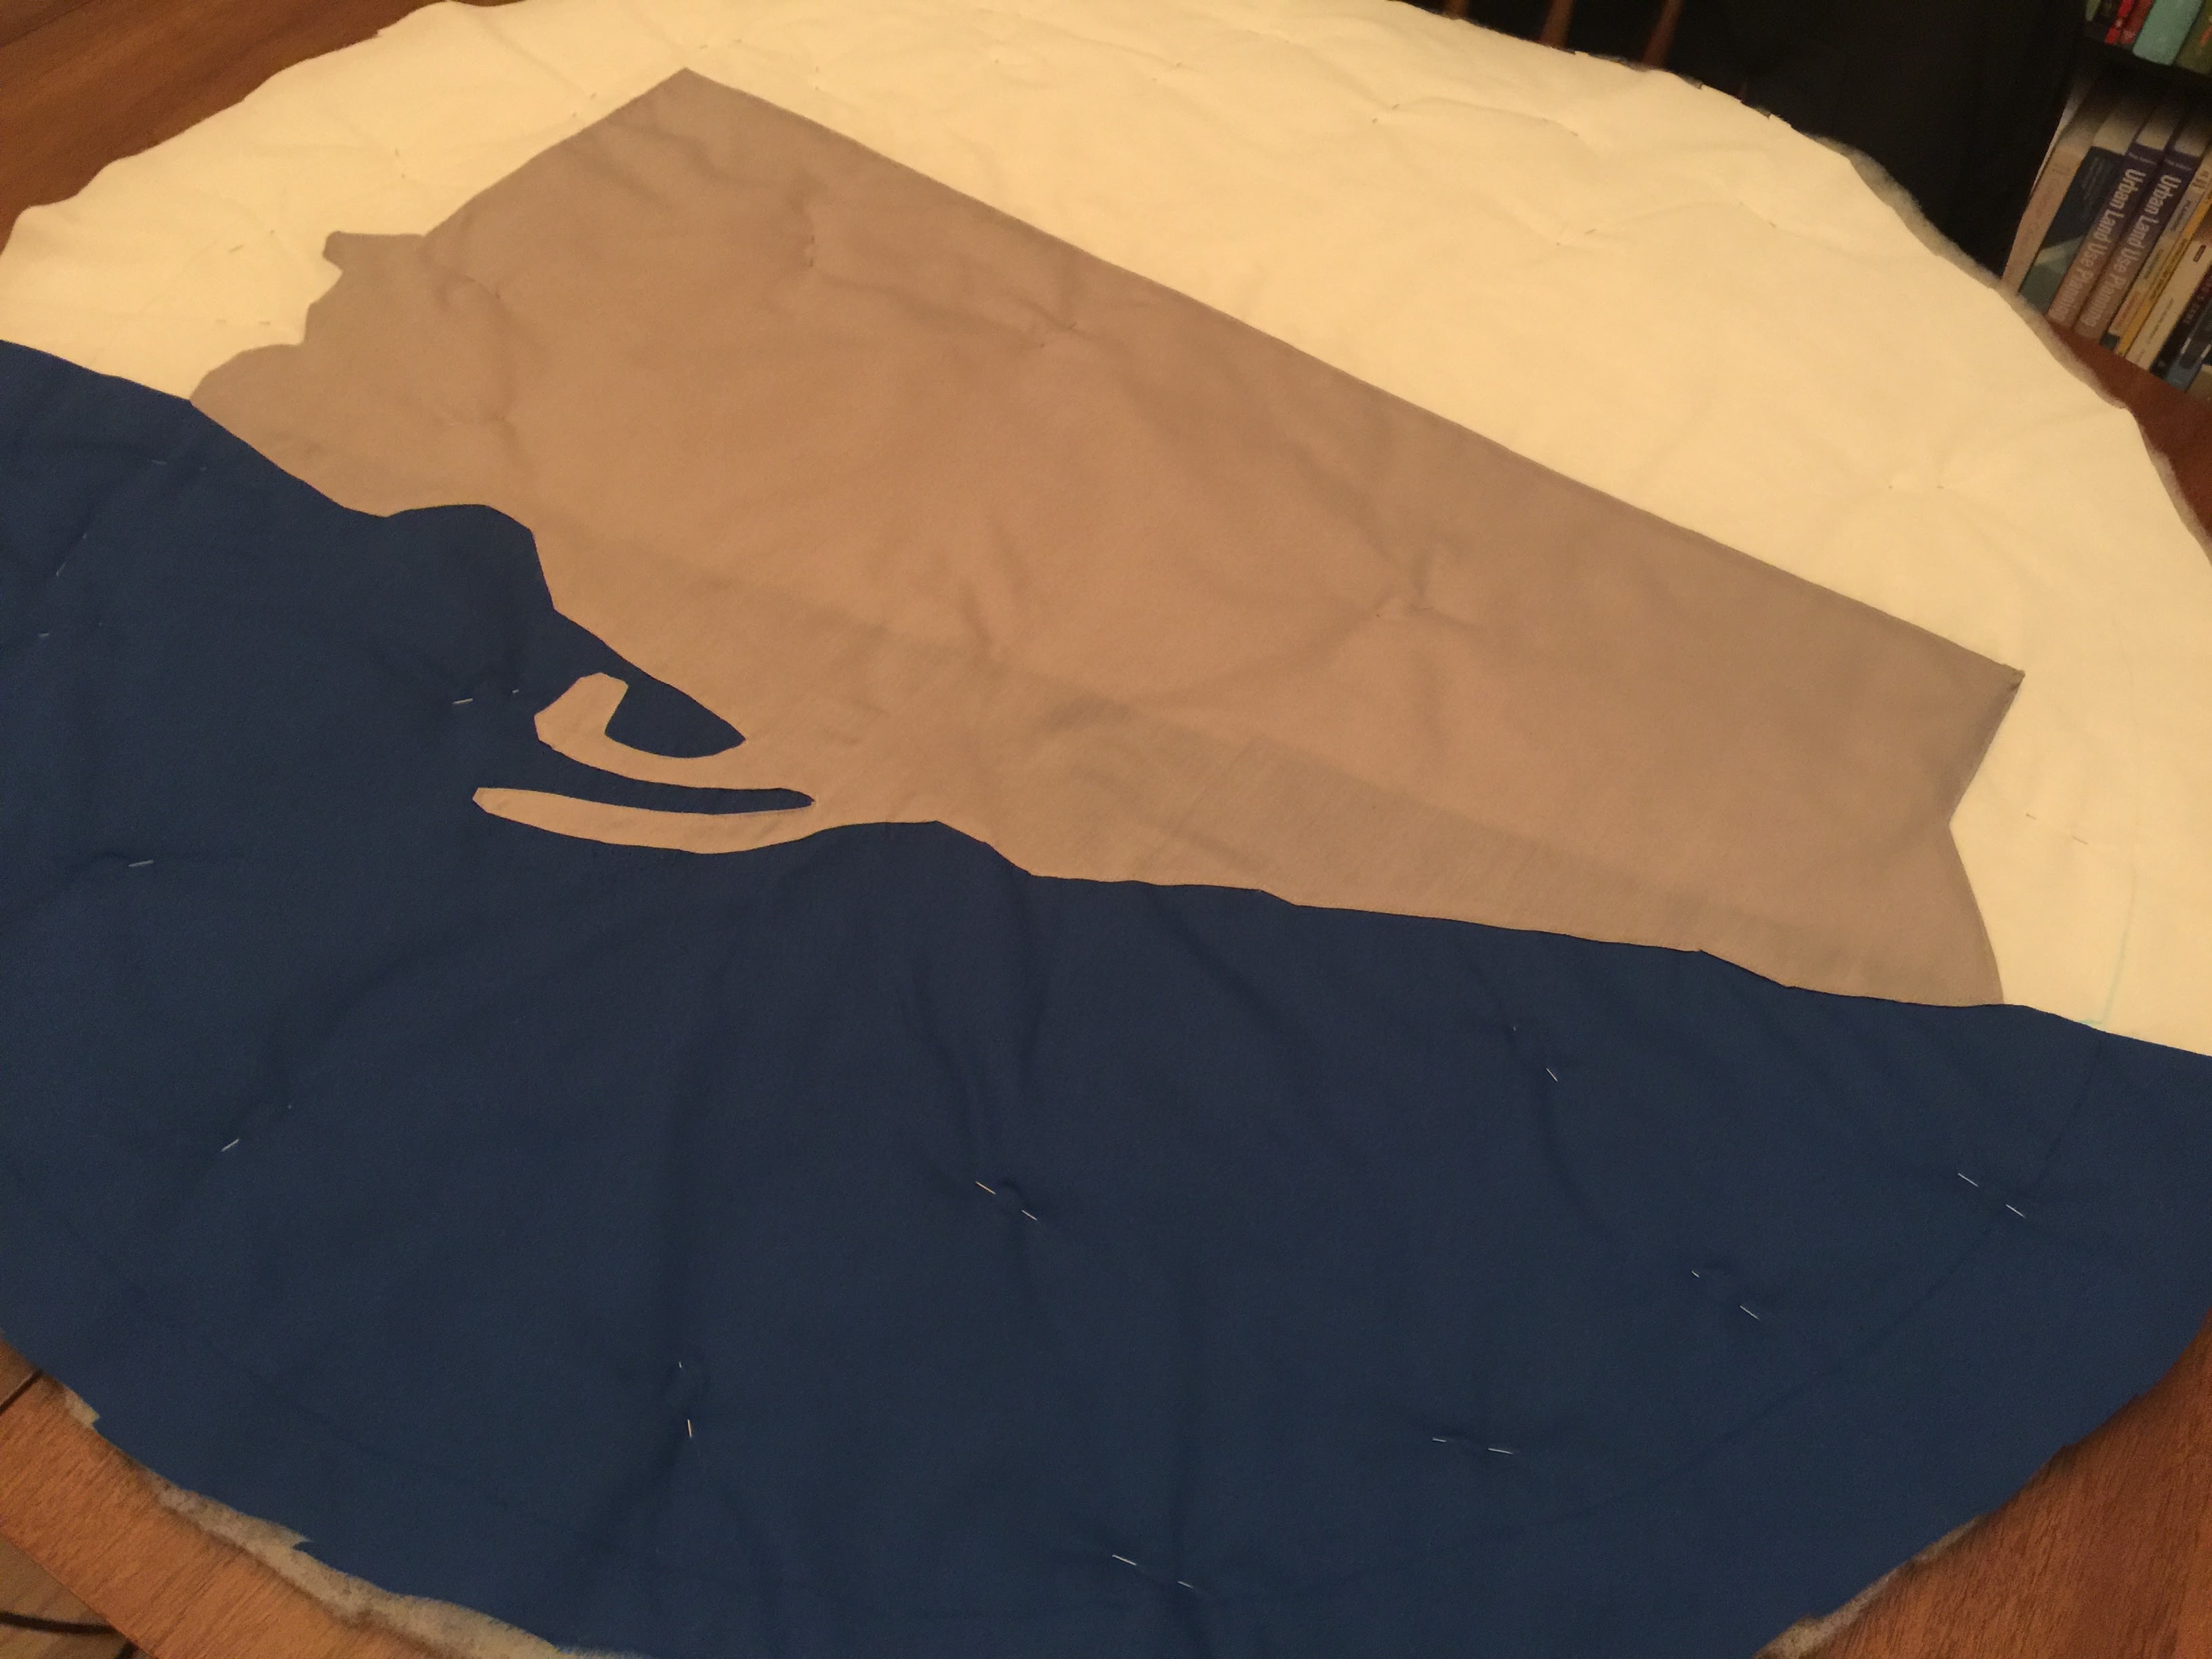
I had to pin as I went, carefully tucking the edge of the fabric under and then removing the pins just before the sewing machine foot approached. It was a slow process (especially around the corners where I had to lift the foot with the needle down and rotate the fabric) but I was happy with the results.
It was after this step that I turned the fabric over to remove the excess blue fabric that could be seen through the grey.
I then cut a circle of white fabric and my quilting bunting so I could start the actual quilting process.
This step was a bit delayed because I had to order a special machine quilting walking foot, which had major shipping issues and arrived more than a month after I bought it.
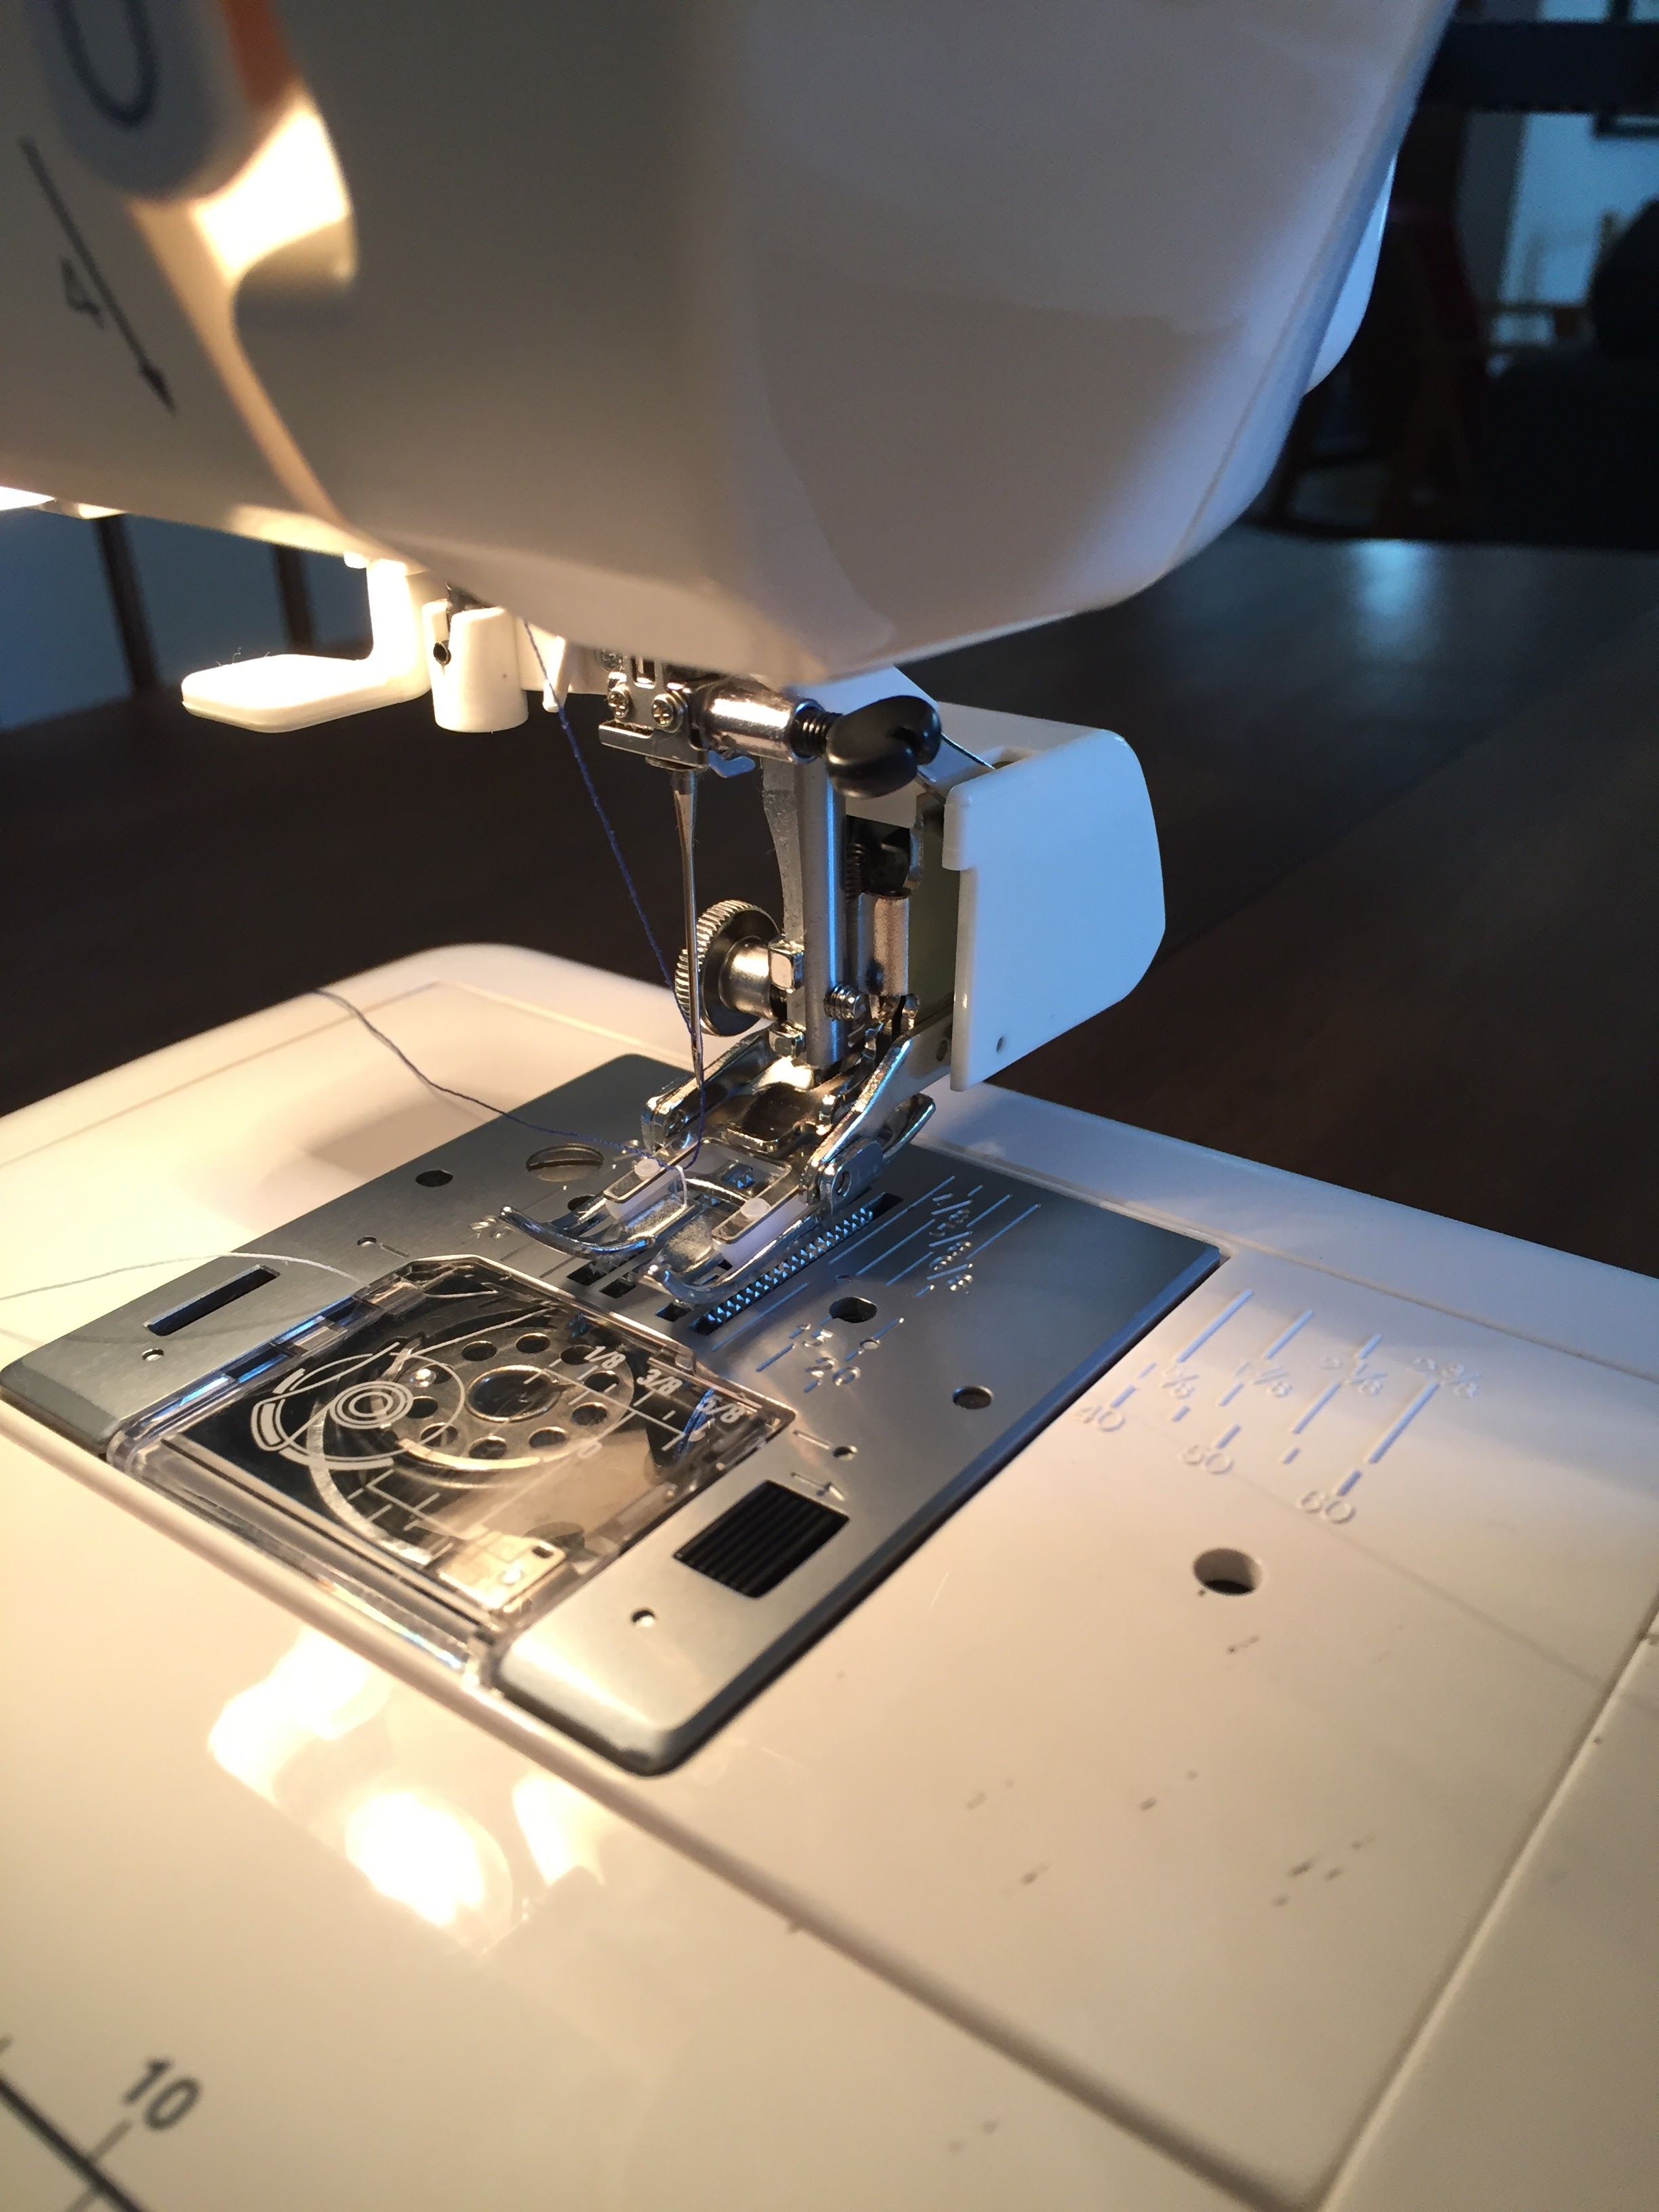
I’m really happy I bought the walking foot. It’s a special foot that allows you to sewing through the thickness of the quilt and also move the bottom and top pieces at the same speed so there’s no bunching.
Once I had my quilt sandwich (back piece, bunting and top piece), I pinned the bottom (water) part together so I could begin machine quilting.
I wanted to be a bit creative with my quilting stitches, but didn’t want to have to order another special walking foot for crazy quilting patterns, so I did an in-between. I decided to quilt wavy lines for the water, straight lines close together for the city and straight lines slightly farther apart for the white part.
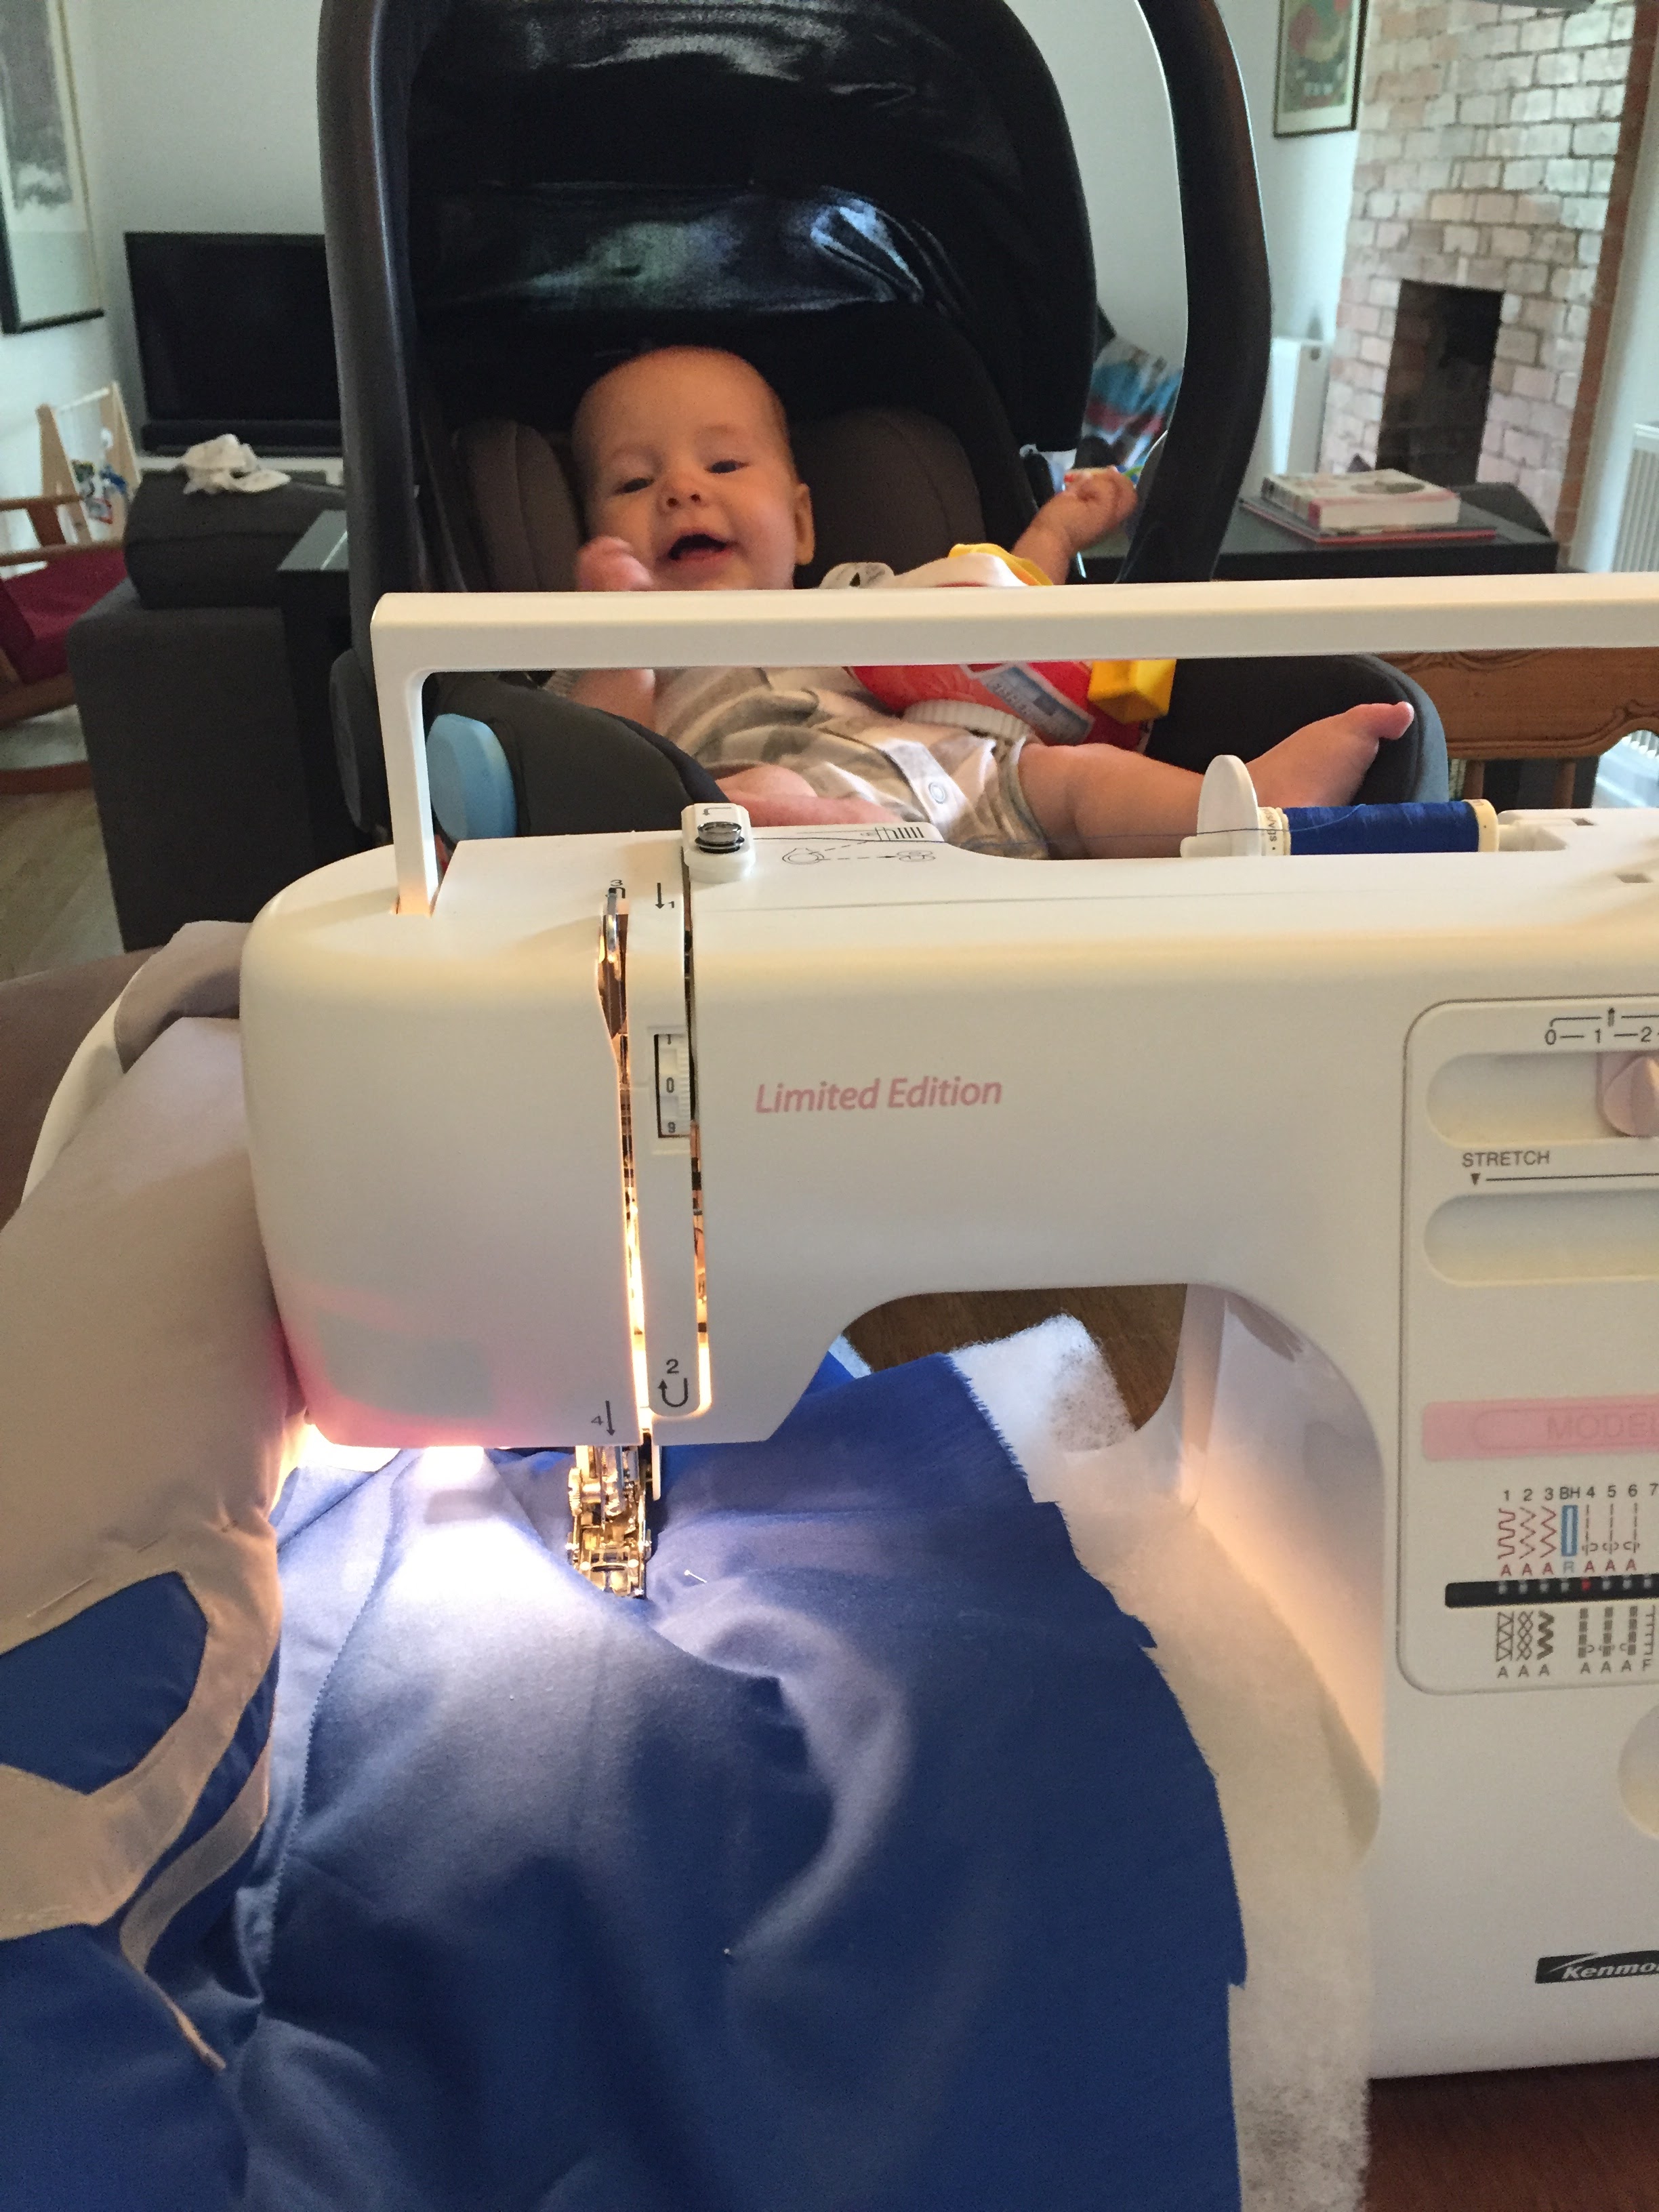
Now that I was a month delayed, I also had a much more awake baby that needed to be entertained more. Sitting beside me on the floor didn’t cut it, so on the table he went so he could watch me sew!
The wavy lines were relatively easy to do. I used my fabric marker to draw a straight line across the fabric so I had an idea of where I was heading, and then moved the fabric through the machine to create wavy lines.
For the city and white parts, I did the same thing: drew lines (except I followed them) and sewed away. I also made sure to pin everything in place so nothing bunched or moved.
Once I was done with my lines, I drew the circle outline of the mat with my fabric marker and sewed around.
When I was done sewing around the edge, I cut the excess fabric away.
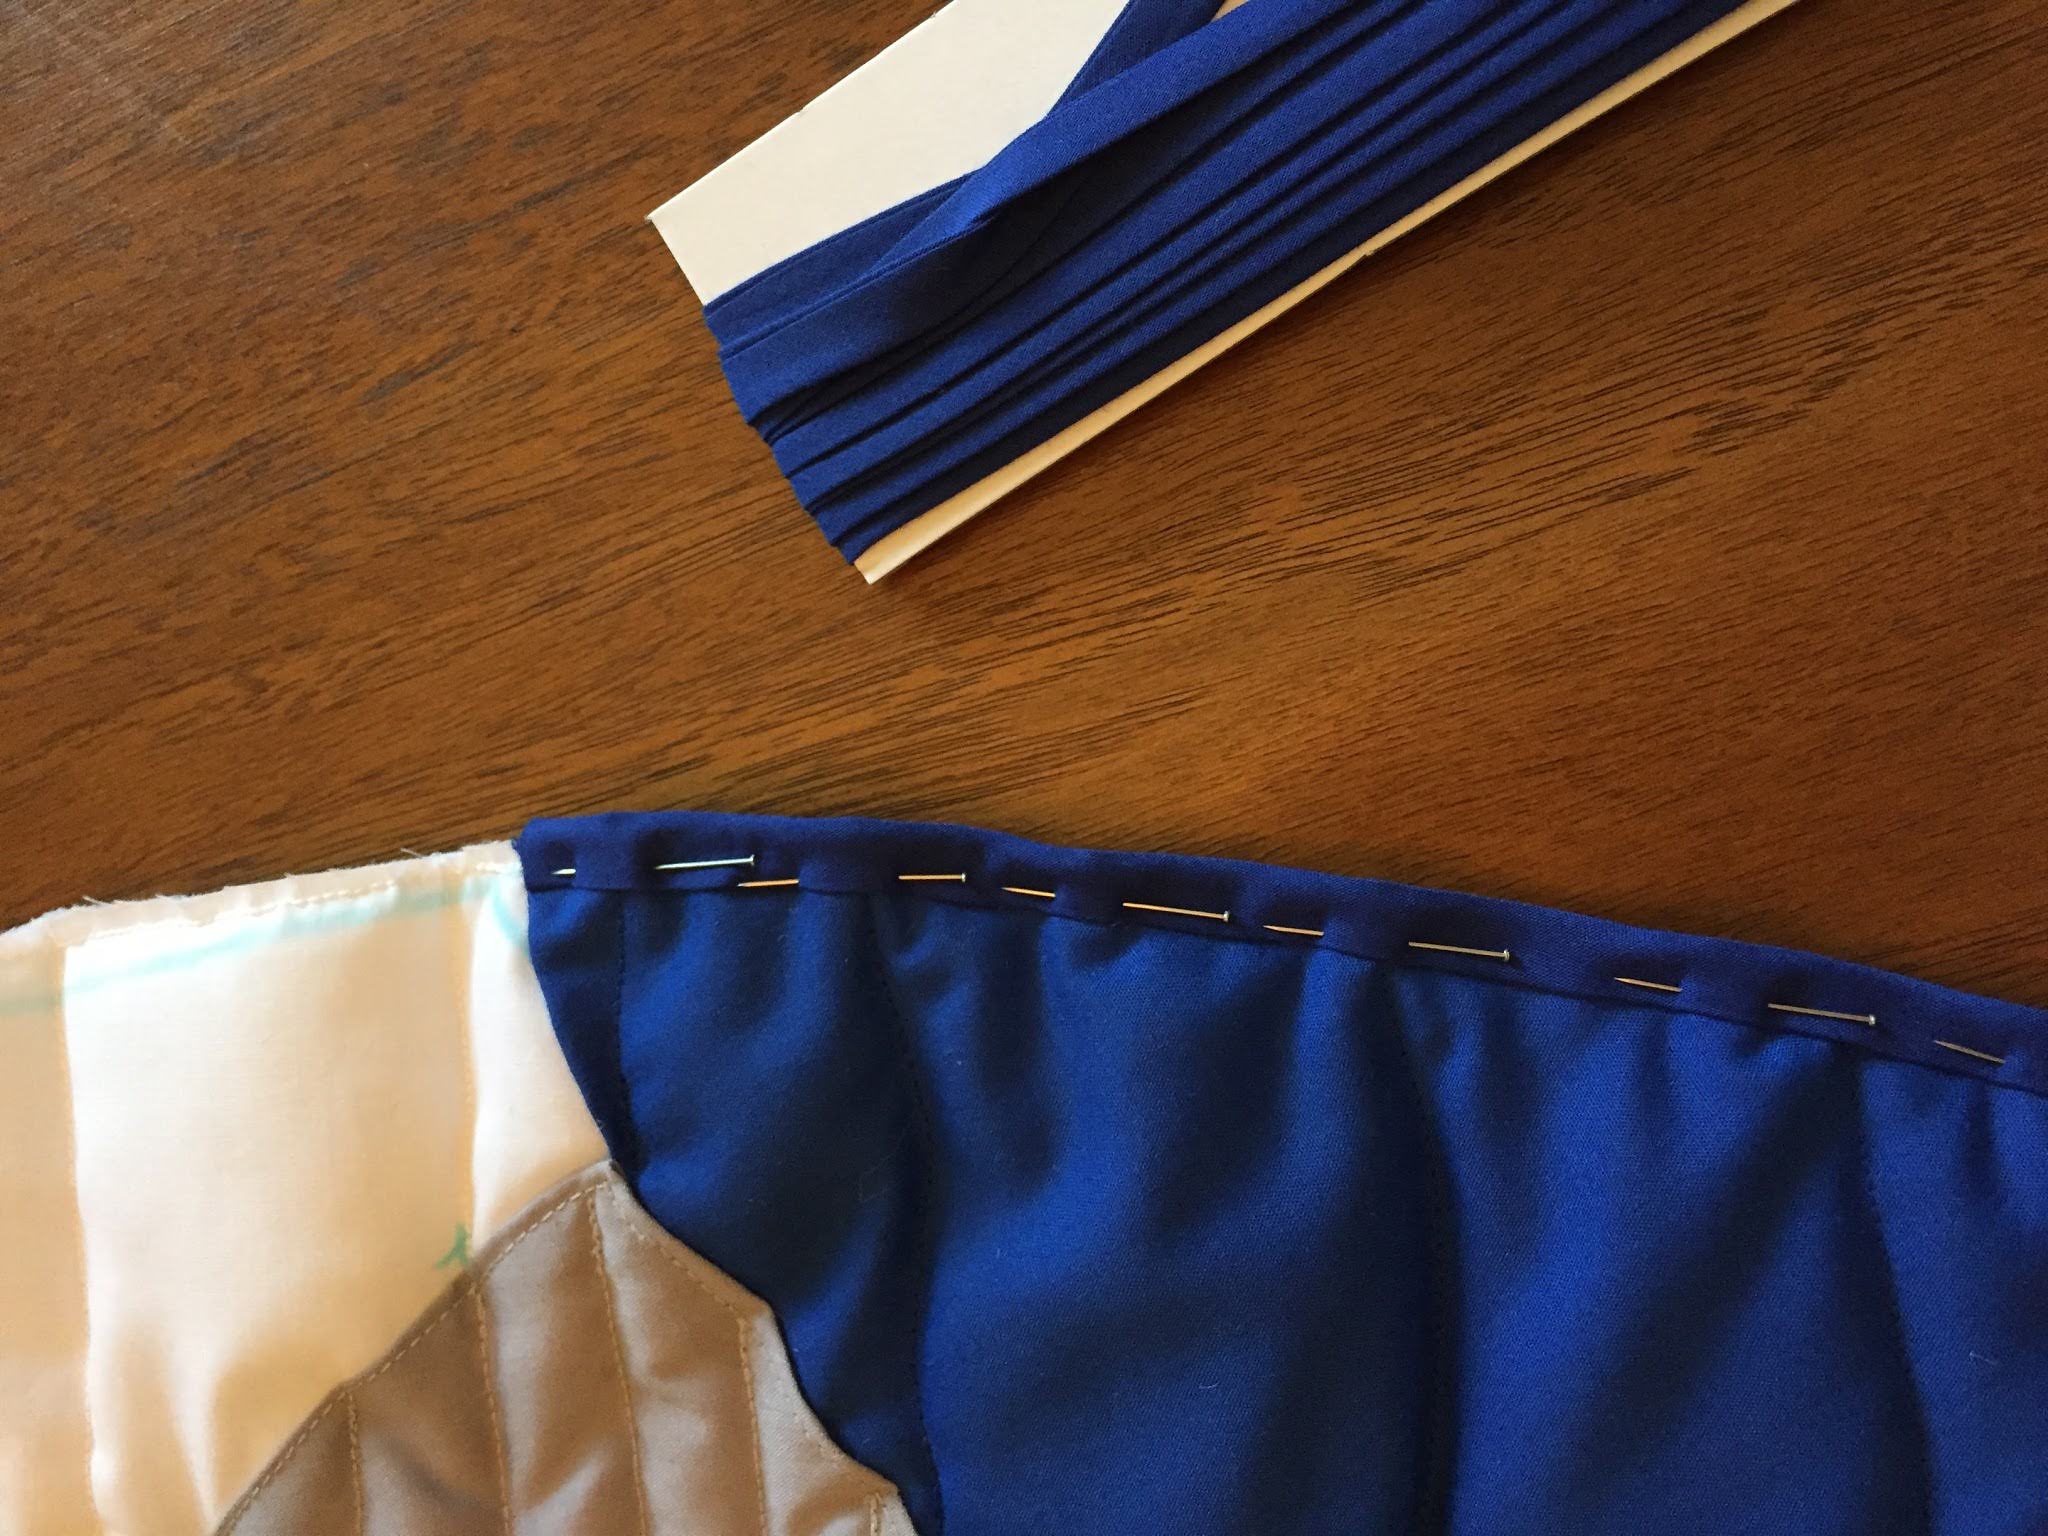
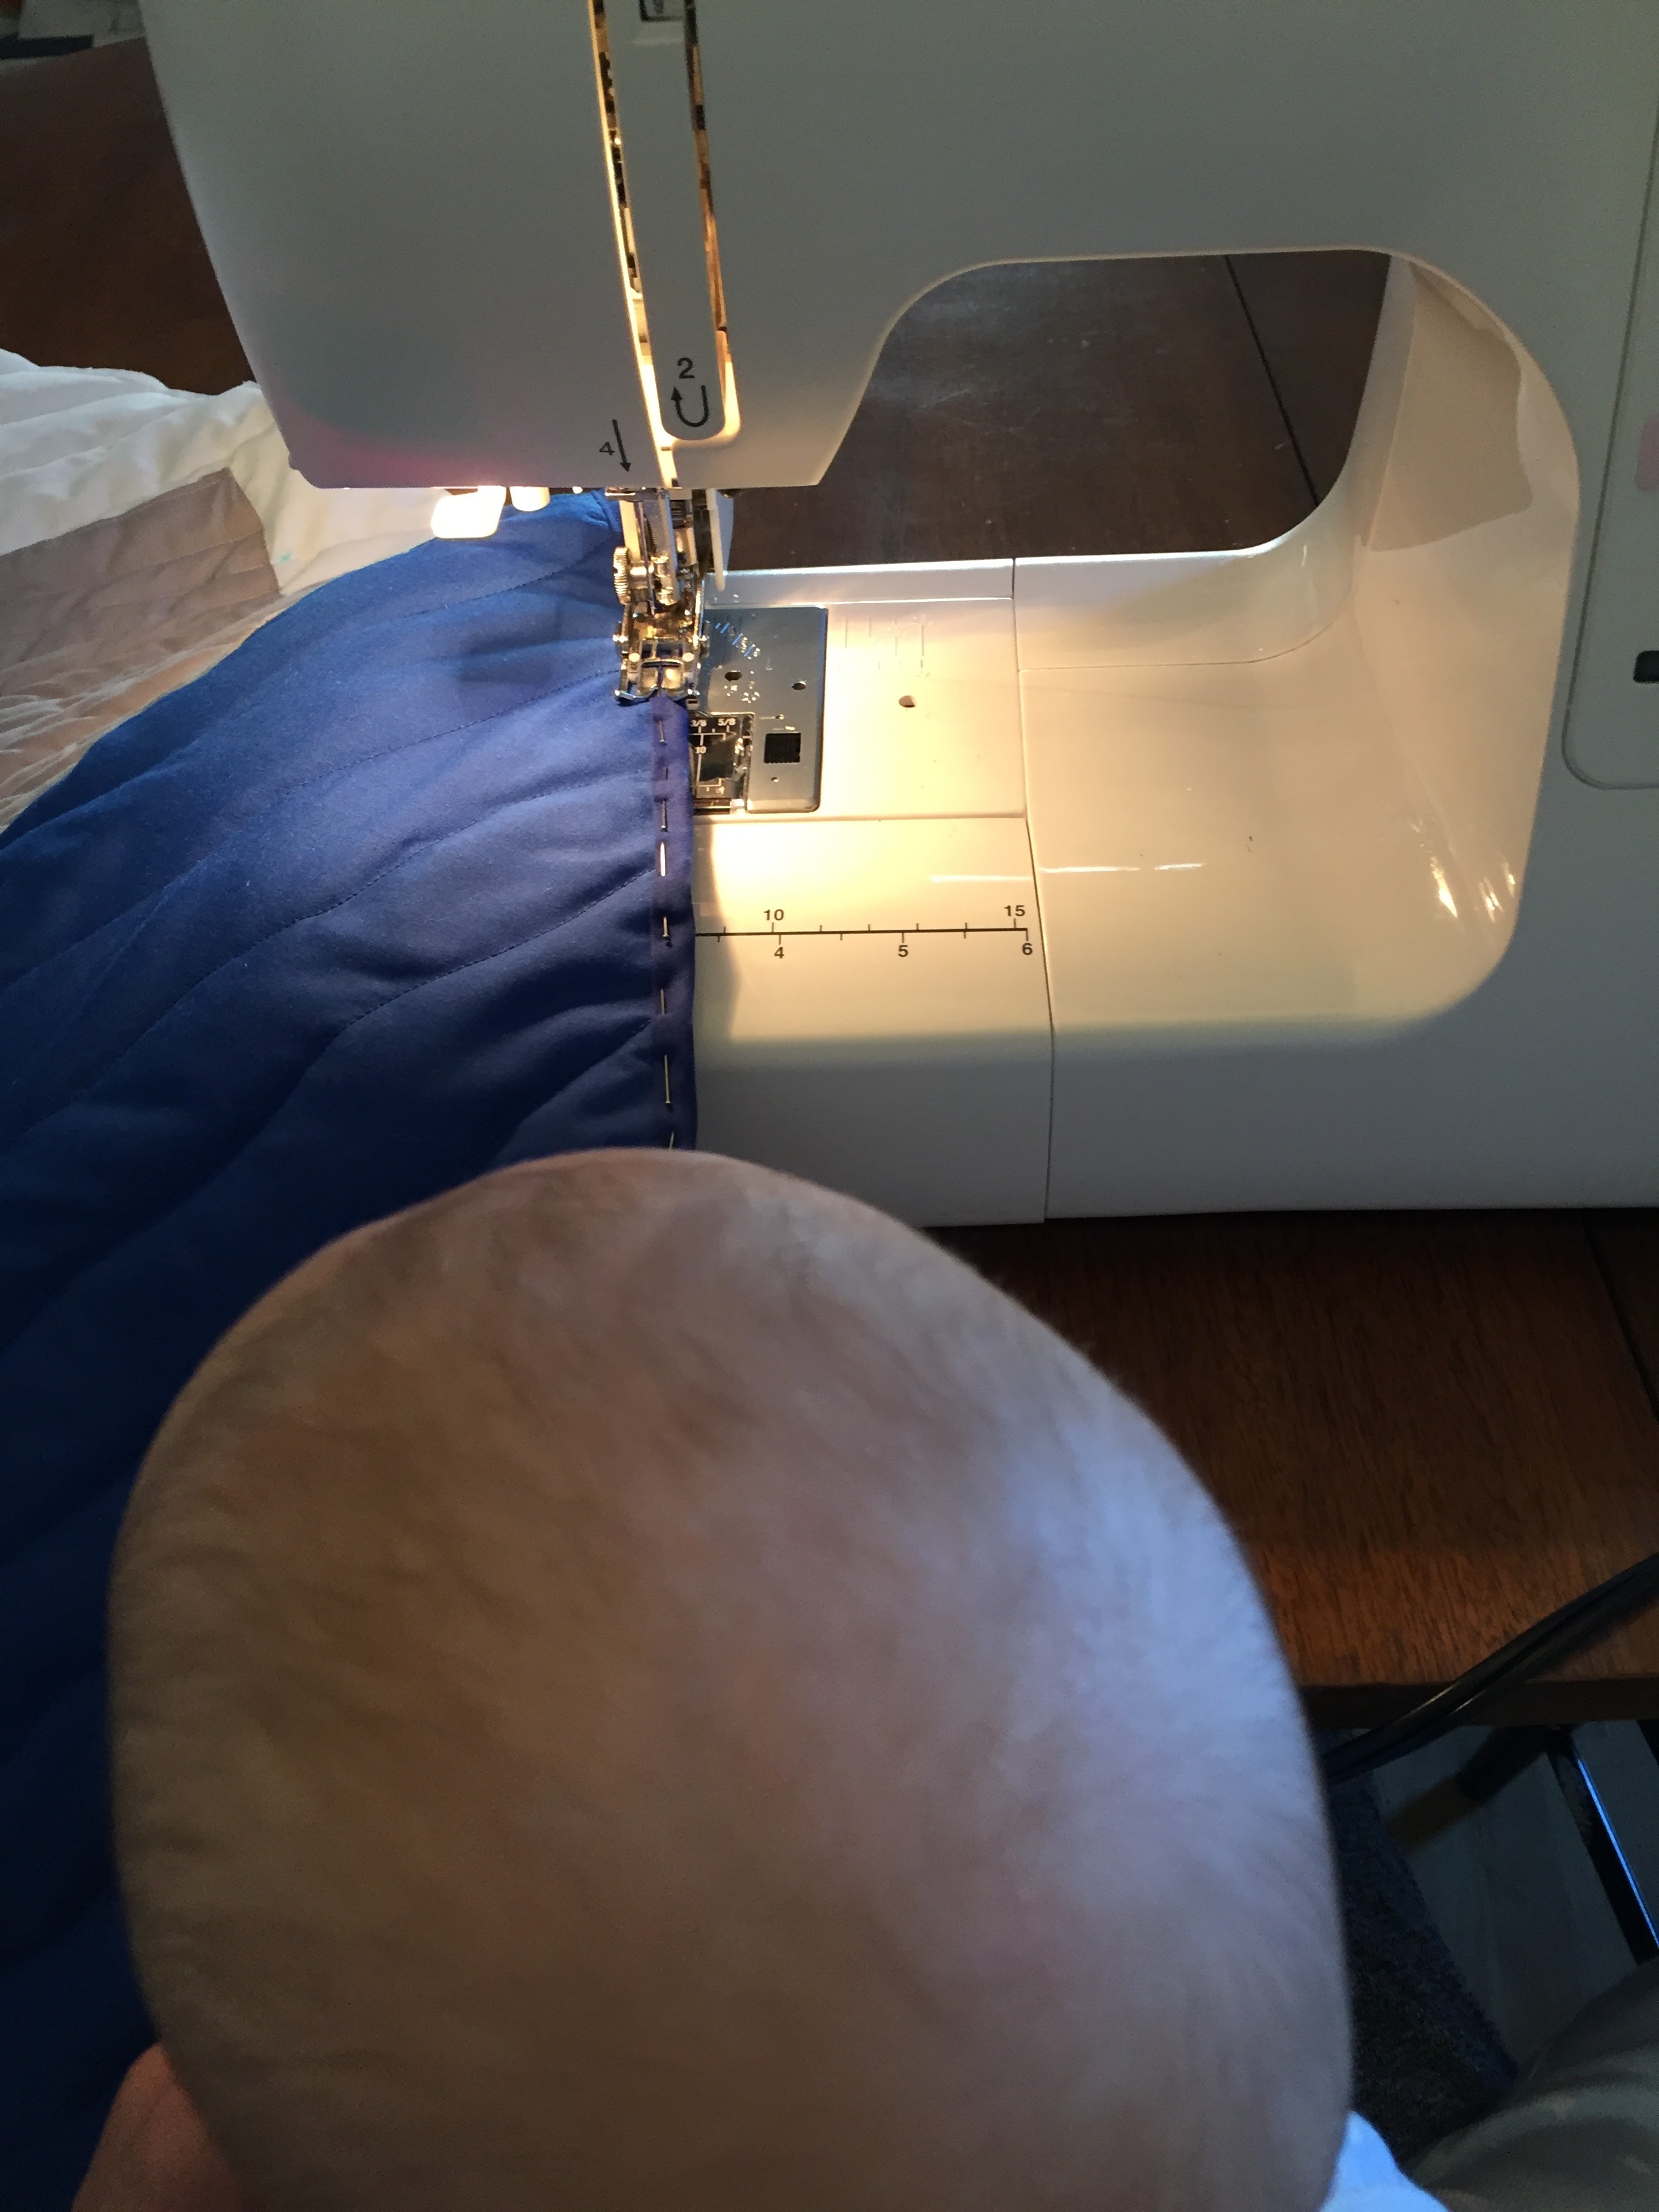
Next I had to sew the edging onto the quilt. I decided to do a white edge for the white part and a blue edge for the water. I used a double fold bias and pinned it in place. It was a bit complicated where the two colours met, but I just carefully pinned it and then sewed over it. I used matching threads for each colour. But for the blue, I used a blue stitch on the top and white on the bottom since my backing was white and I didn’t want contrasting thread.
My fussy baby wanted to be a part of this step too. Luckily he wasn’t grabby yet.
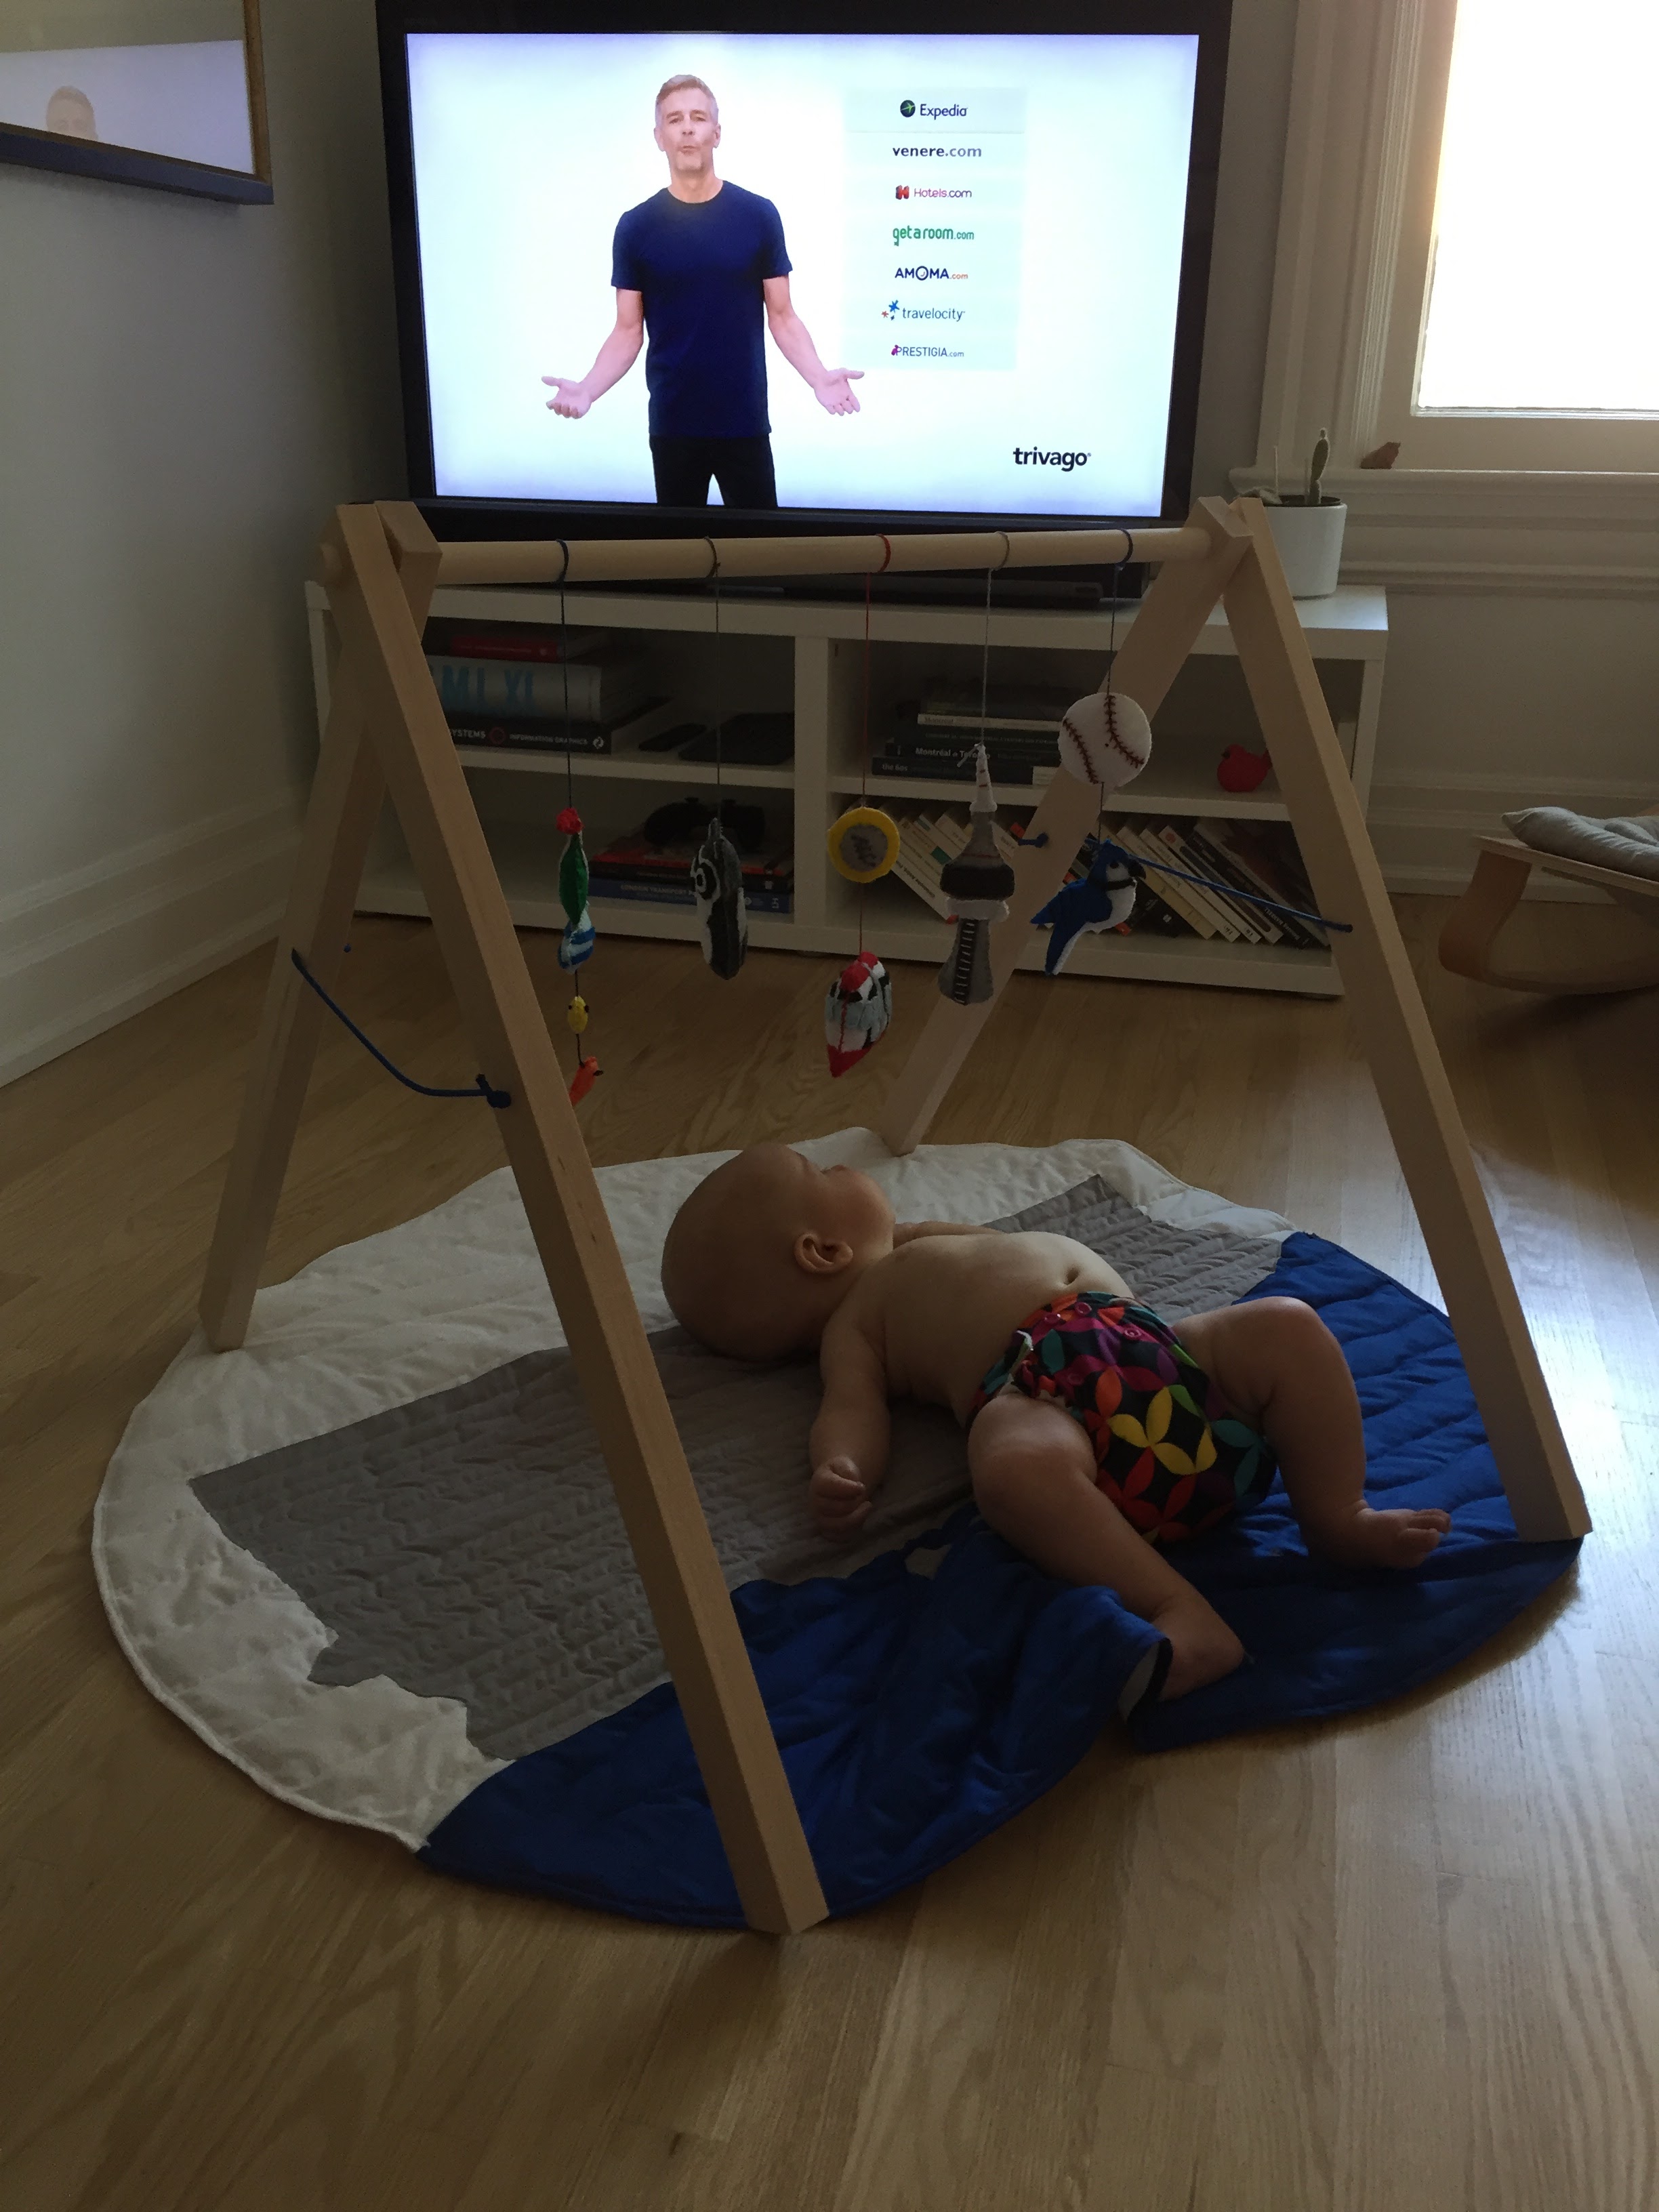
Once the edge pieces were sewn on, all I had to do was wash the mat to get rid of the fabric marker and it was ready to use!
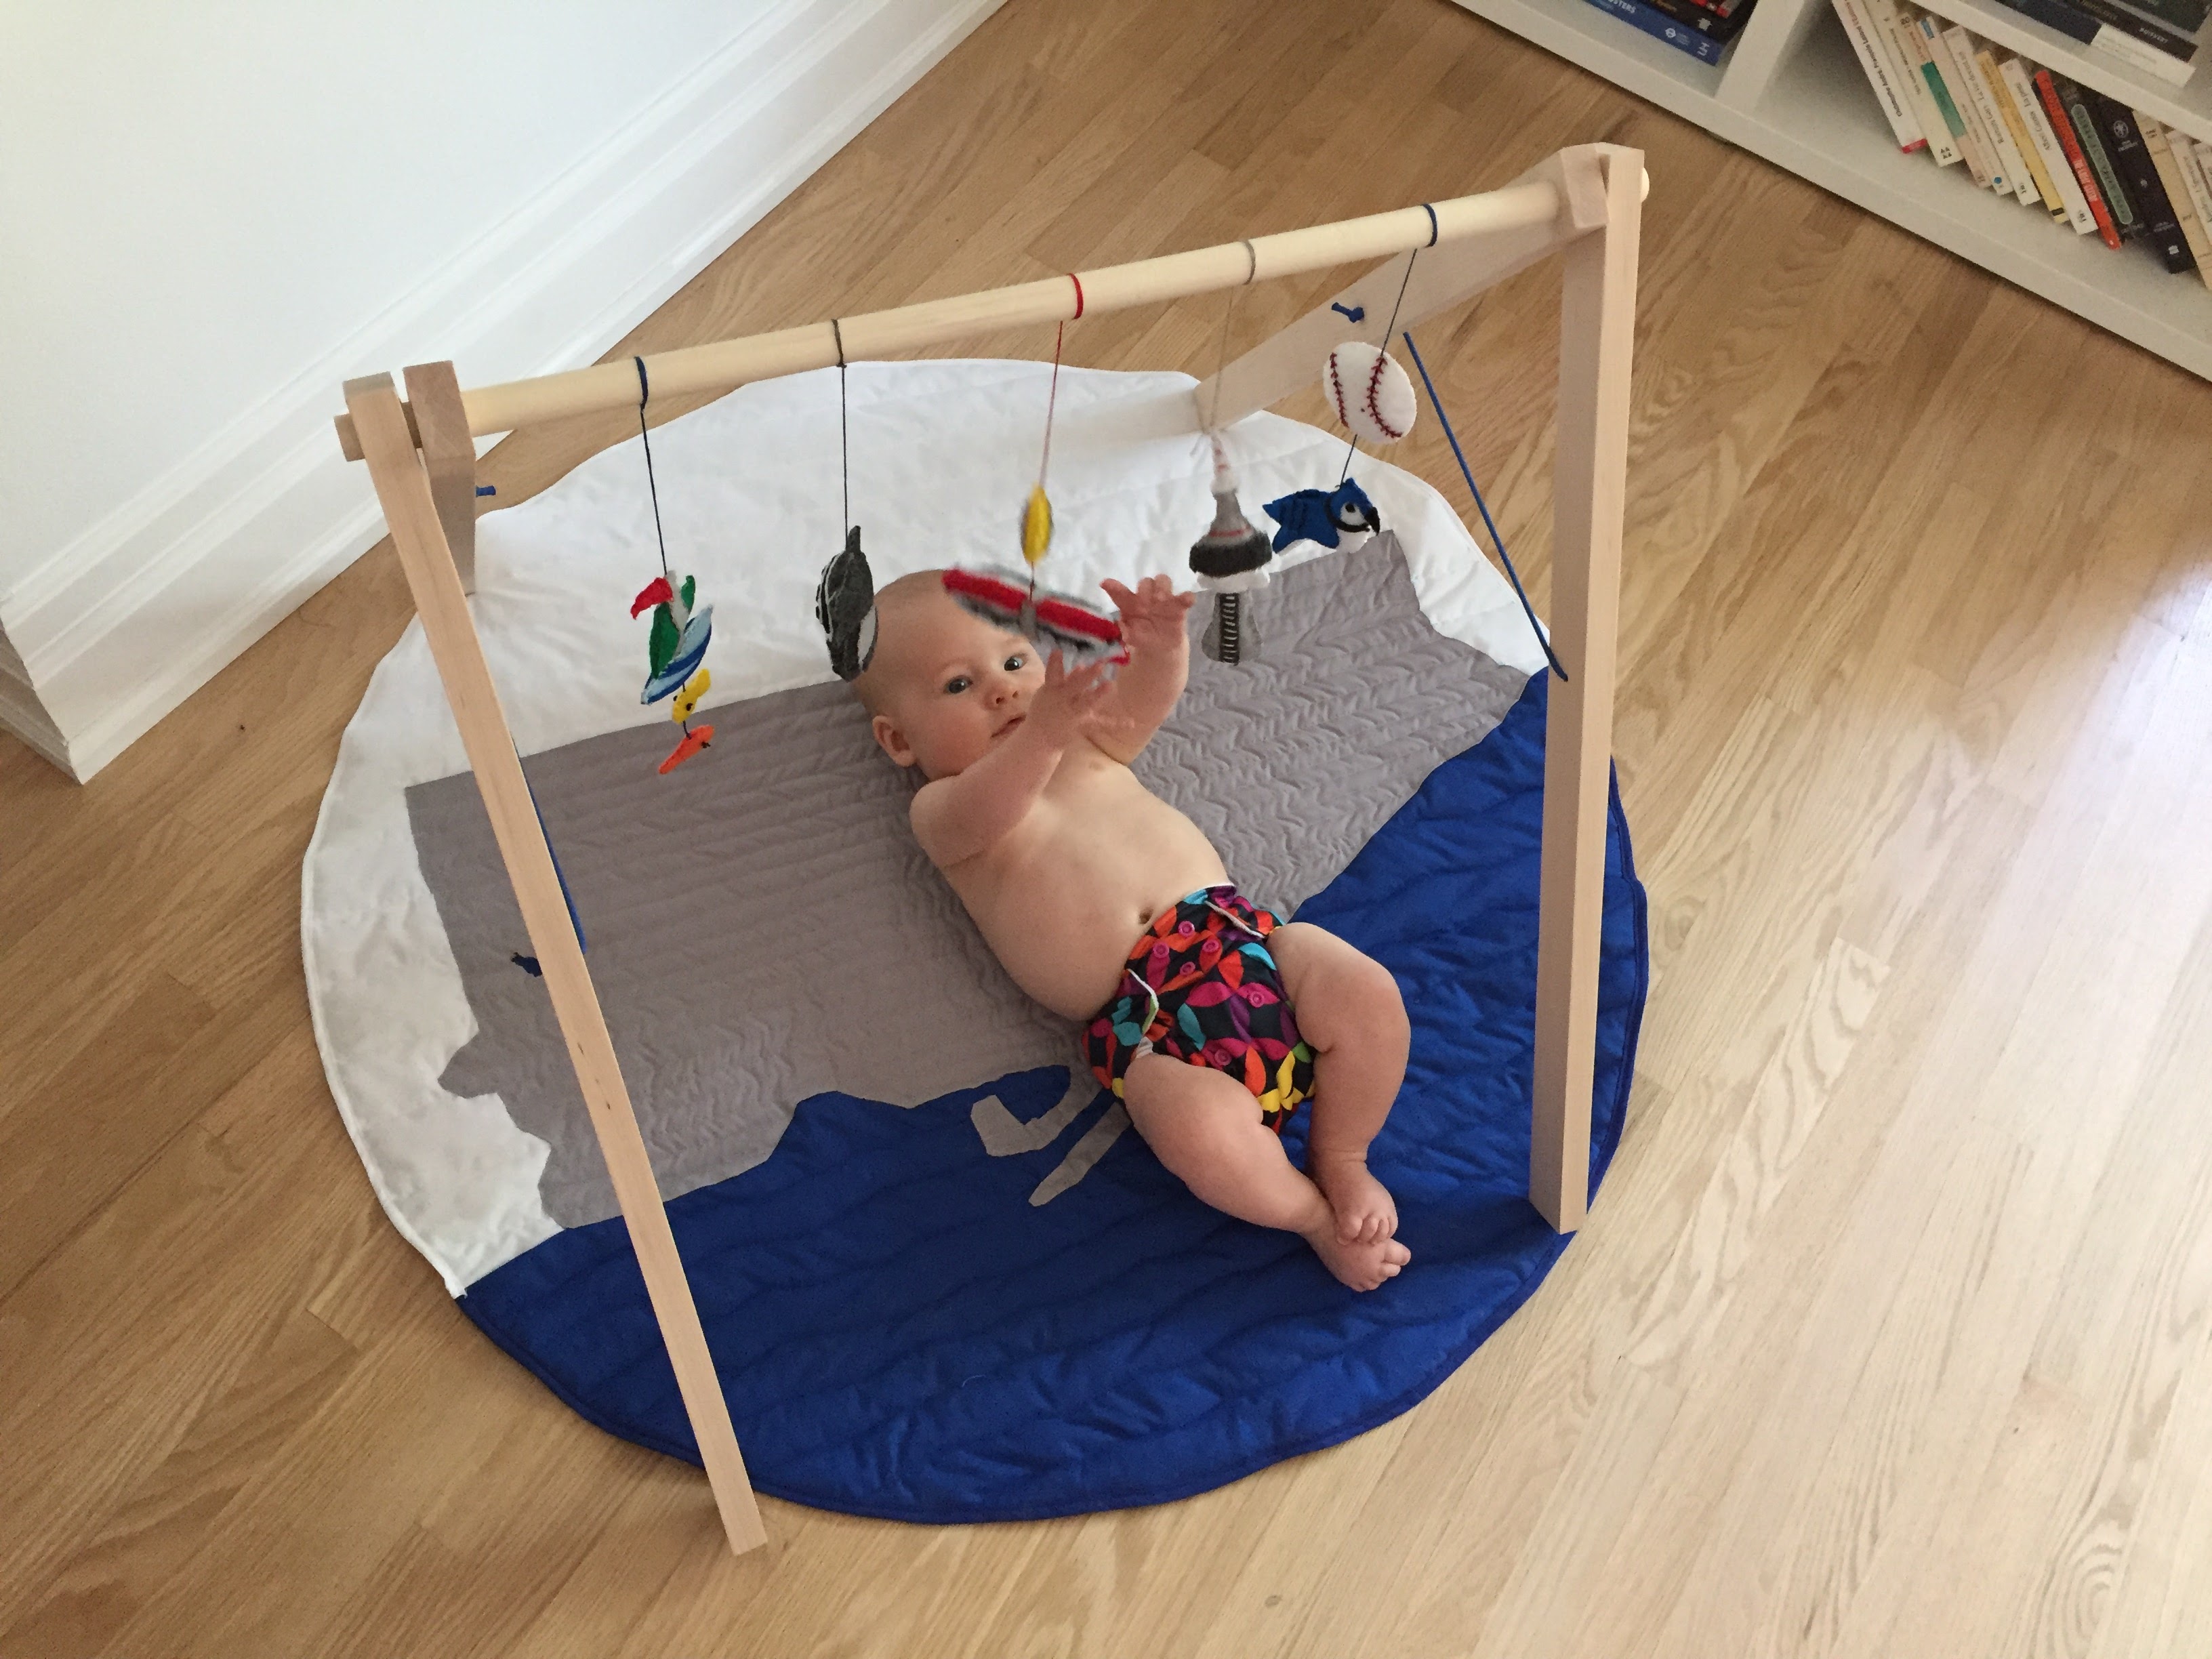
It was a big hit, but still no match for the Trivago guy.