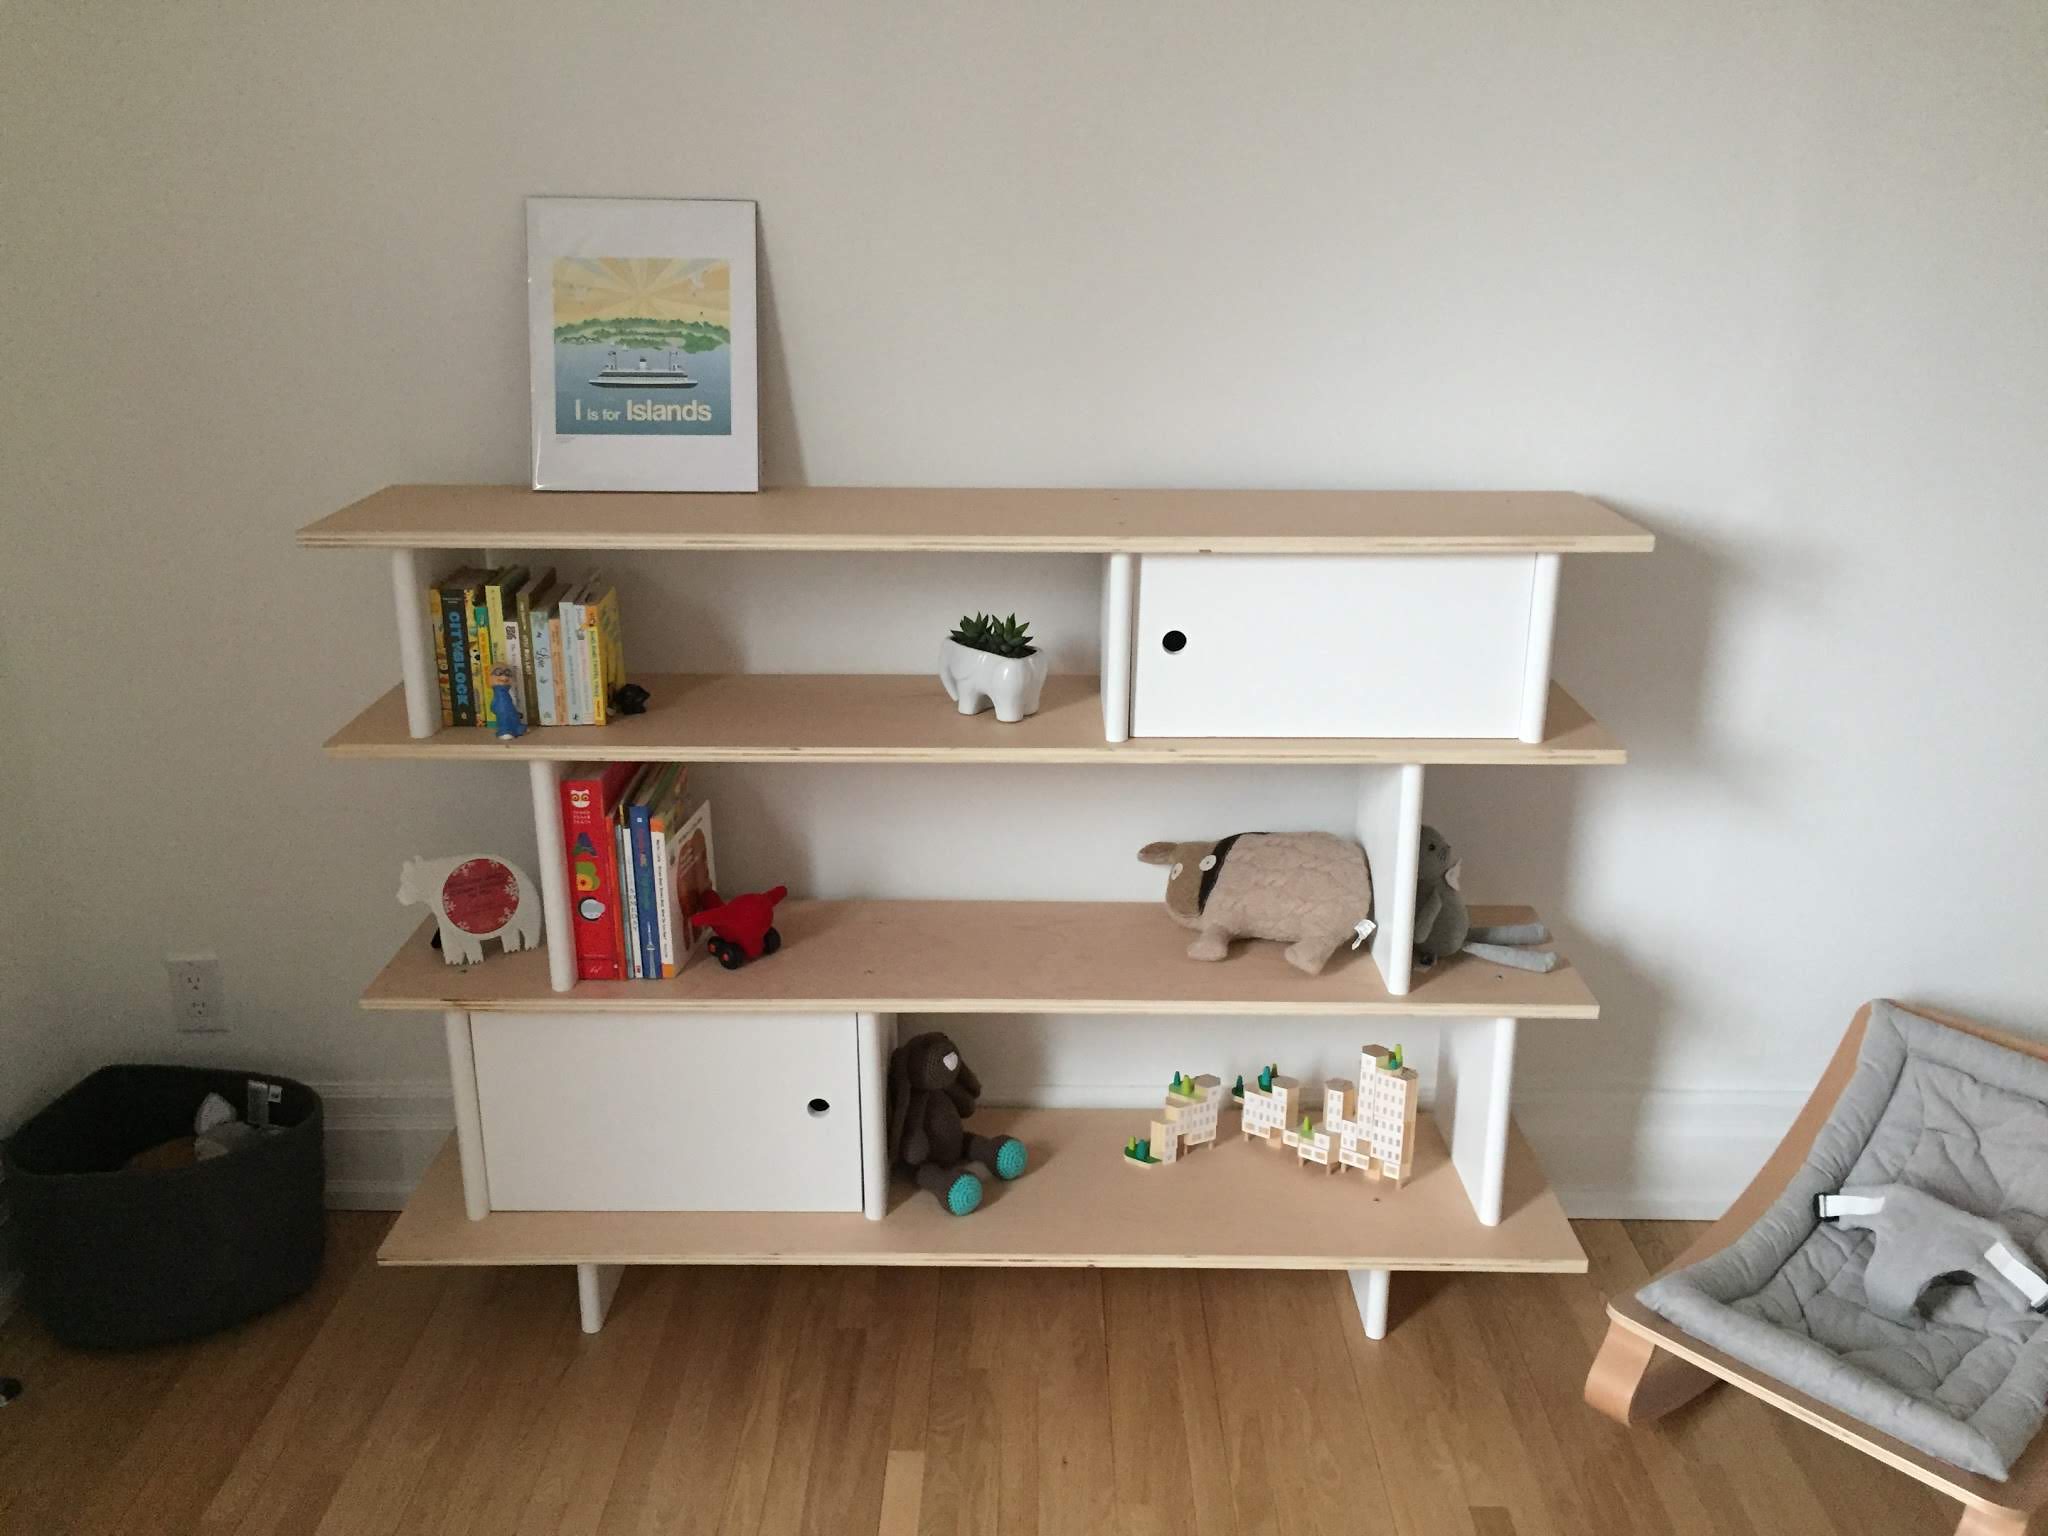
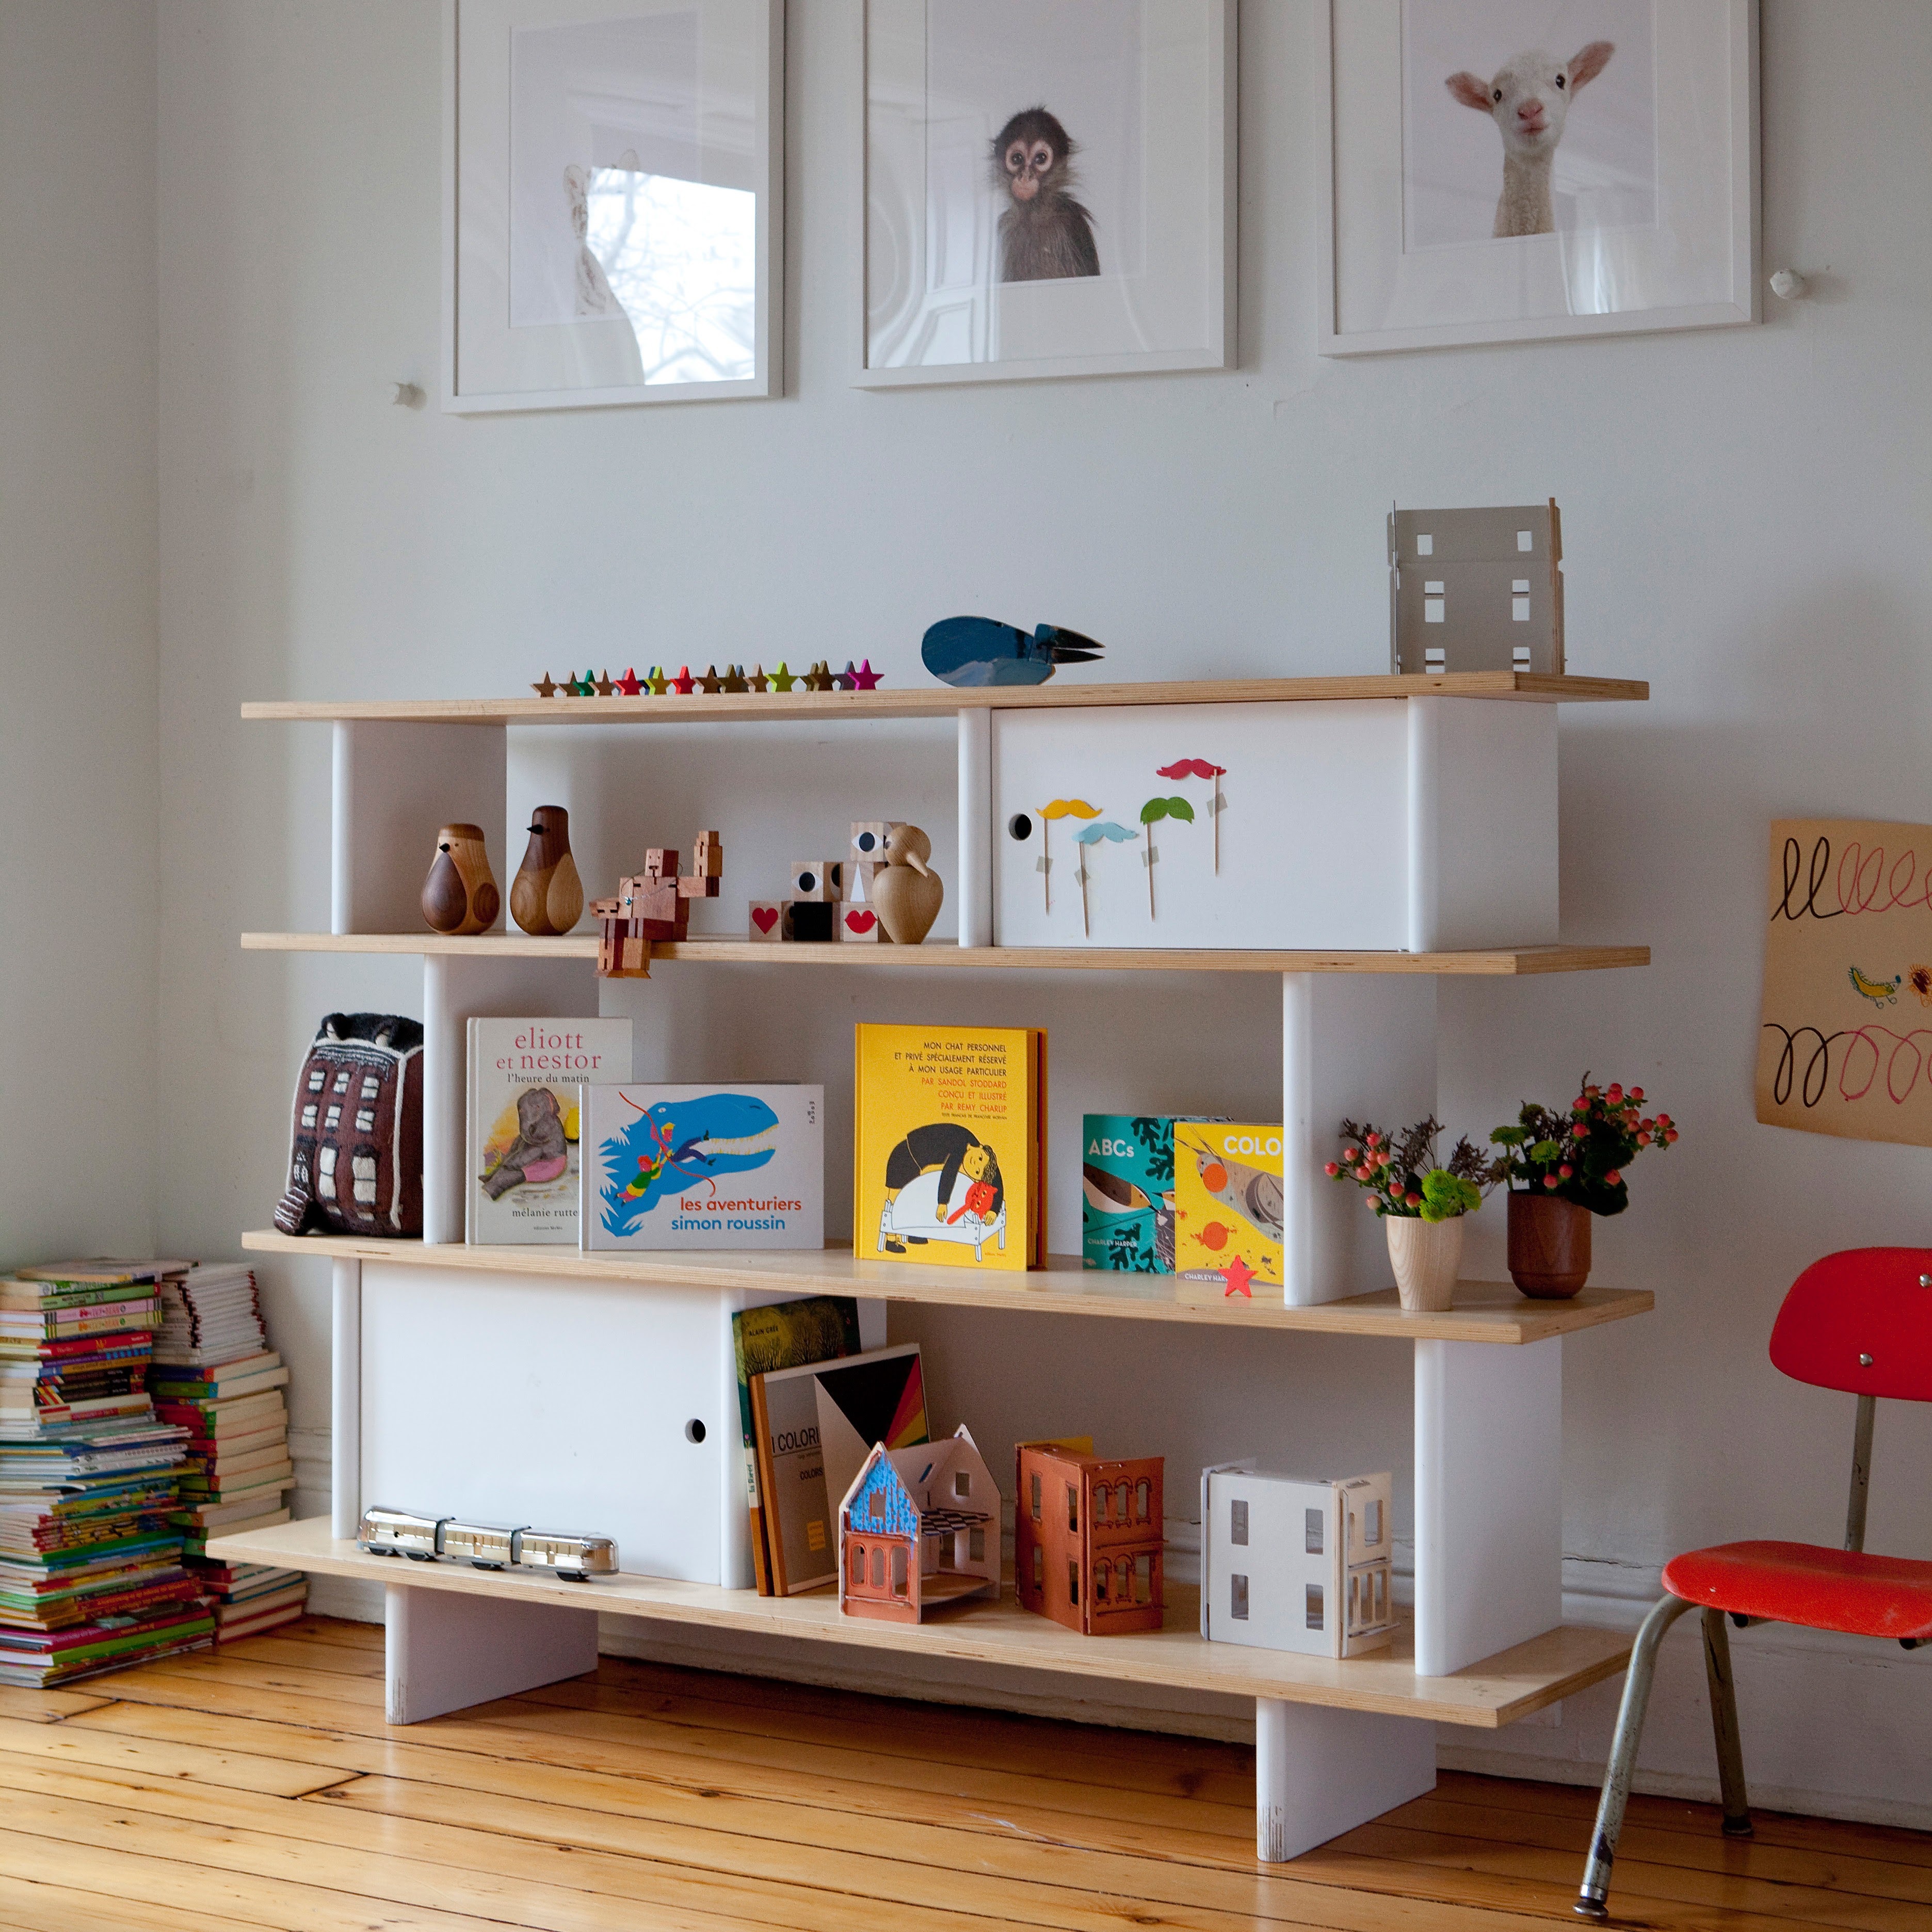
When shopping for nursery furniture, I fell in love with Oeuf’s mini library. The only problem is that I really couldn’t justify the $895 price tag. Especially for something that I could clearly build myself.
So that’s just what I did.
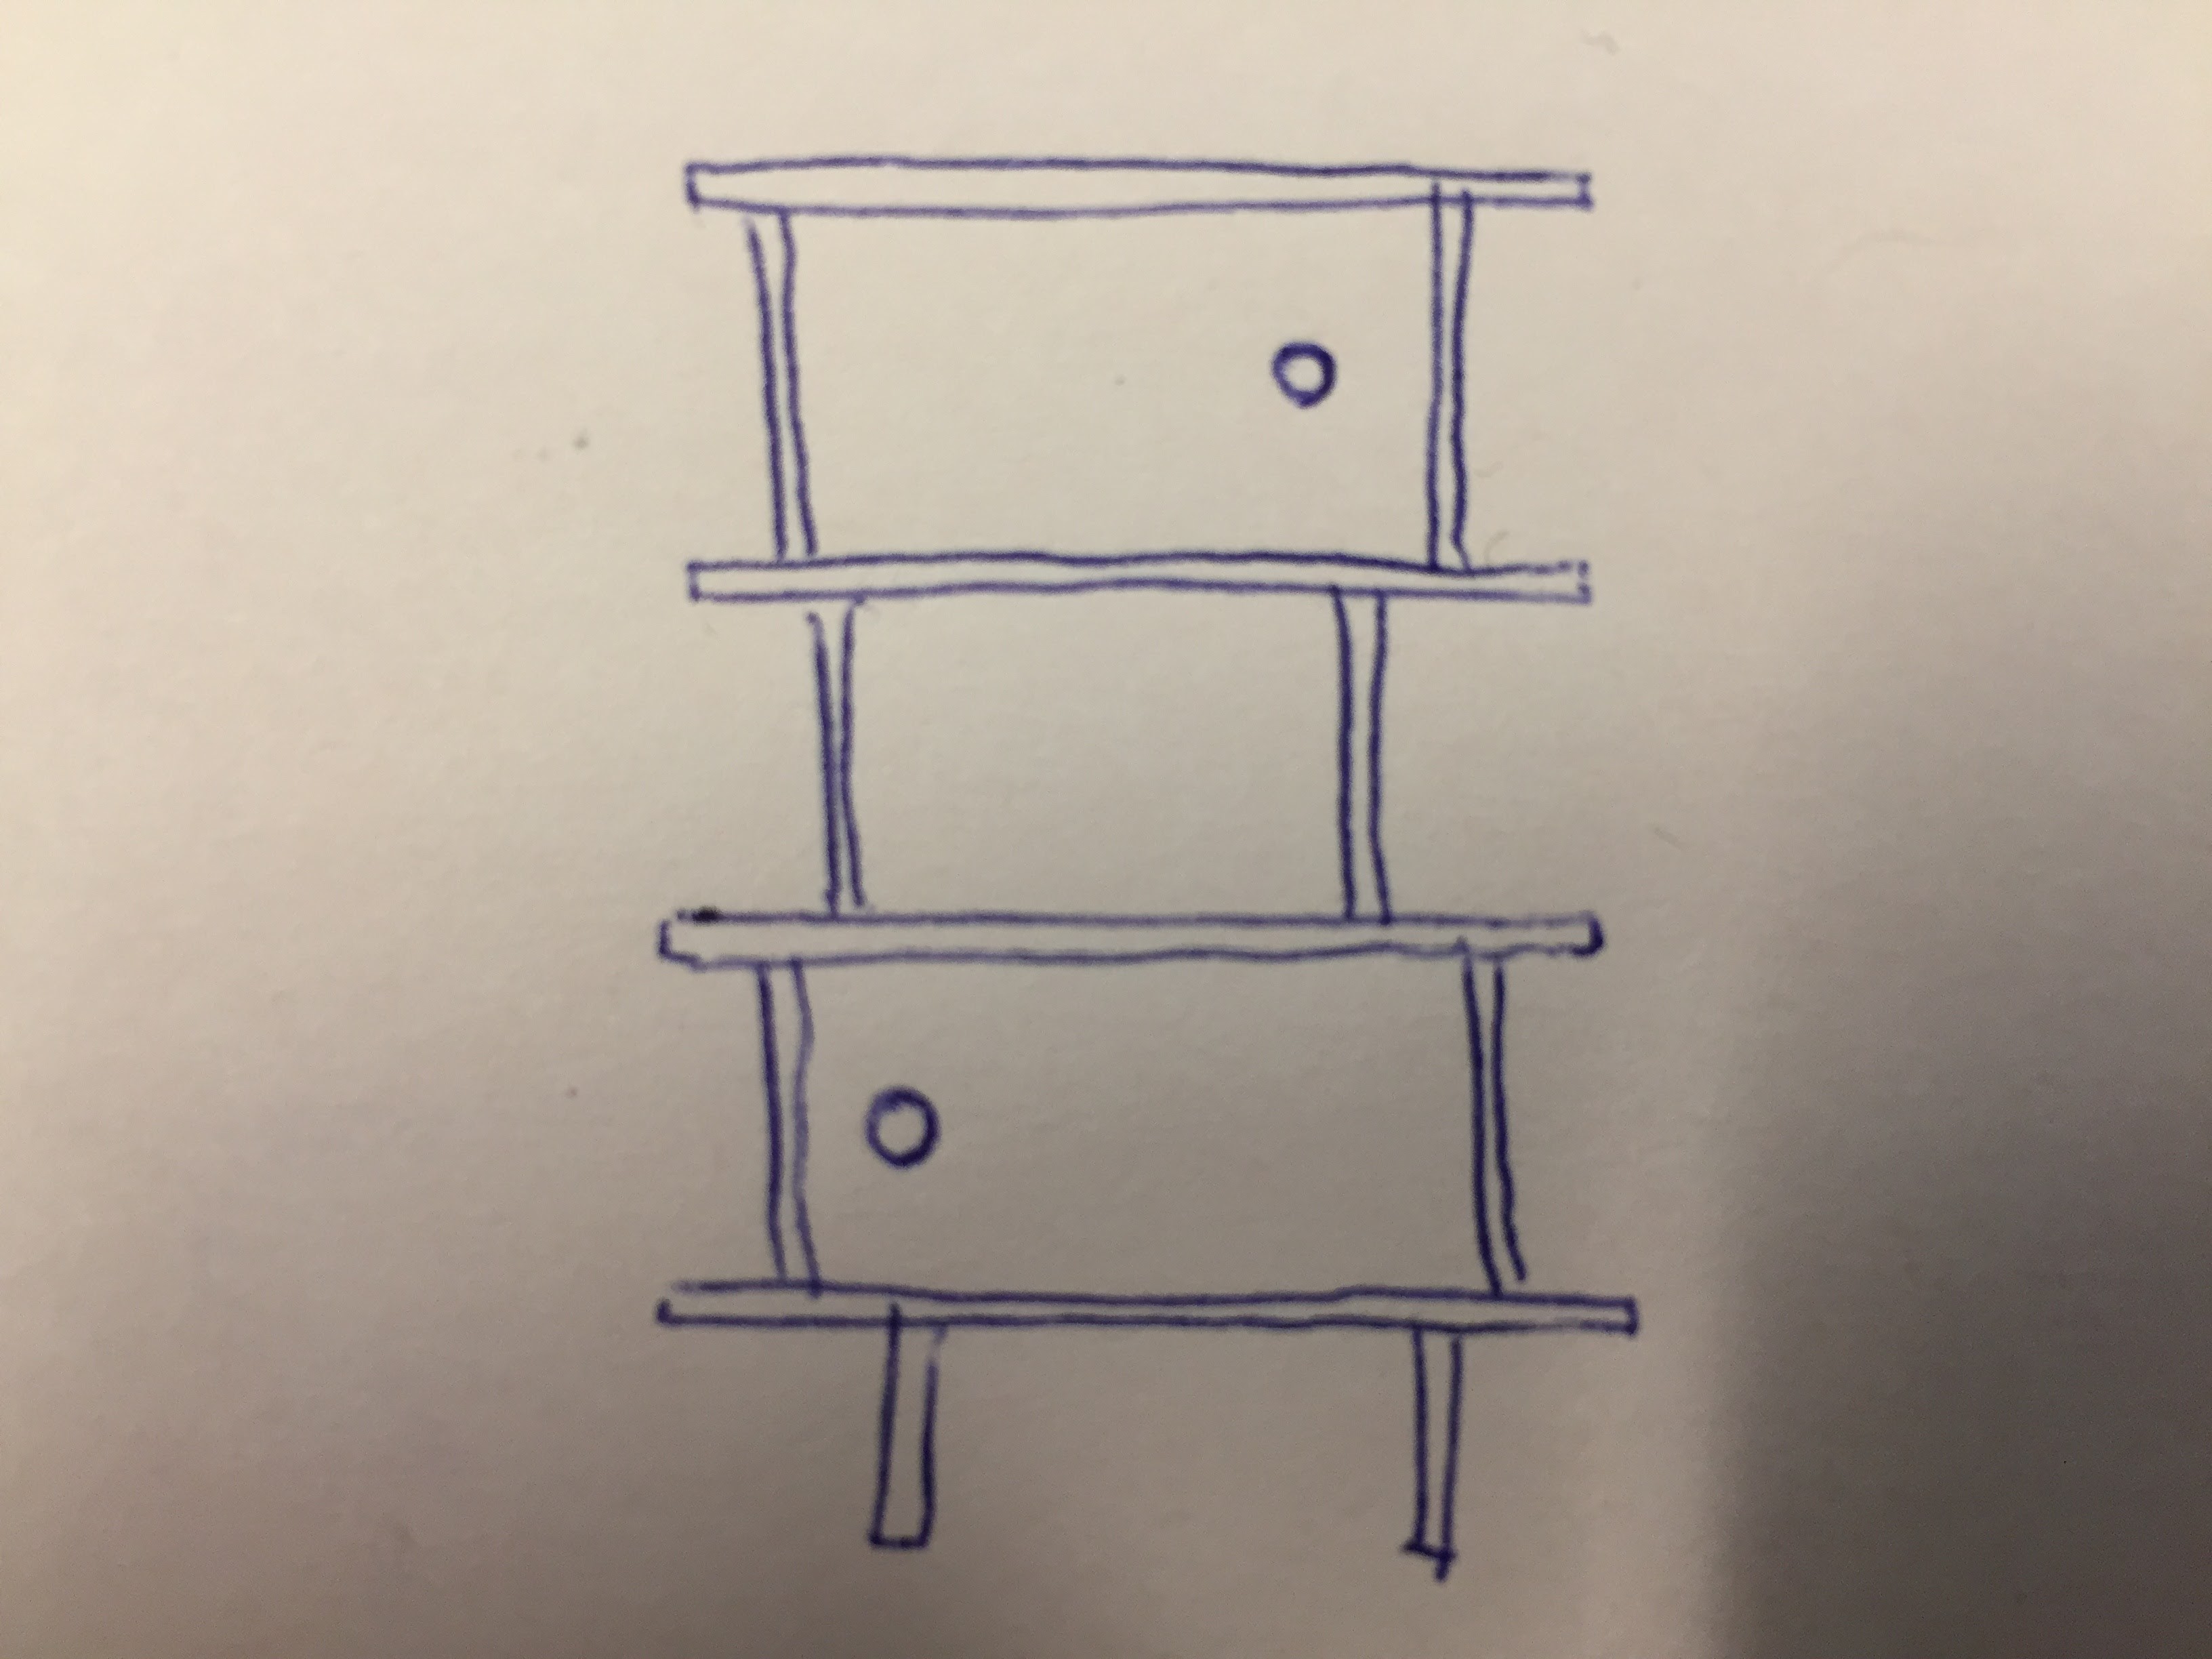
I downloaded the instruction manual online and made an in-store visit to confirm all the measurements and then went to work at figuring out what materials and construction method I needed to make my very own mini library.
I also found a couple of examples online of people who had the exact same idea. The best tip I found was to use stair treads for the side pieces!
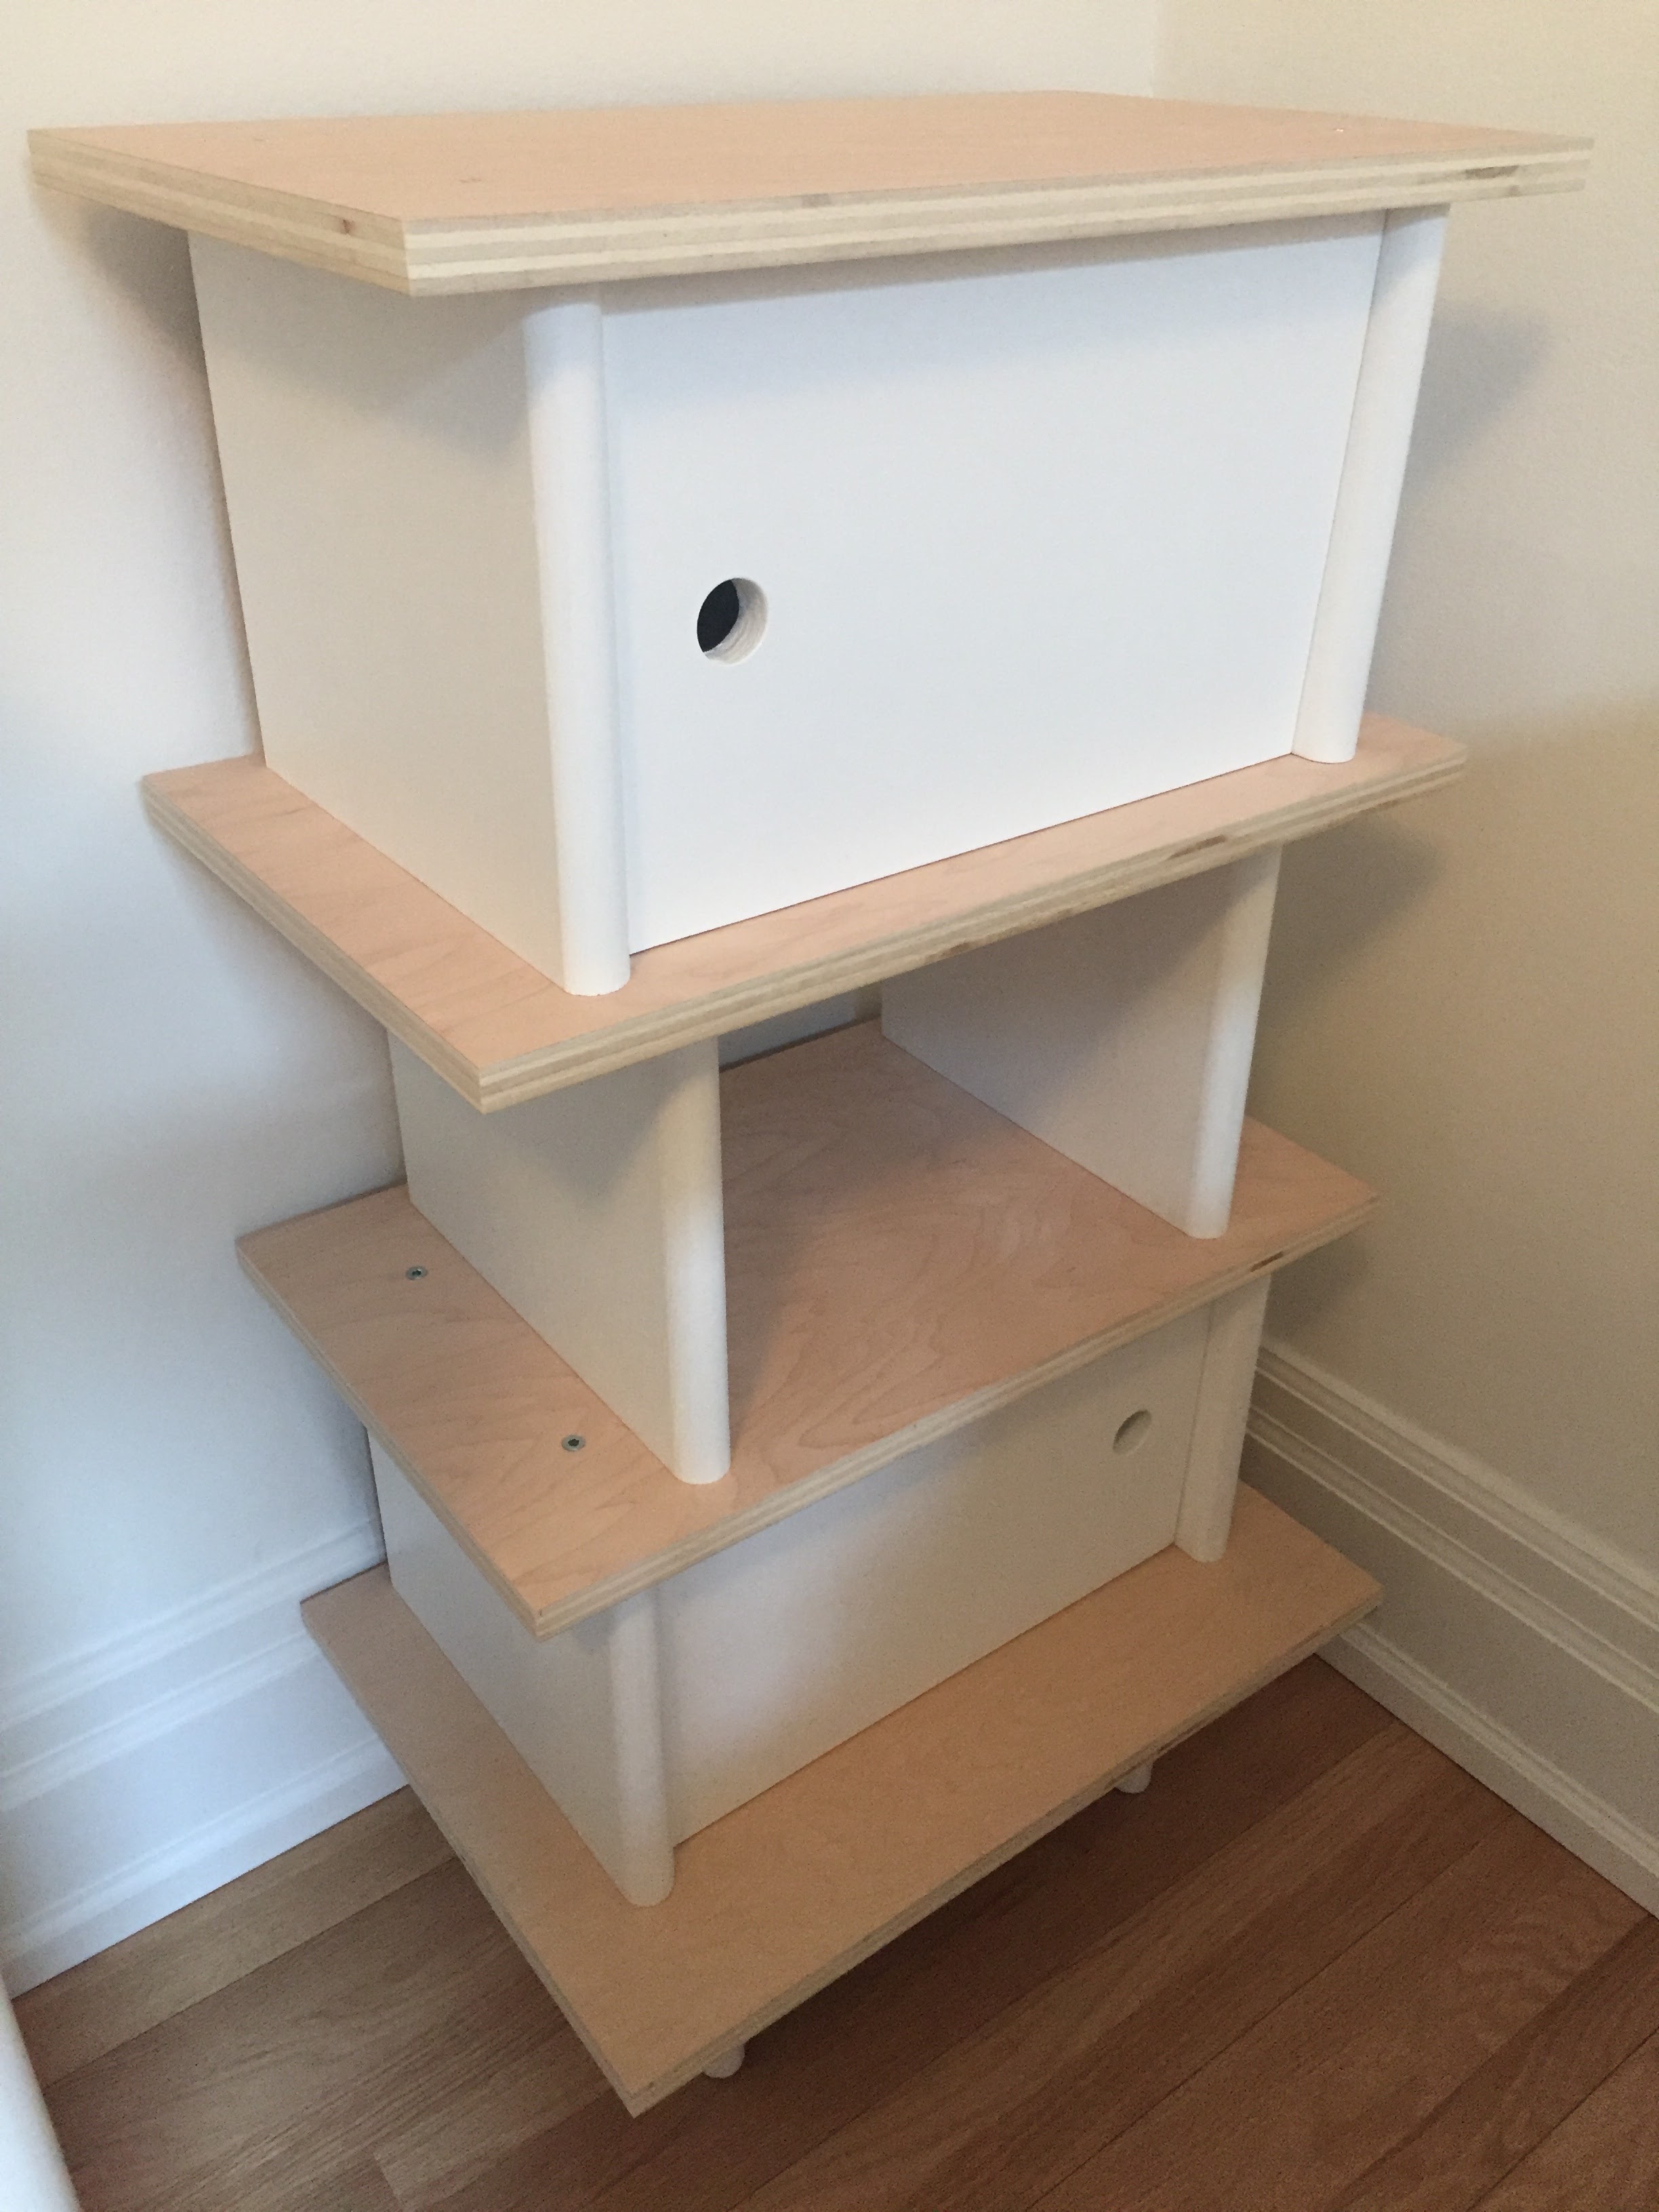
In addition to the main bookshelf, we also wanted to build a narrower shelf to go beside our change table for additional storage. Oeuf also make a vertical mini library shelf, so I did a variation of this to fit with what we needed.
My shelf needed to be much shorter and not quite as wide, so I designed a mini version.
The list of materials was pretty straightforward and I was able to use some of the leftovers for the second piece of furniture, which gave me some economies of scale. For both pieces, I needed:
- 2 sheets of 4’x8′ ¾” thick plywood (we used maple veneered multiply sheets)
- 3 36″-long stair treads (1″ thick x 10½” deep)
- 2 42″-long stair treads (1″ thick x 10½” deep)
- 2 sheets of 4’x4′ ¼” thick melamine
- 72 connector screws
- 6 wood dowel pins
- 4 sets of door hinges (100°, inset cabinet hinges)
Thanks to the online manual, I was able to confirm my in-store measurements with the actual furniture measurements and make each piece exactly to size.
My method was basically to create all the pieces that I needed and then put it all together, Ikea-style. Here is a list of the pieces and dimensions, by furniture piece.
Oeuf Mini Library
- 1 bottom shelf: 14″ deep x 59″ long piece of plywood
- 3 other shelves: 12″ deep x 59″ long pieces of plywood
- 2 feet: 6″ tall x 10½” deep stair tread pieces
- 1 reinforcement piece to attach to feet: 41½” x 3″ plywood
- 5 side pieces: 12″ tall x 10½” deep stair tread pieces
- 3 side pieces (for top shelf): 9″ tall x 10½” deep stair tread pieces
- 1 bottom door: 19″ x 12″ plywood piece
- 1 top door: 18″ x 9″ plywood piece
- 1 bottom door backing piece: 21″ x 12″ melamine piece
- 1 top door backing piece: 20″ x 9″ melamine piece
Modified Oeuf Vertical Mini Library
- 1 bottom shelf: 14″ deep x 20″ long piece of plywood
- 3 other shelves: 12″ deep x 20″ long pieces of plywood
- 2 feet: 6″ tall x 10½” deep stair tread pieces
- 1 reinforcement piece to attach to feet: 13″ x 3″ plywood
- 6 side pieces: 9″ tall x 10½” deep stair tread pieces
- 1 bottom door: 14″ x 9″ plywood piece
- 1 top door: 14″ x 9″ plywood piece
- 1 bottom door backing piece: 16″ x 9″ melamine piece
- 1 top door backing piece: 16″ x 9″ melamine piece
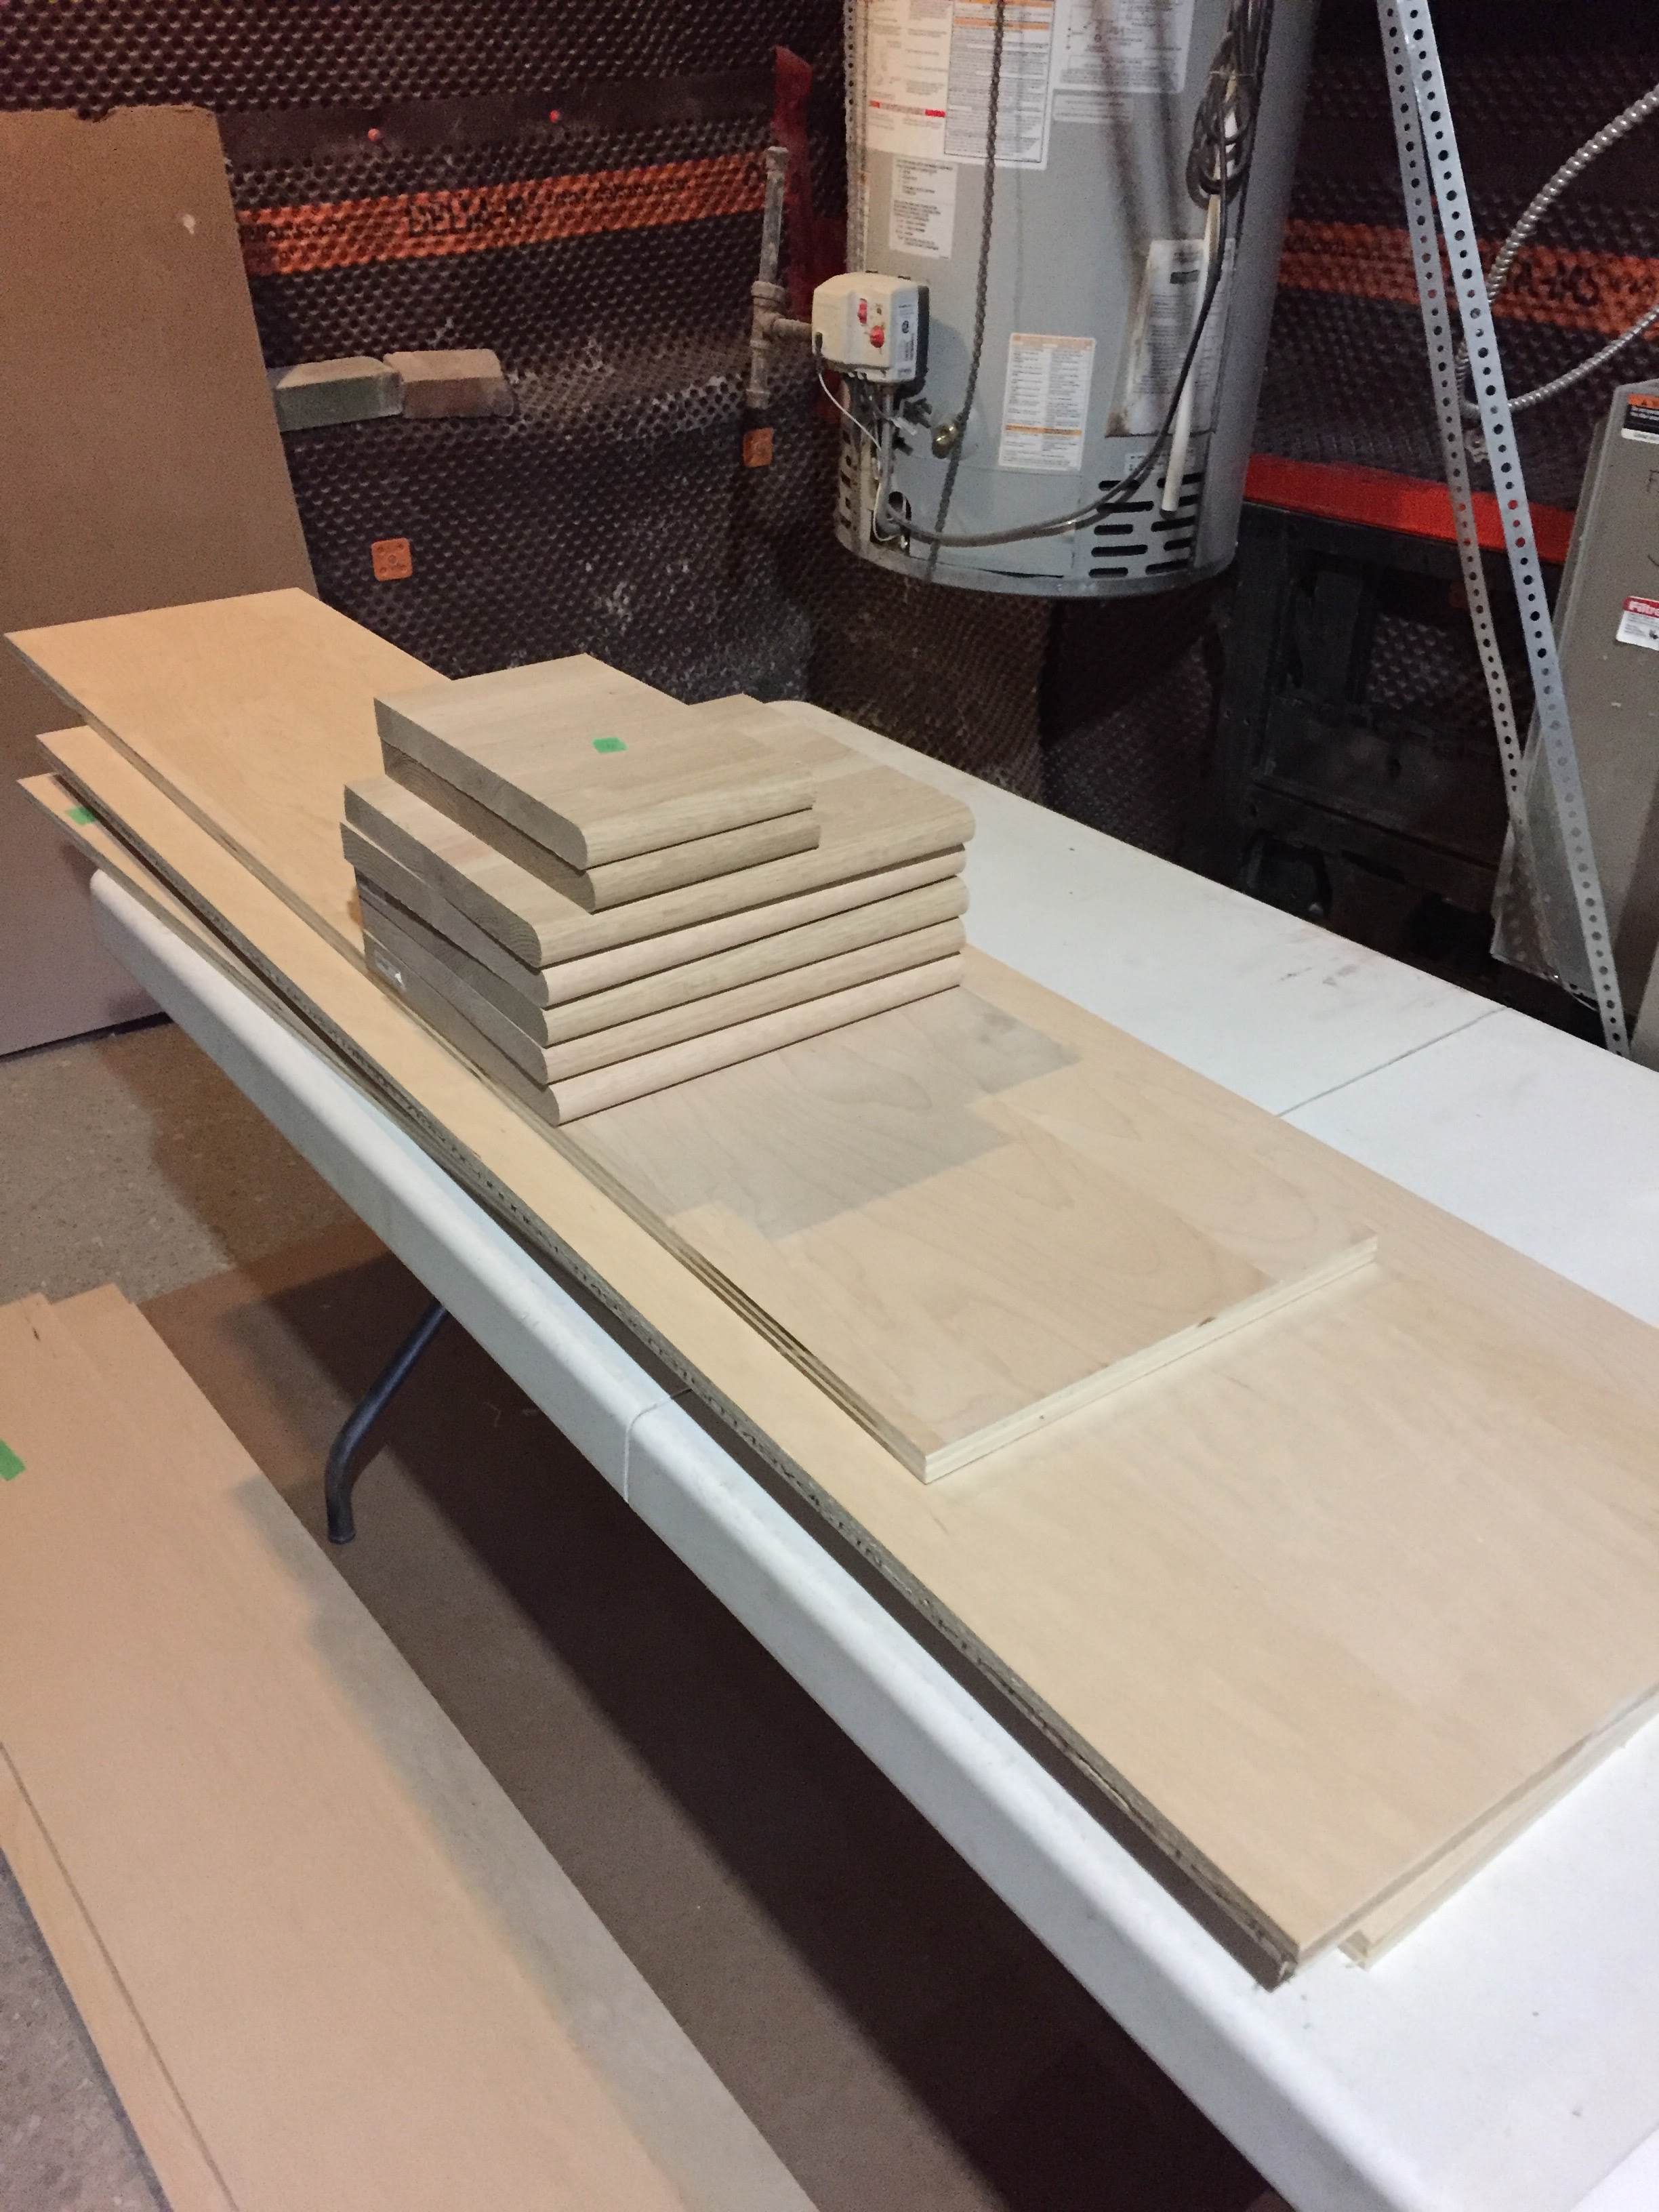
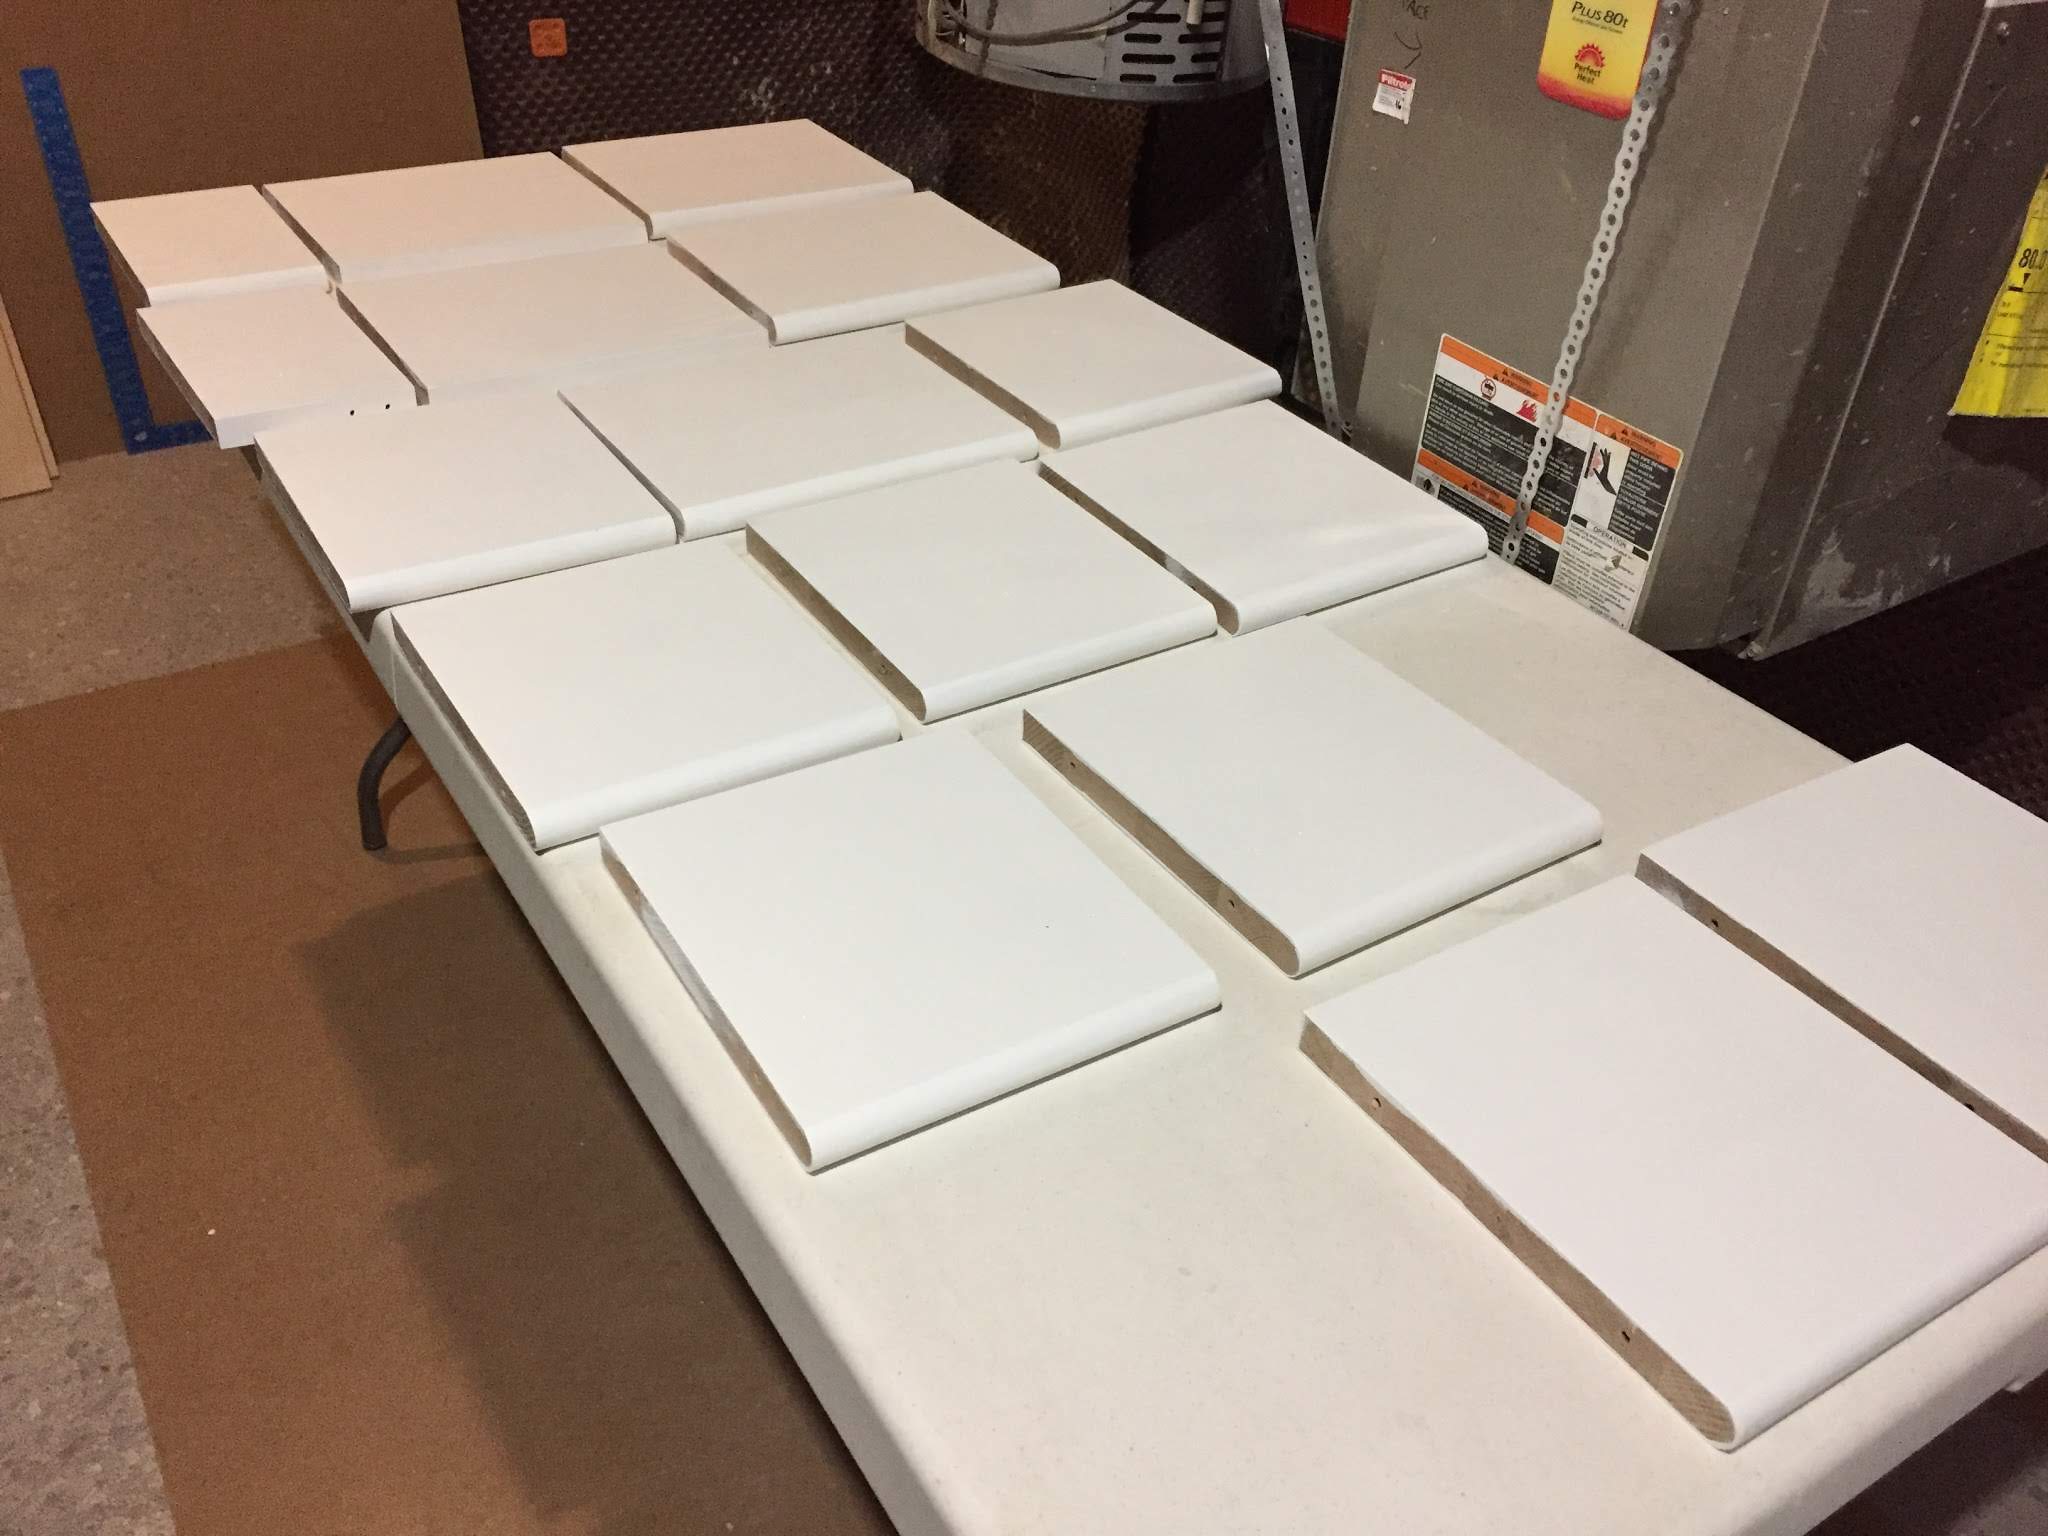
Cutting All the Pieces
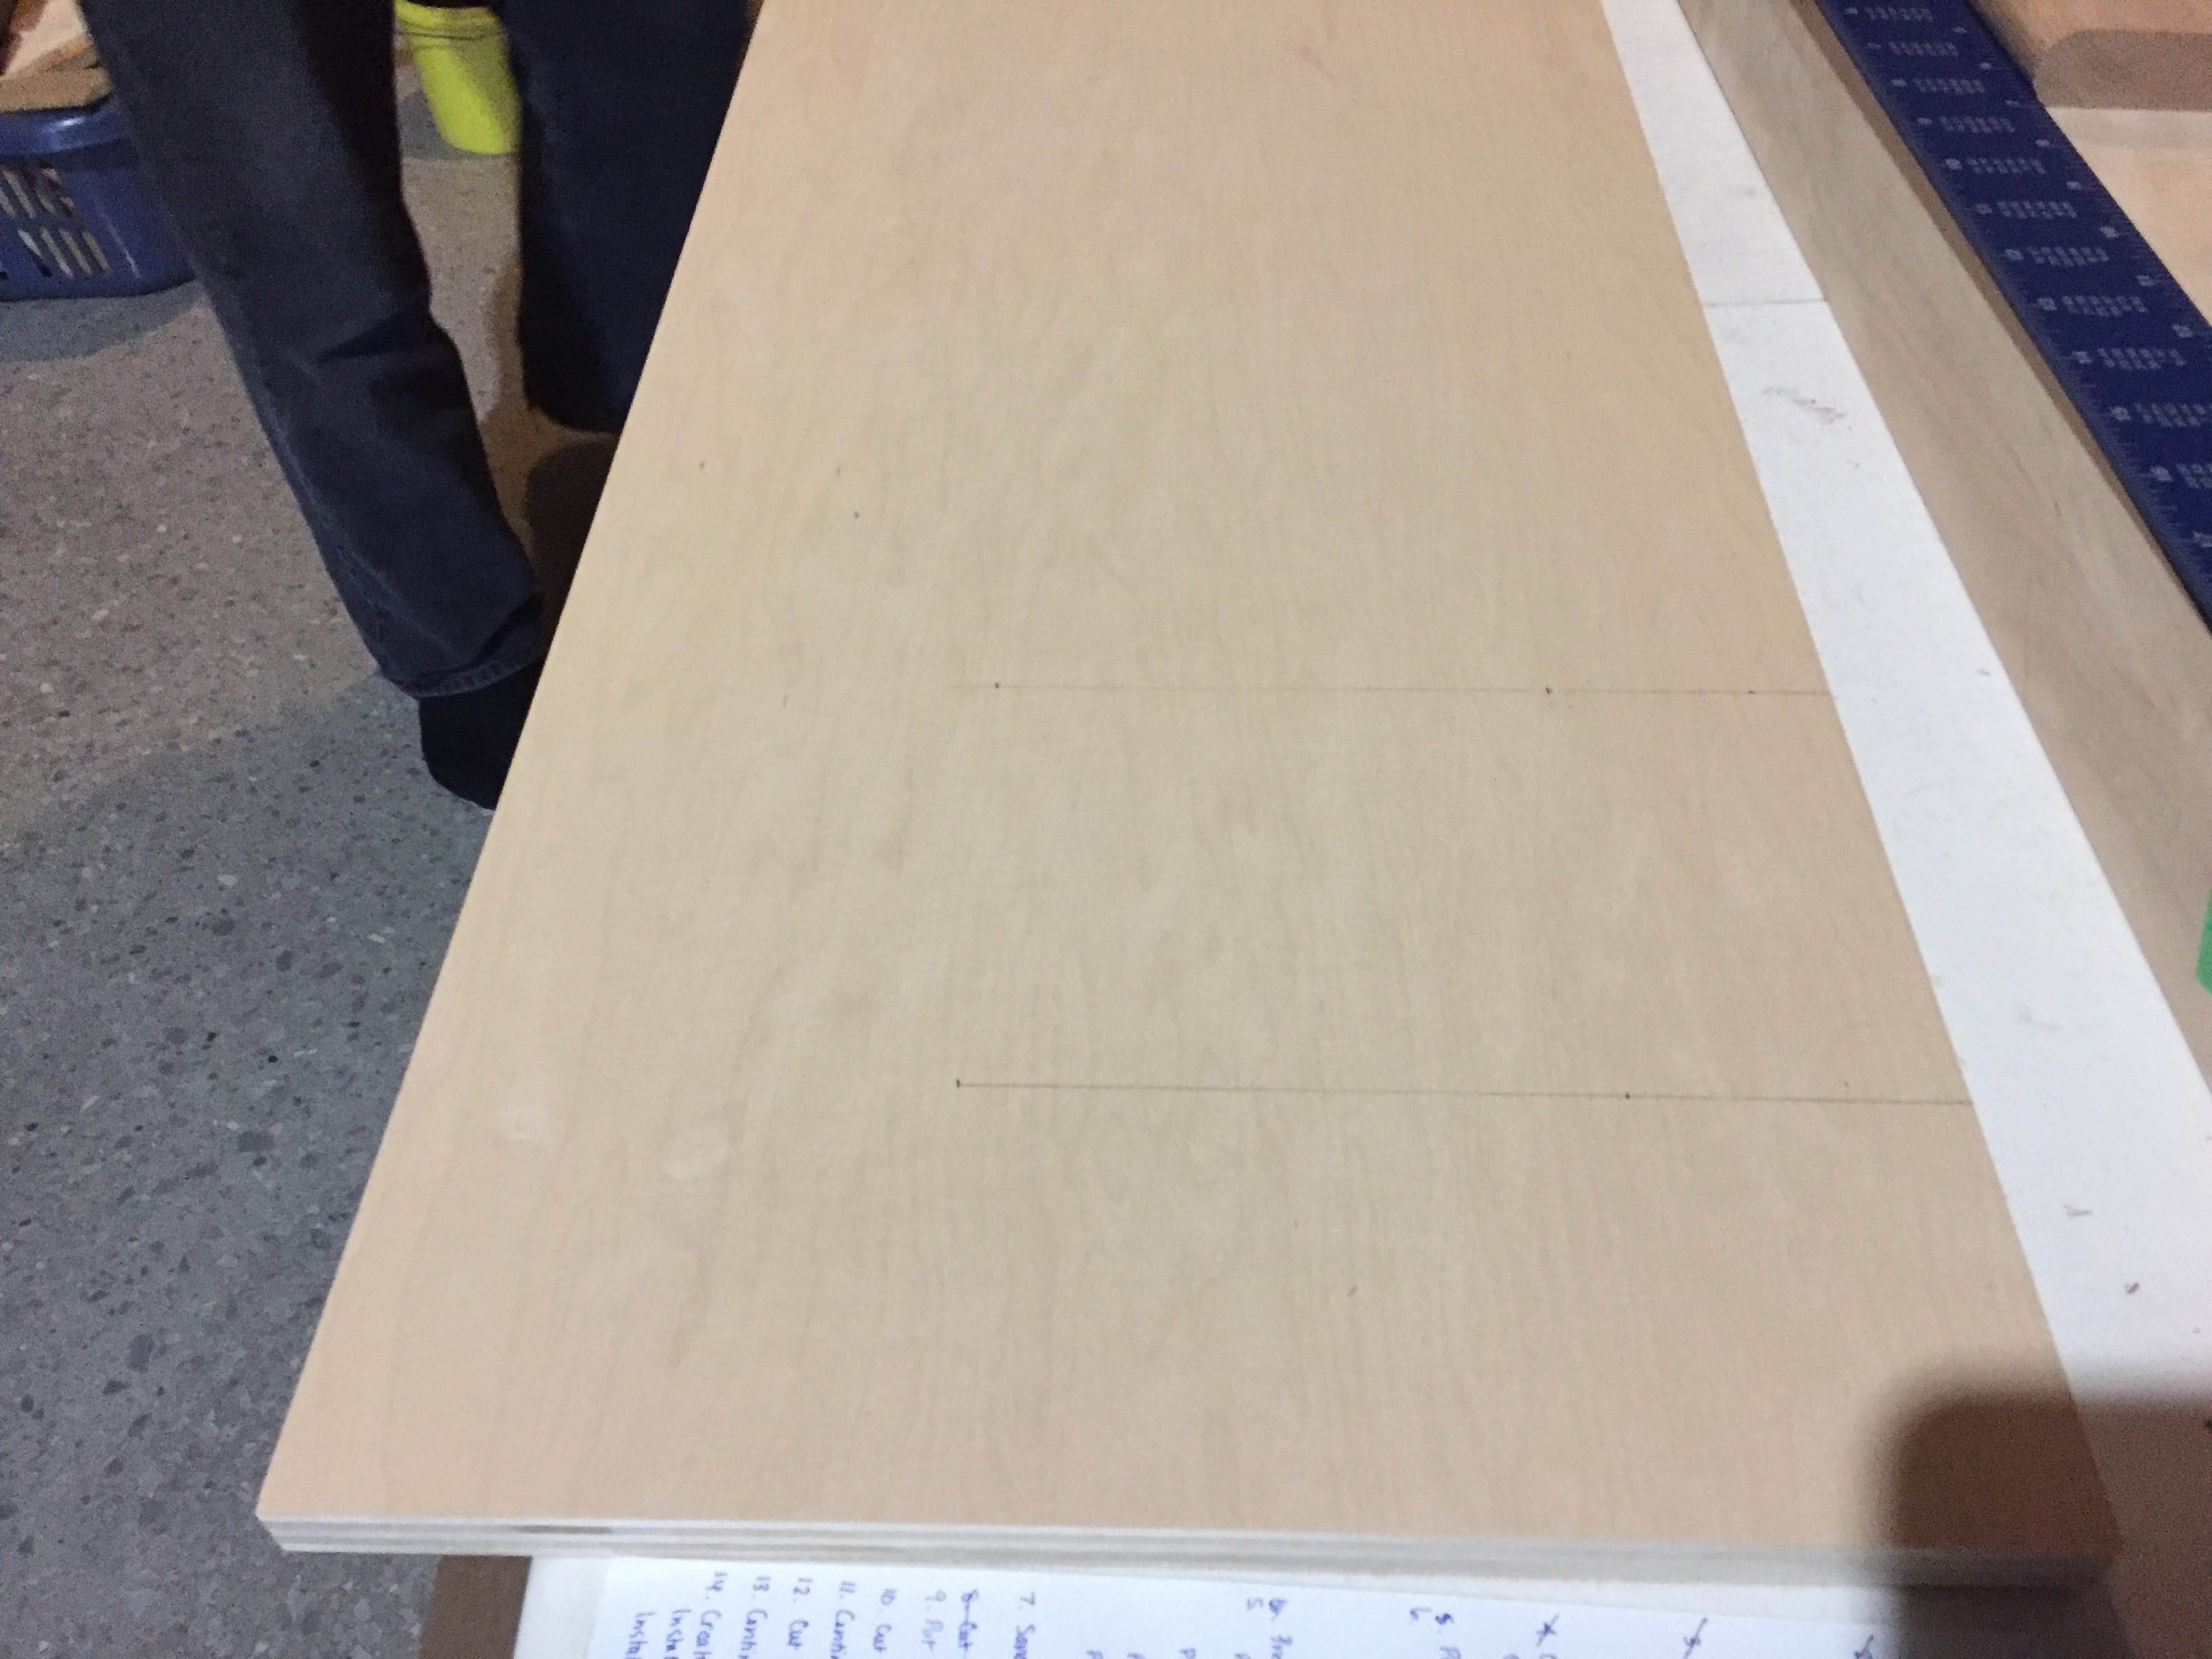
My most brilliant plan was to actually get Home Depot to cut the sheets of plywood for me to the right depth. This meant that I didn’t have to cut long boards on the table saw and the plywood actually fit in the car. On each of the two plywood sheets, I had them cut one 14″ piece, two 12″ pieces and then kept the leftover 10″ piece. We then just had to cut the shelves to the right length (59″ for the full-size bookshelf and 20″ for the small one).
Cutting the side pieces was also easy, but took some thought to ensure that I was maximizing the stair treads to get every inch out of them possible. The stair treads weren’t cheap, but luckily I found a sale.
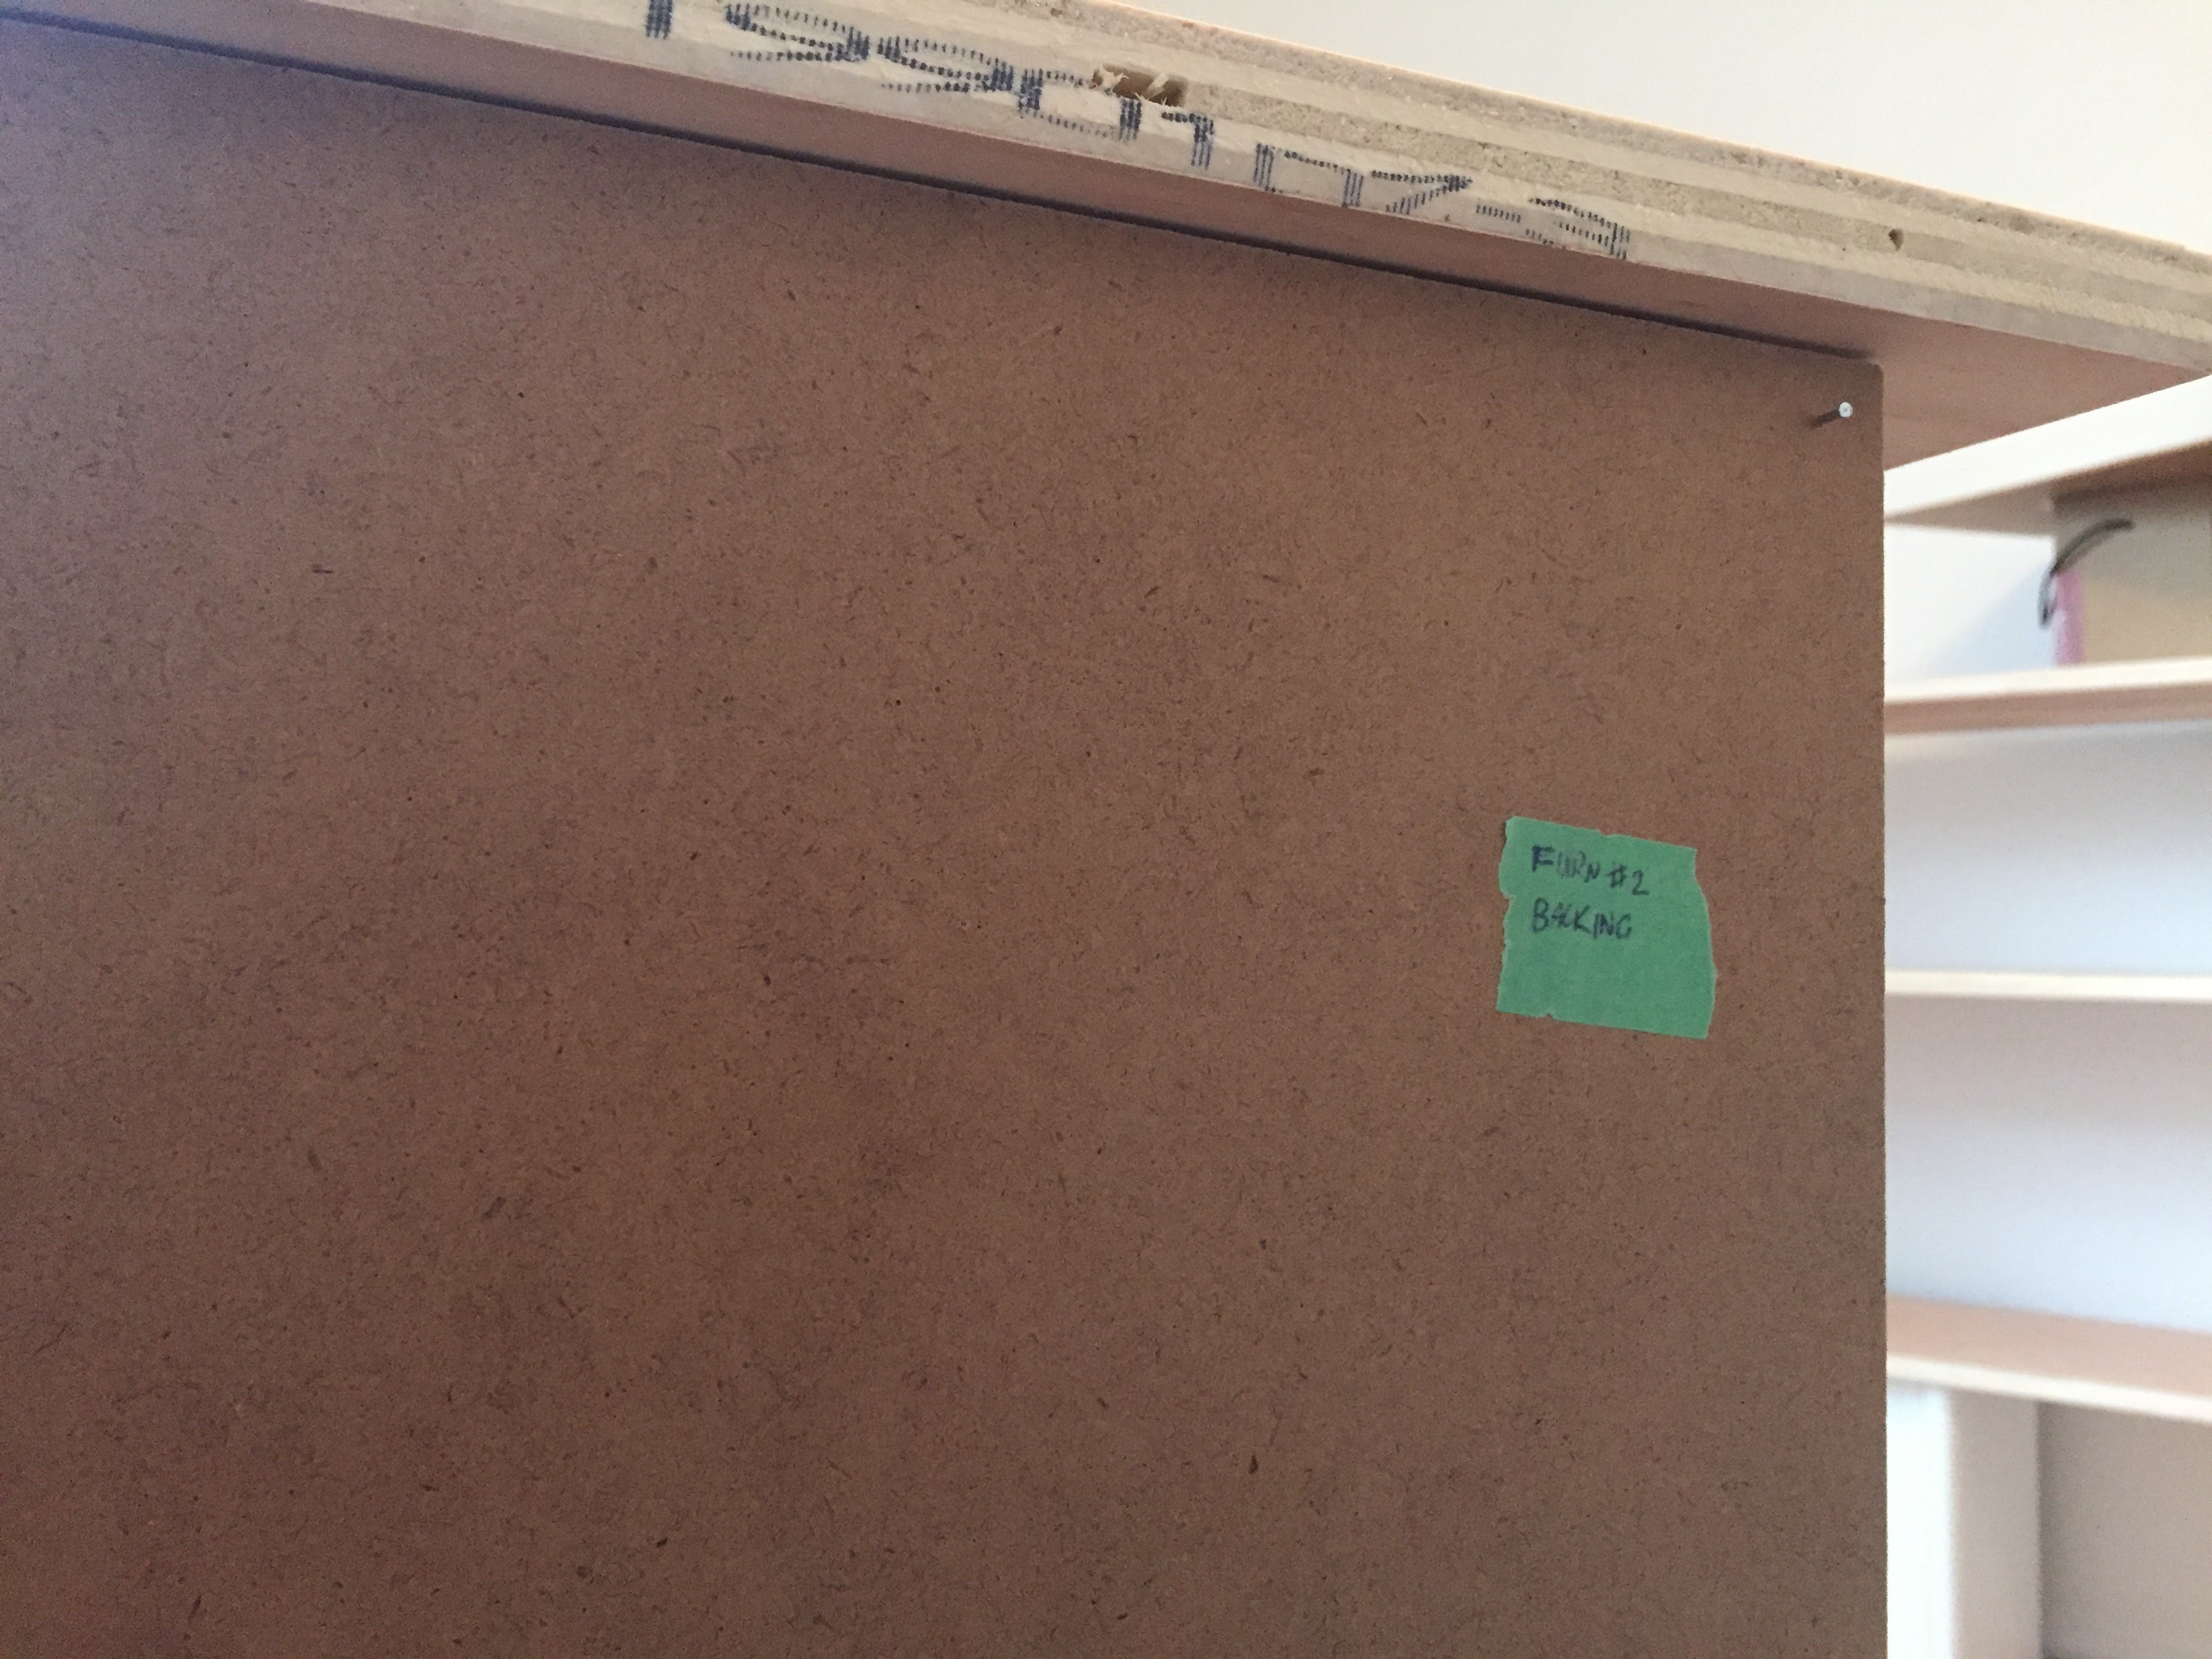
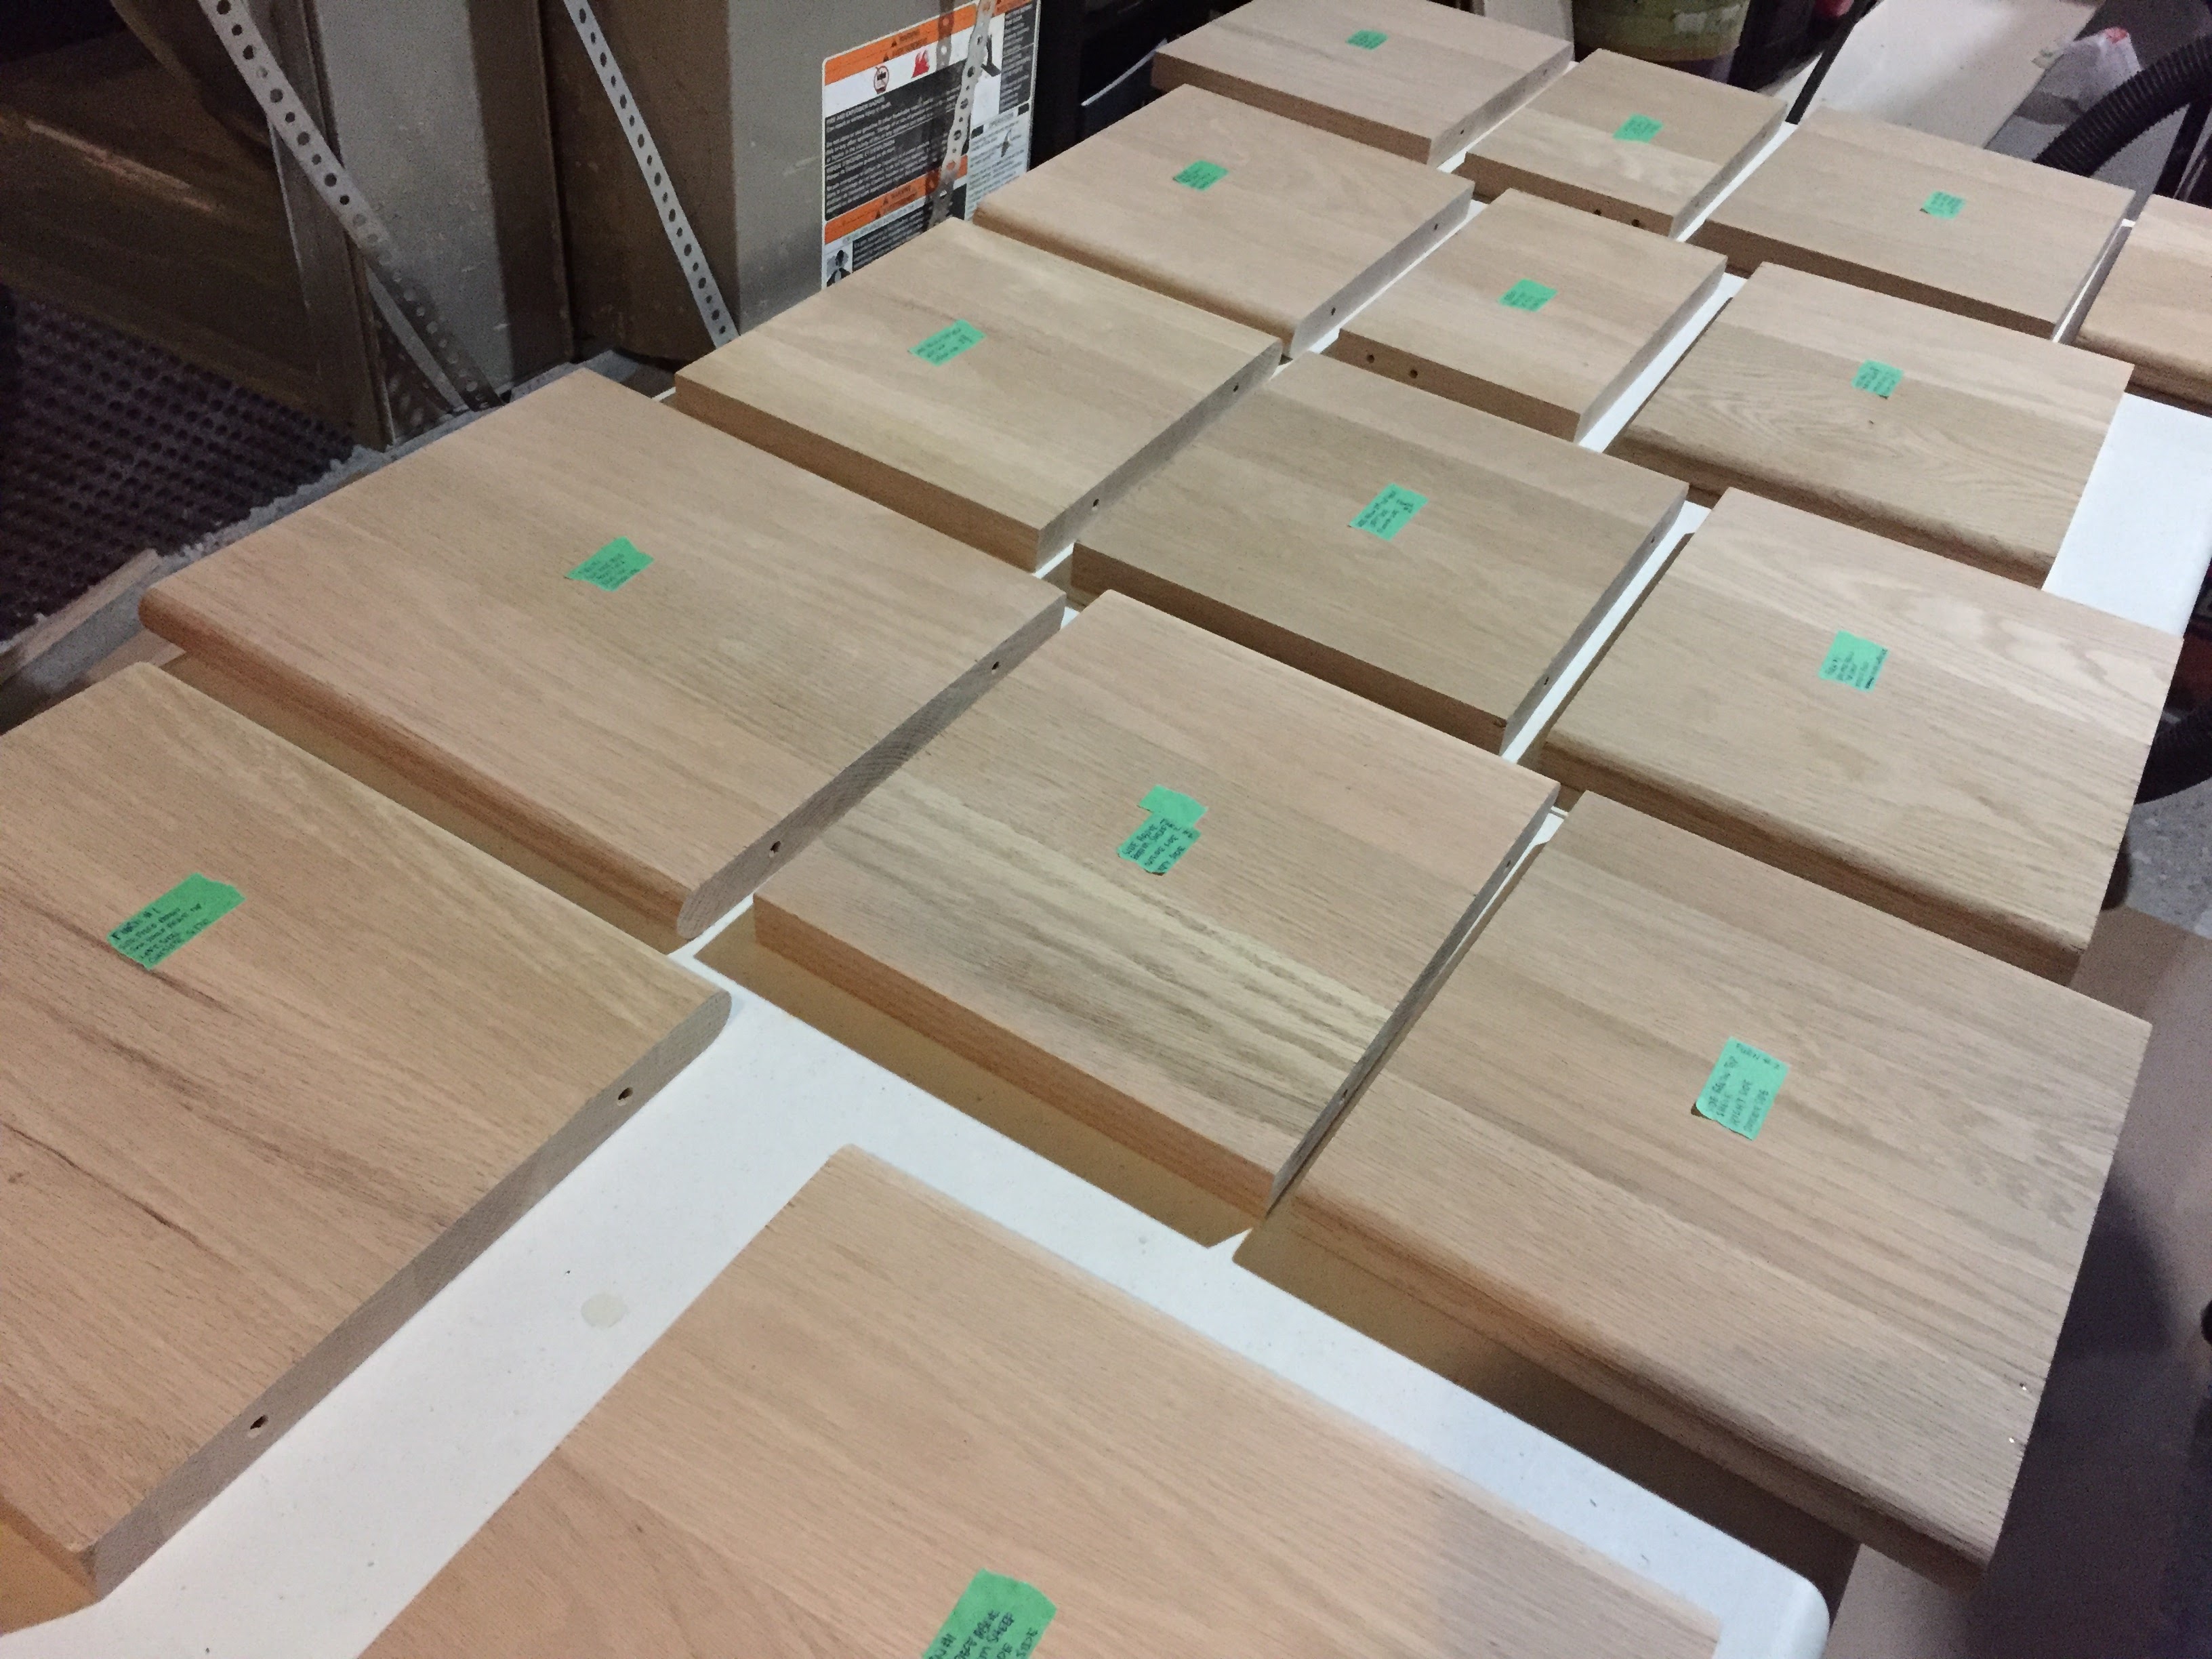
I also made sure to label all the pieces to match the manual so I knew what went where.
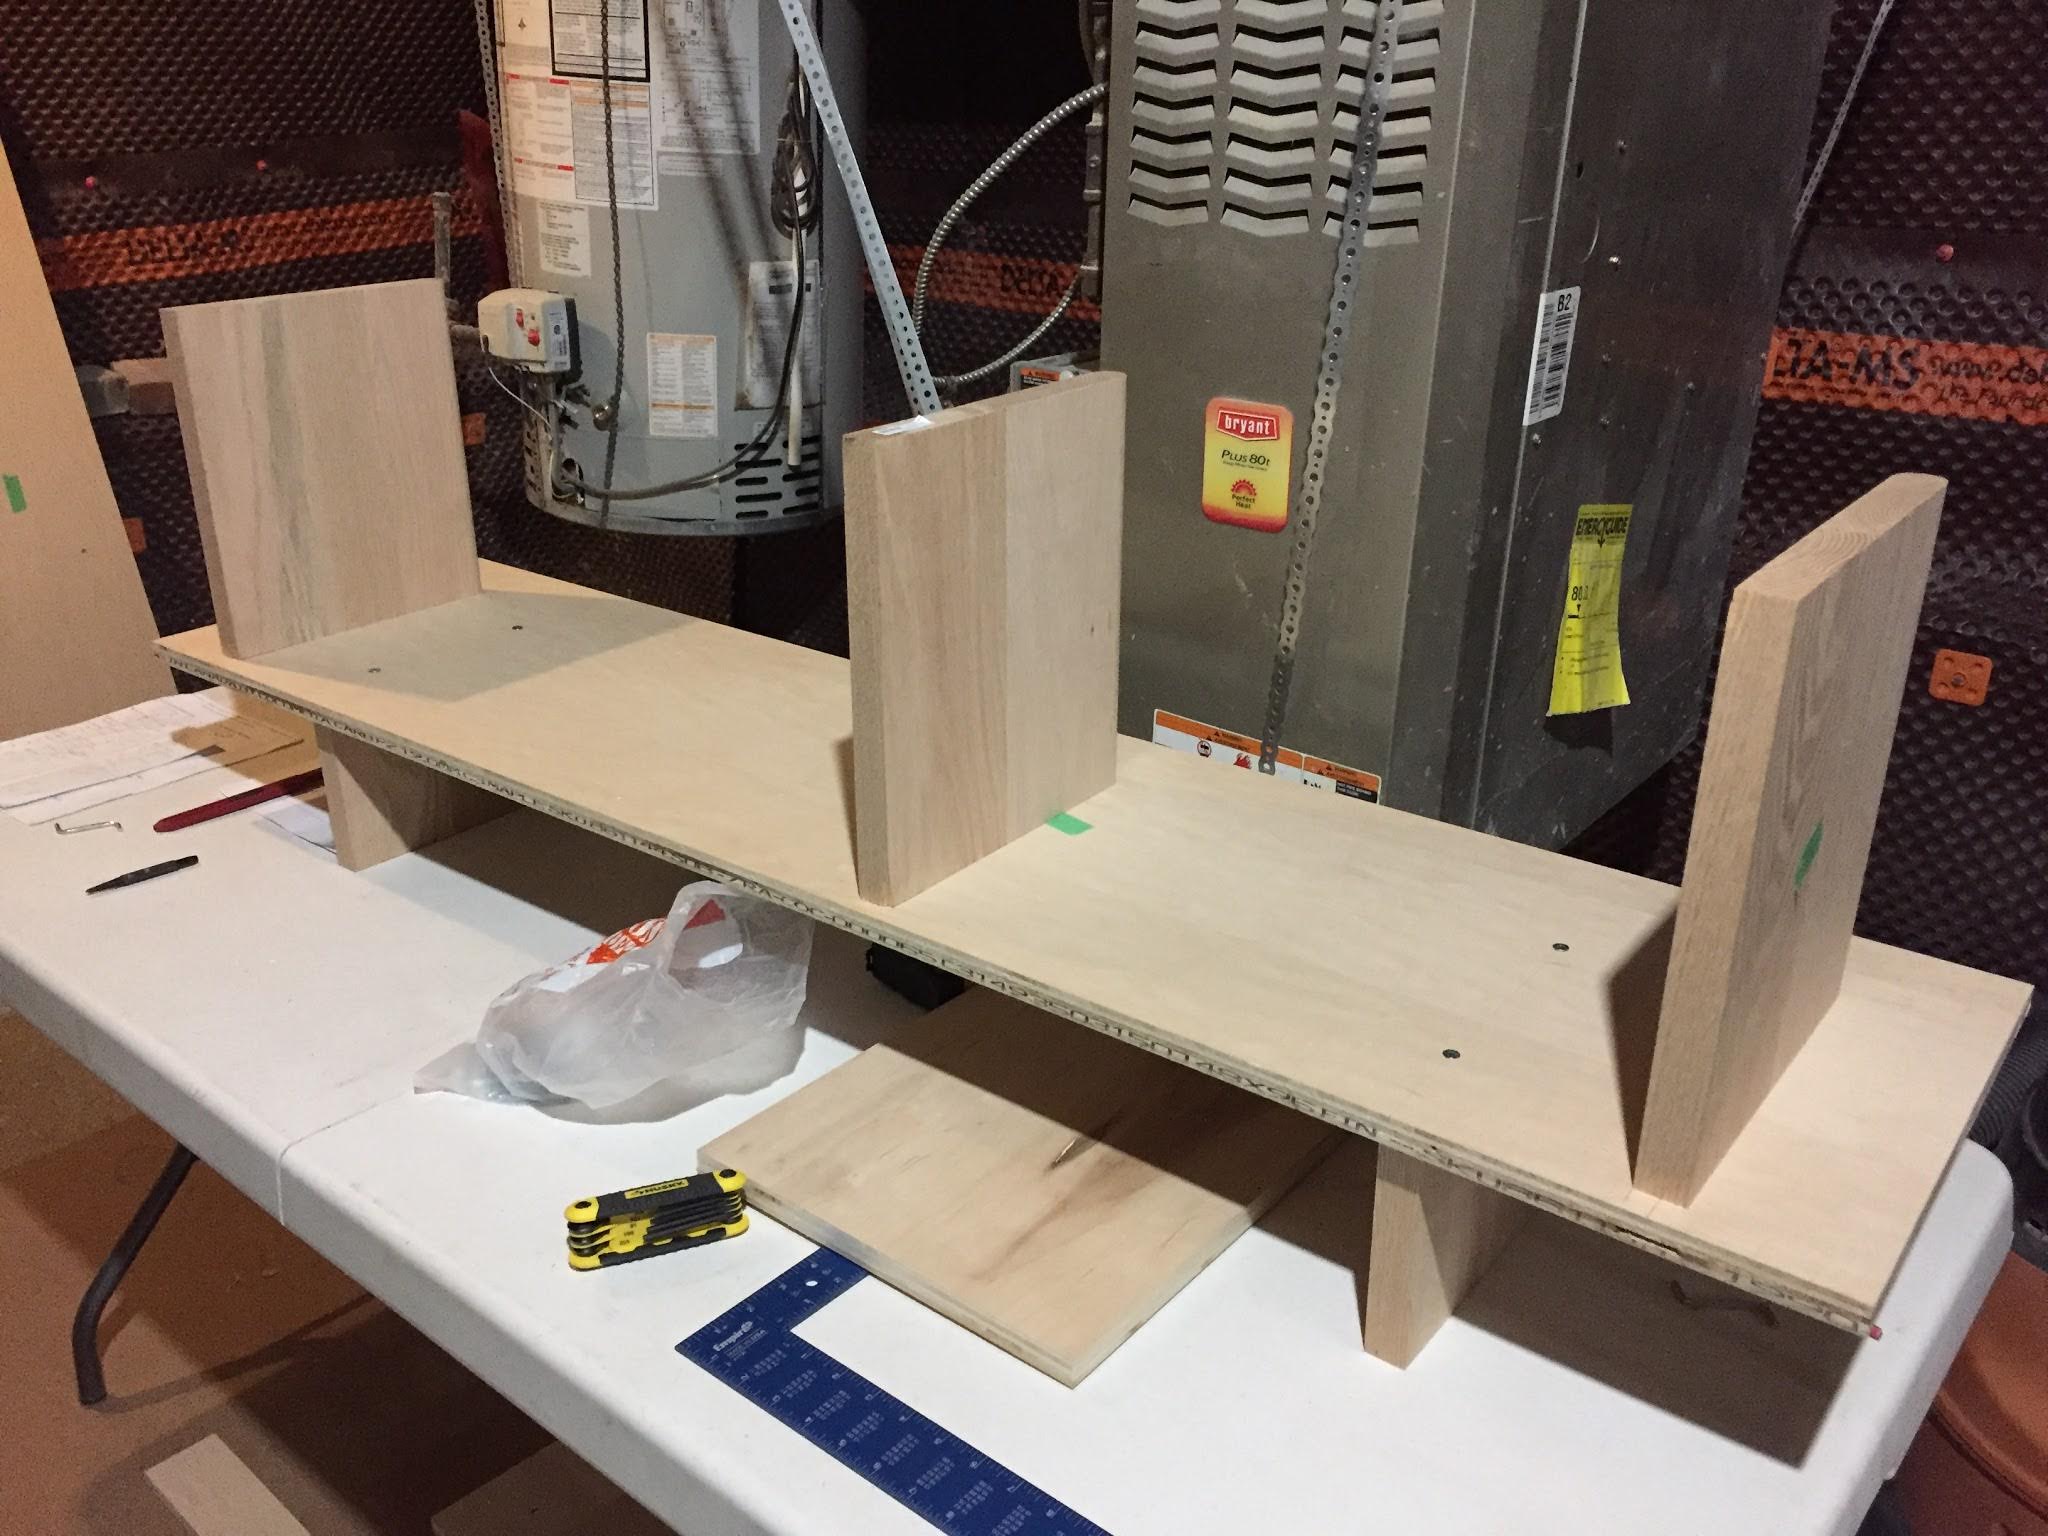
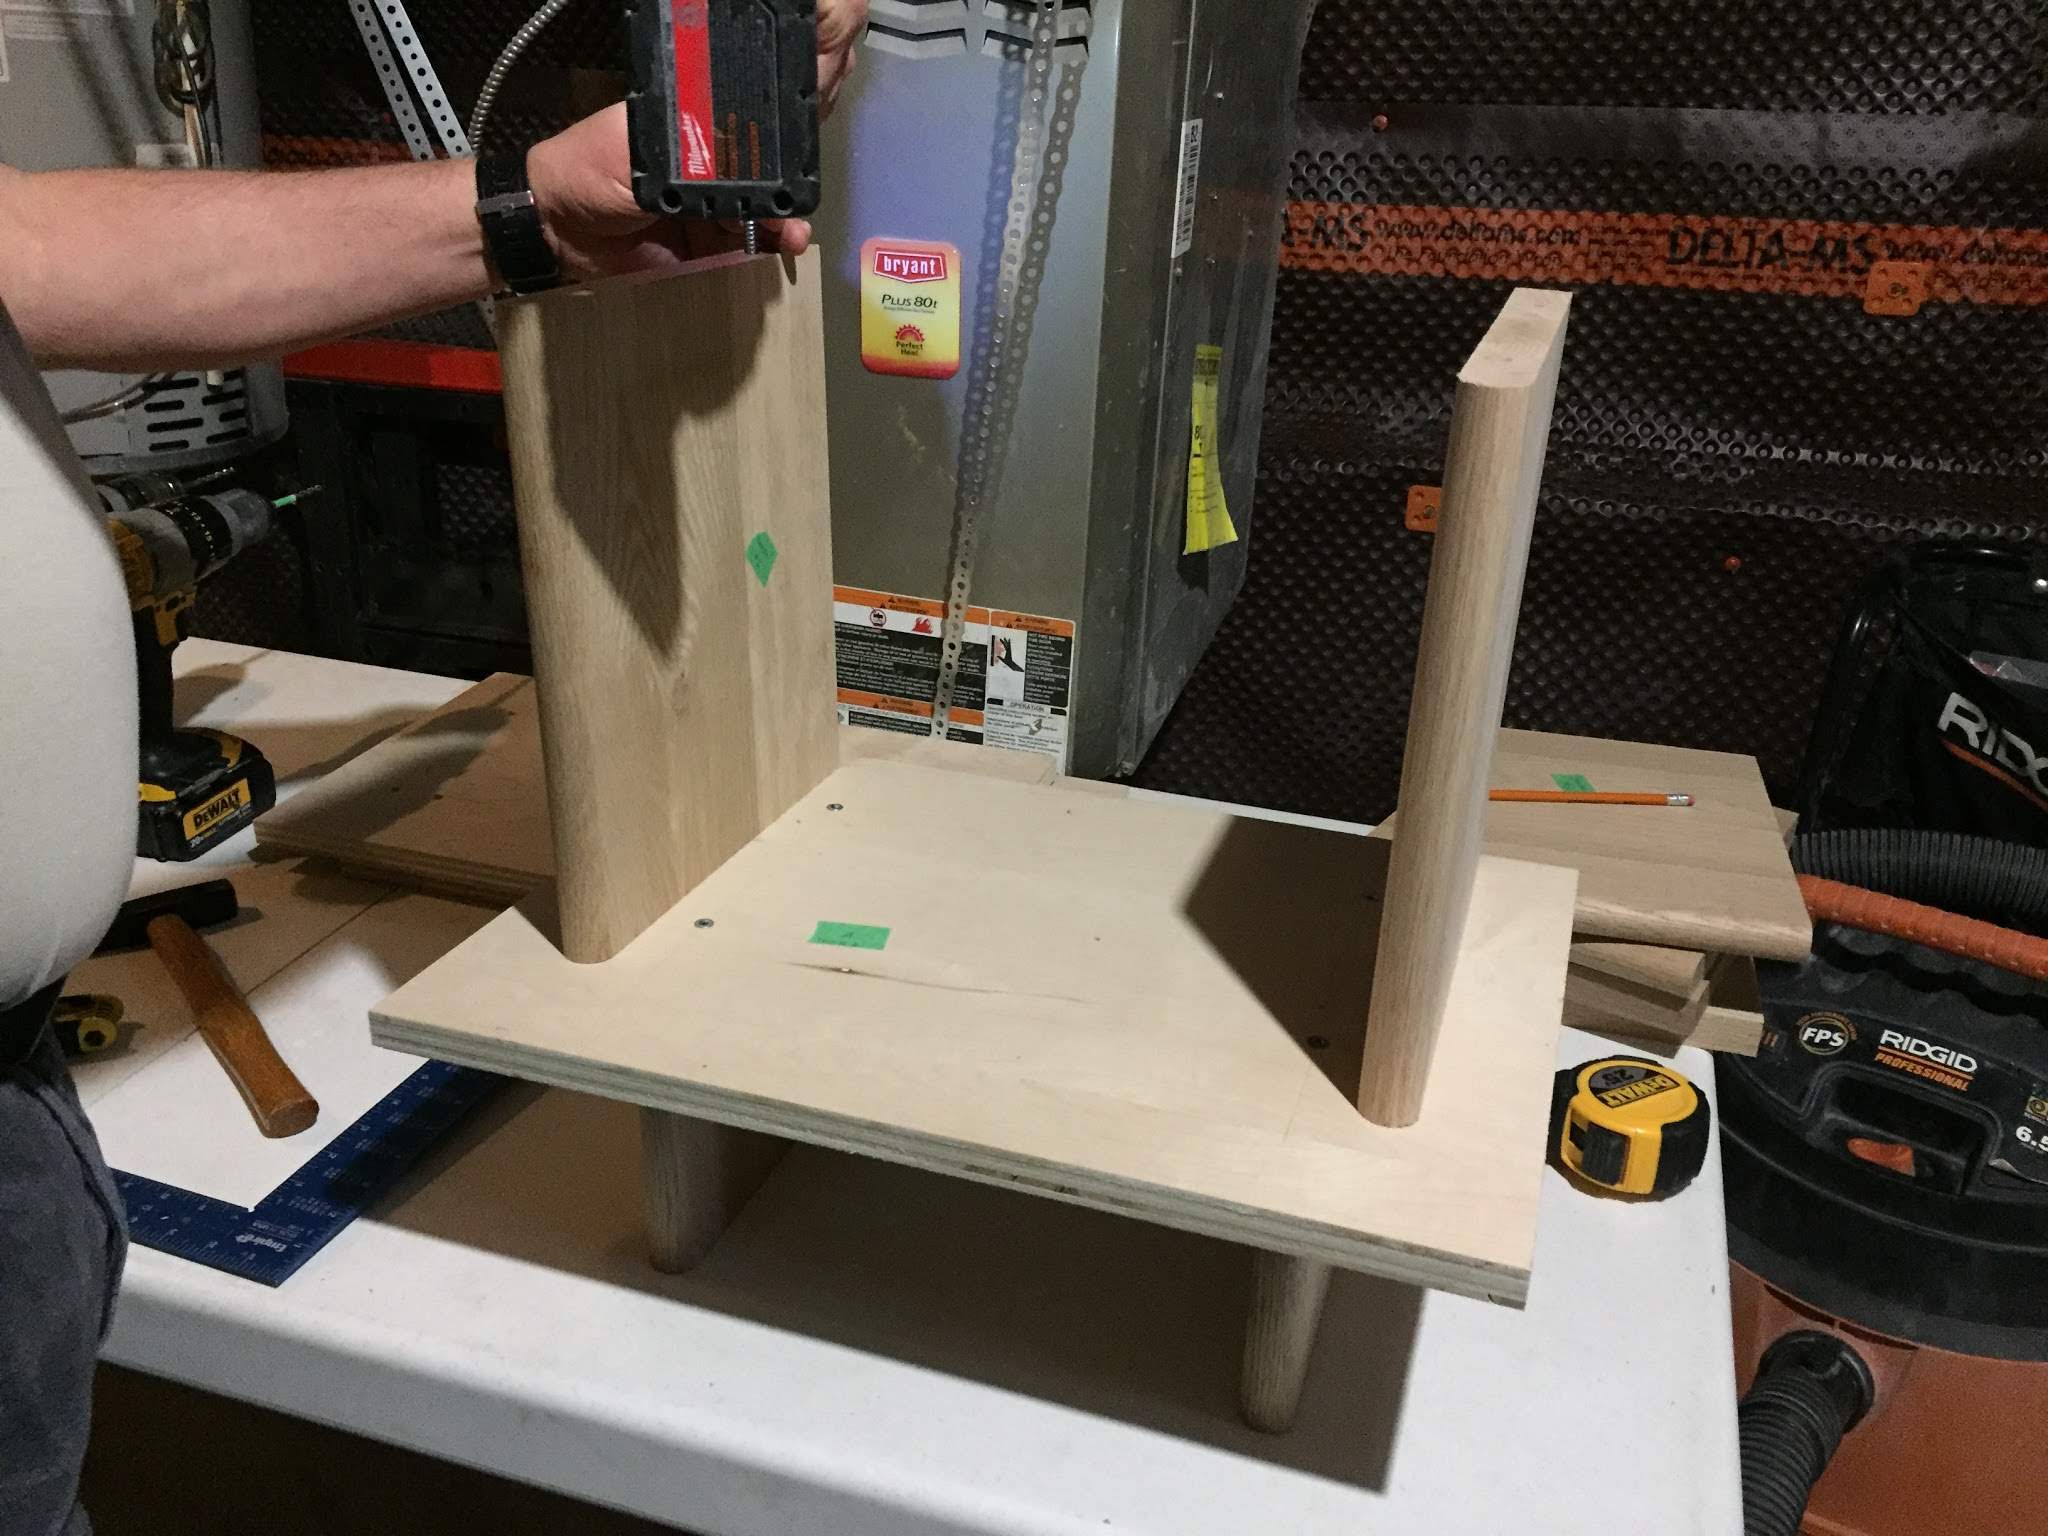
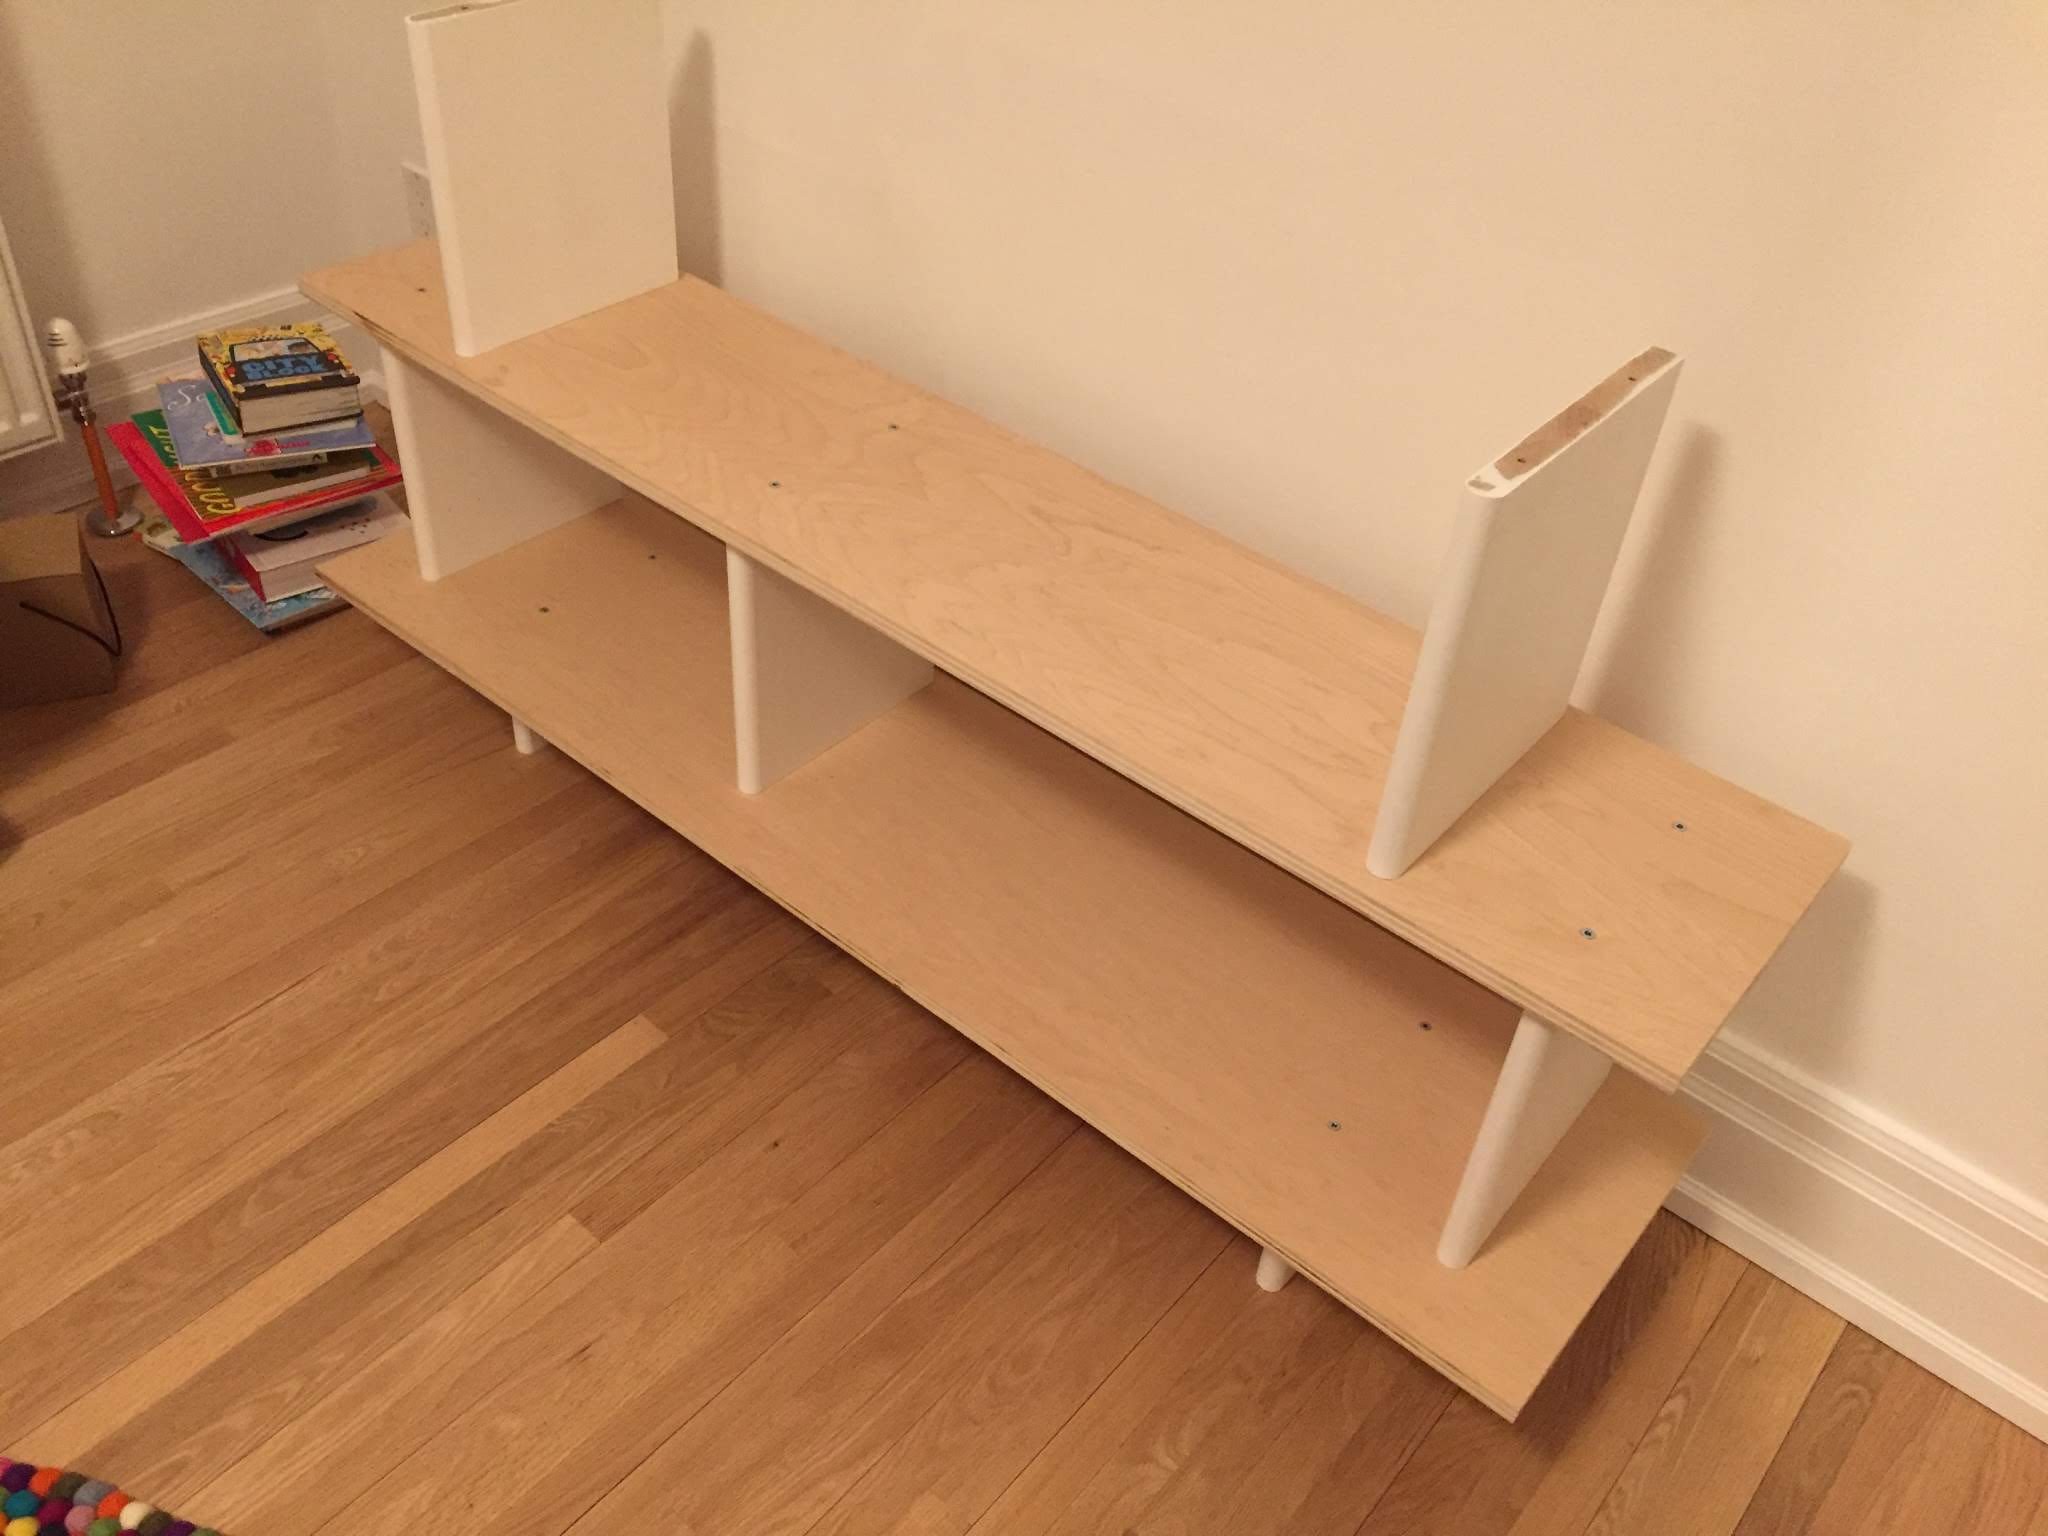
Once all the pieces were cut, we decided to actually build it in place to figure out all the measurements.
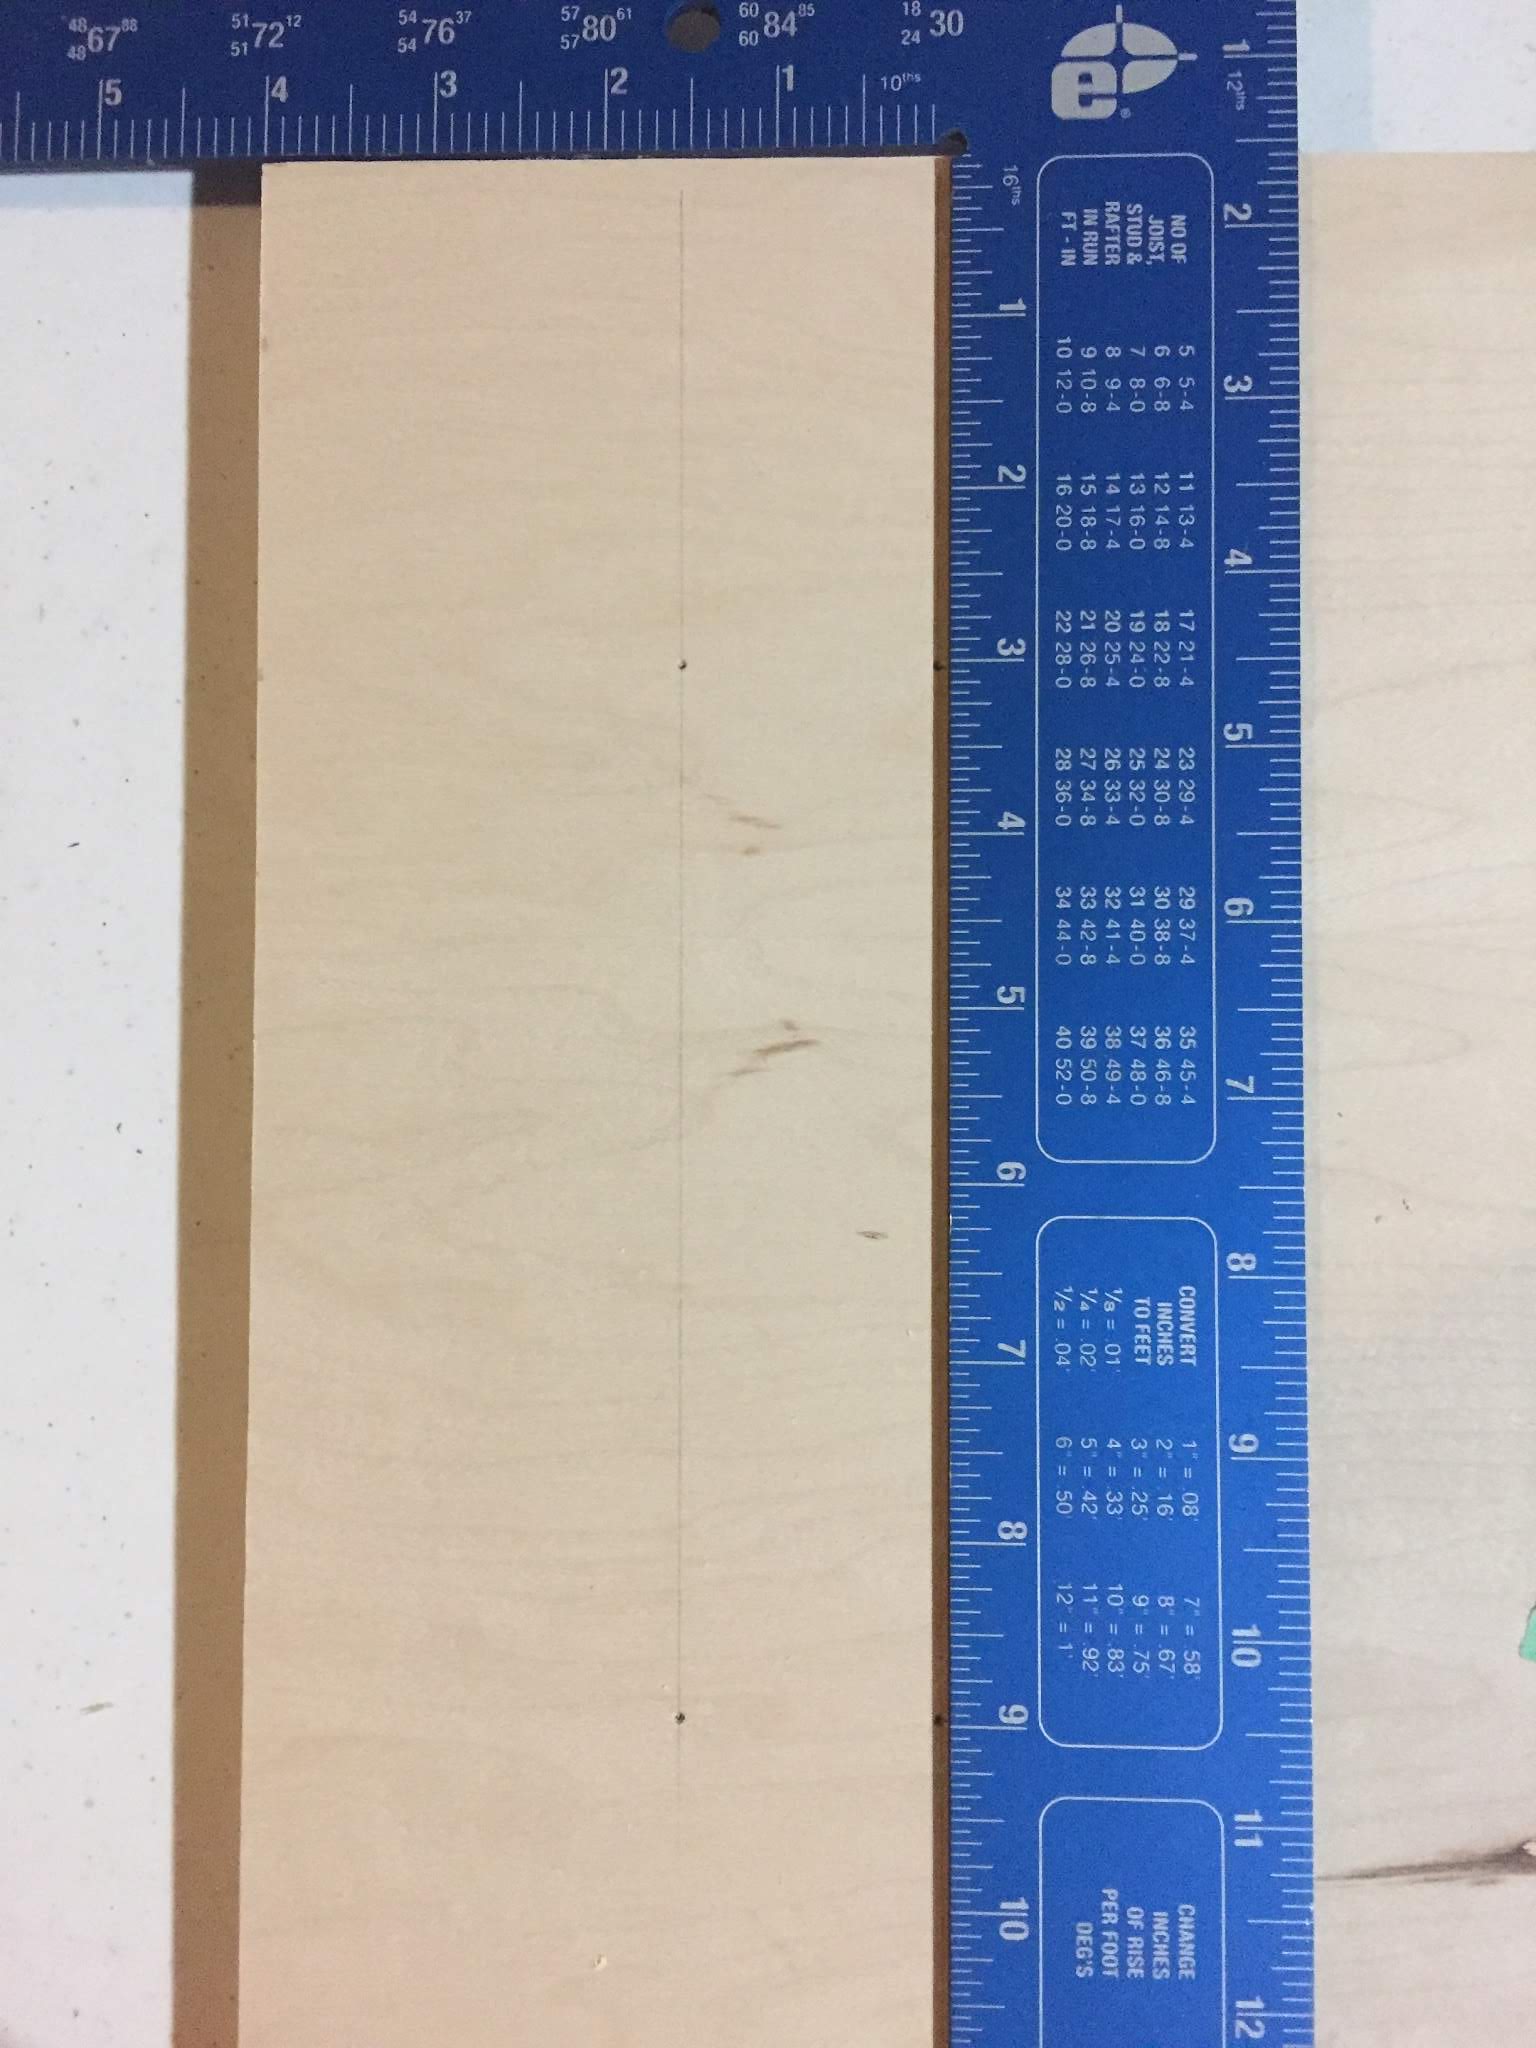
For each shelf, we had two steps: install the side pieces below it and above it. Using my in-store measurements (because these weren’t in the manual), we marked where the side pieces should be (after we fit them in place) and drilled holes. The side pieces basically have two locations that alternate from row to row. The bottom feet were approximately 9¼” (on centre) from each end and the next row was 4″ (on centre) from each end. The only other measurement was to figure out where the side pieces went for the doors. Based on what I measured in the store, the top cubby was 20″ wide and the bottom cubby was 21″ wide, so we placed the side pieces based on those measurements.
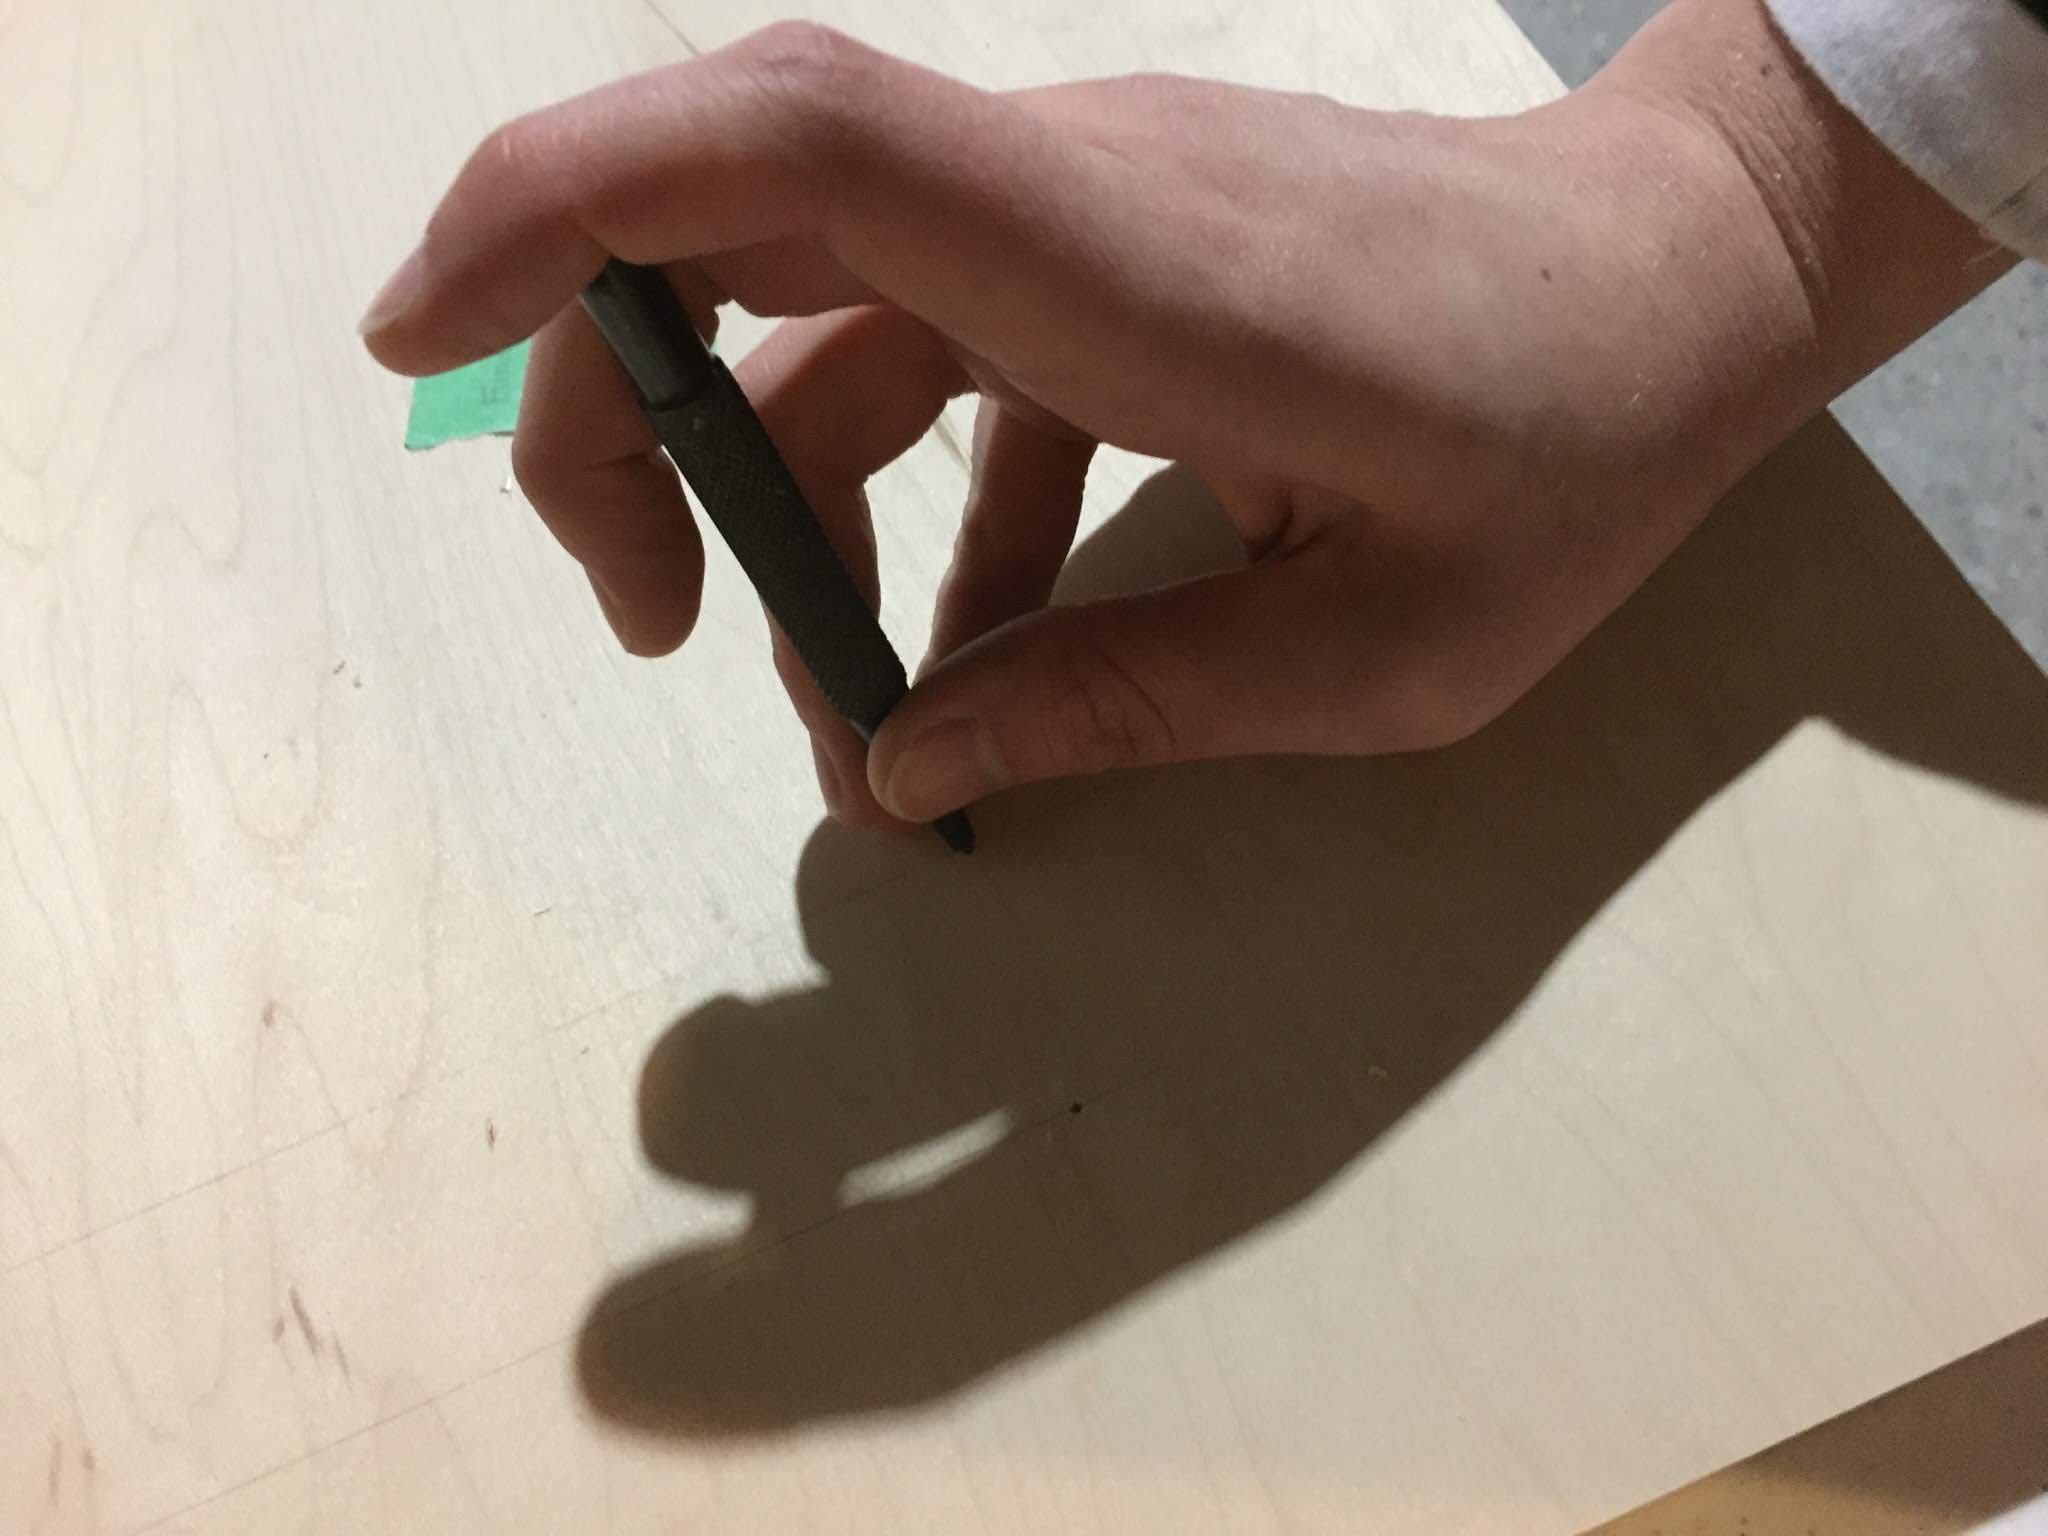
When drilling the holes in the shelf piece, we used an drill bit that was slightly larger than our connector screws. We also used a small punch to mark the hole and create a groove for the drill bit to sit in.
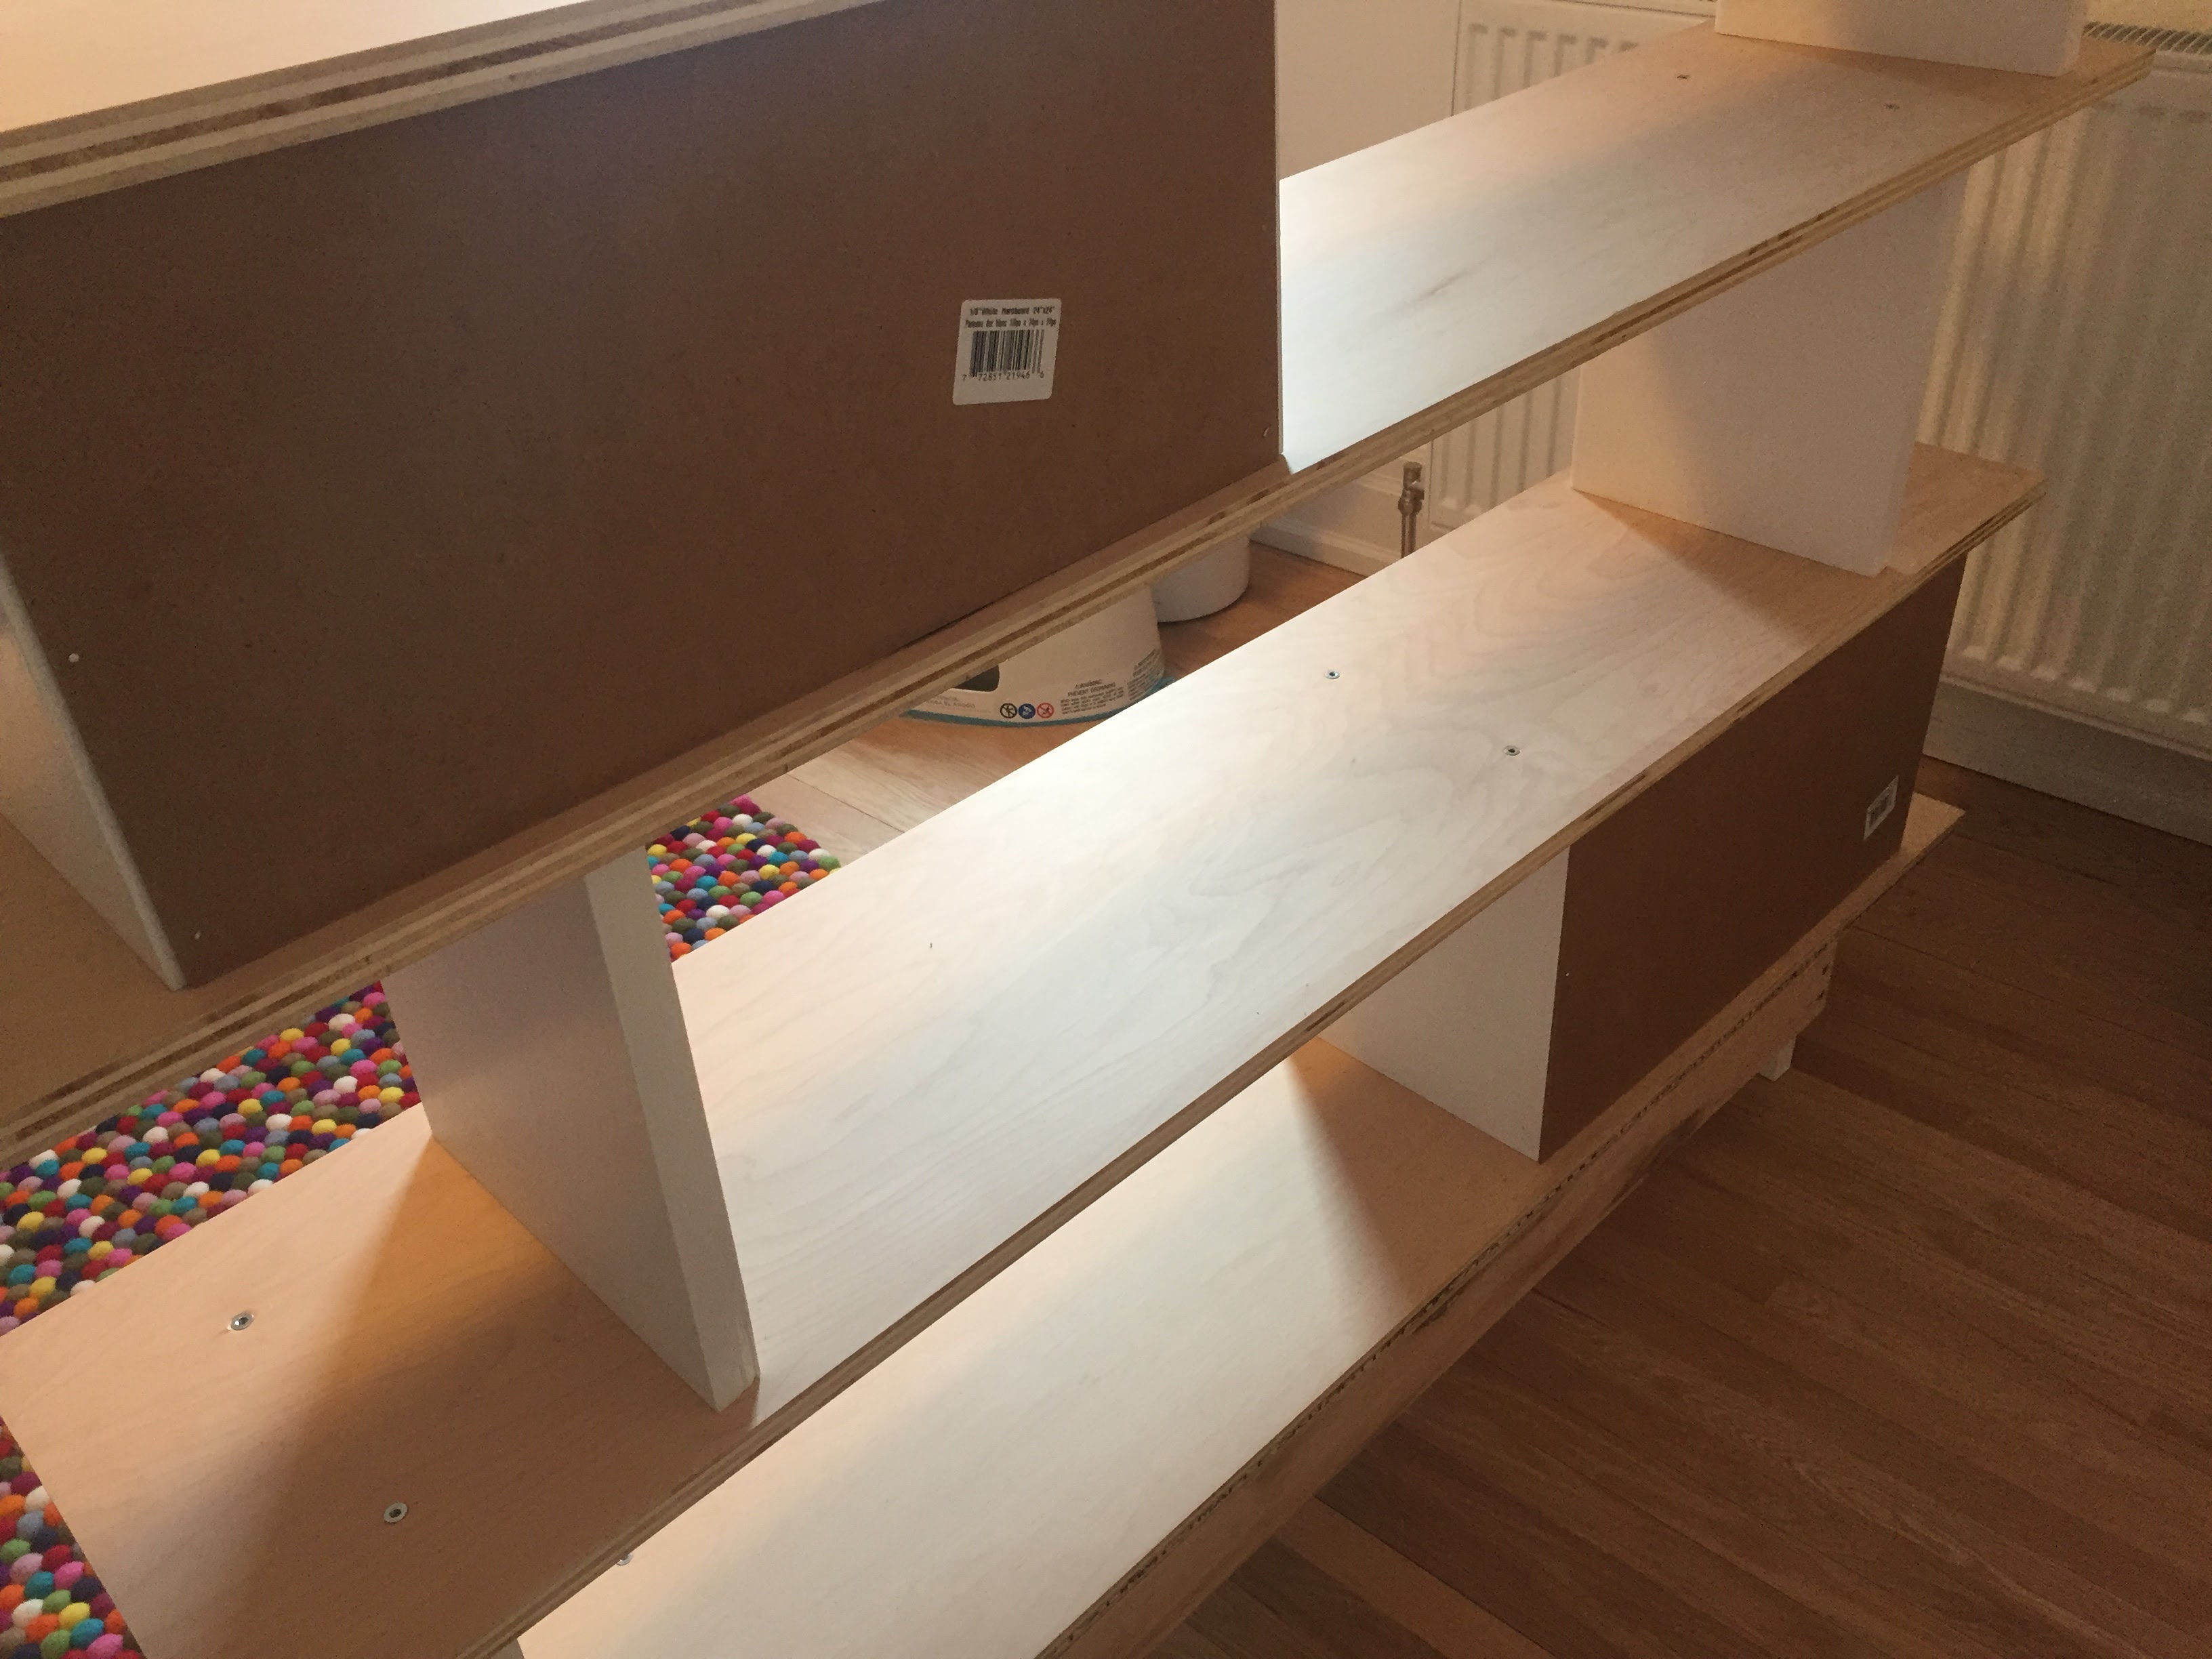
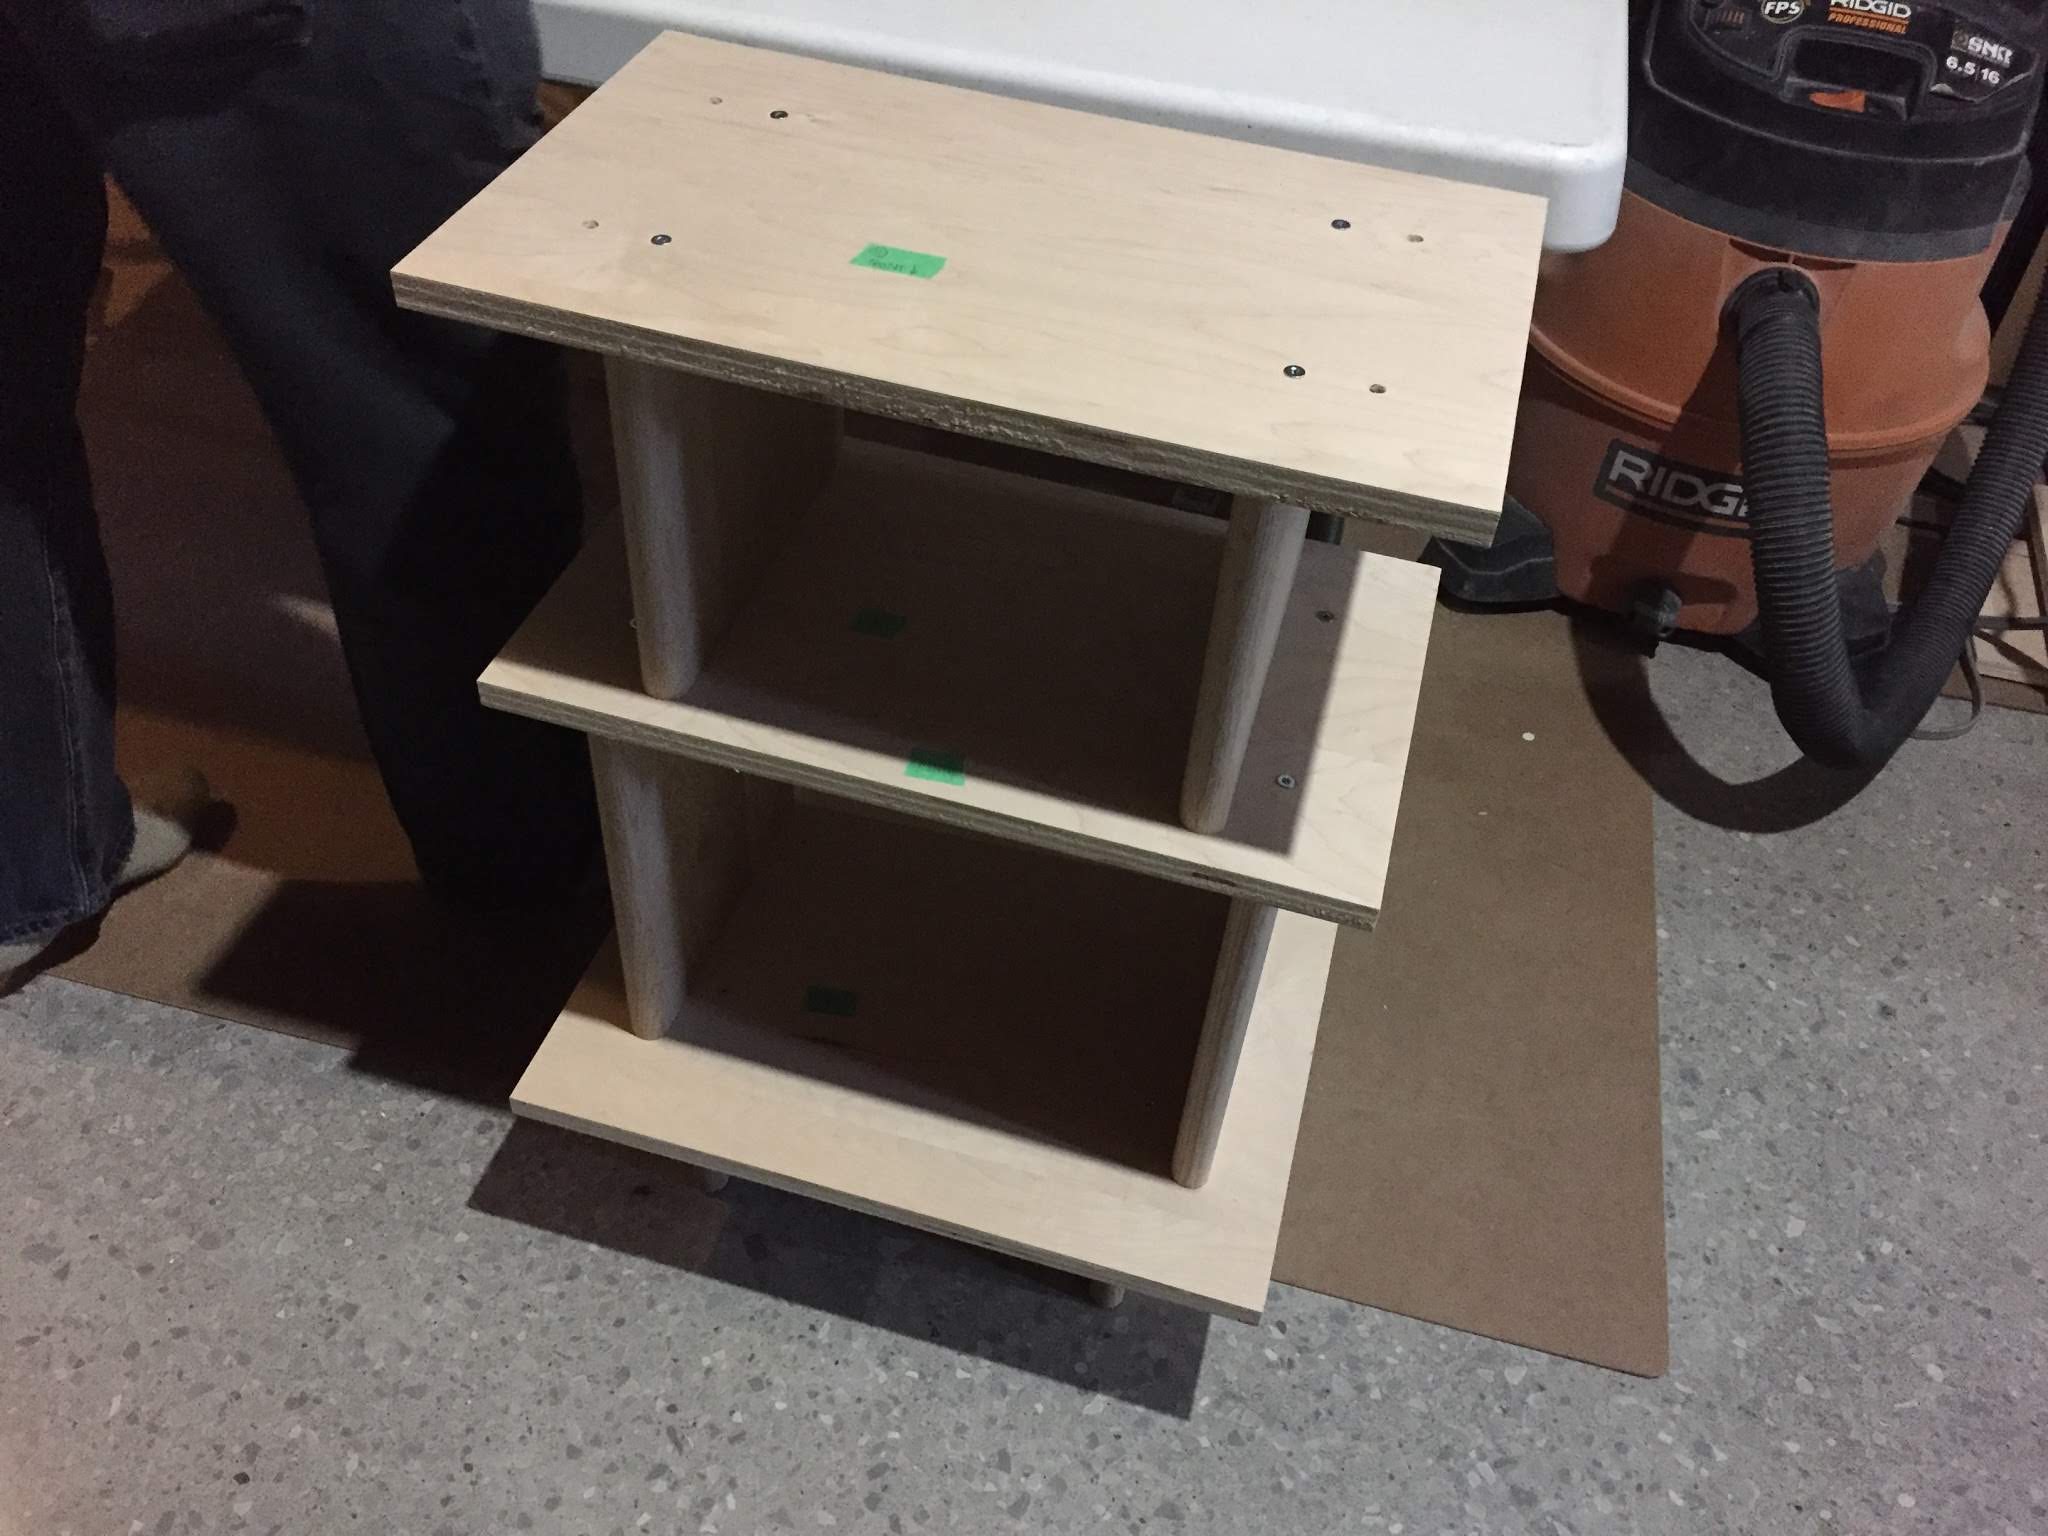
Once we had the holes in the shelves drilled, we then drilled holes in the side pieces and attached them to the shelves. Note that the side pieces don’t go all the way to the front or the back. Each side piece is the same distance from the back of the bookshelf and we left a gap equivalent to the thickness of the plywood (¾”) since the very bottom of the bookshelf has a reinforcement piece made of that plywood (more on that later).
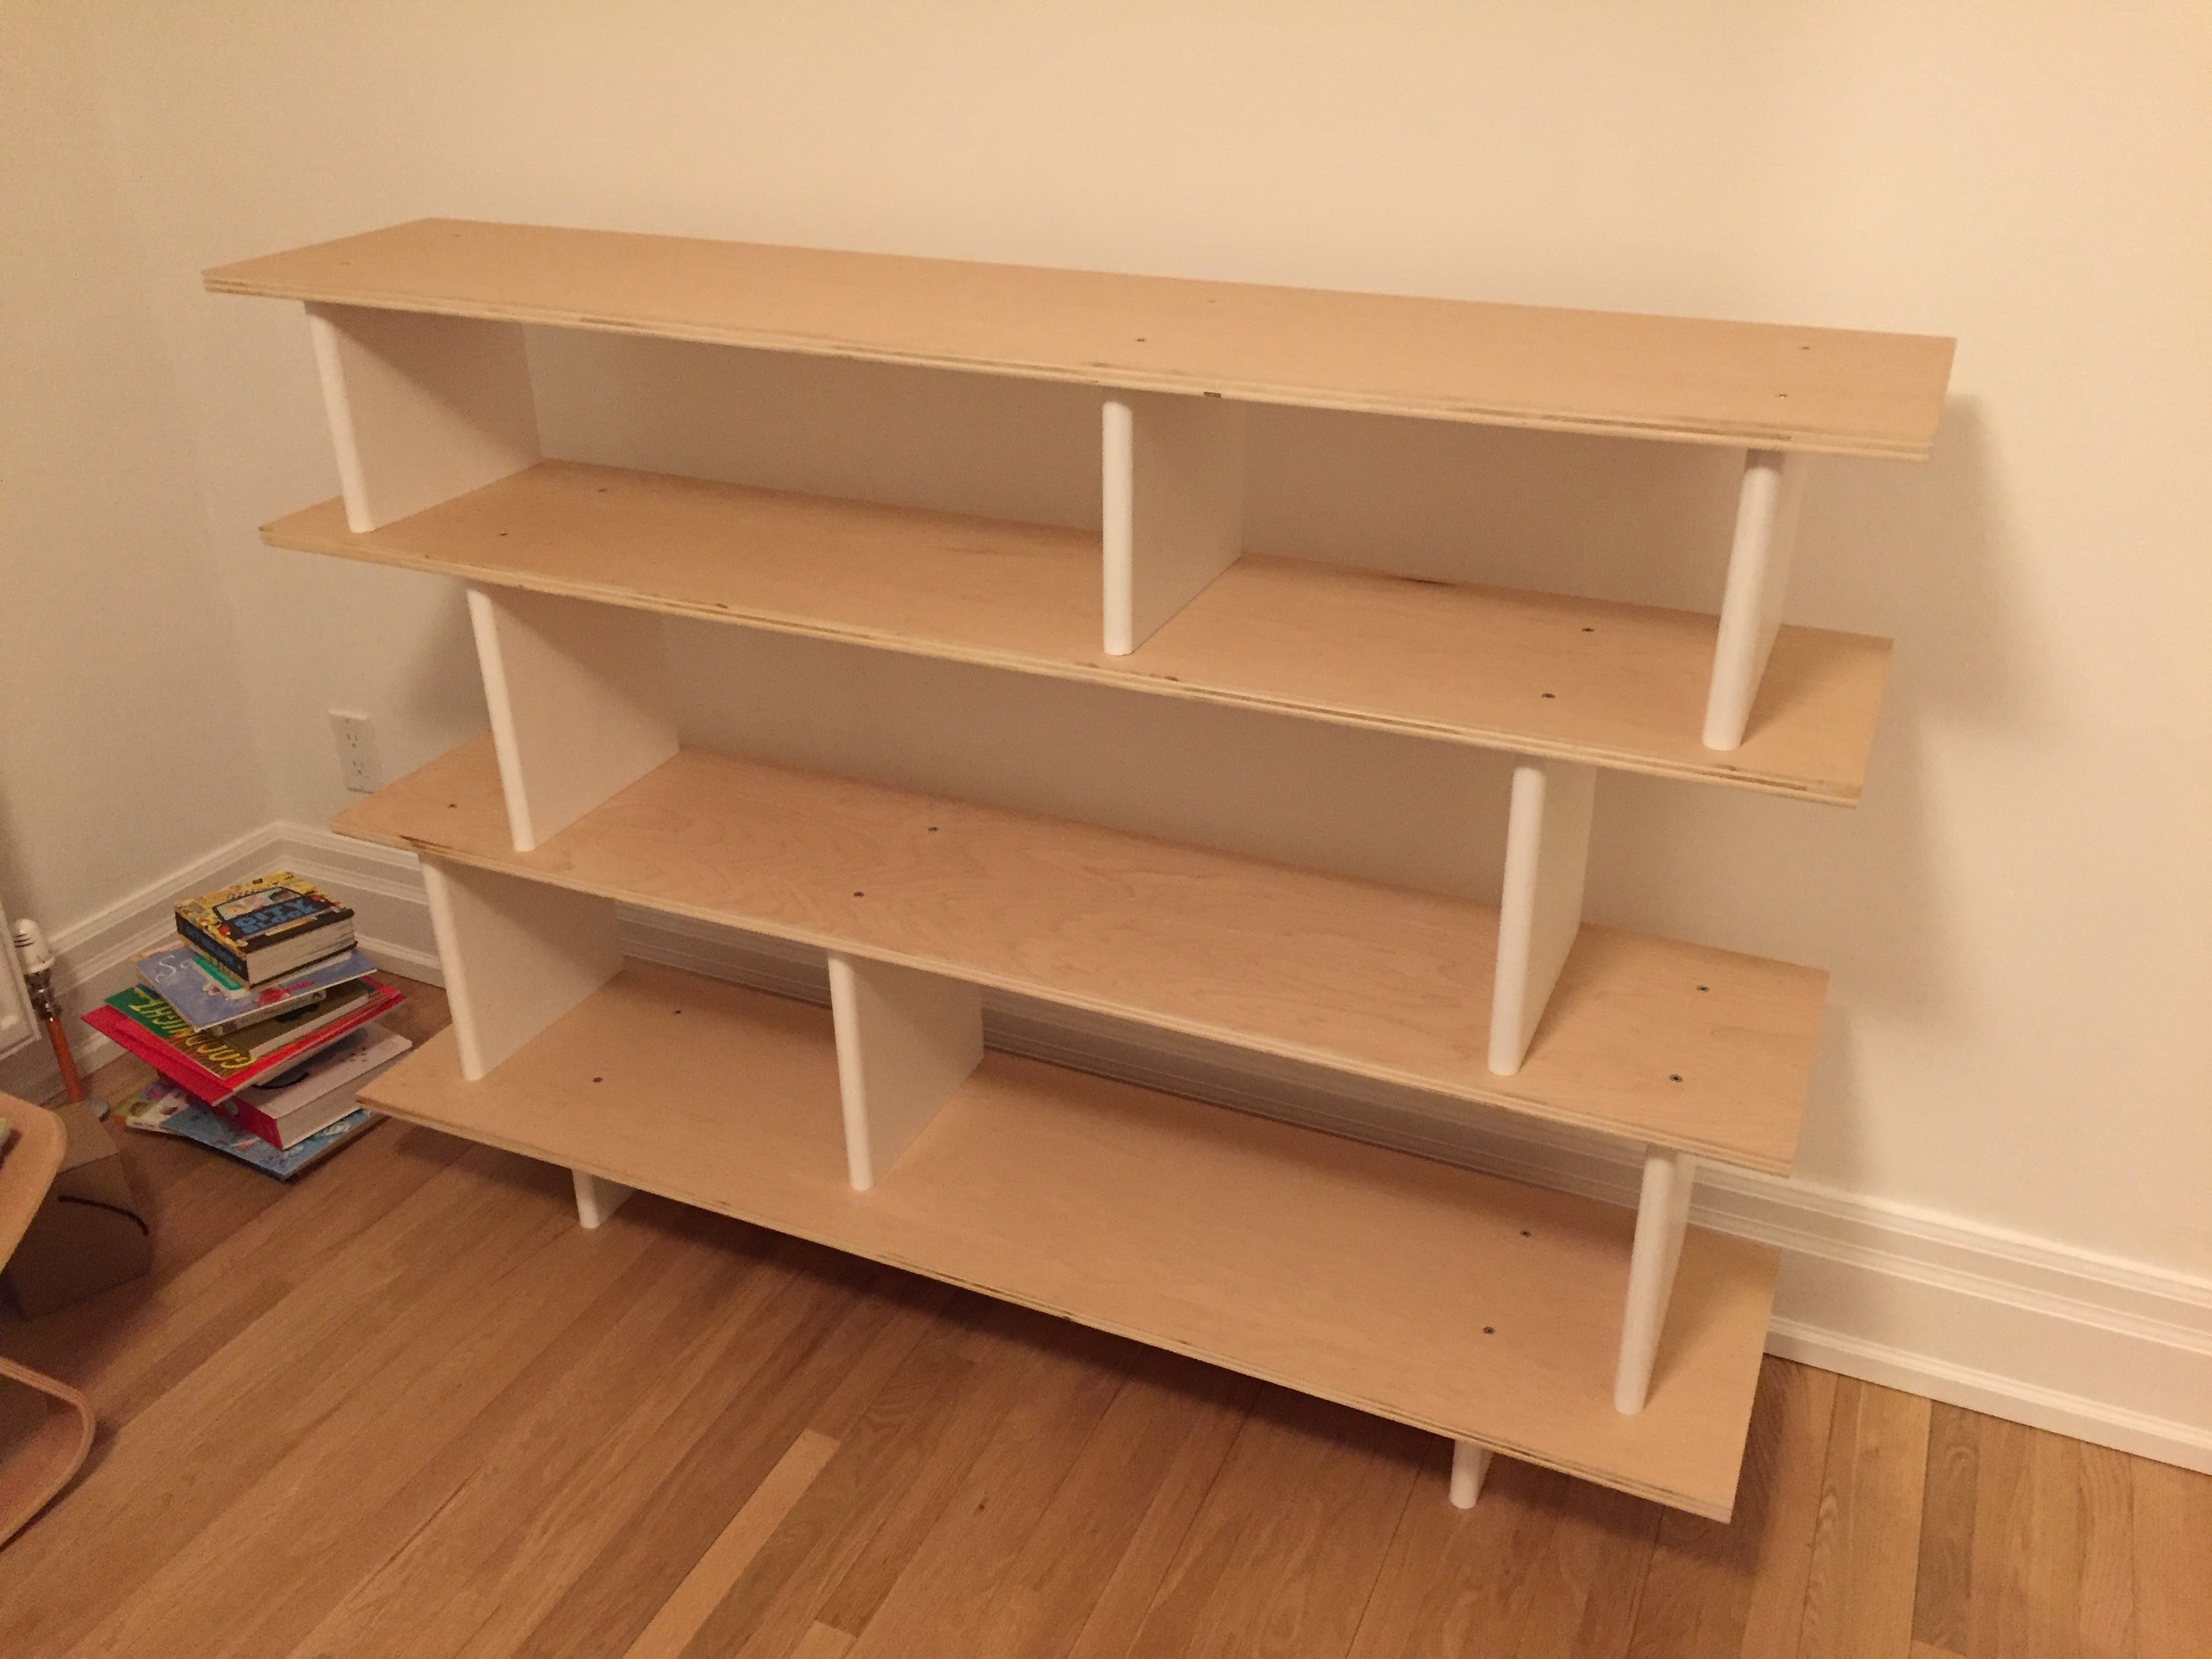
We kept going until the entire bookshelf was built, making sure to label each piece very carefully so we could get it back together again.
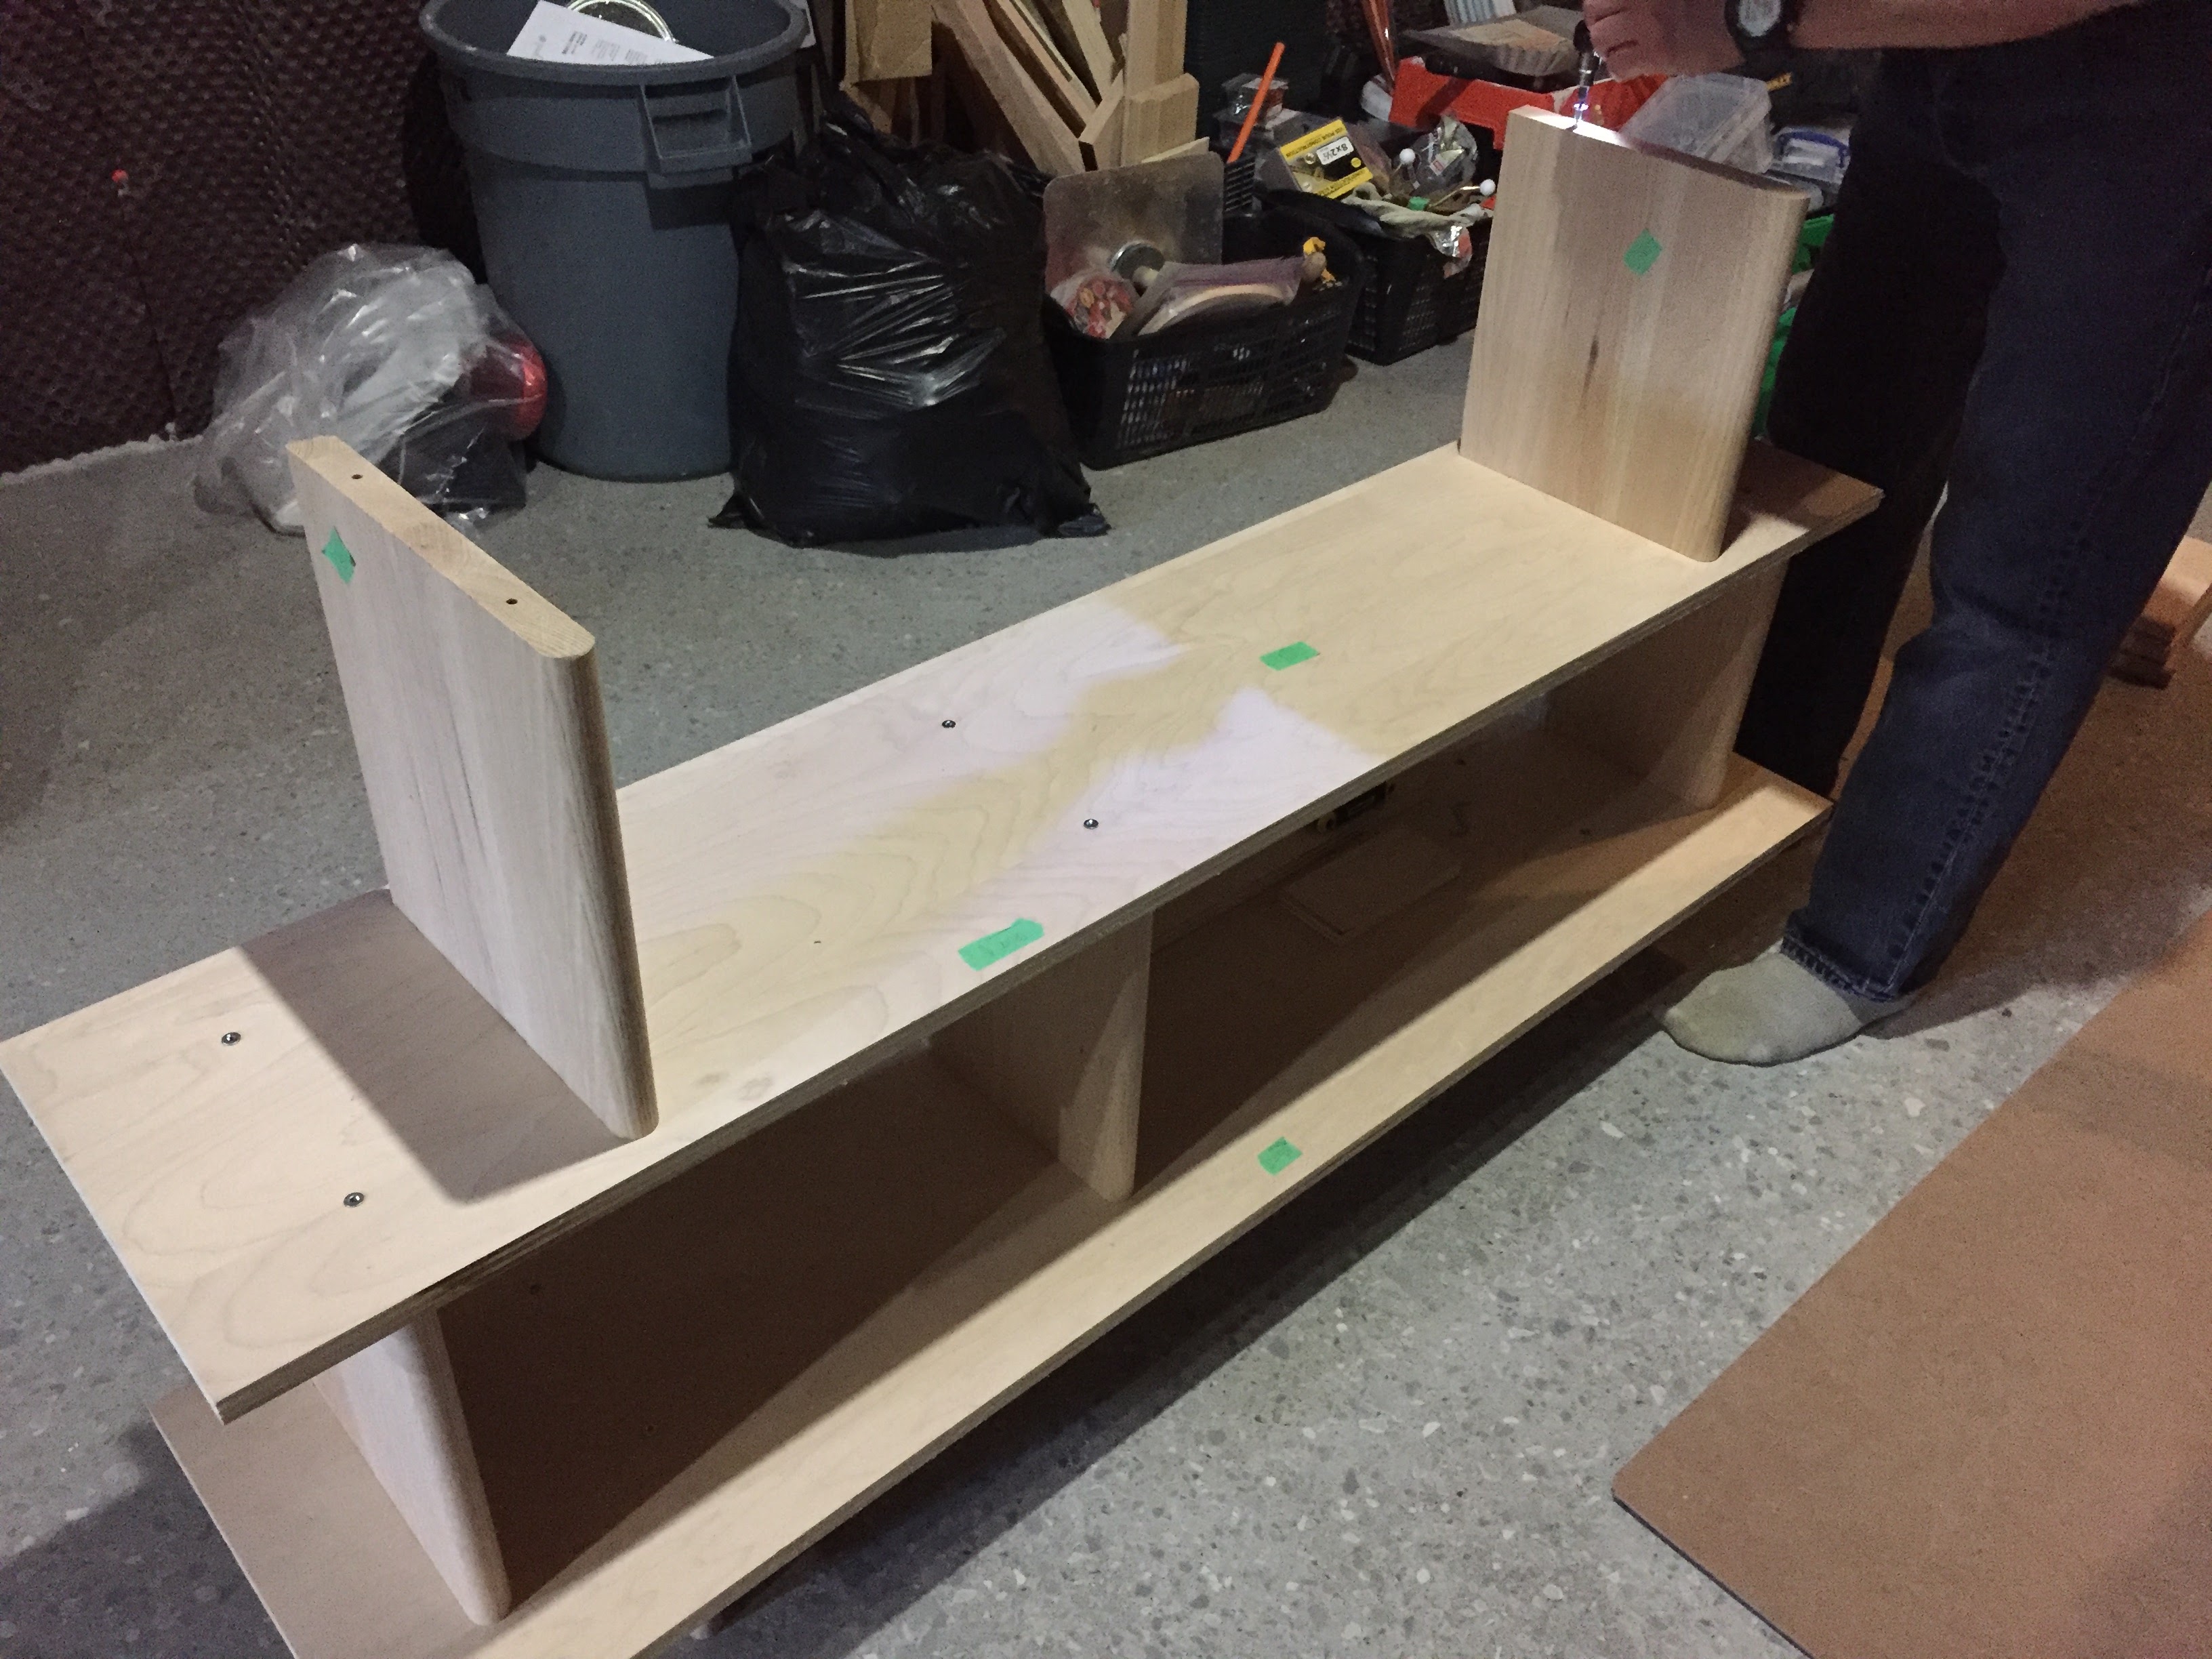
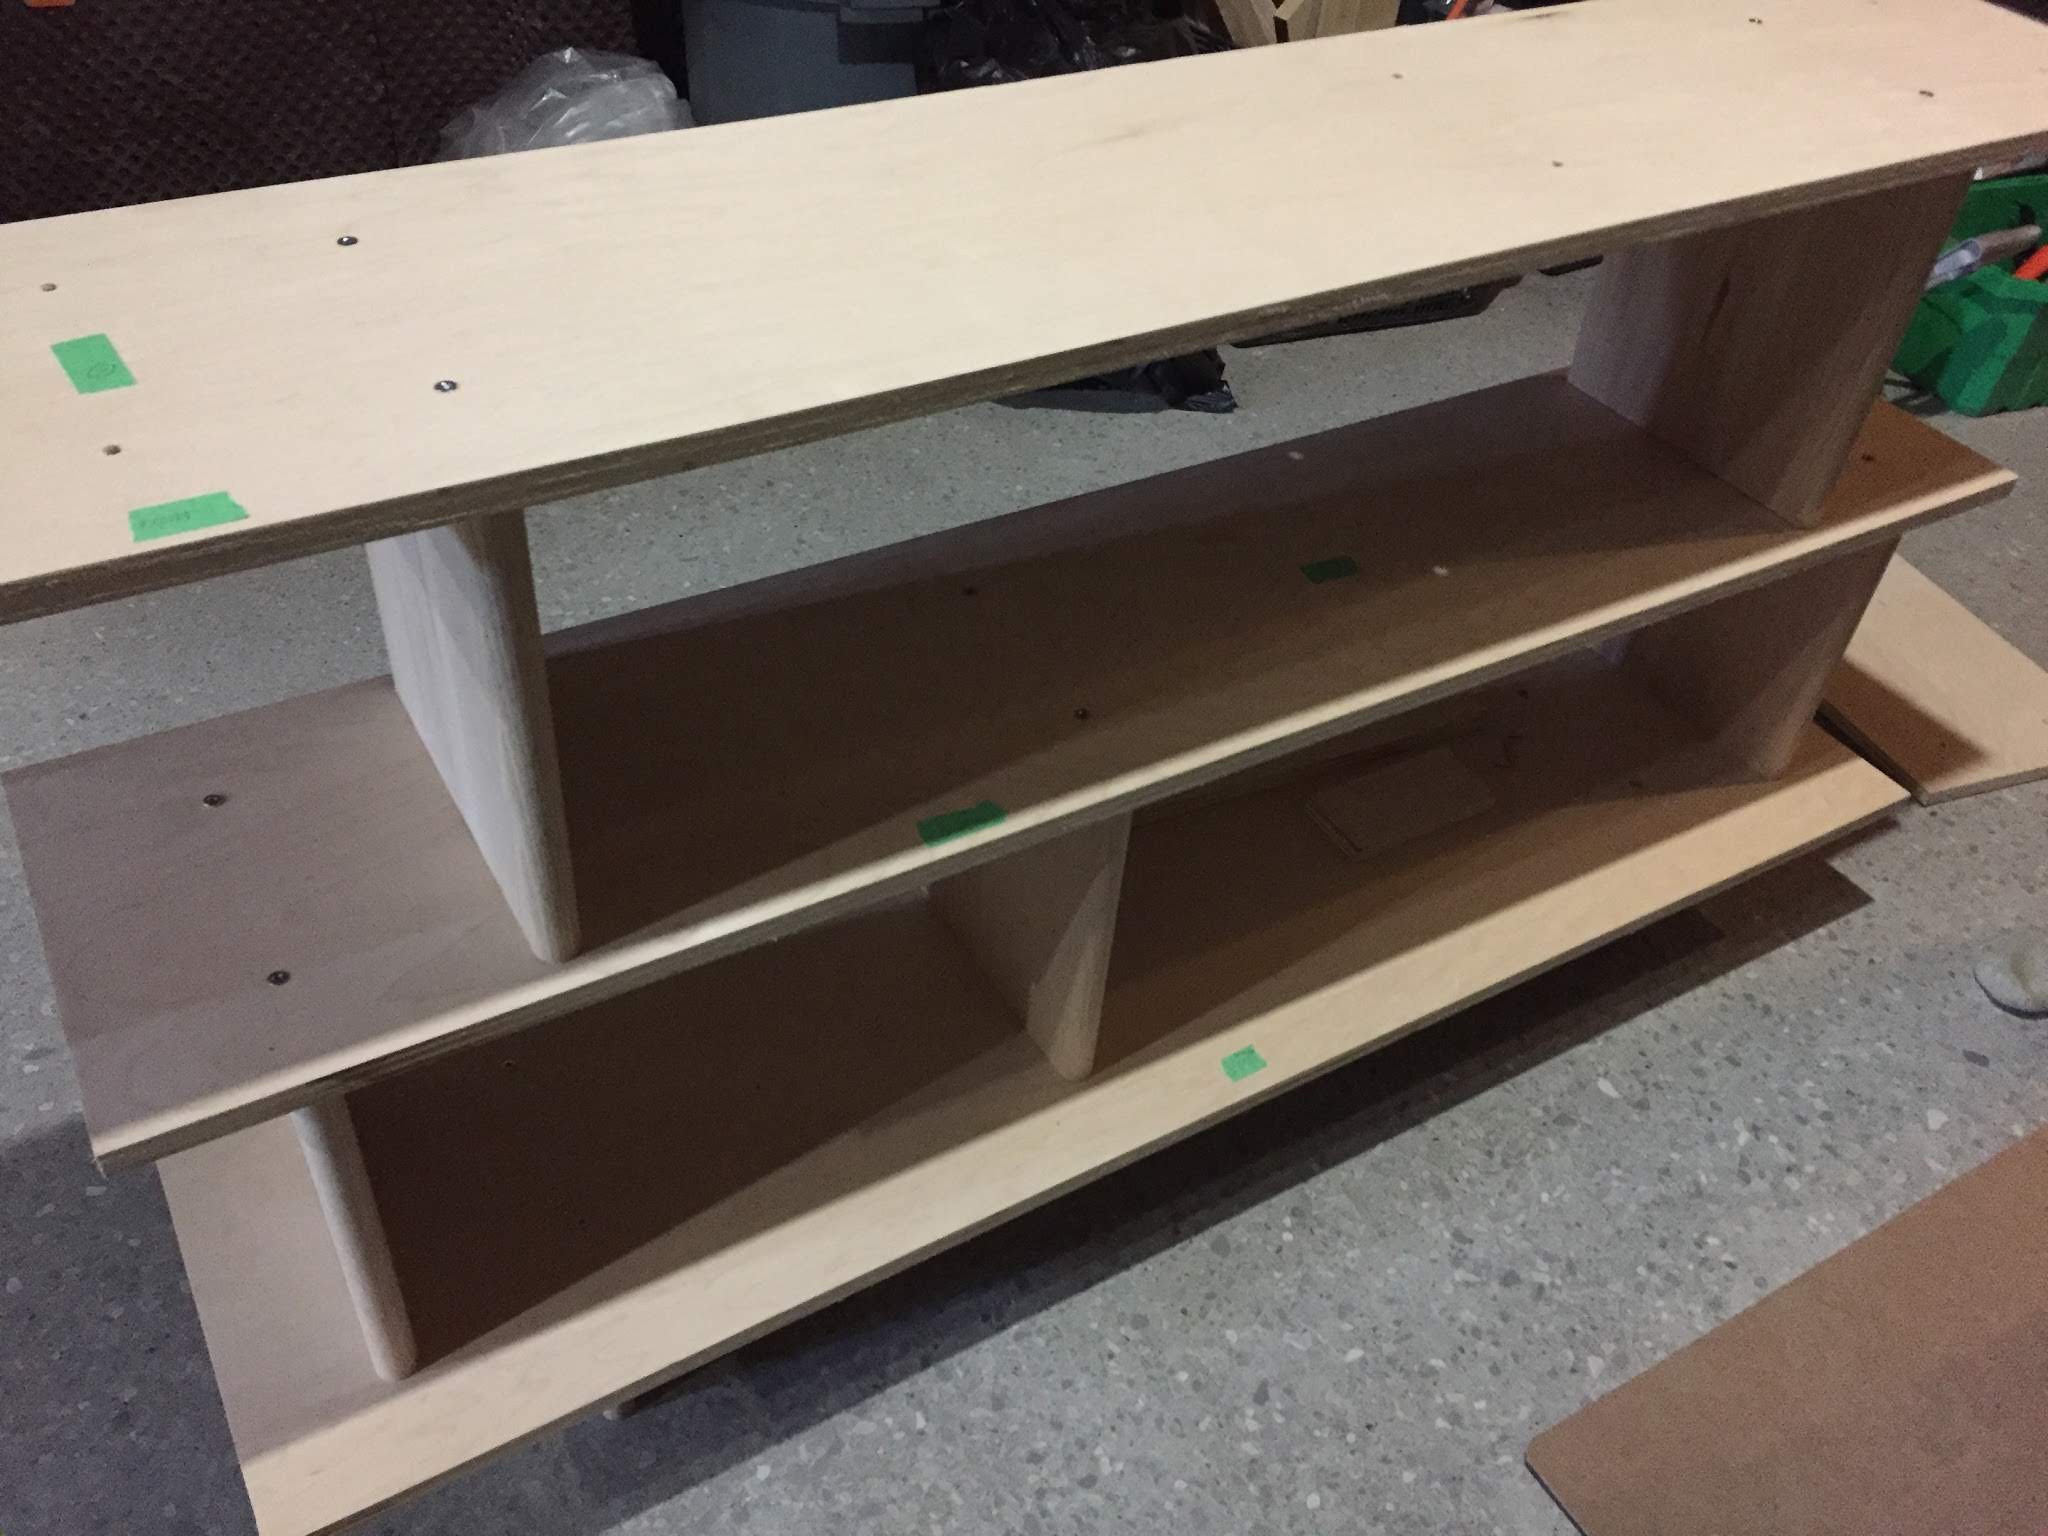
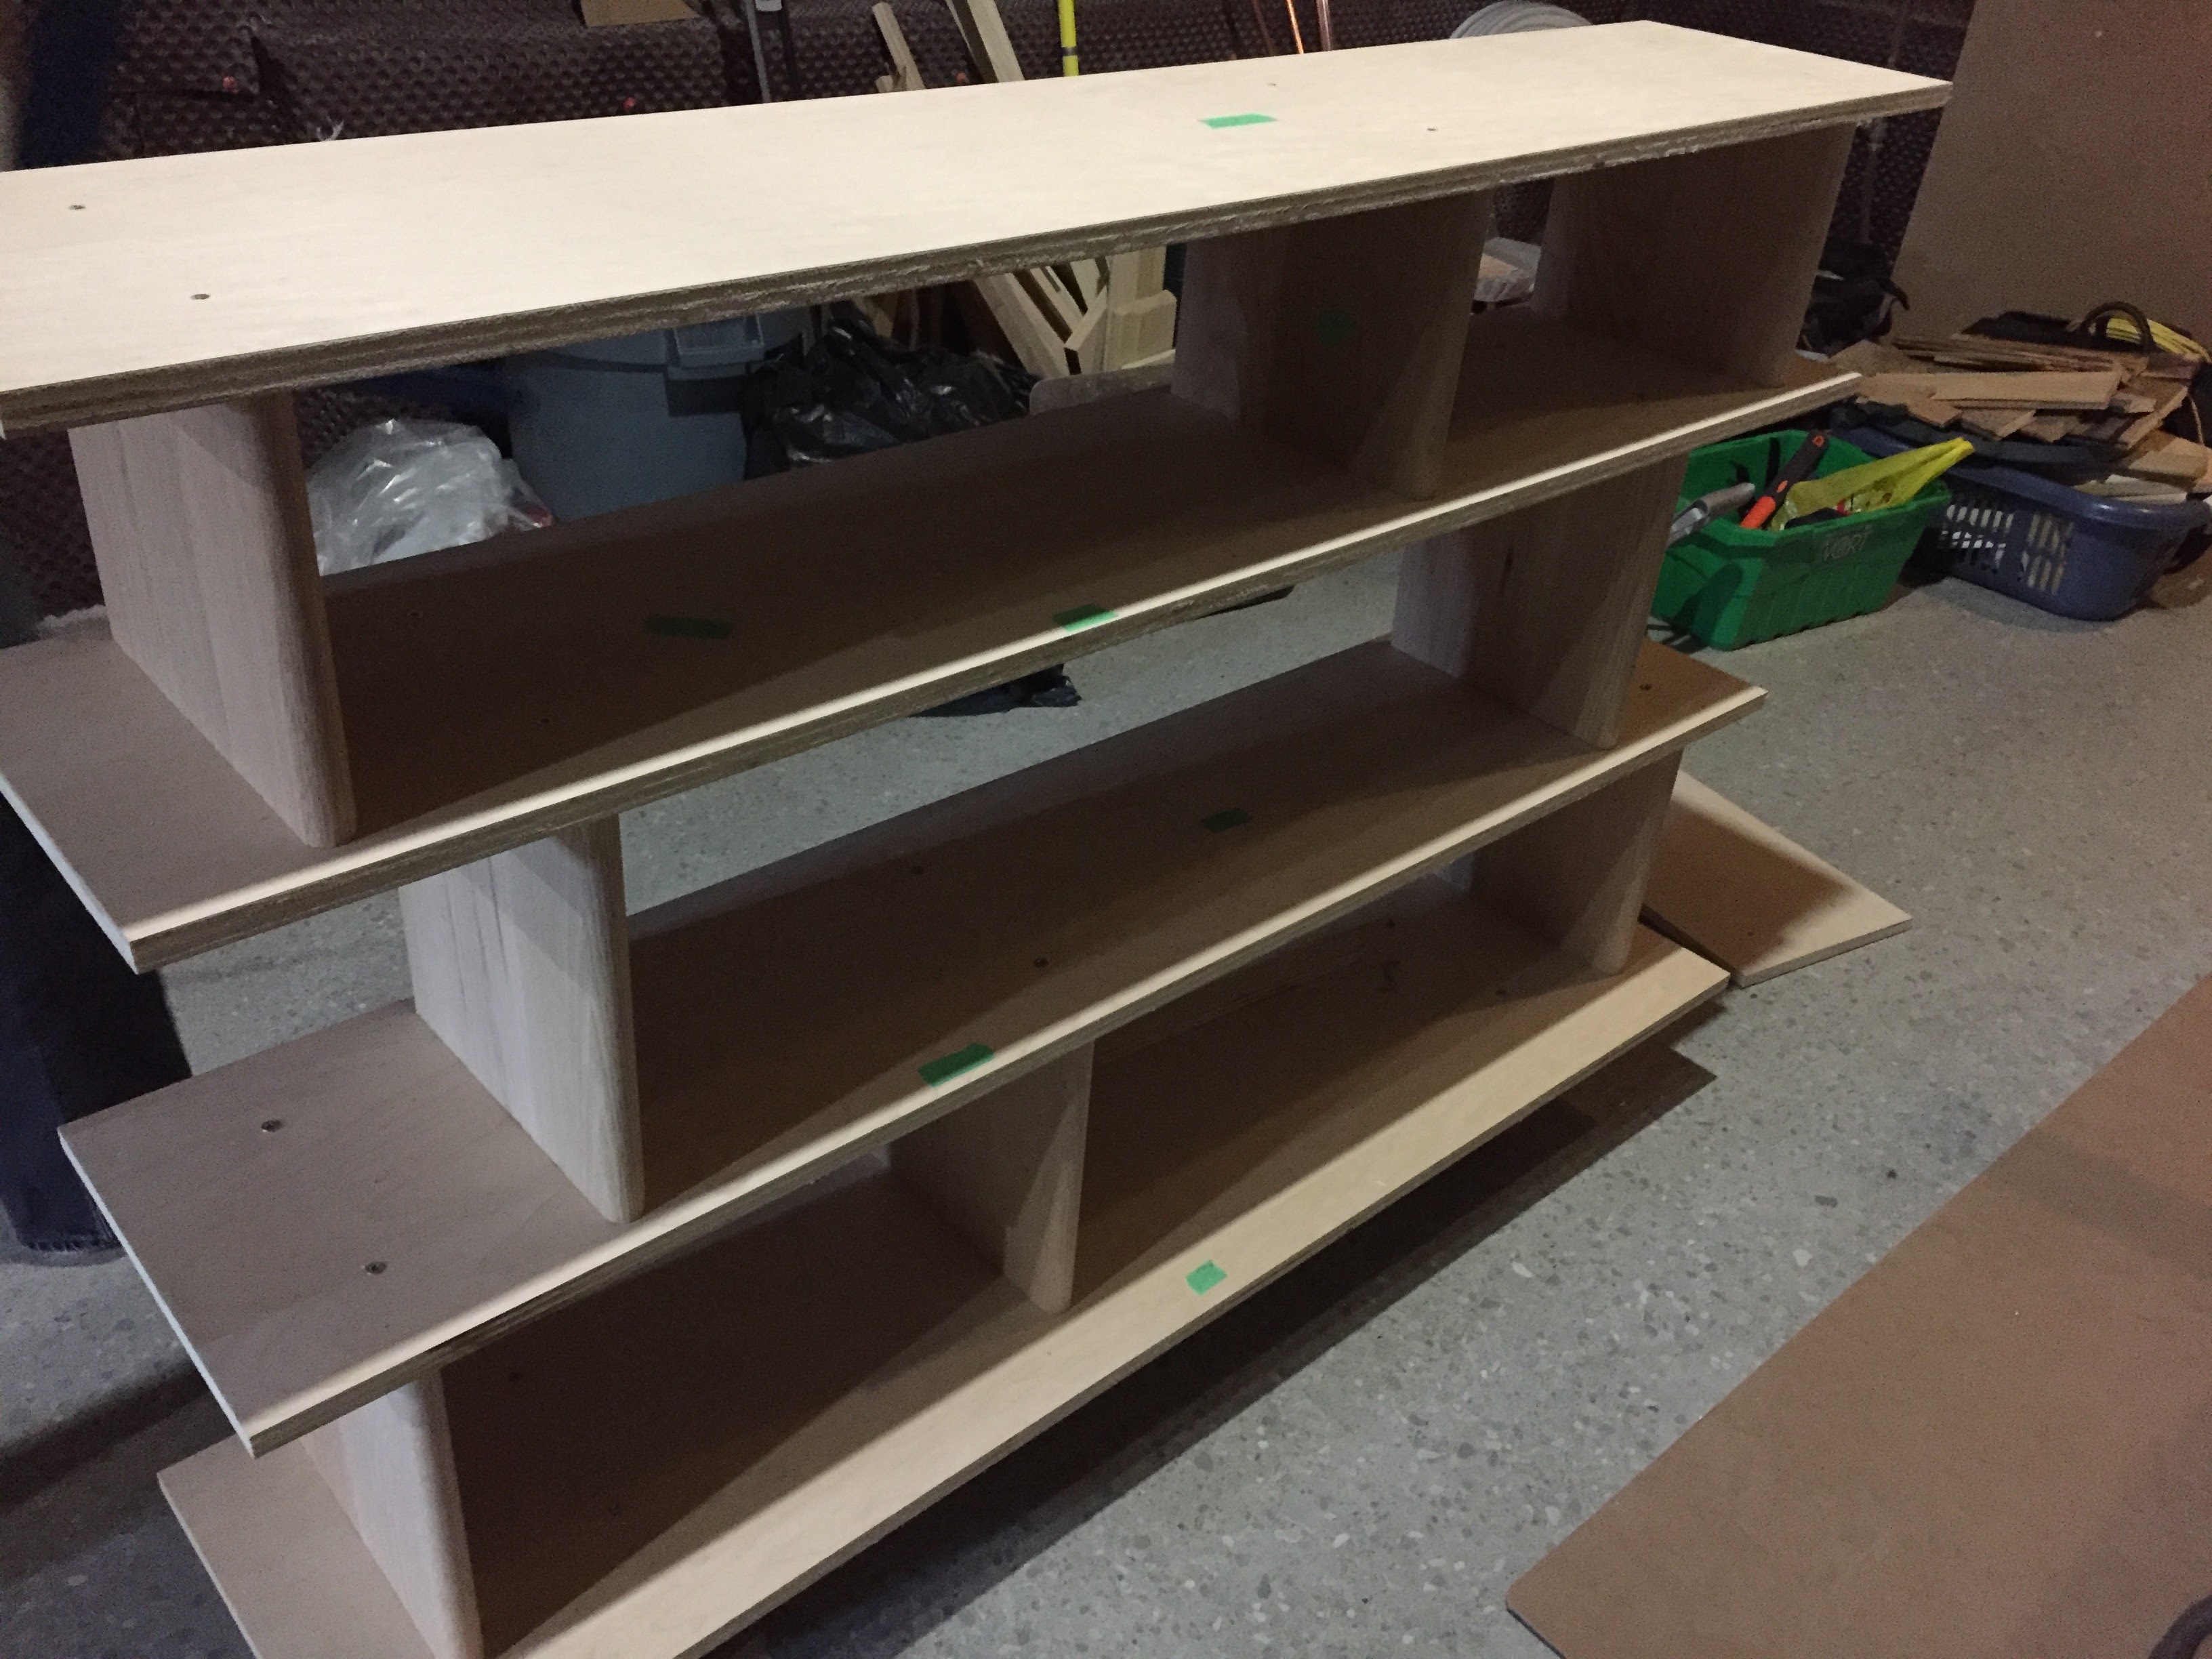
Once the main structure of the bookshelf was together, we made the second, smaller bookshelf since it required the same method and we didn’t want to forget what we had done.
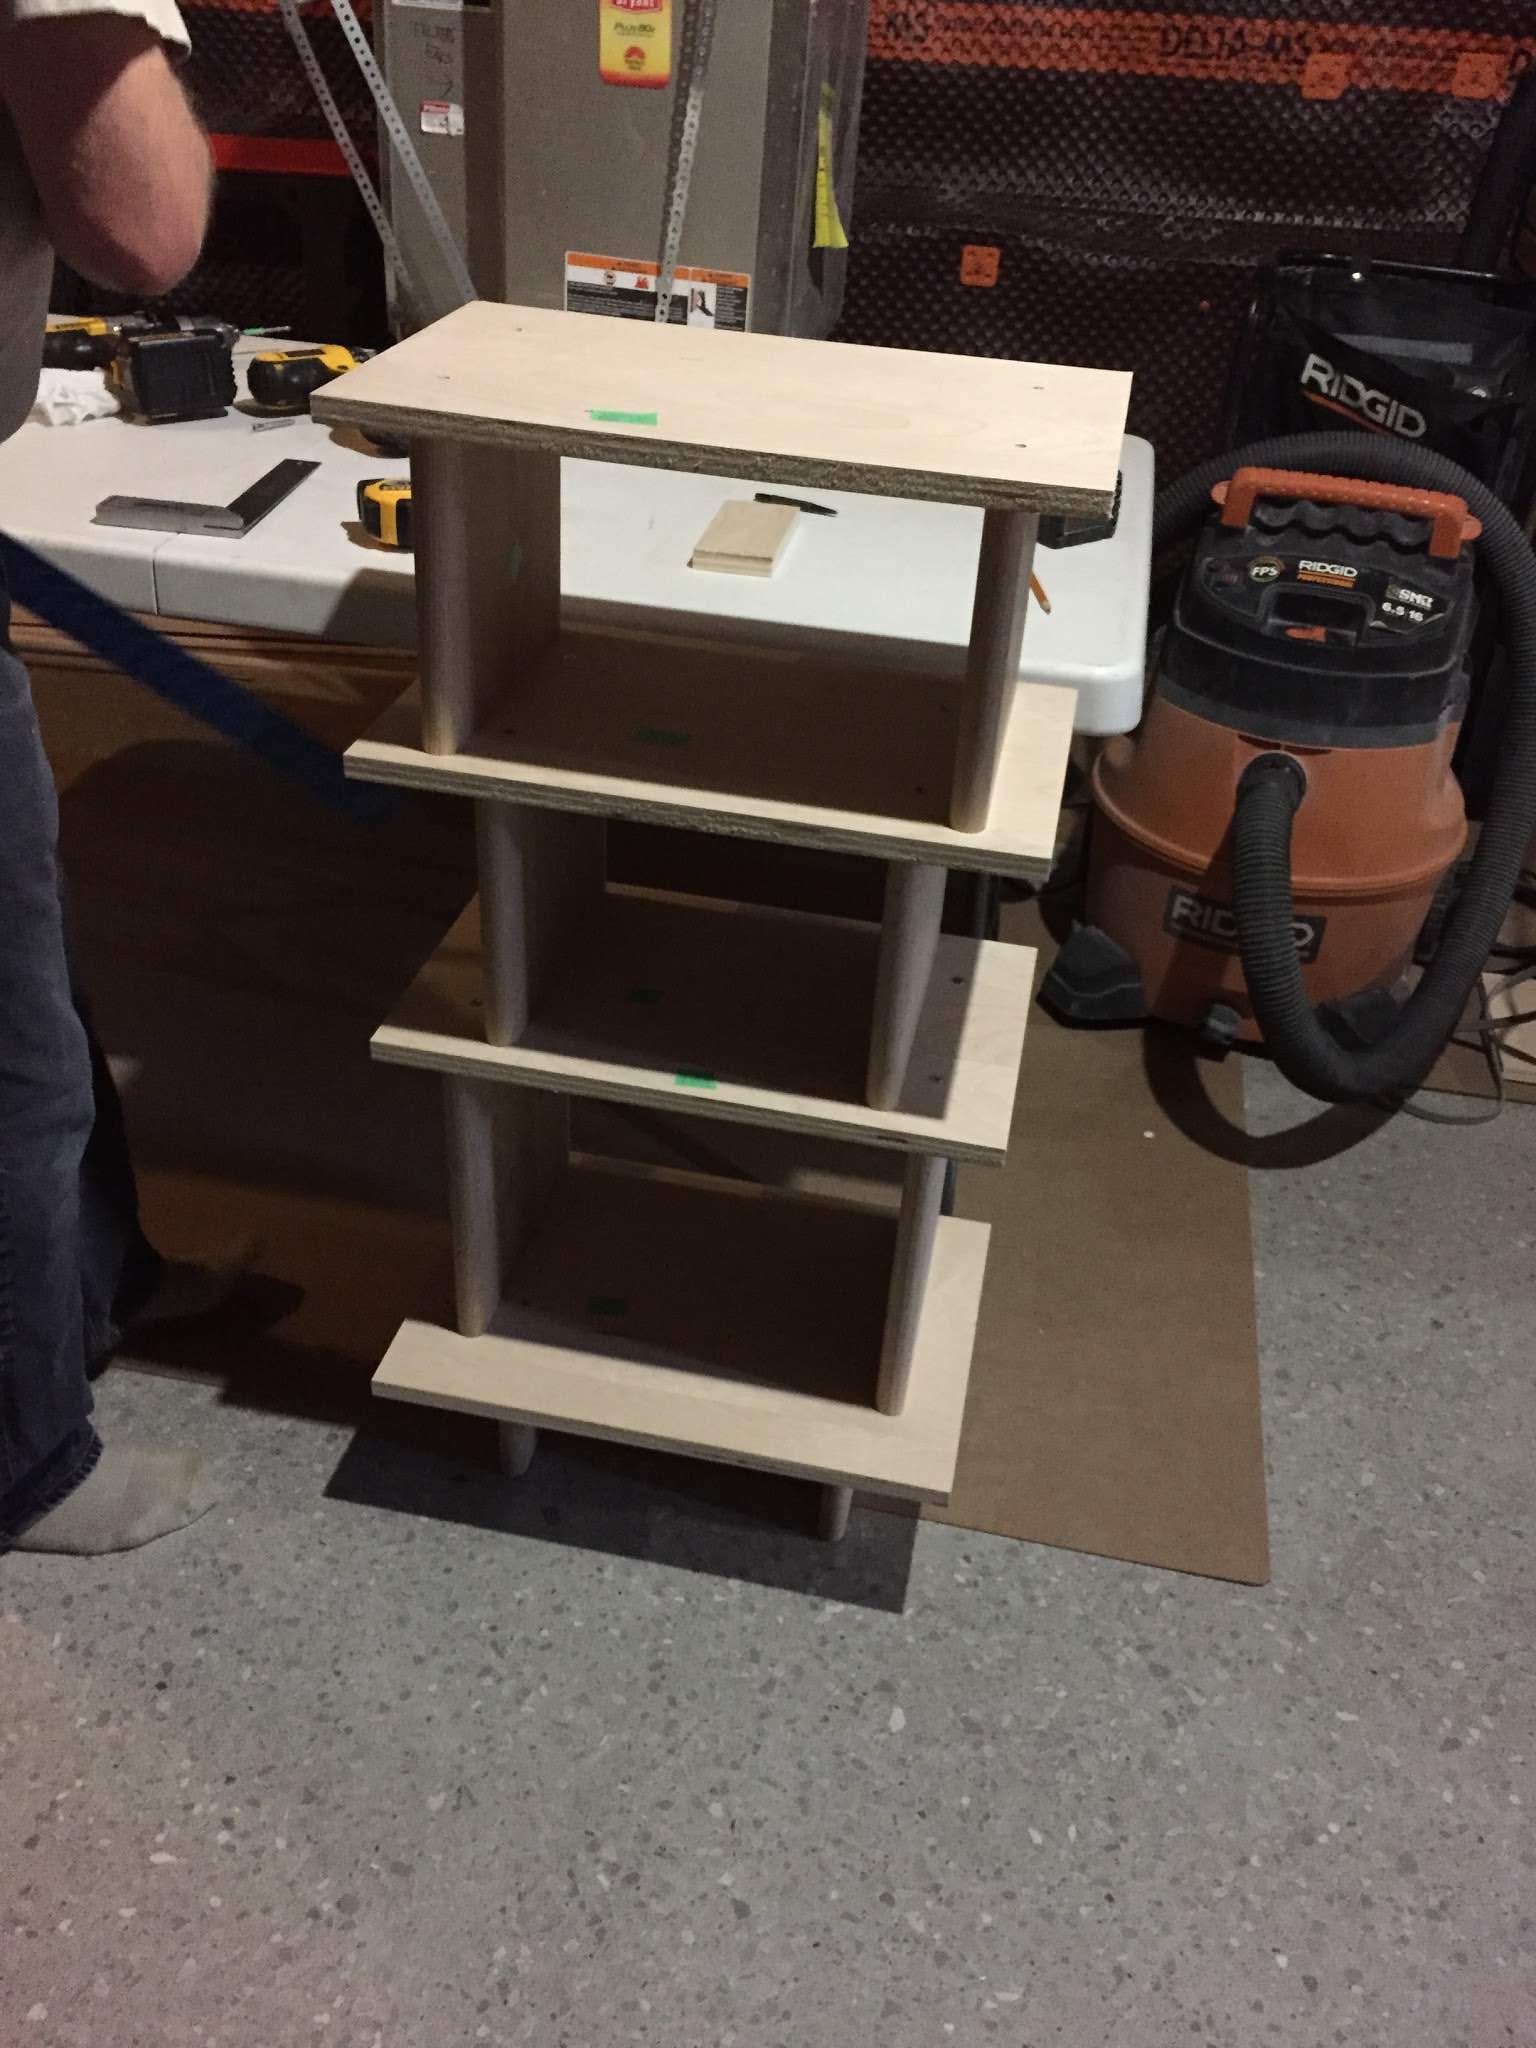
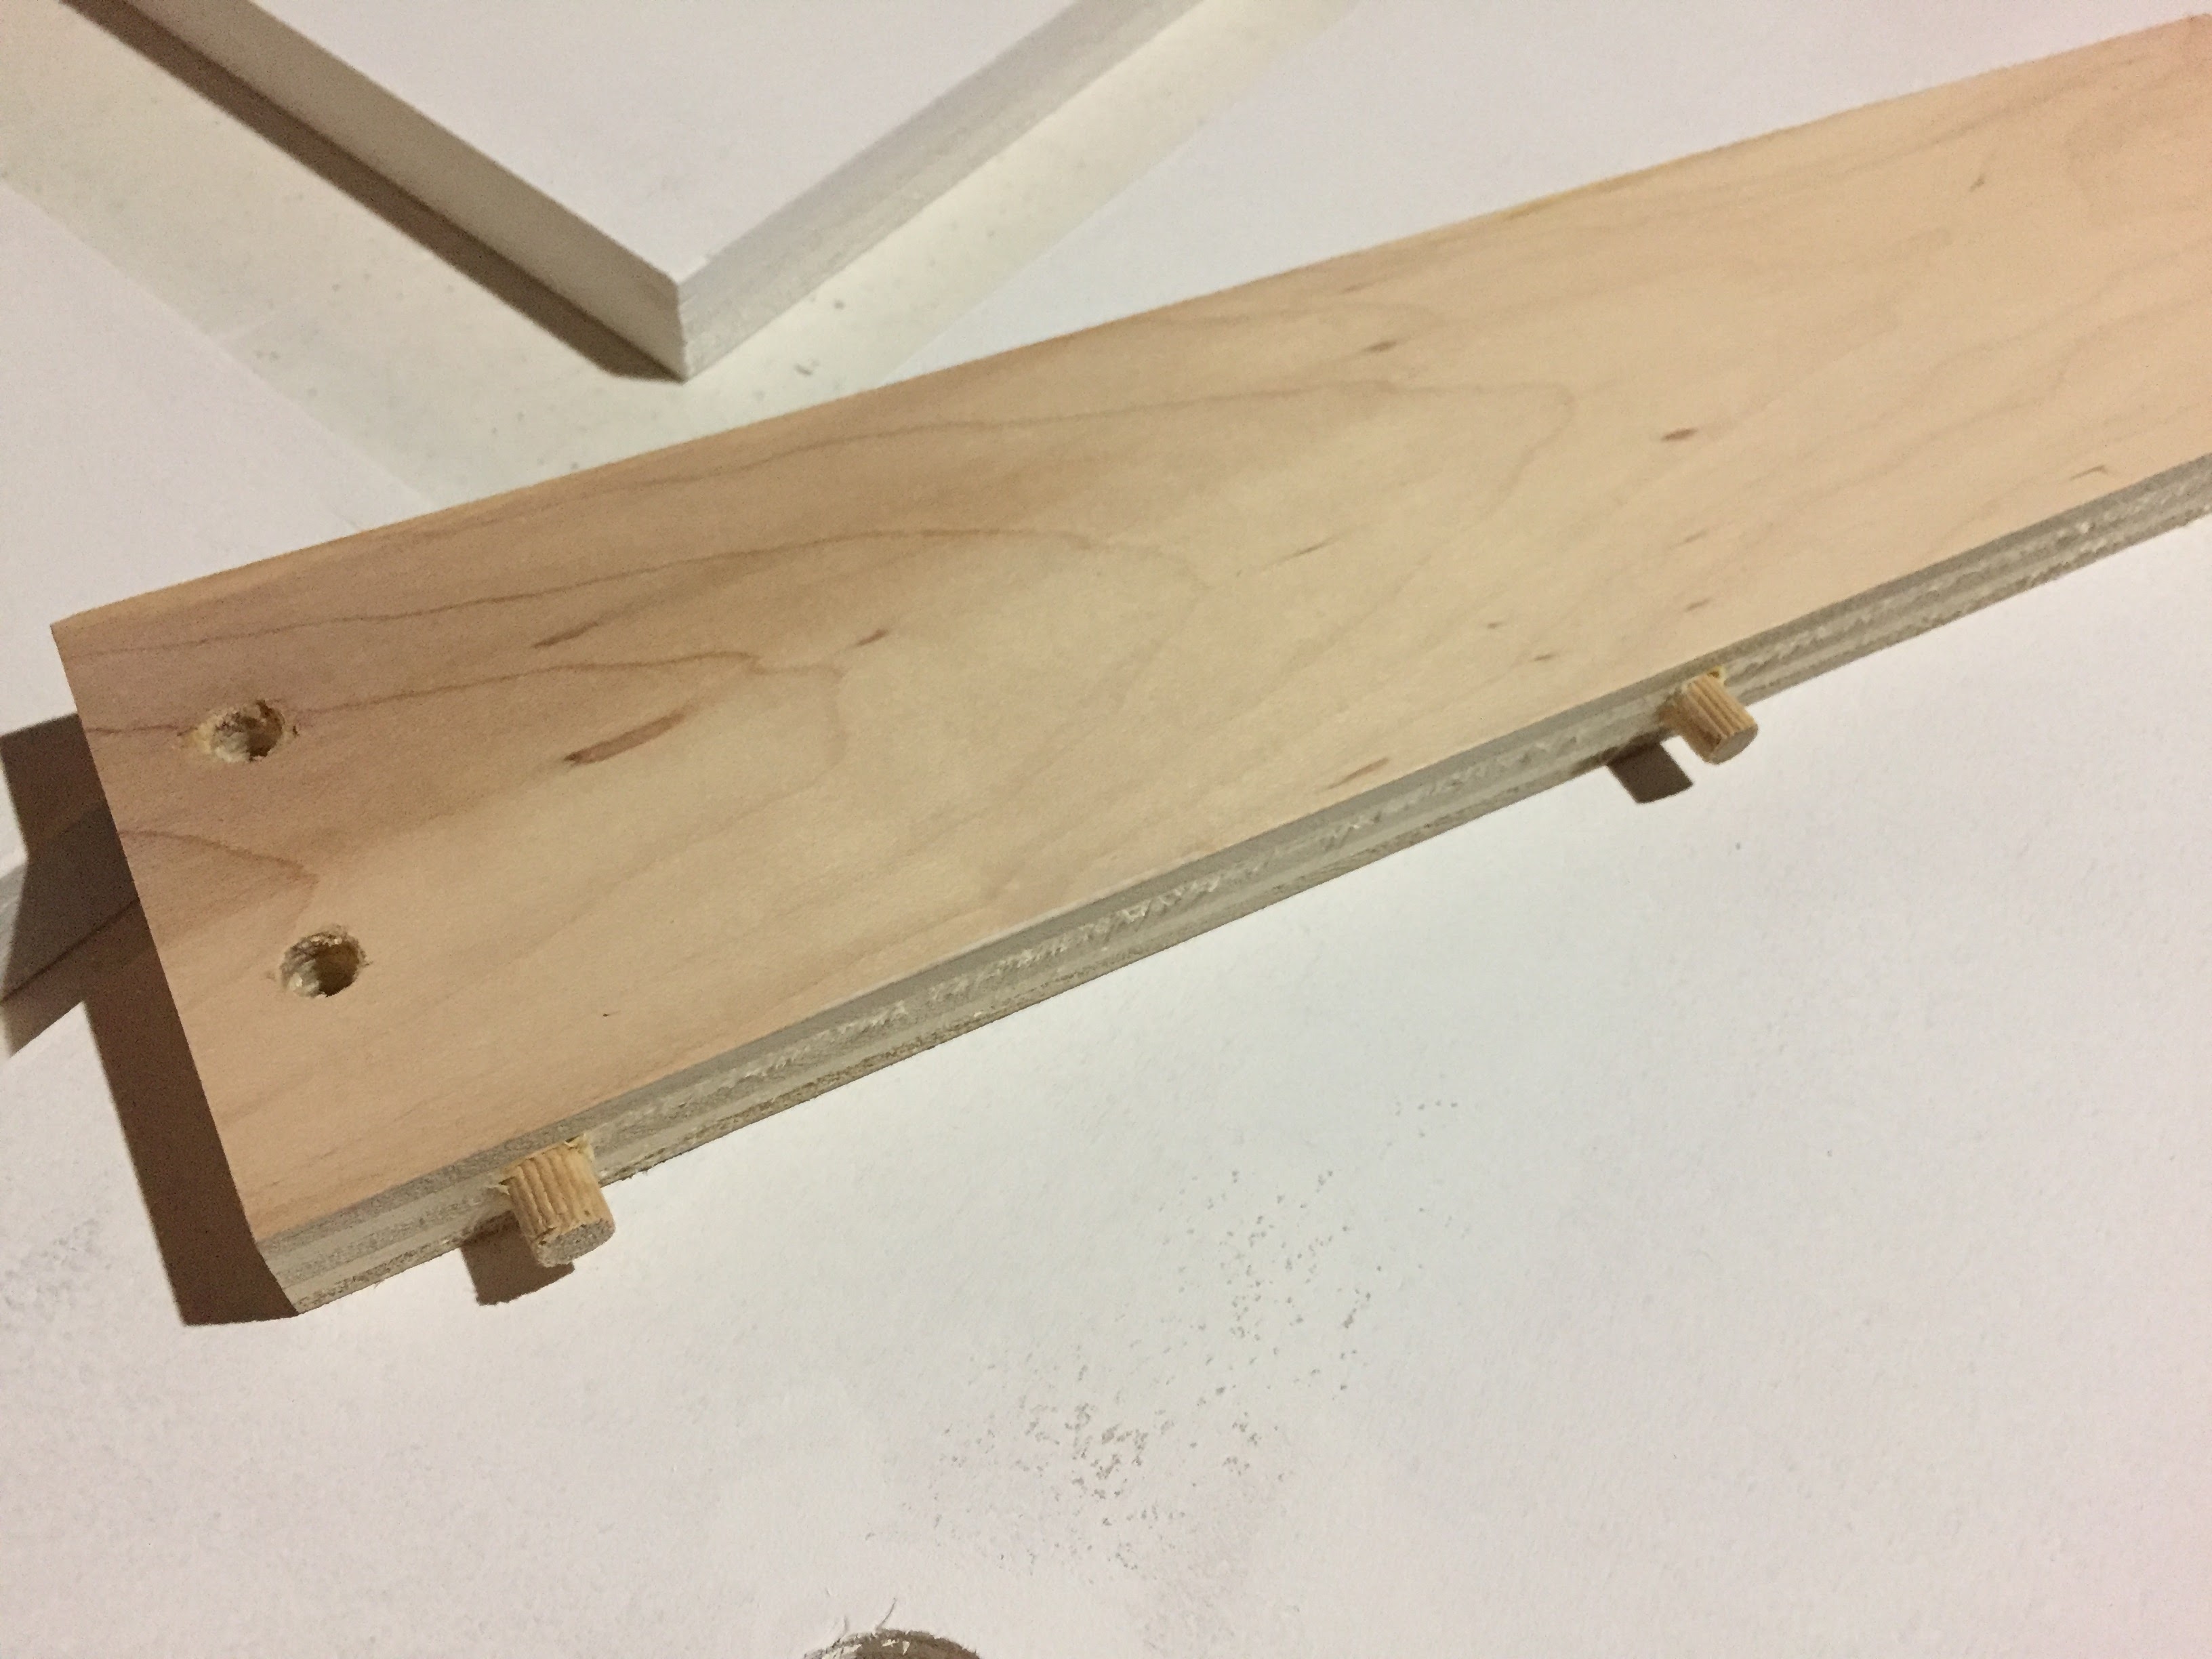
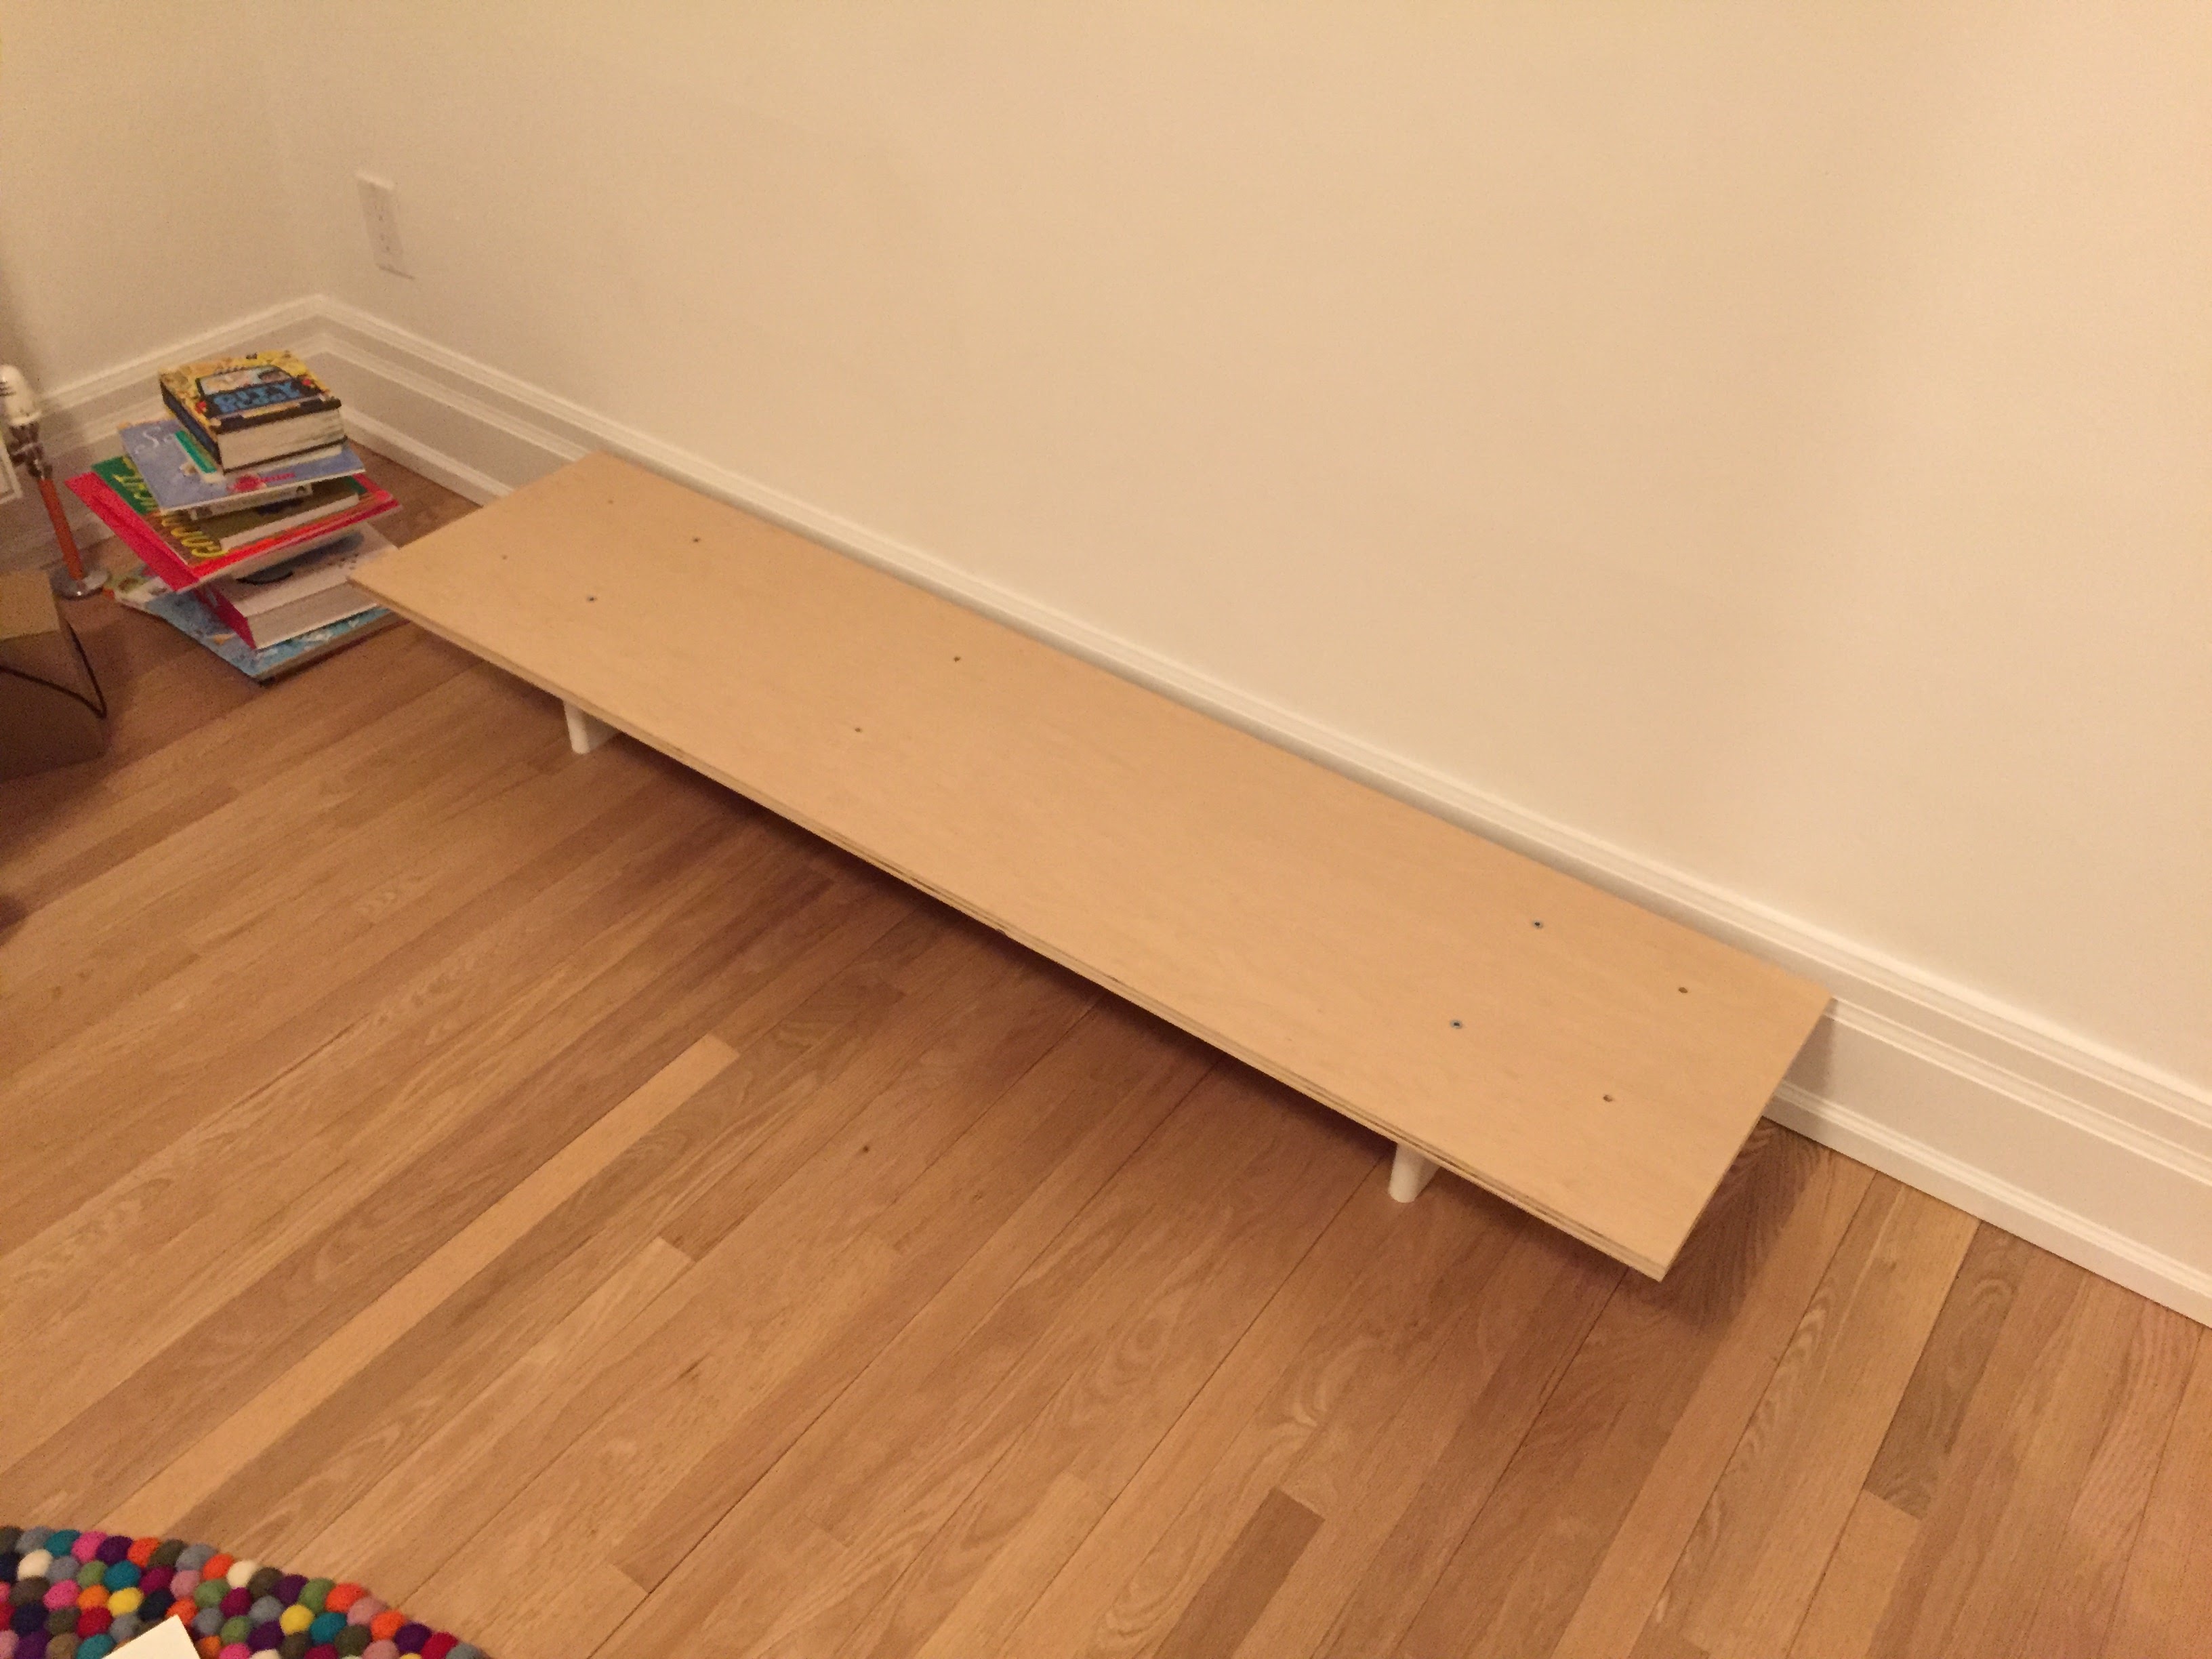
We then made the other pieces that we needed, including the reinforcement piece at the bottom that kept the feet in place. This piece was slightly complicated. We first cut a piece of plywood that was 3″ tall and then cut it to length (41½” for the large bookshelf and 13″ for the narrow bookshelf).
The reinforcement piece was attached to the furniture in two ways: with wood dowels and with screws. Three wood dowels connected it to the bottom of the first shelf and two screws on each side connected it to the feet. We glued the wood dowels into the reinforcement piece so that the dowels held in place.
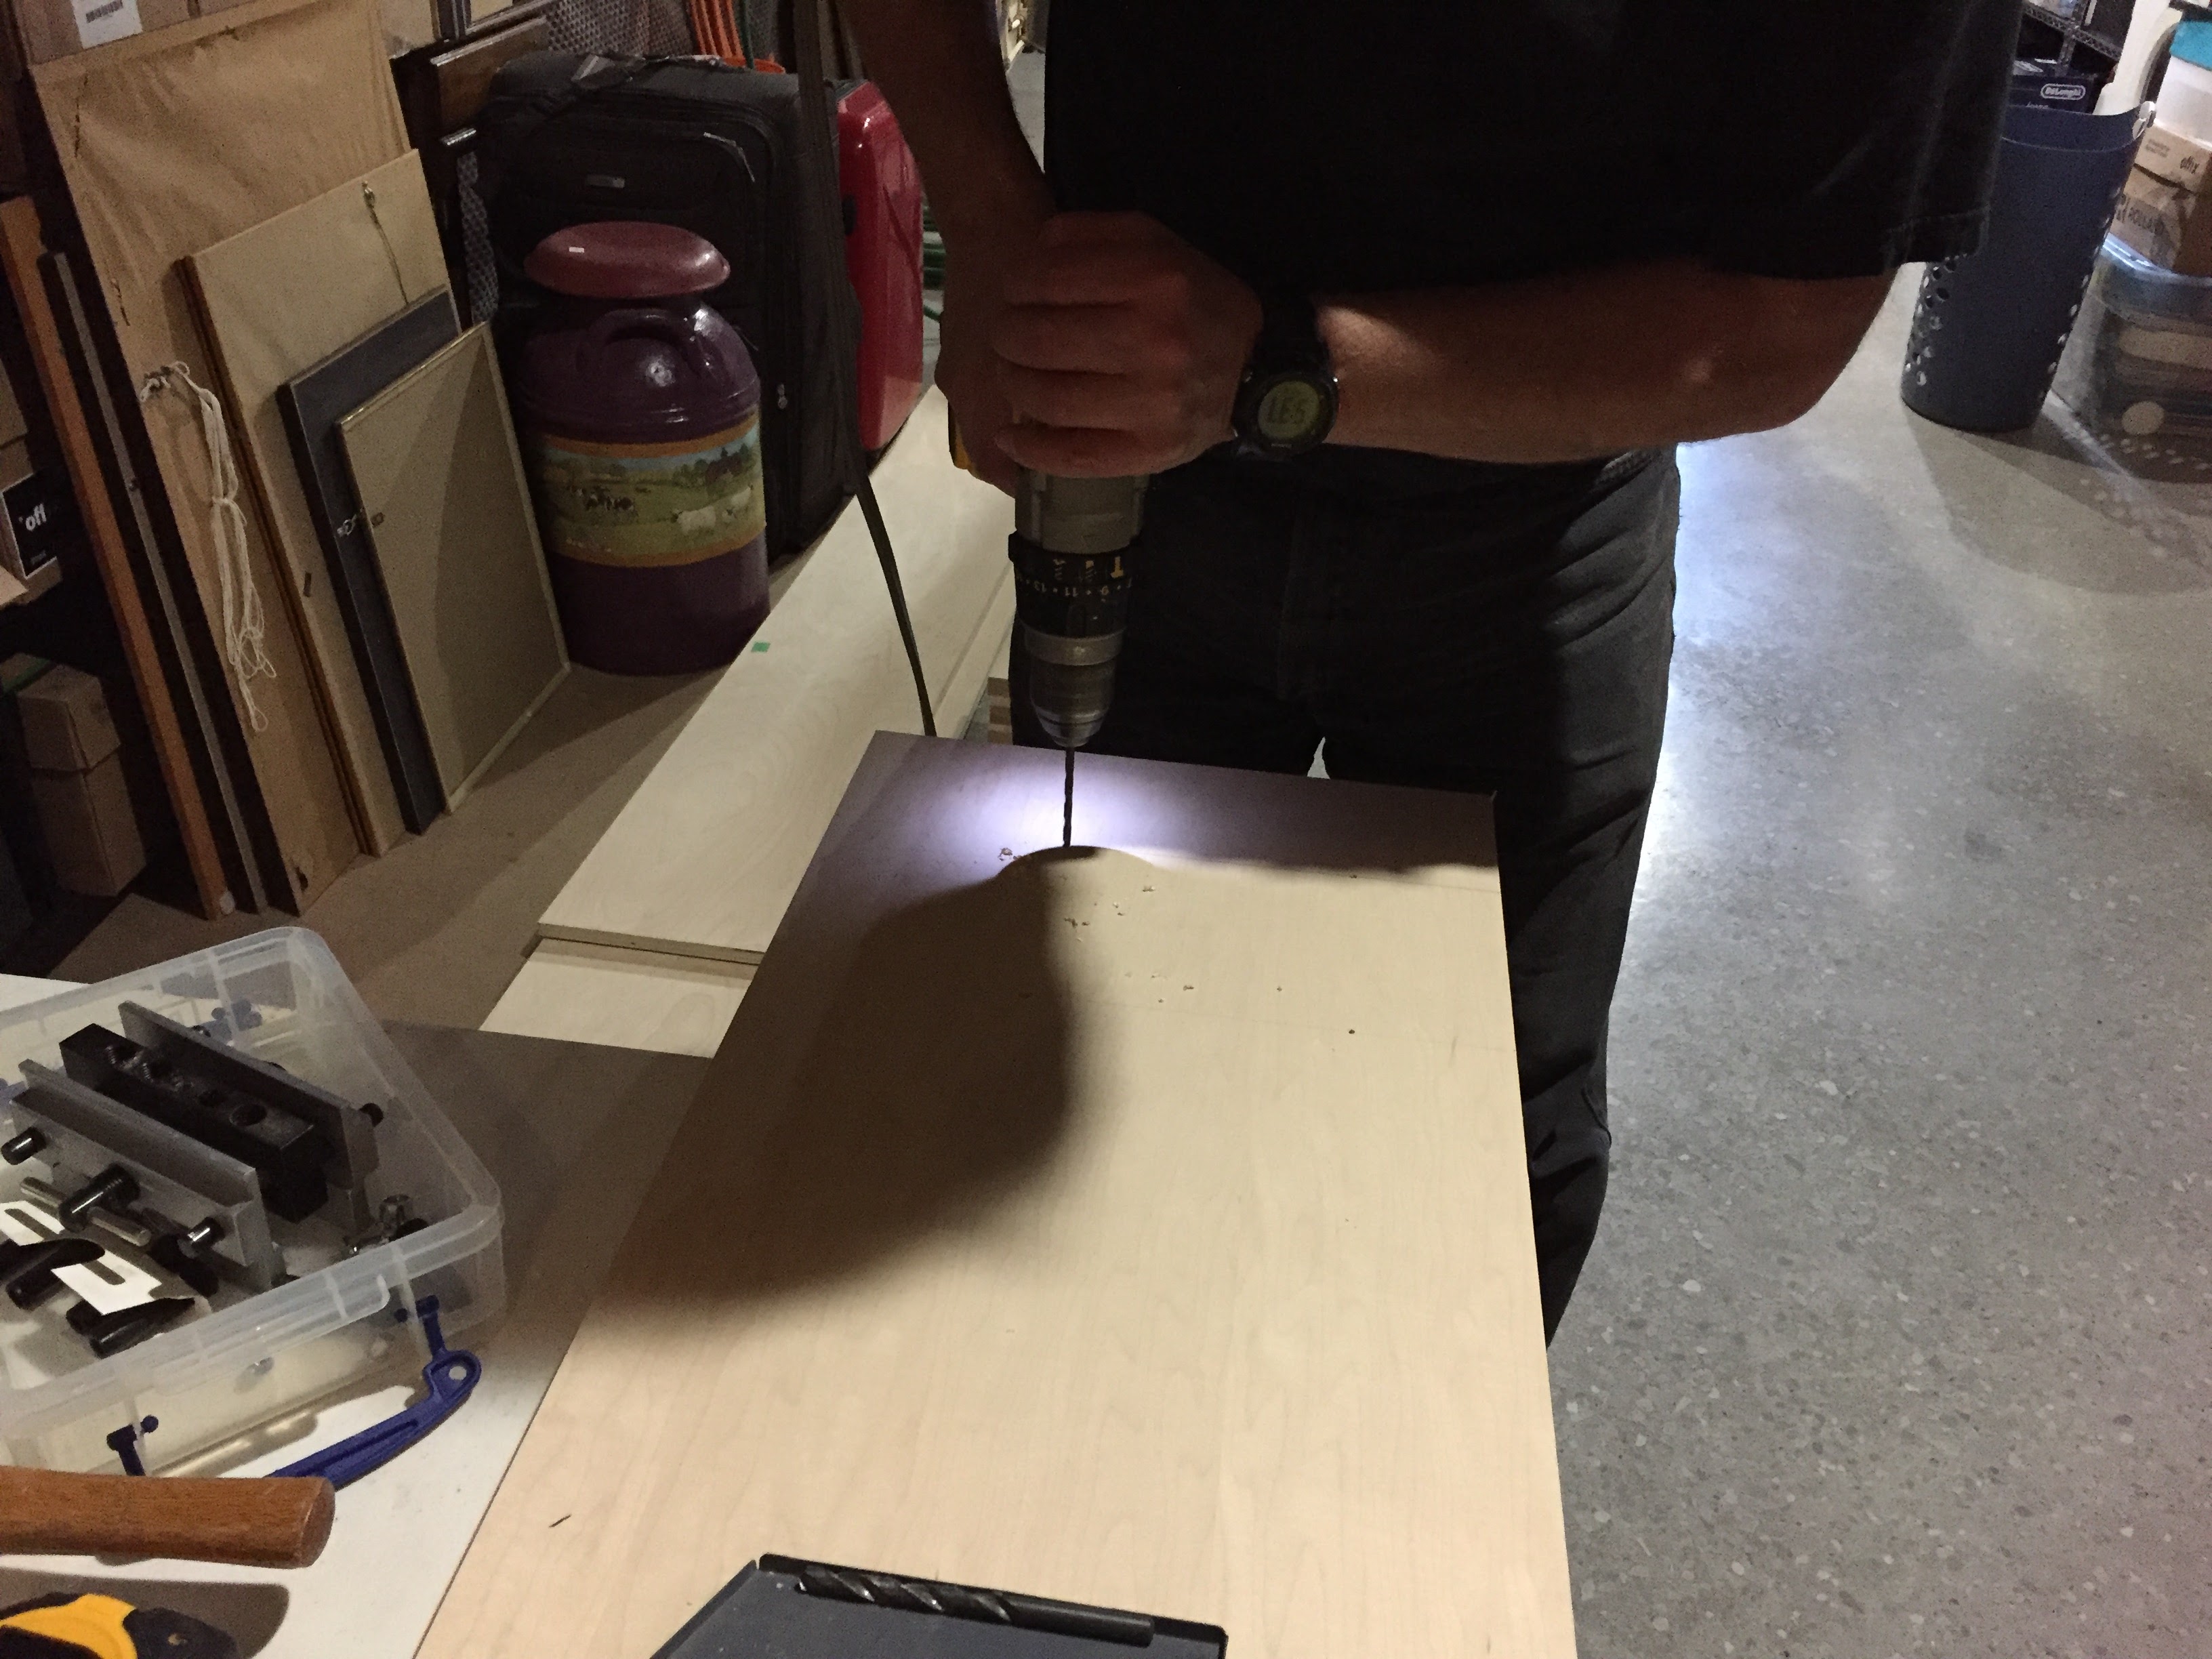
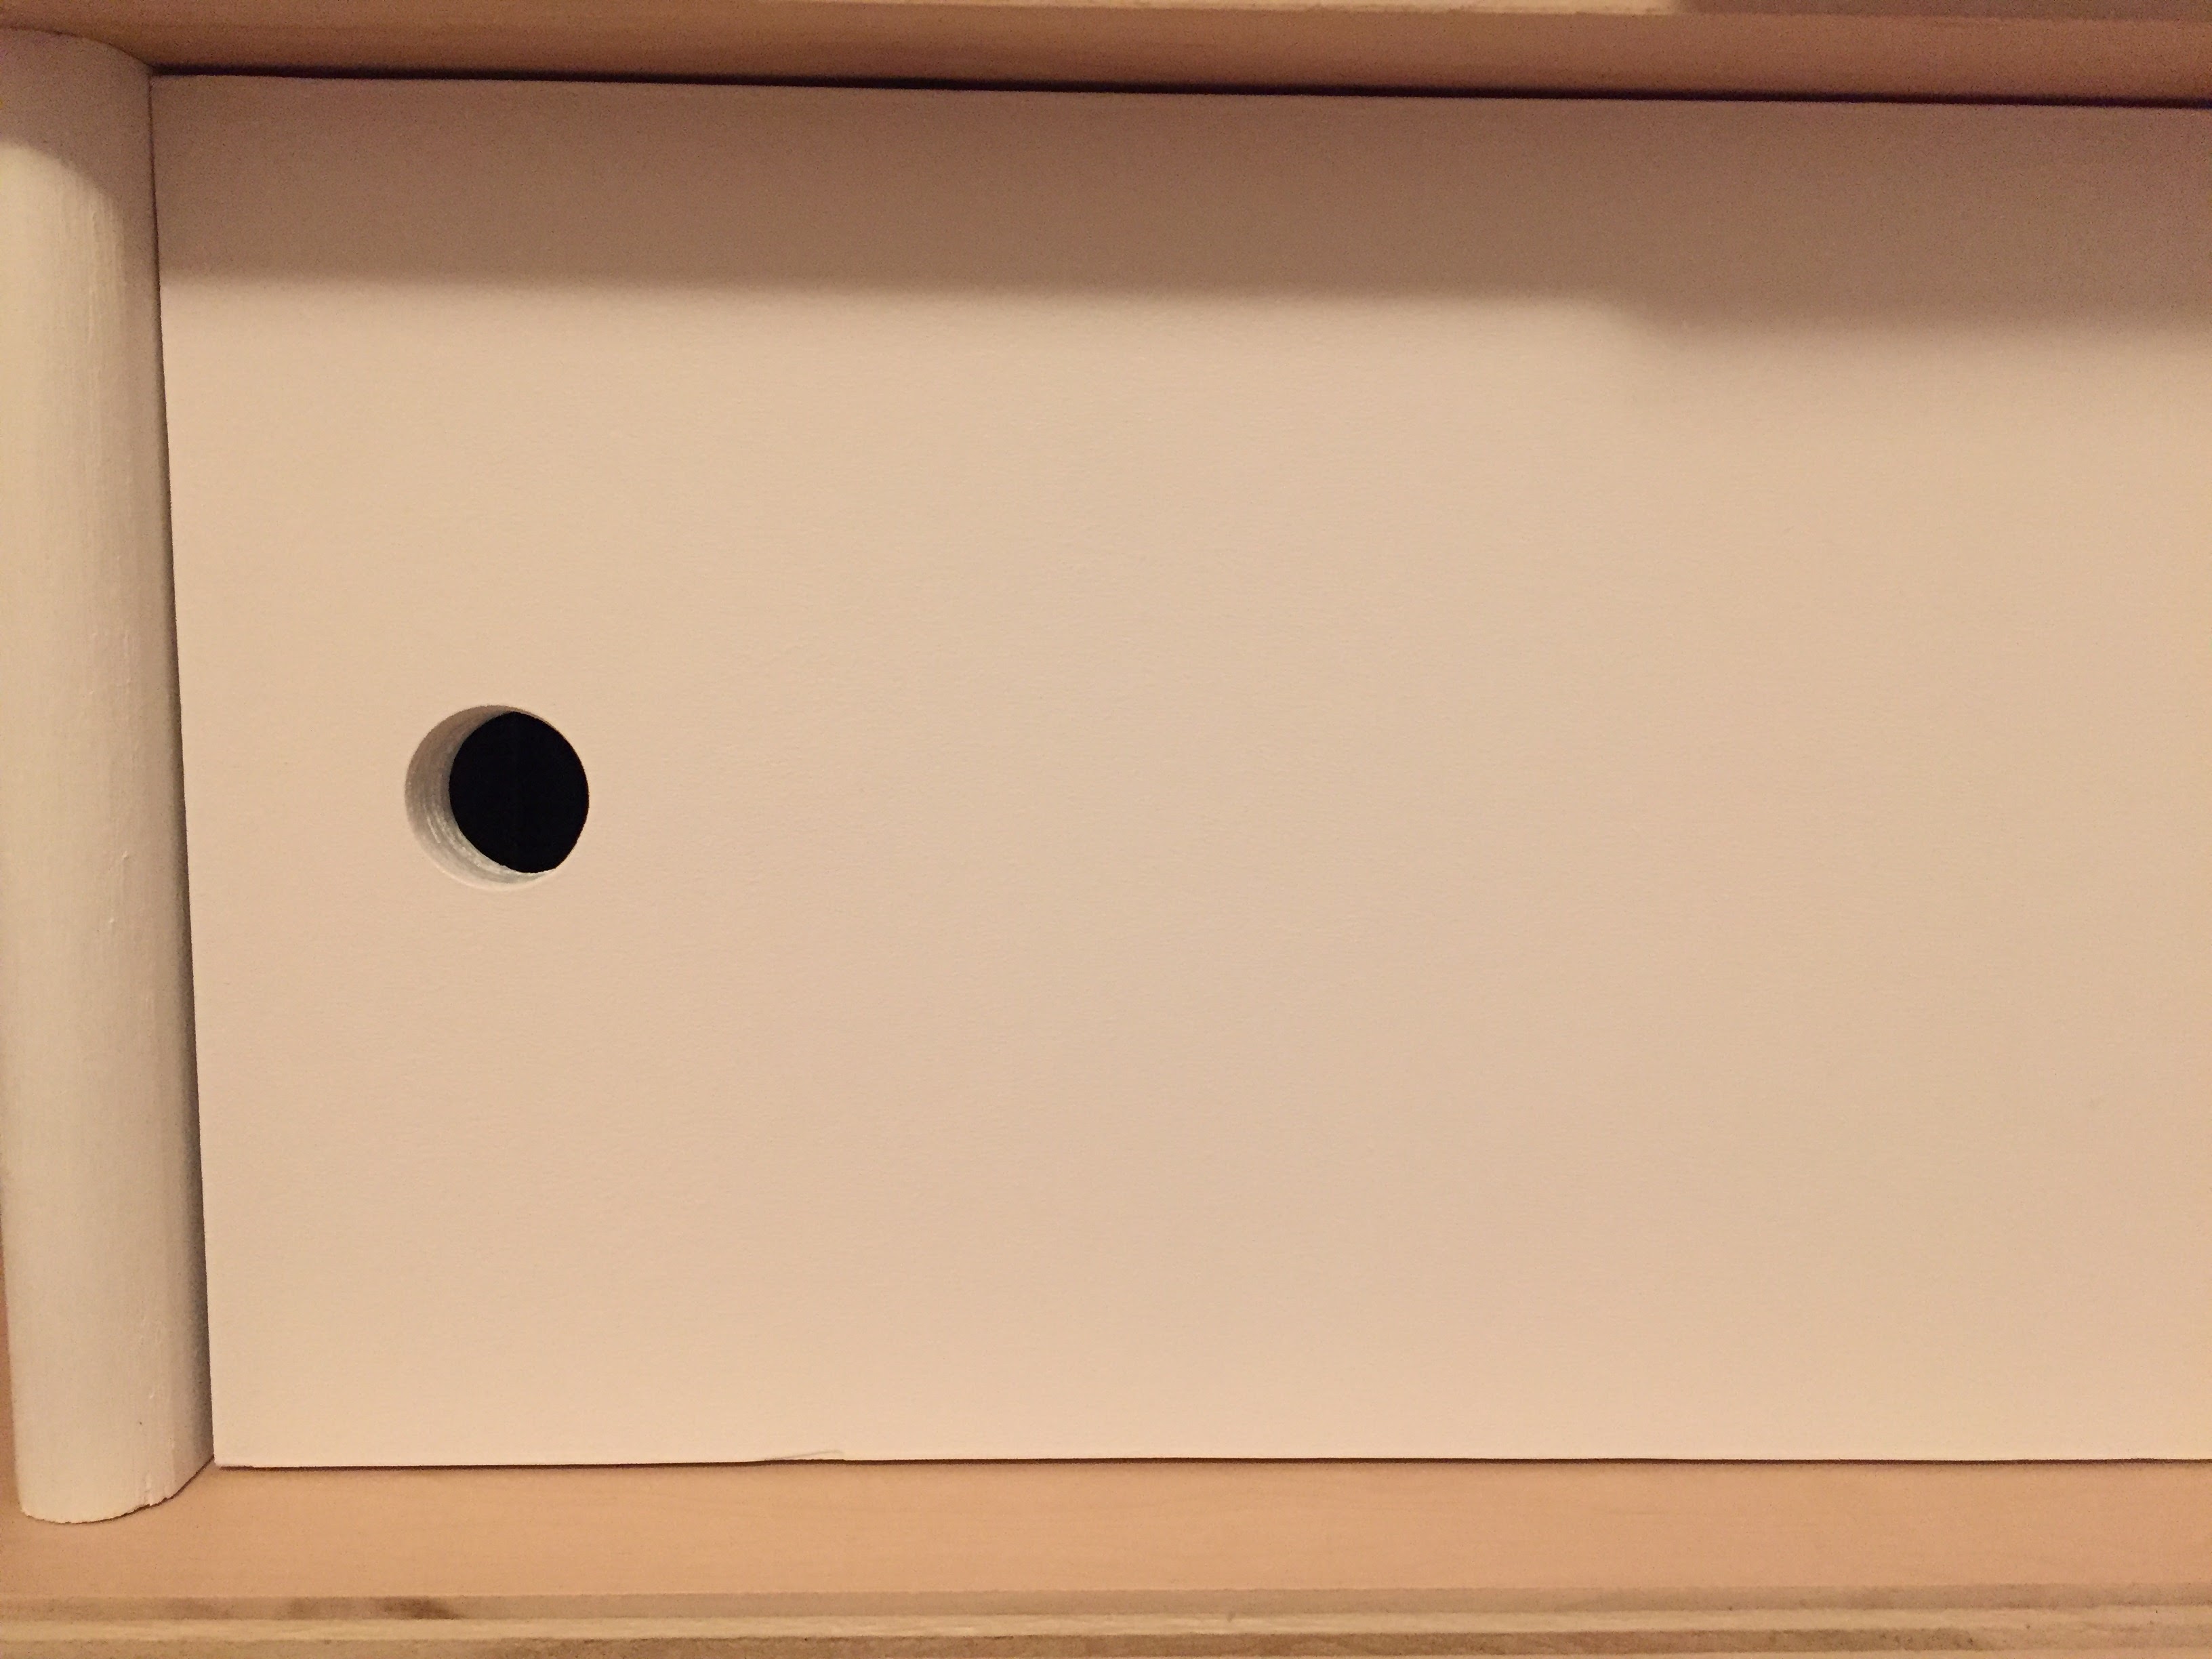
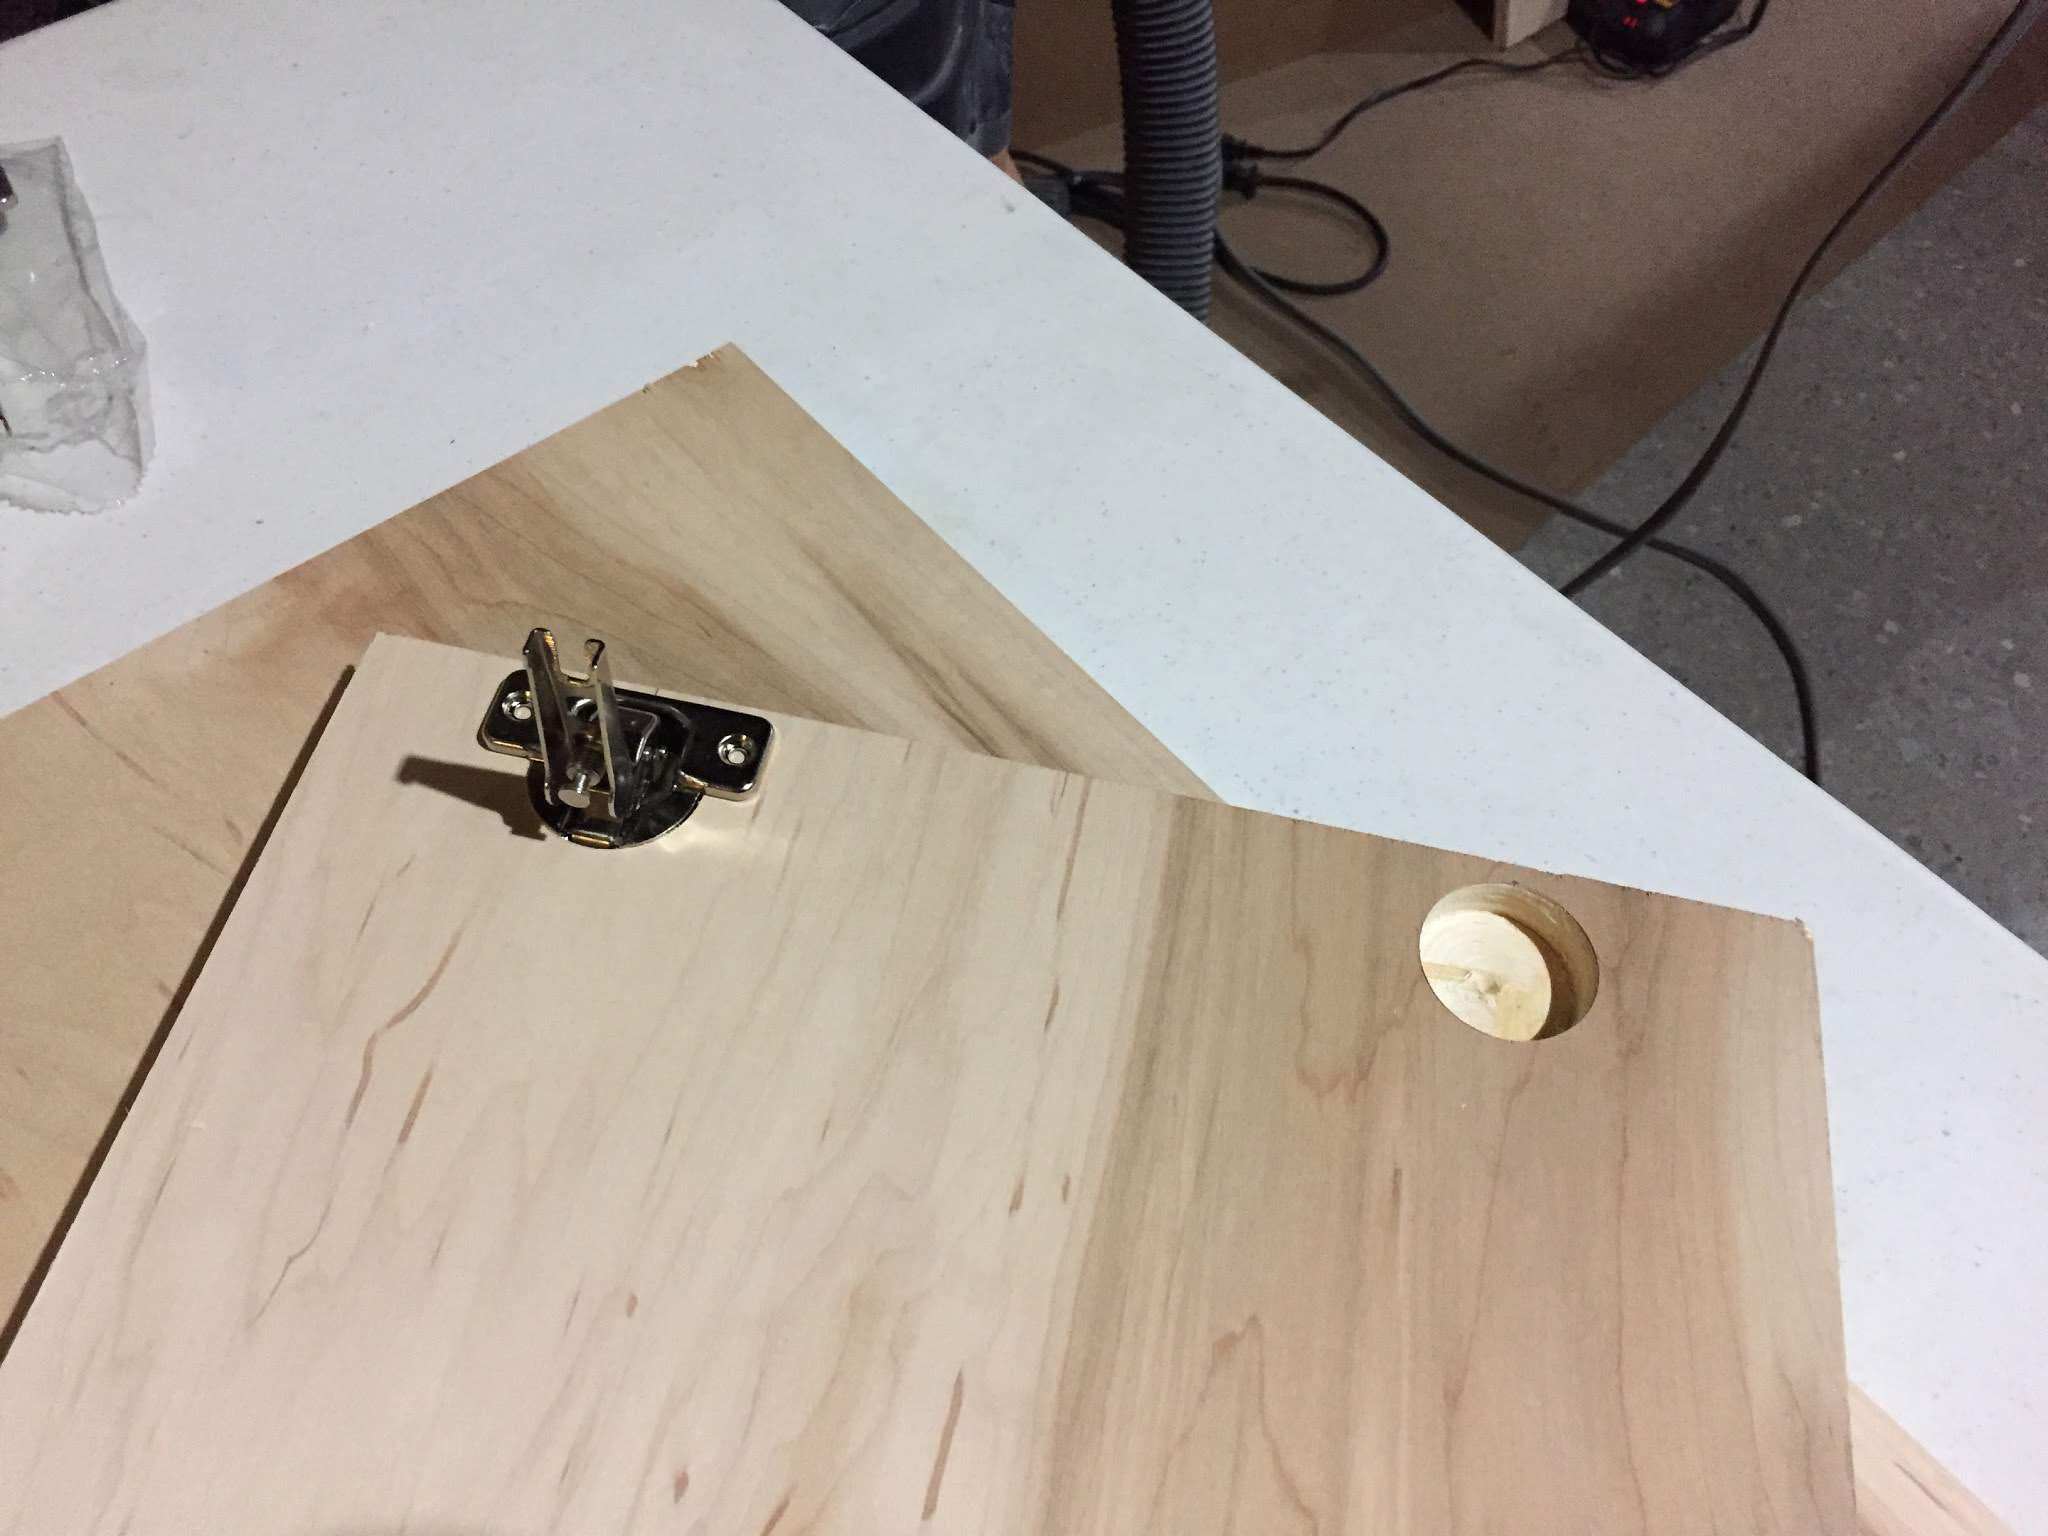
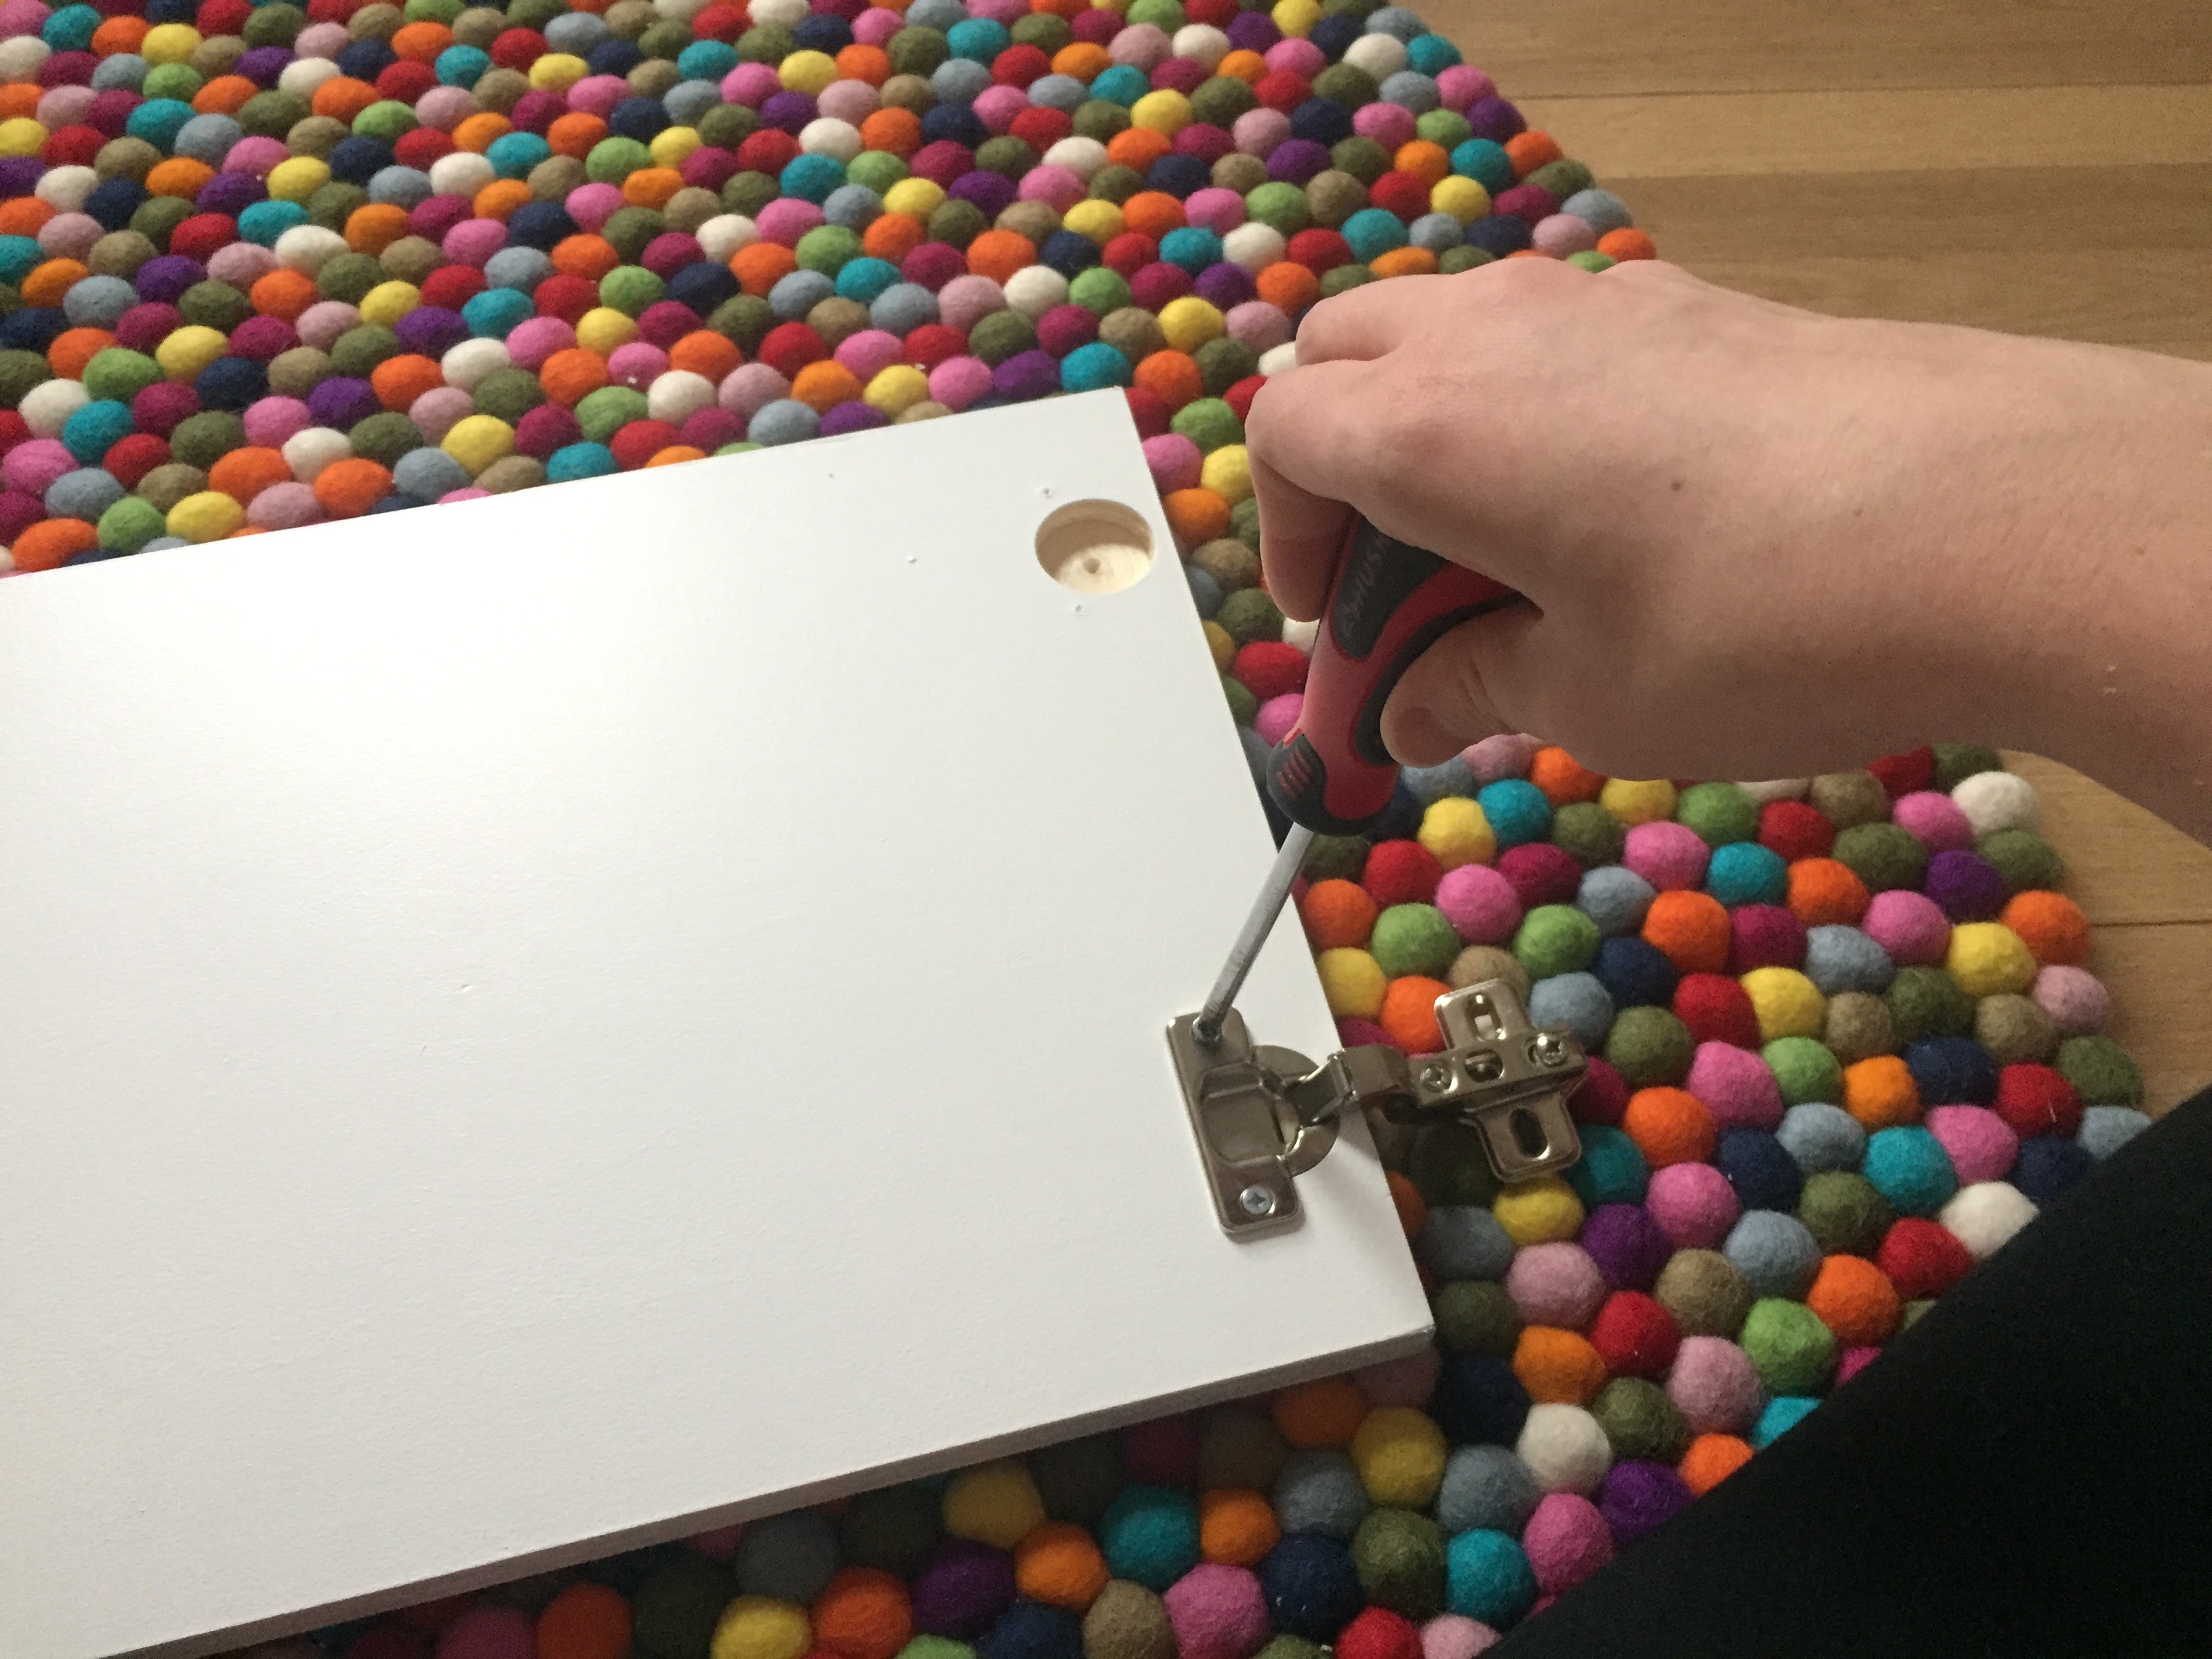
Next we made the doors. First we cut the doors to the right side by measuring each cubby. We then drilled a 1″ hole to act as the handle for the door. The 1″ hole was exactly 2″ from the side (on-centre) and vertically in the centre of the piece.
We then had to drill the holes to install the cabinet hinge. This step wasn’t too complicated. We marked where the centre of the holes should be based on the guidelines specified by the cabinet hinge package. For depth, we kept drilling until it was deep enough to fit the hinge.
Before screwing the hinges in place, we made sure the hinges were square with the door.
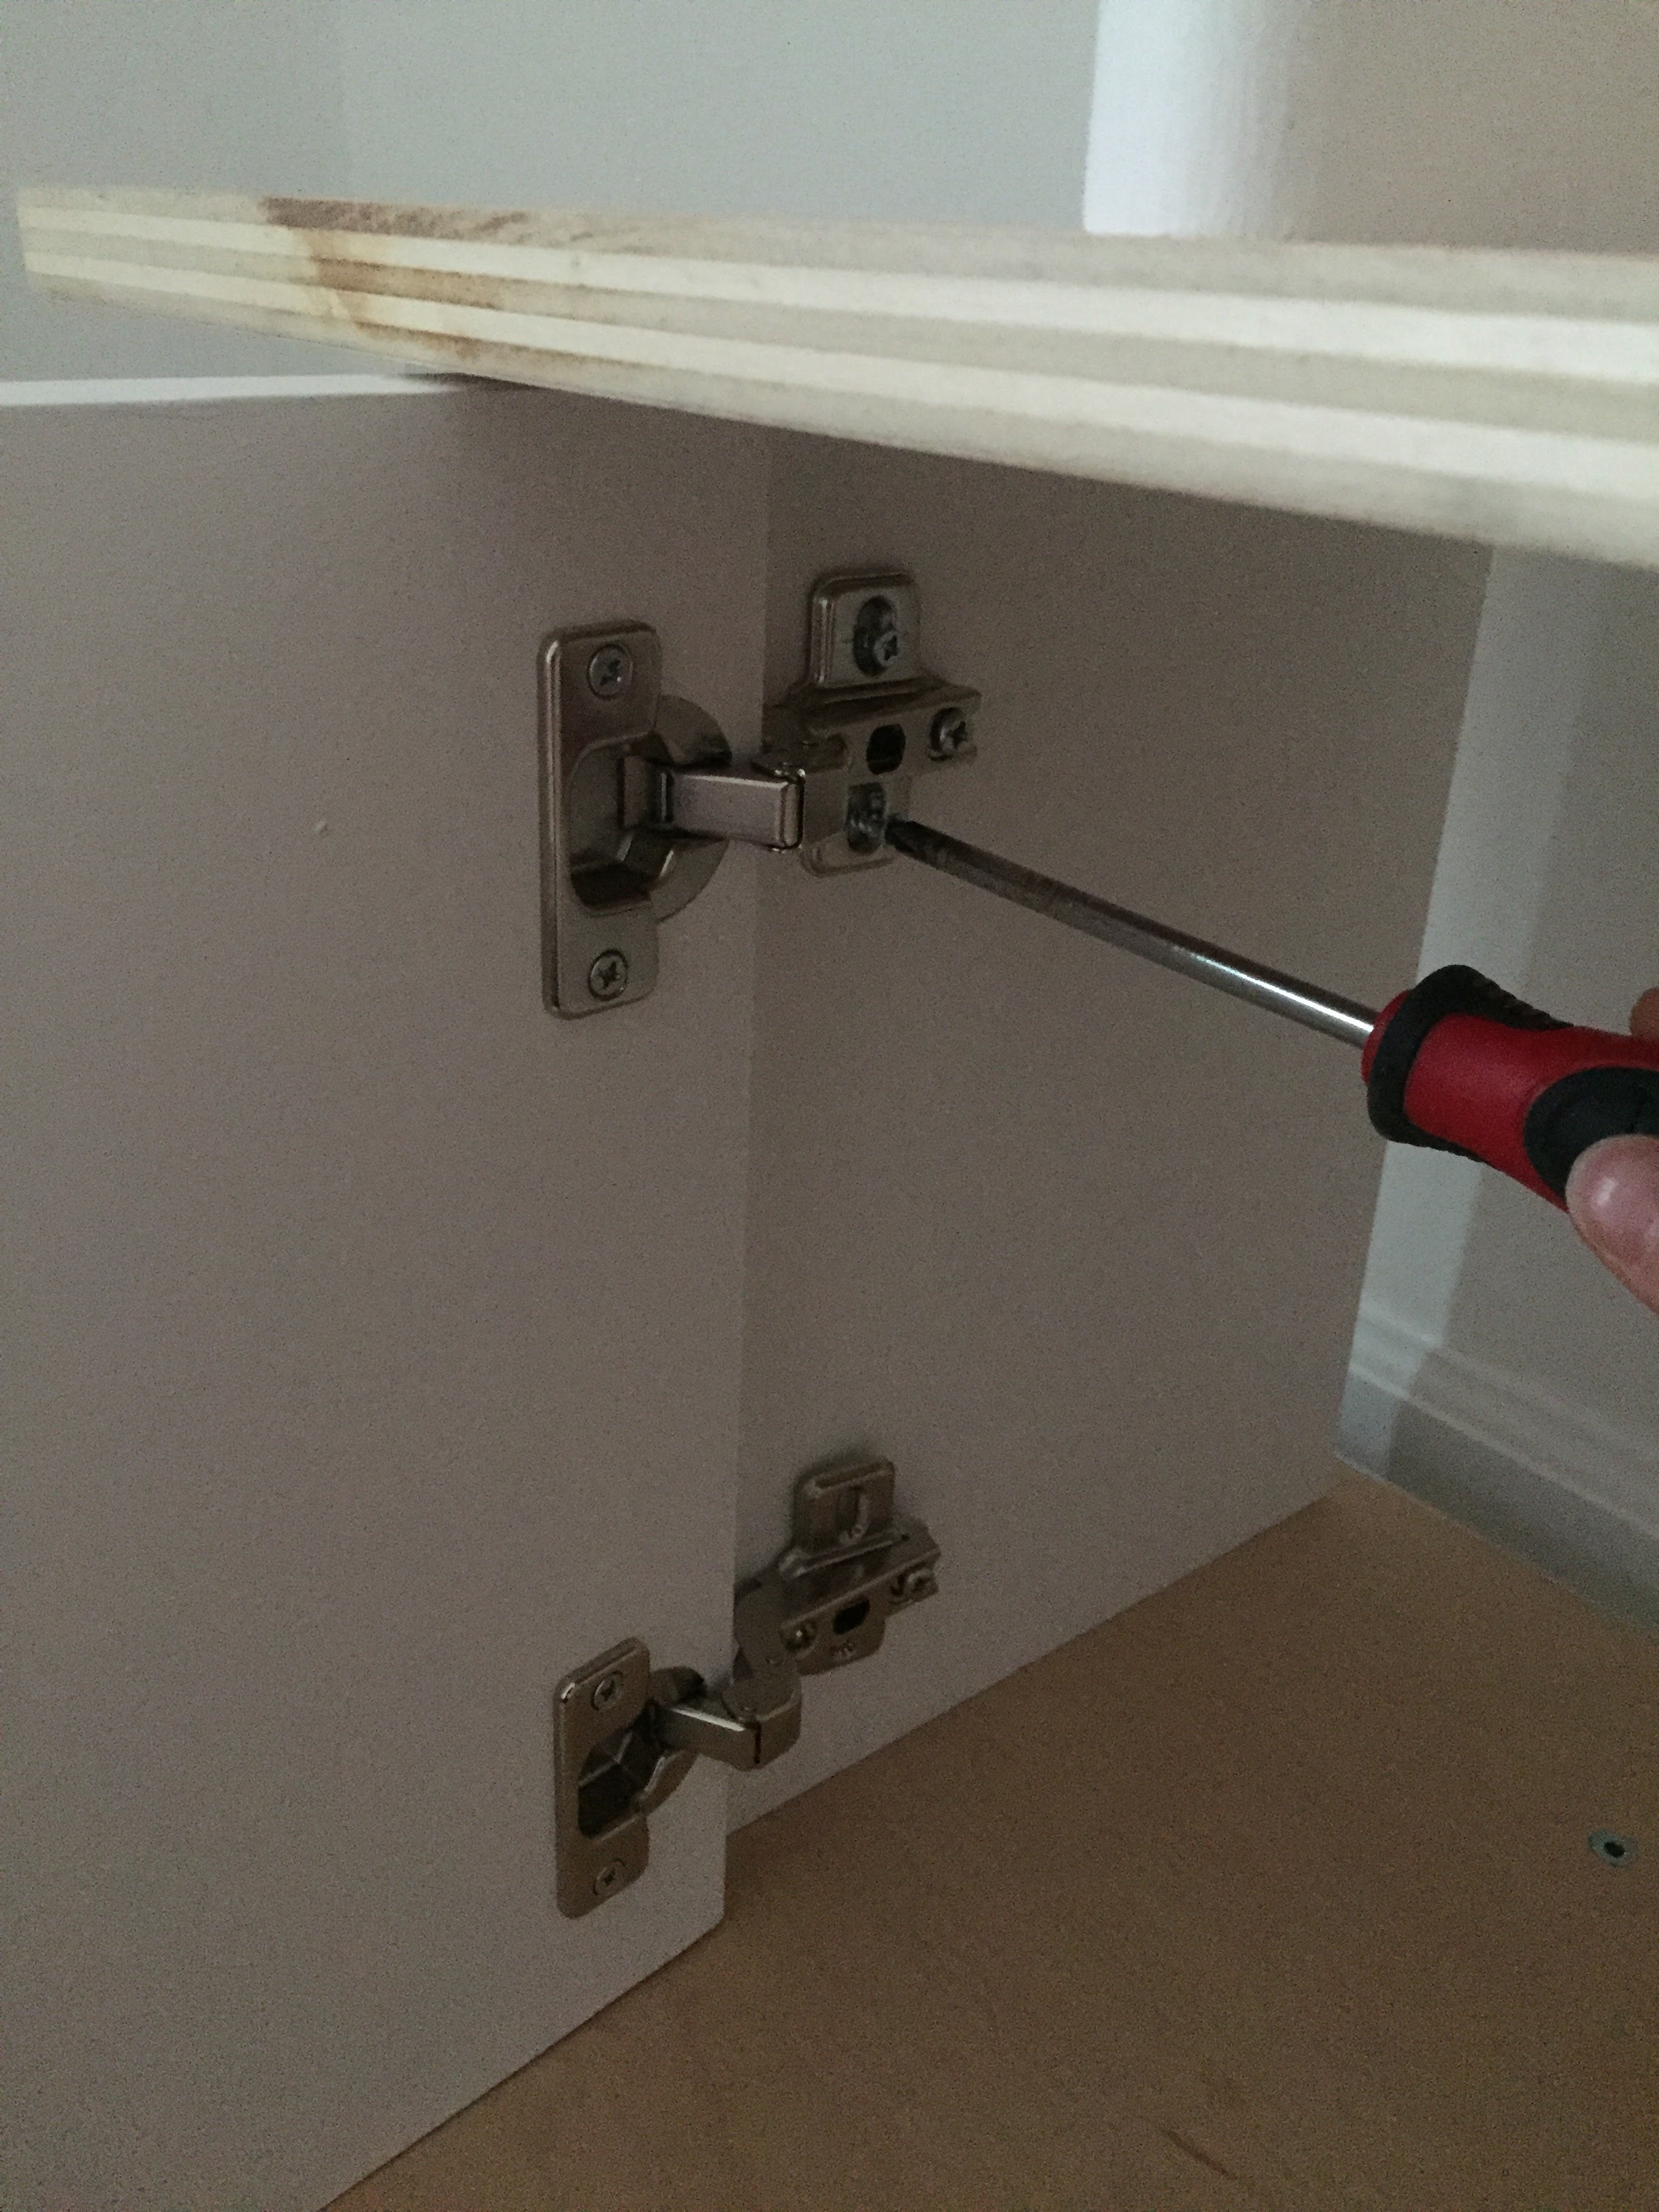
We then installed each door in the furniture. This step was probably the most complicated because we wanted to make sure that the door sat at the exact same depth and didn’t rub anywhere. The great thing about these hinges is that you can make adjustments.

Once the doors were in place, the final piece to make was the back of the cubby. We measured each back and cut the melamine pieces to size. We didn’t install these at this stage since they’d be installed with nails, which aren’t easy to remove.
Once all the pieces were finished, we made sure everything was carefully labeled) and then disassembled all the pieces.
Sanding, Painting and Varathaning
Once all the pieces were made, it was time to paint the side pieces and varathane the shelf pieces.
Sanding was the most annoying part of this step (as it always is) because I wanted to make sure that the pieces were as smooth as possible. For the shelf pieces, I started by using a 180 grit, then 220, then 400 to finish it off. I ended up using a power sander for the edges since they were a bit more rough than the veneered tops. For the tops I only used sandpaper and a bit of elbow grease.
Since the side pieces were painted, I only sanded them with 180 grit and then 220 to finish them off.
Once all the pieces were nicely sanded, I wiped them with a cloth to remove the dust and got to work on finishing them.
For the side pieces, I primed them and applied two coats of my trim paint.
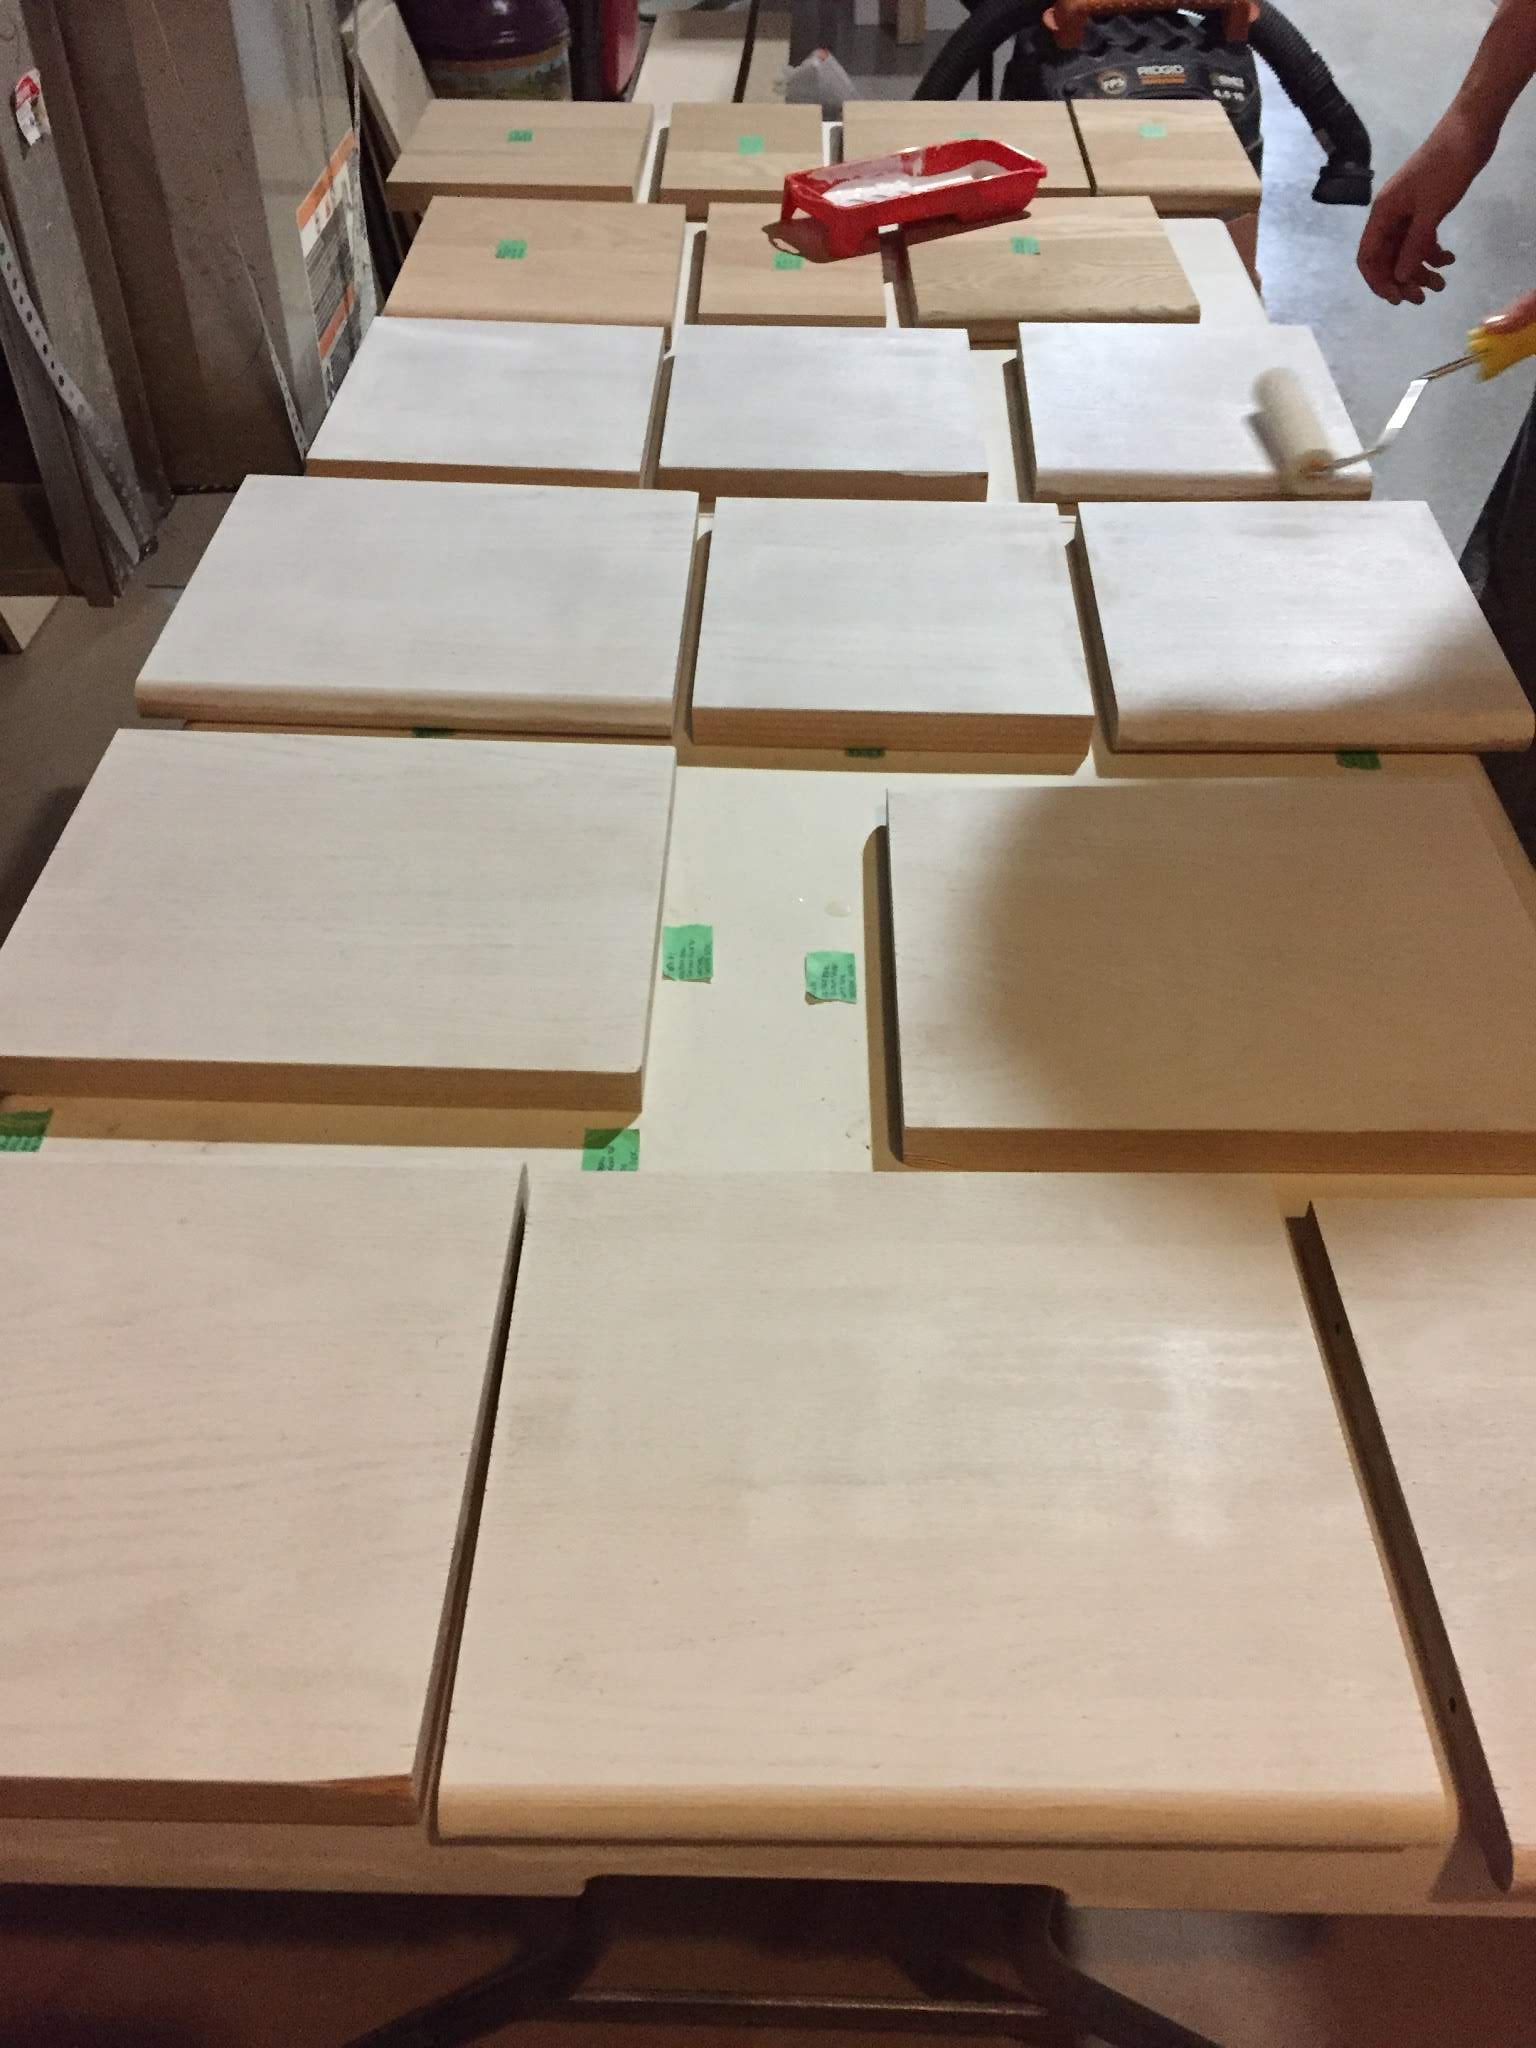
For the shelf pieces, I did two coats of varathane on the top side of the shelf, then did a very light sand (since the grain of the wood pops and creates little bumps) and then finished it off with a third and final coat. For the underside of the shelves, I only did a single coat to simply seal it.
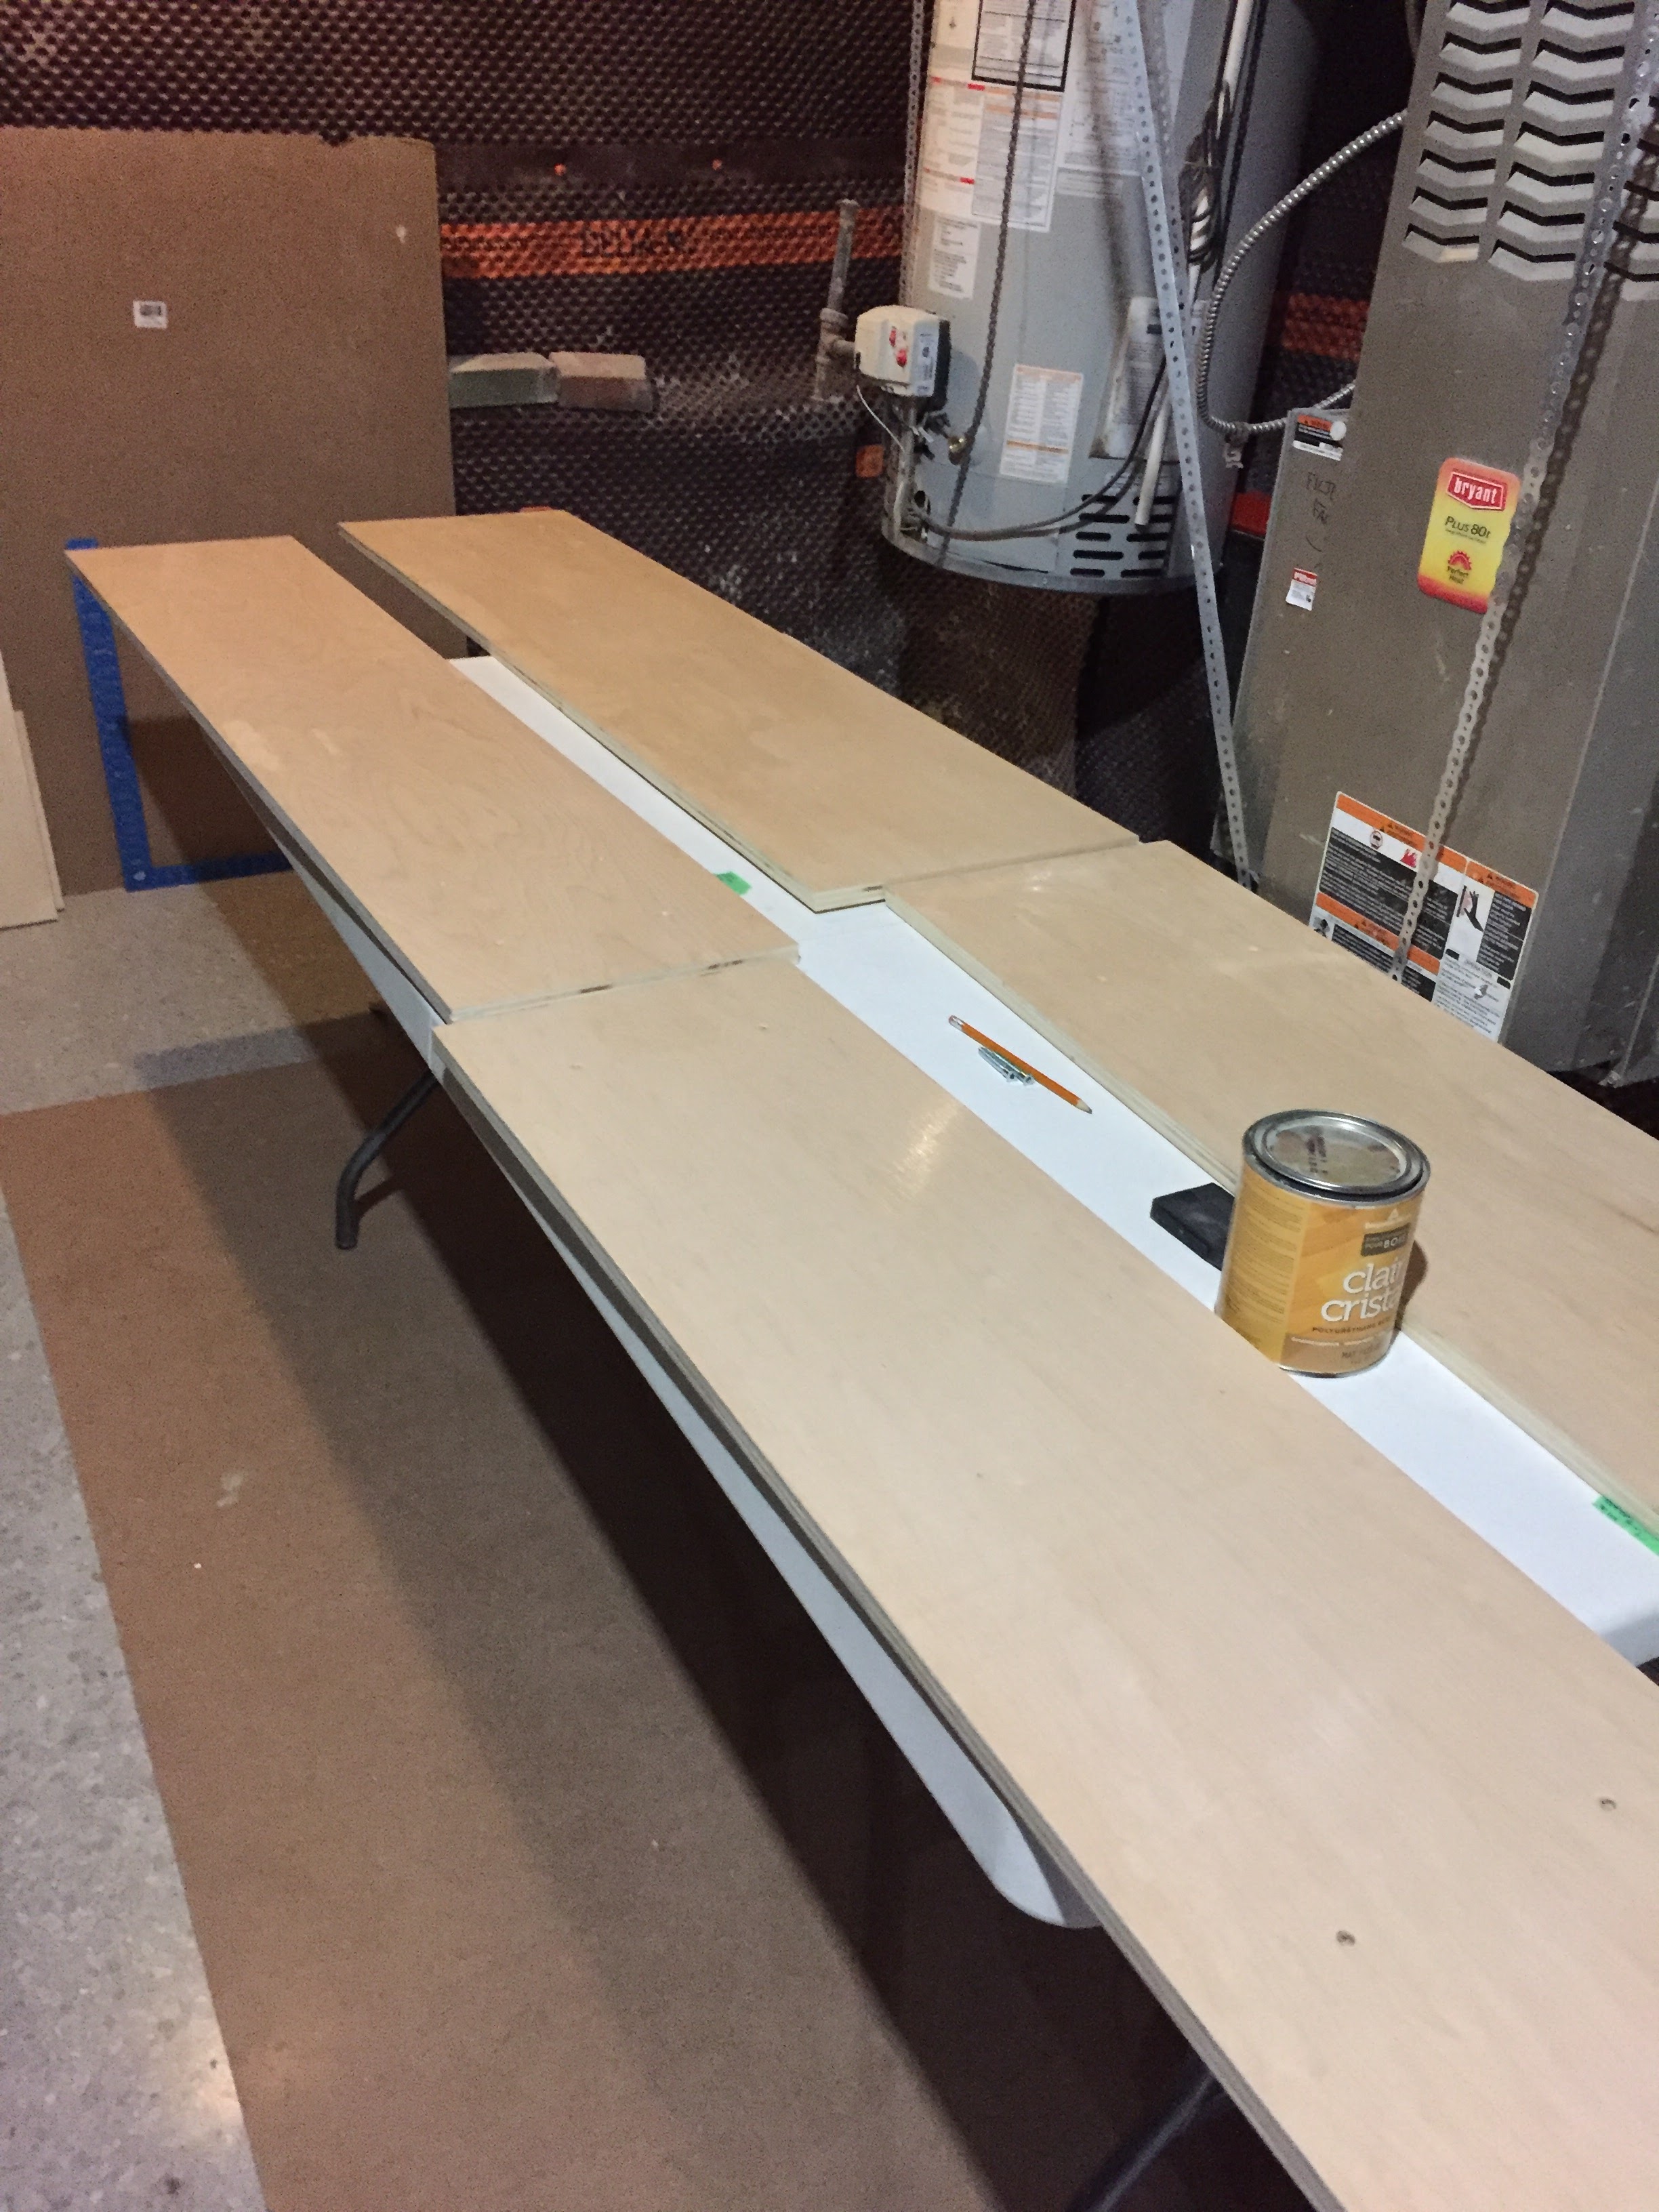
I was also very careful during these steps to keep my pieces labeled, which wasn’t easy when I had to take the tape off so I could either varathane or paint.
Cost
Although it didn’t cost us $895, these bookshelves weren’t cheap to make. Here is a breakdown in what it cost to build both pieces.
- 2 sheets of maple veneered plywood: $136
- 3 36″ stair treads: $60
- 2 42″ stair treads: $48
- 2 sheets of 4’x4′ melamine: $8
- 72 connector screws: $35
- 6 wood dowels: $0 (already had these)
- 4 sets of door hinges: $45
- drill bit: $14
- varathane: $0 (already had this)
- paint: $30
Total cost: around $375 with tax for both furniture pieces.
Building the Bookshelf
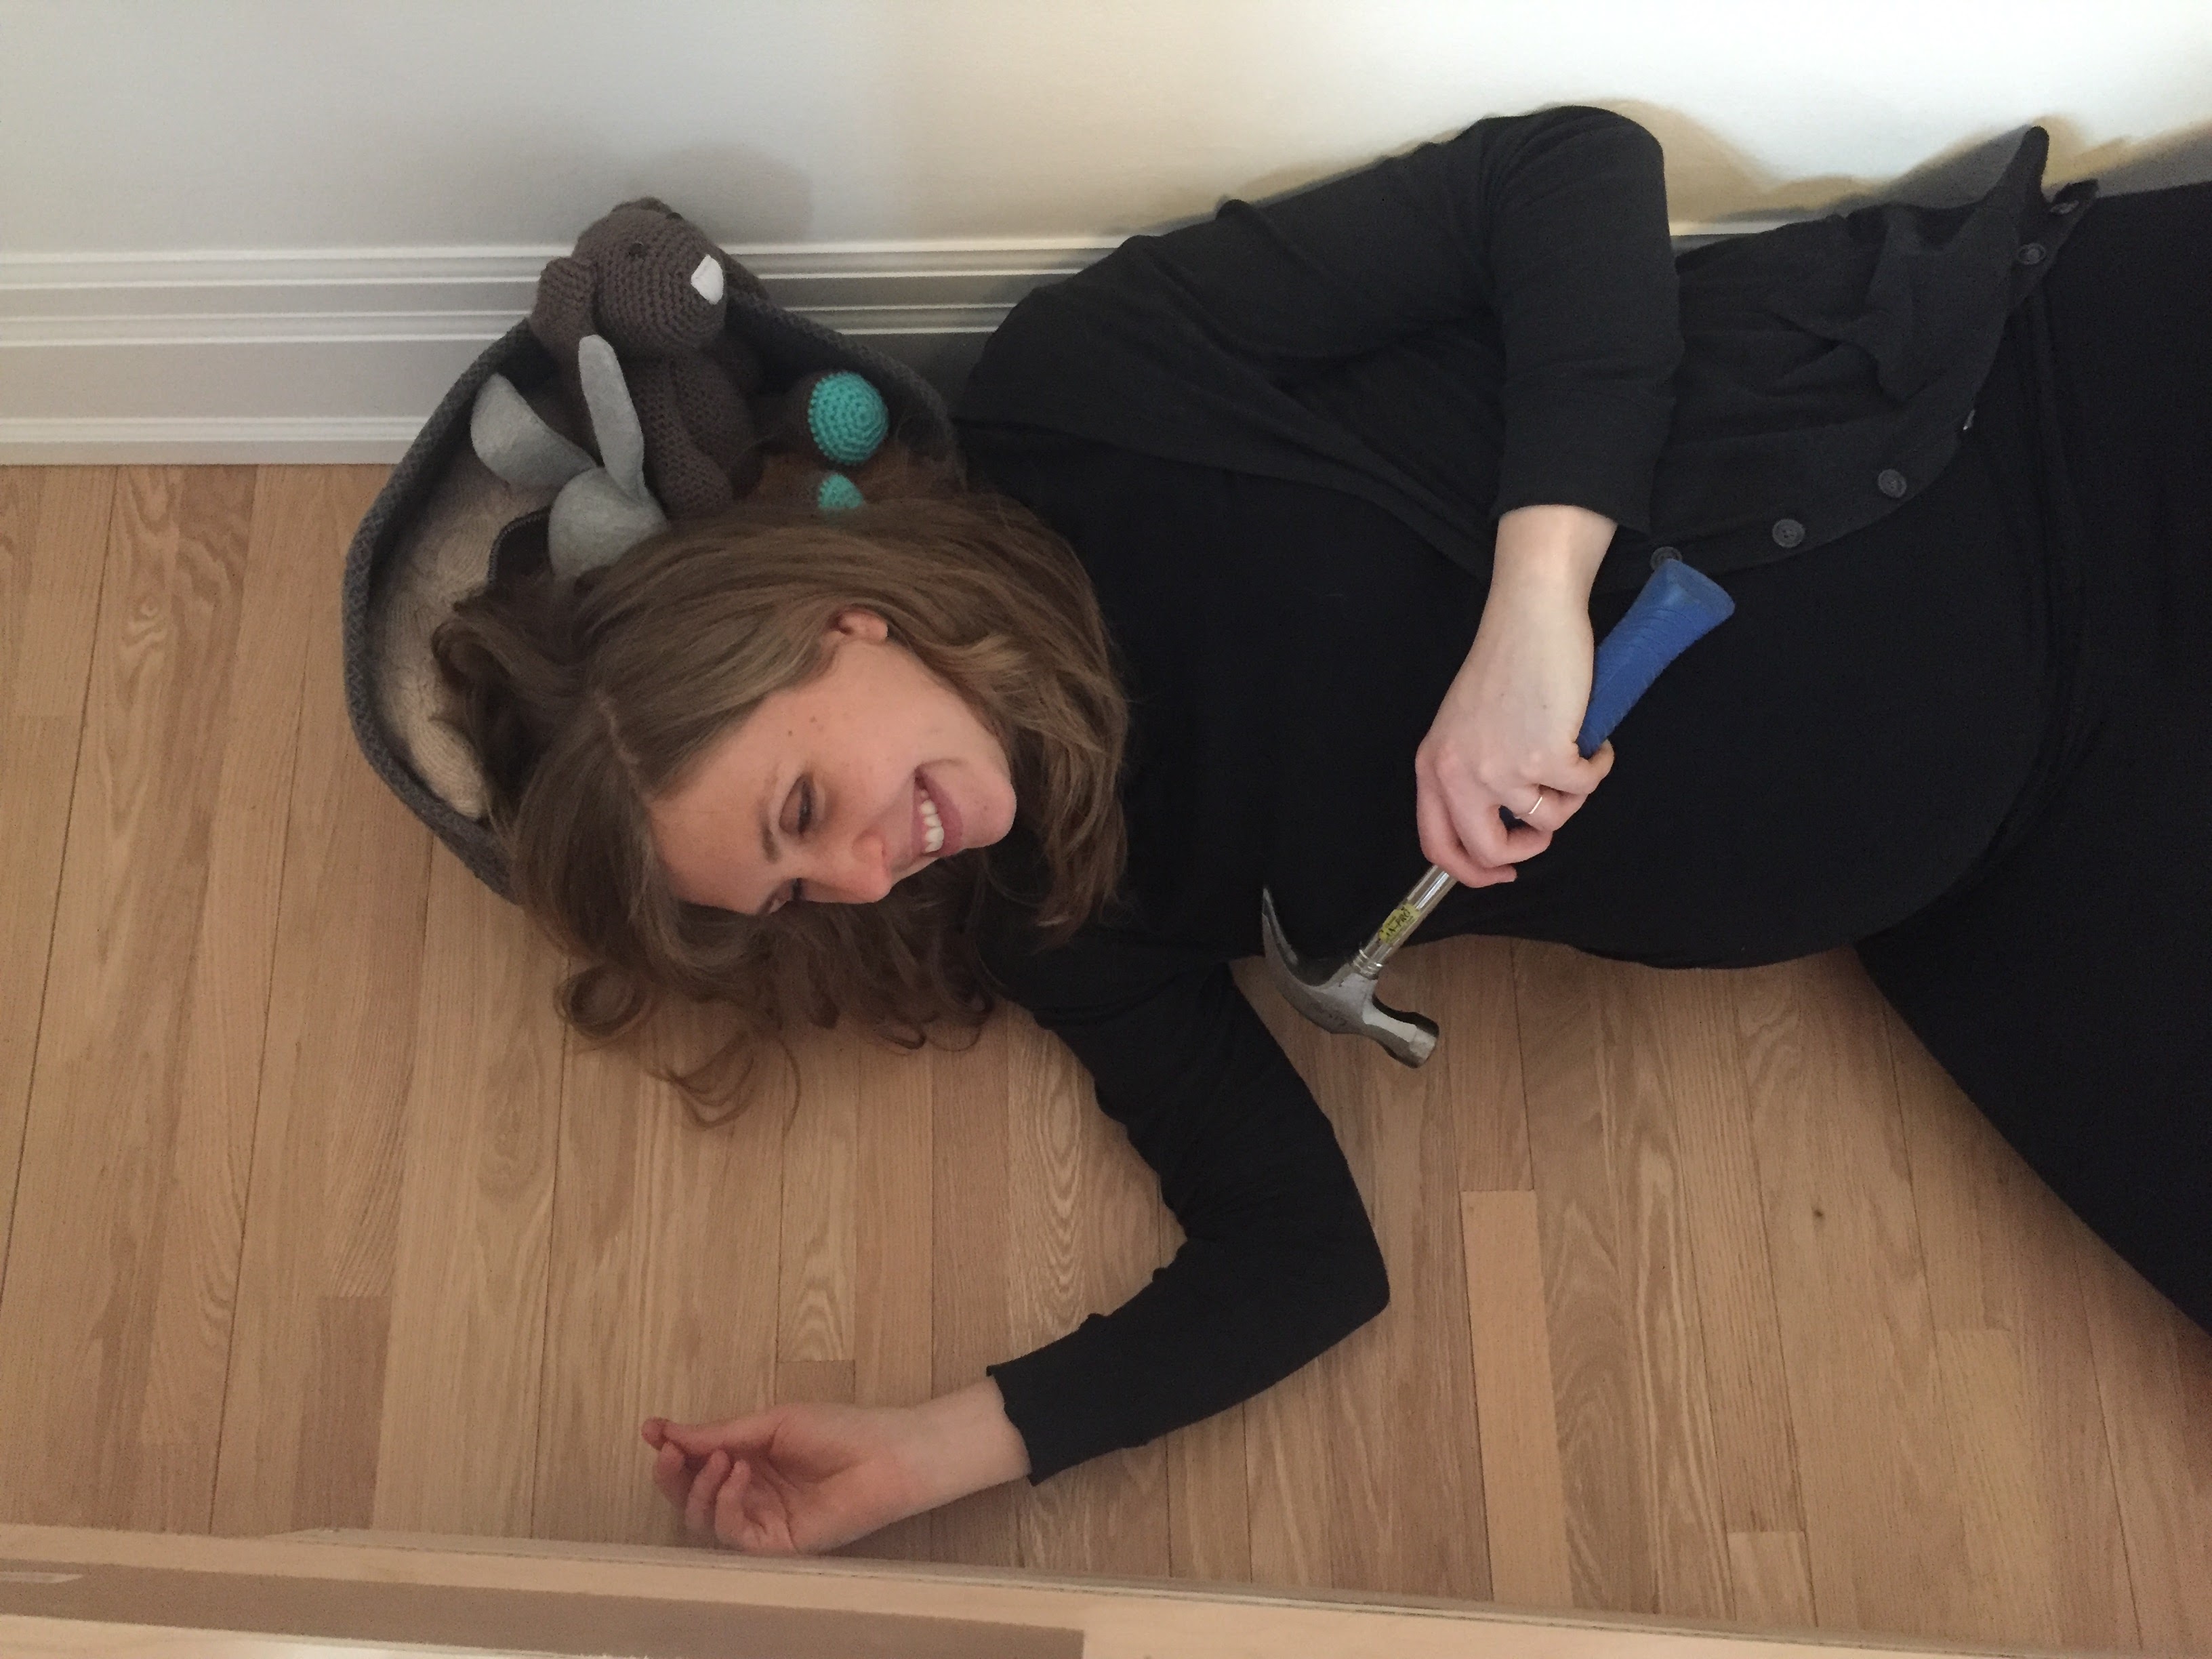
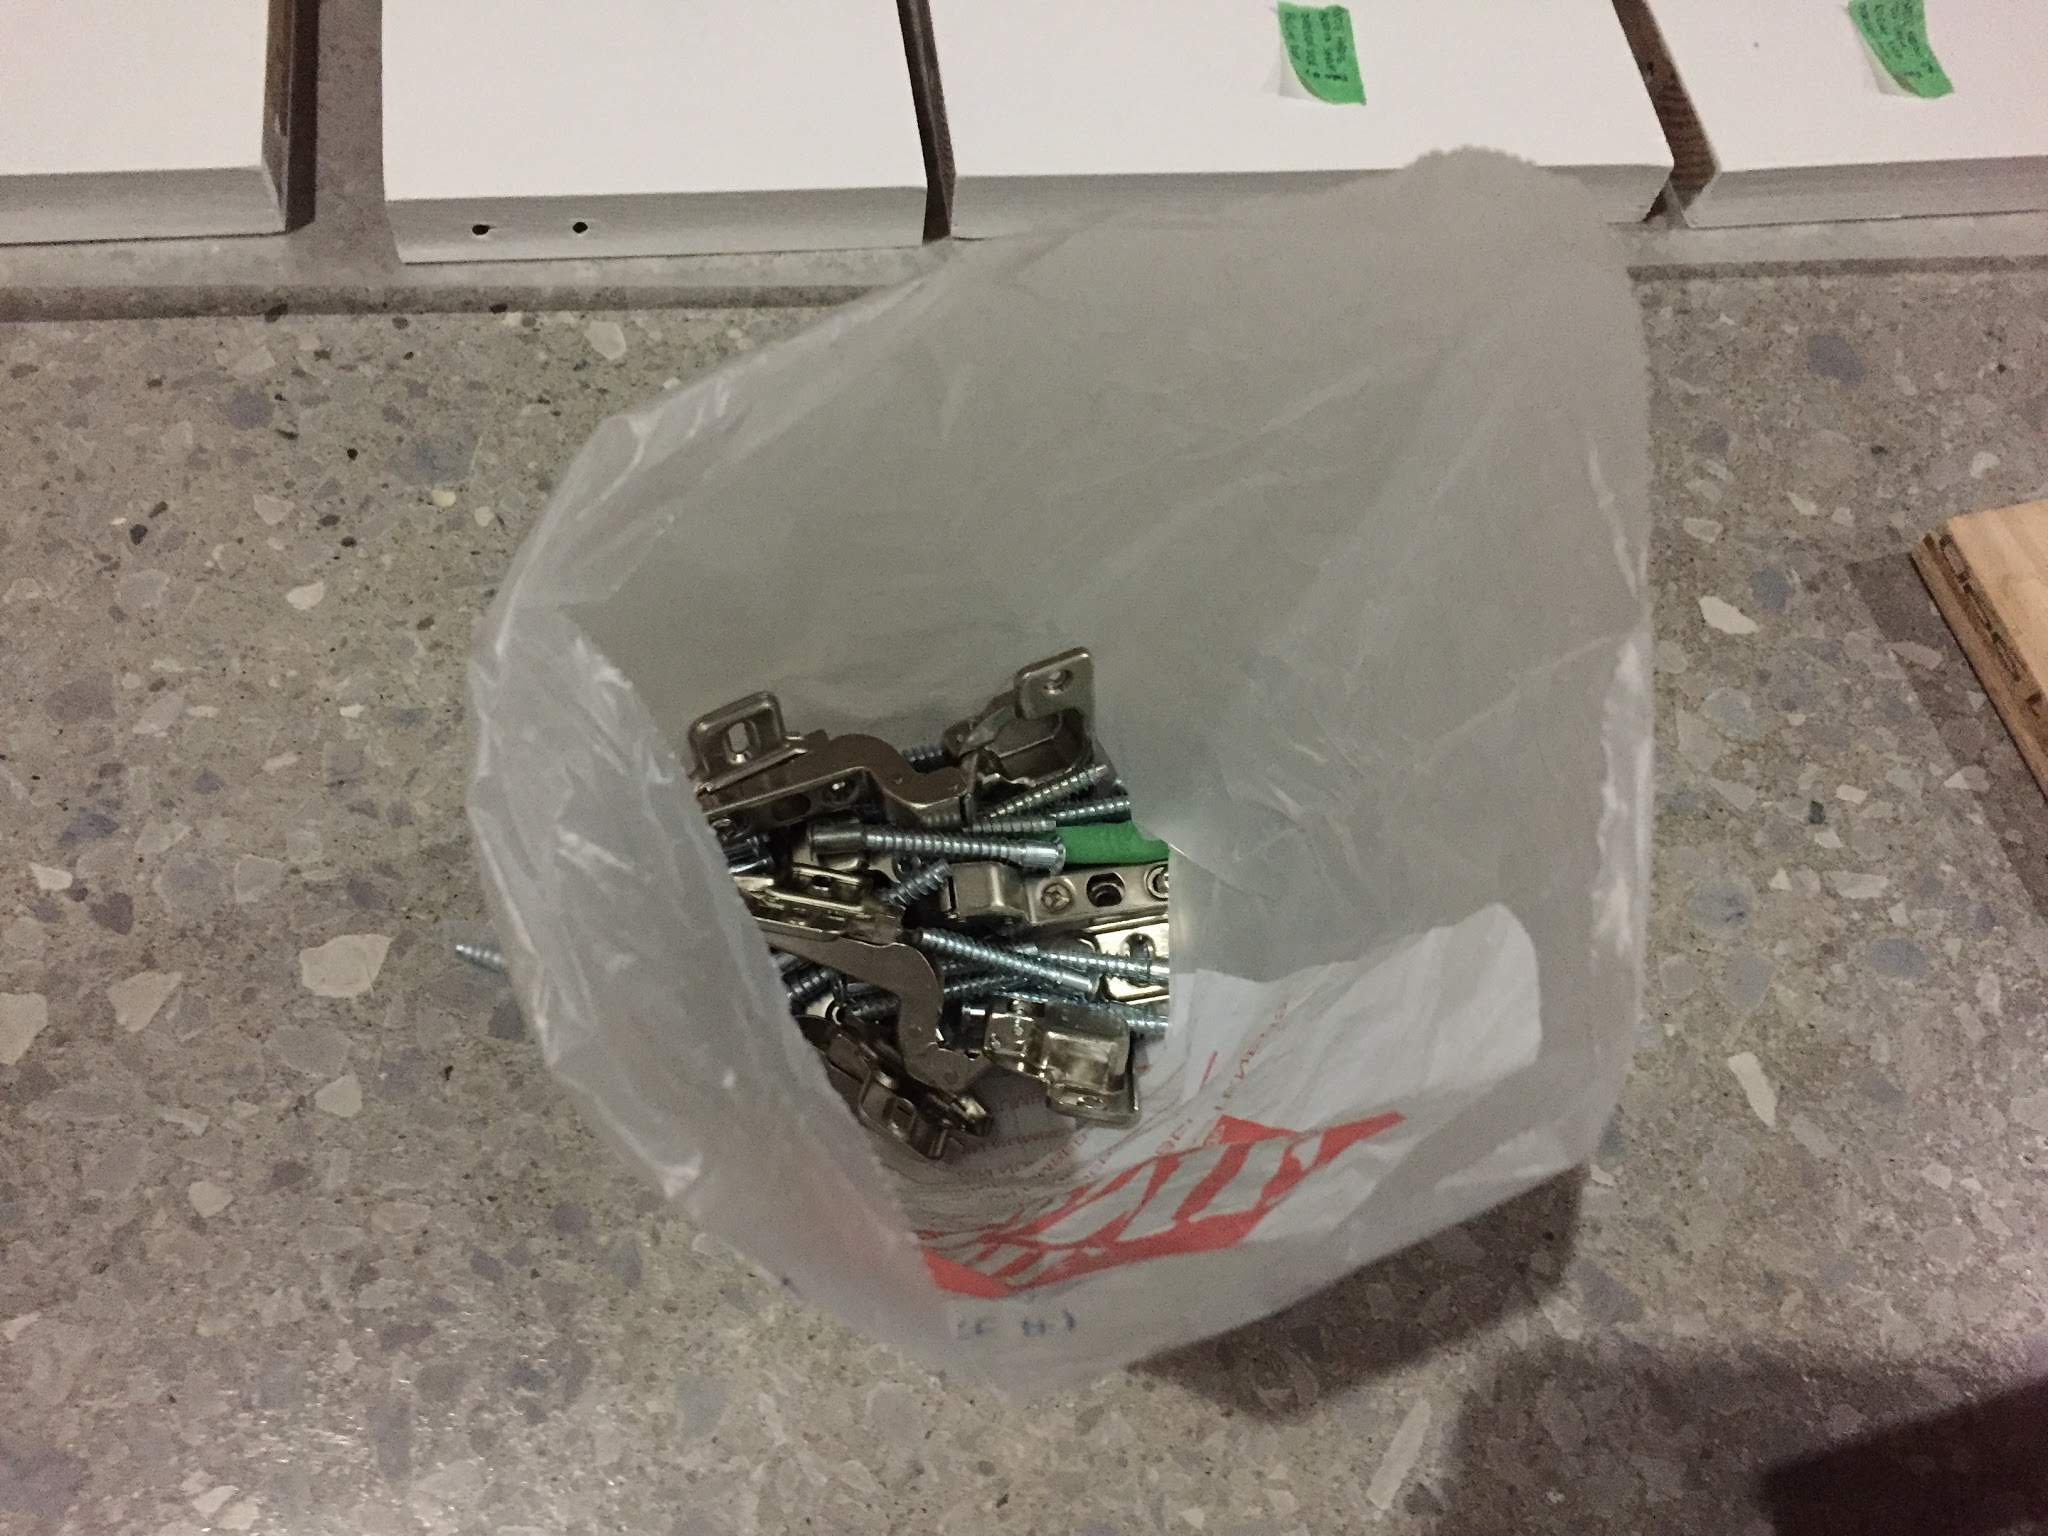
I was pretty happy when all the pieces were done because it meant that I could finally put the furniture together! Because of its size and weight, we built the bookshelf in the nursery. It was just like putting together Ikea furniture! I even made a bag of all the screws and other hardware so that it was a simple task!
We used small little metal pieces to keep the door in place. We had already predrilled these holes ahead of time and just had to hammer it in place.
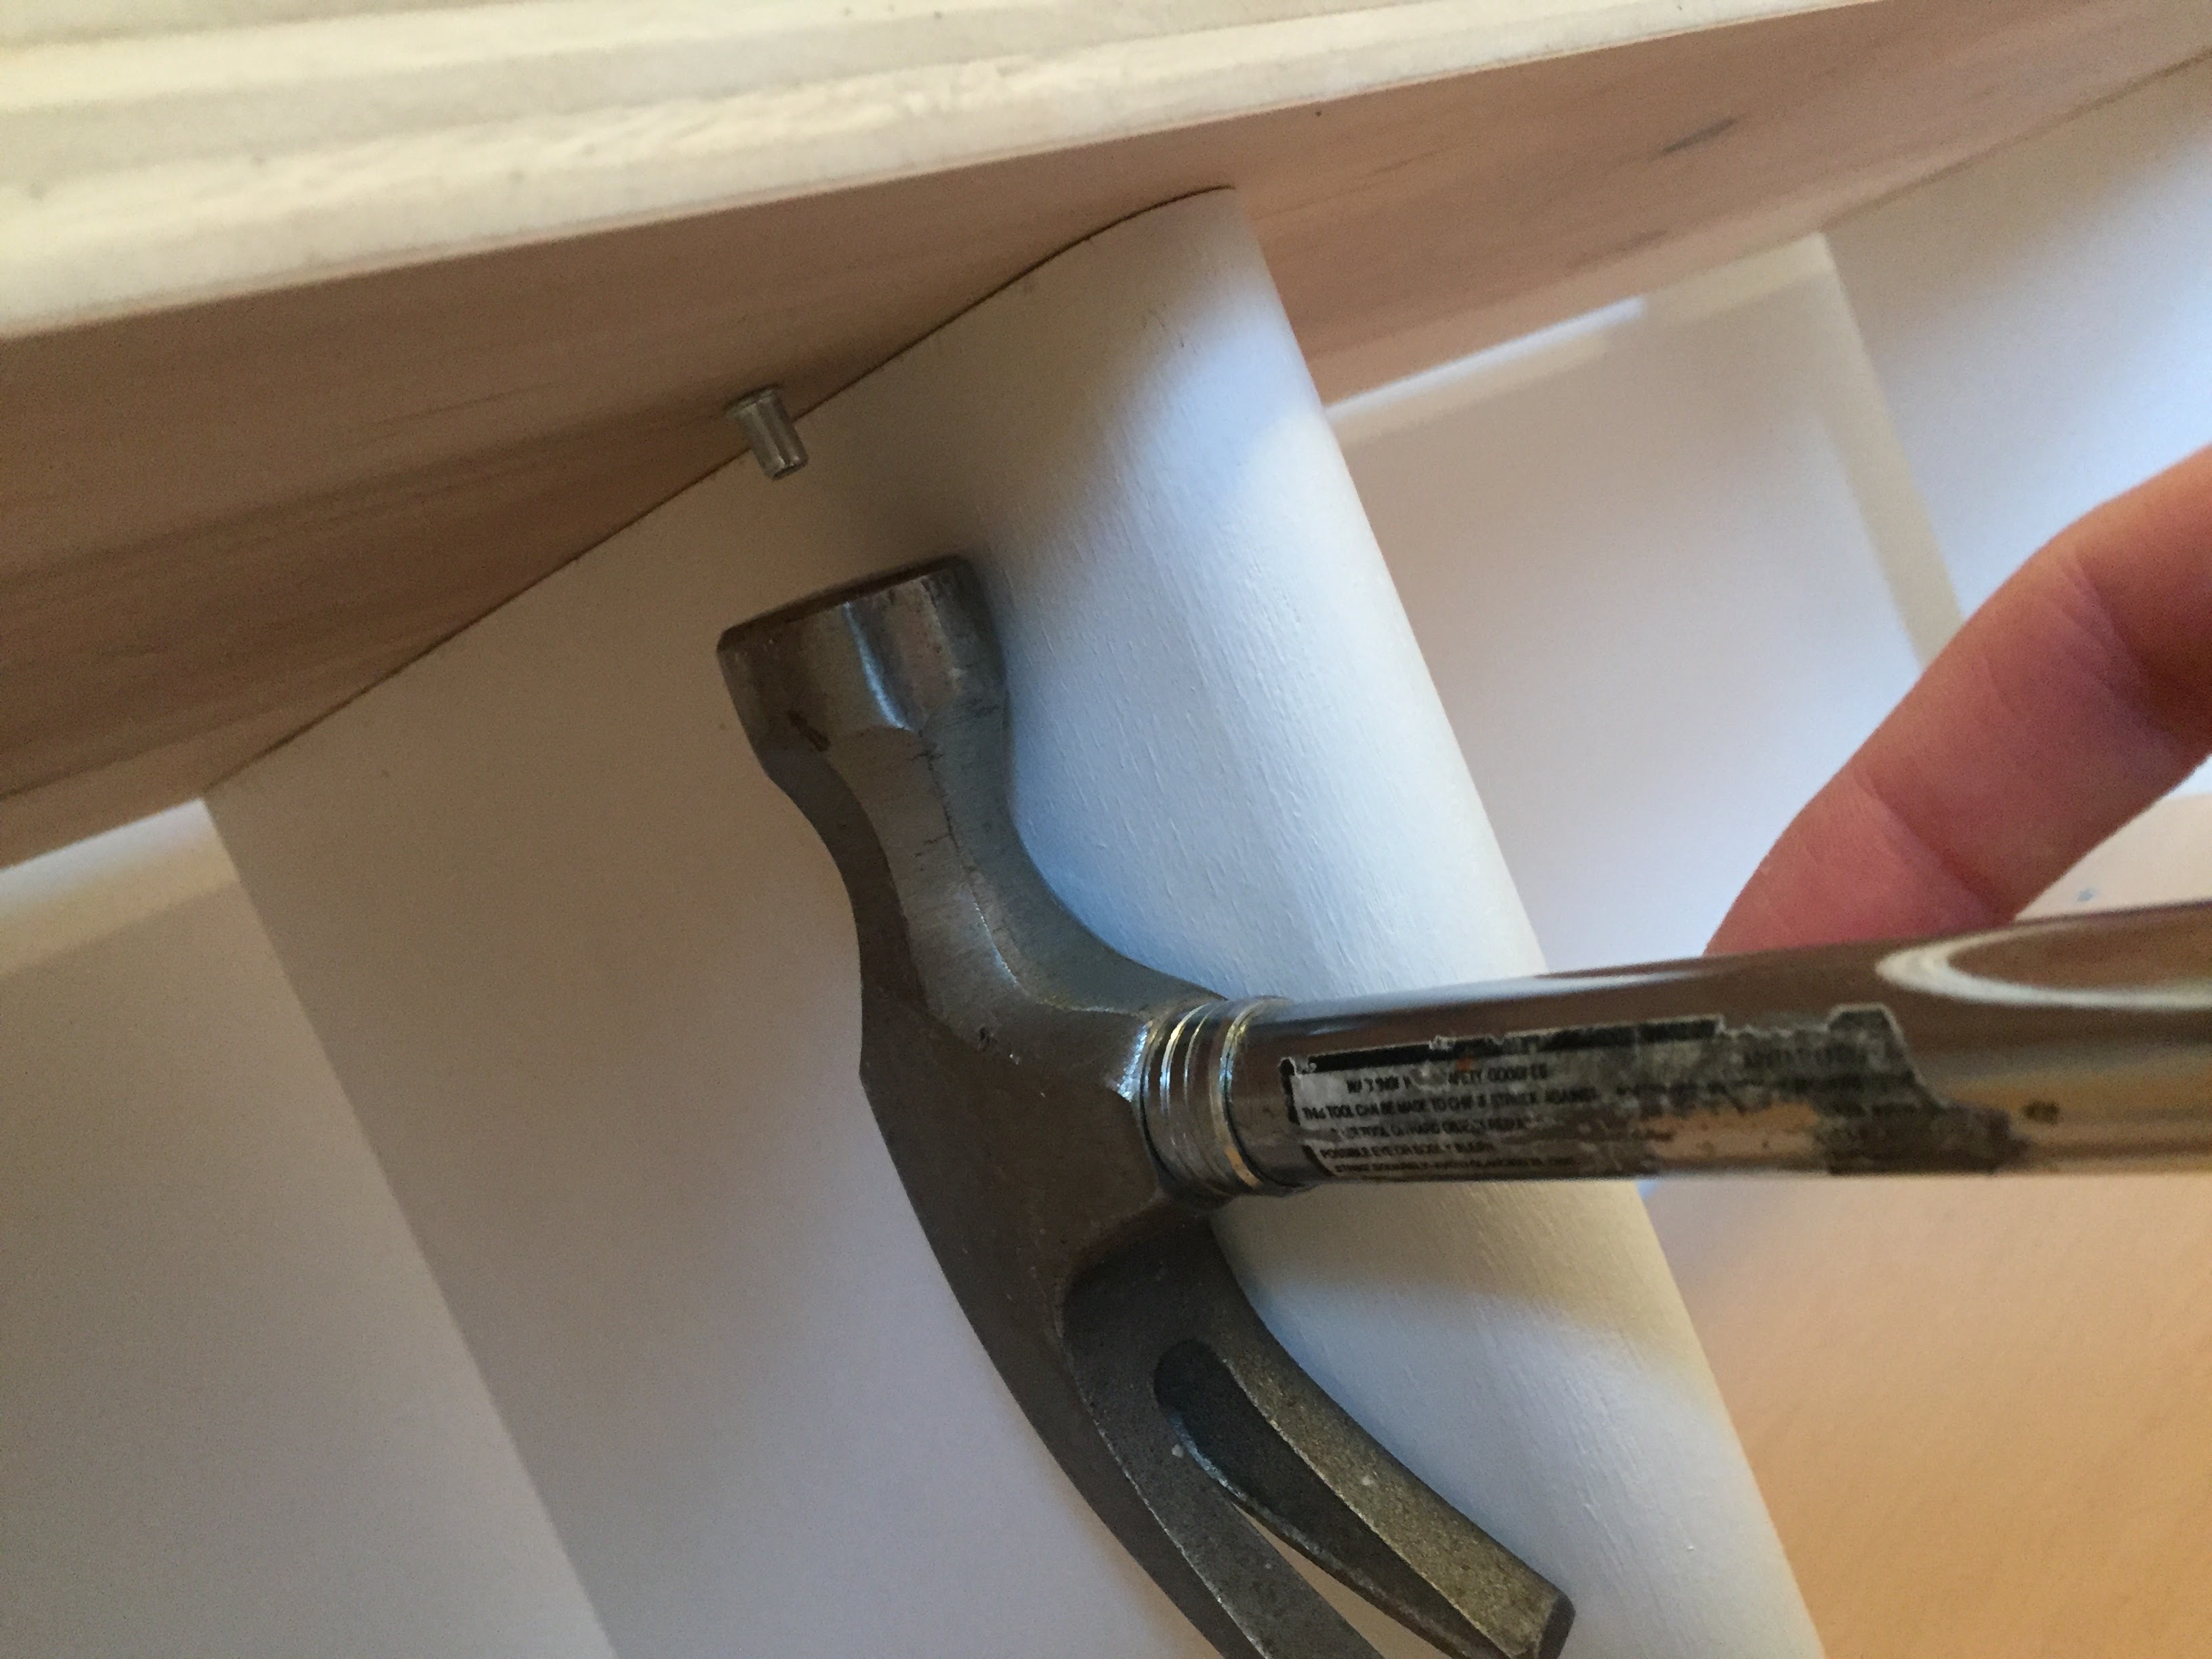
And just like Ikea, we hammered on the backing pieces with tiny little crappy nails.