Now that Alex and I are done most of our major construction projects, we are working on updating some of our furniture – particularly those old Ikea pieces that we’re more than ready to part with…
My regular perusing on Pinterest led me to learn about this great concept: the Fauxdenza.

A fauxdenza is a sort of fake credenza (hence the clever name) that is usually created by using existing Ikea furniture and adding something to it to make it less Ikea-y. Pure brilliance.
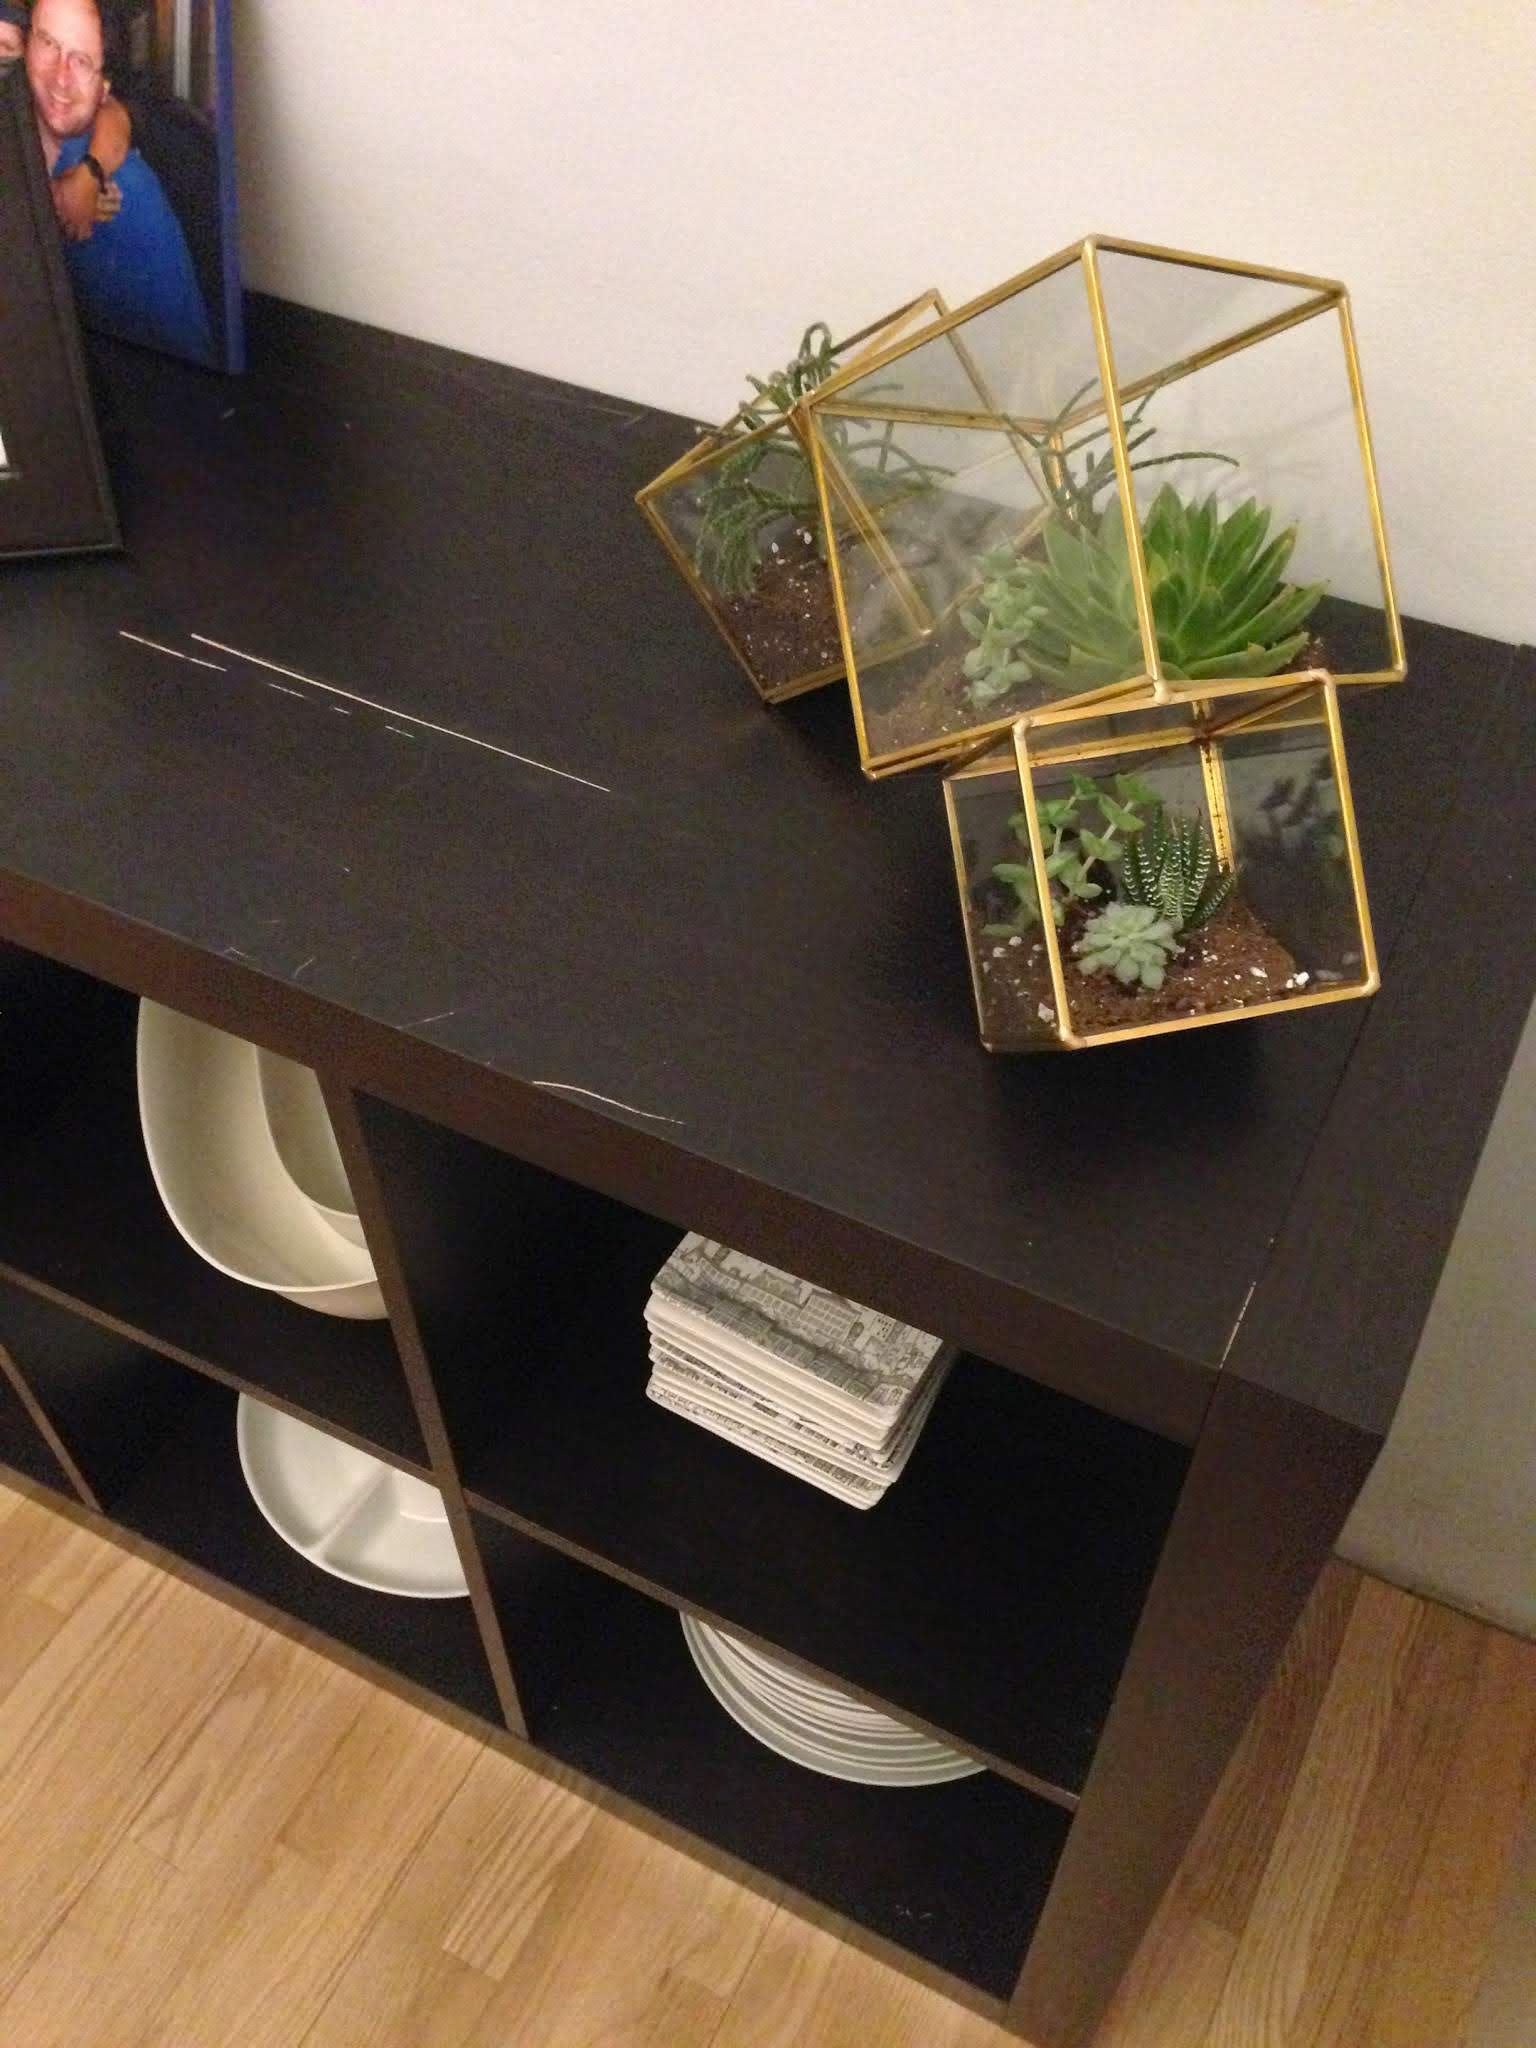
Given that we have a pretty beat-up Expedit acting as our credenza, I thought this would be a great and affordable option. Plus, I’m looking to make my own furniture and this is a great beginner project.
The fauxdenza has really taken off in the DIY world with several examples all over the internet (the original is here, others are here). It’s not overly complicated but requires some basic wood working skills (like, you need to be able to put Ikea furniture together and cut some pieces of wood). And although specialized tools aren’t required, they don’t hurt (like a table saw and mitre saw).
Most of the online examples use Ikea’s kitchen cabinets (Akurum) for the base. However, on February 2, Ikea completely changed its kitchen system. We unfortunately were shopping on the weekend before the cabinets were released, so Ikea didn’t have any of the old Akurum cabinets left and hadn’t yet released the new Sektion system…
We then found the Besta system, which seemed to work perfectly (and even better than Akurum in the long run). Except that the height of the cabinets were either shorter or taller than the Akurum examples online. As a result, the small one looked too small and the large was way too large. The smaller one captured the look I wanted, but didn’t provide nearly as much storage as the larger. It was a battle between function and design and a classic Goldilocks situation.
After two trips to Ikea and a lot of indecision (I think Alex was ready to kill me), we walked out with both sizes.
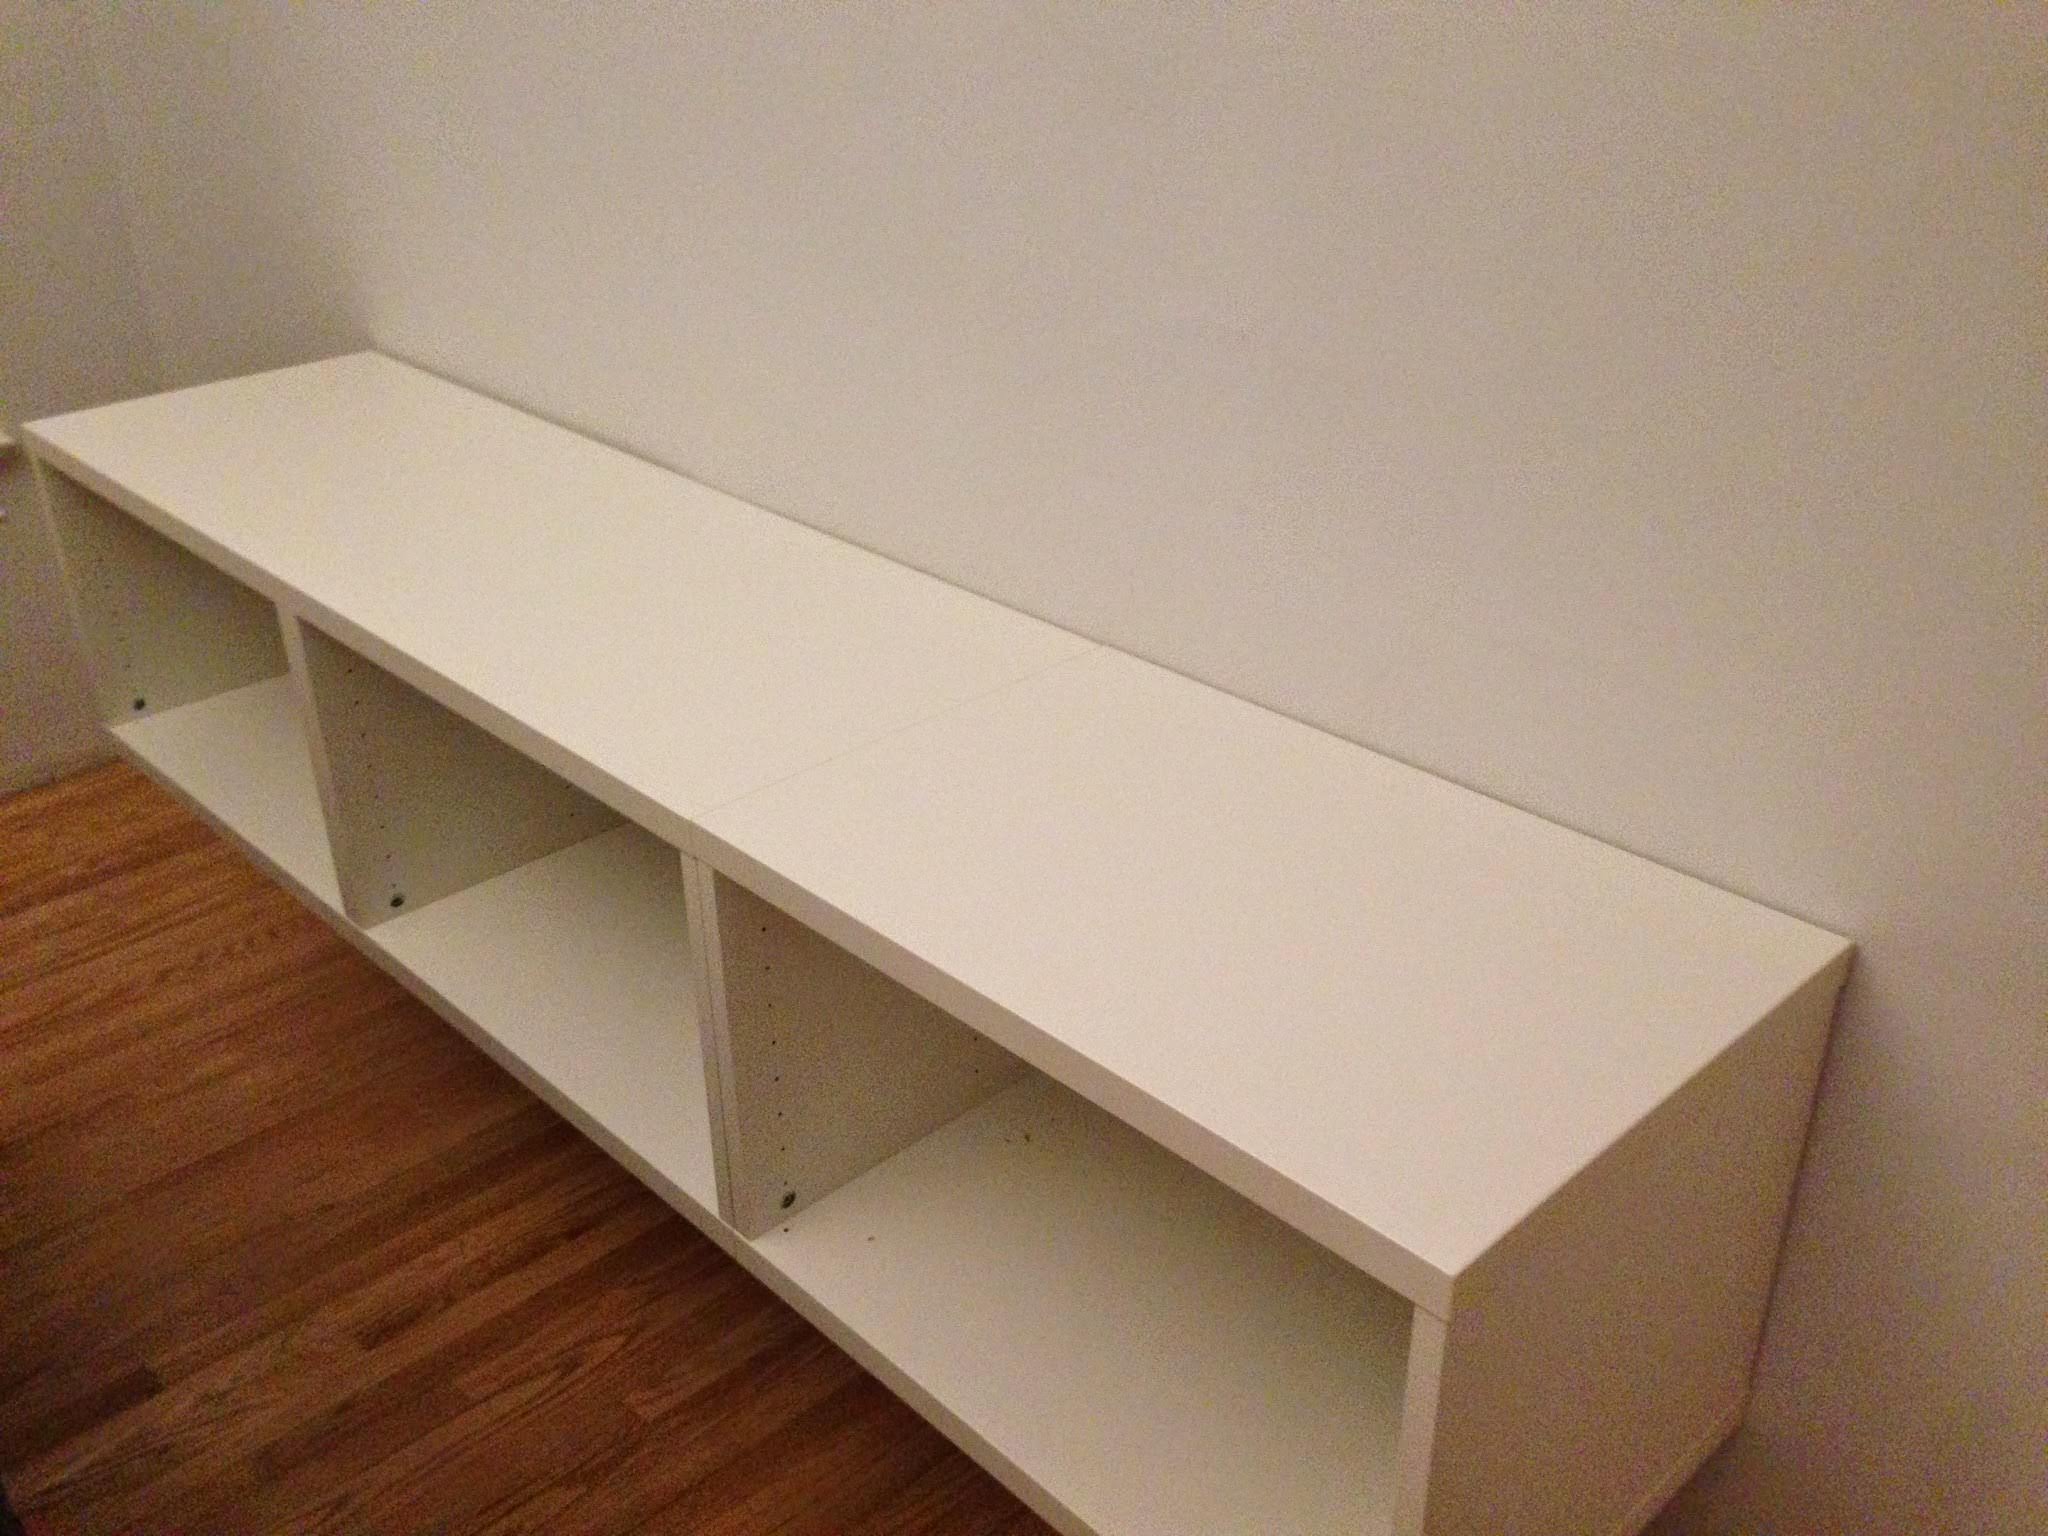
We brought the units home and put the small one together to test whether or not it provided enough storage for our extra dishes. Luckily it did! Yay!
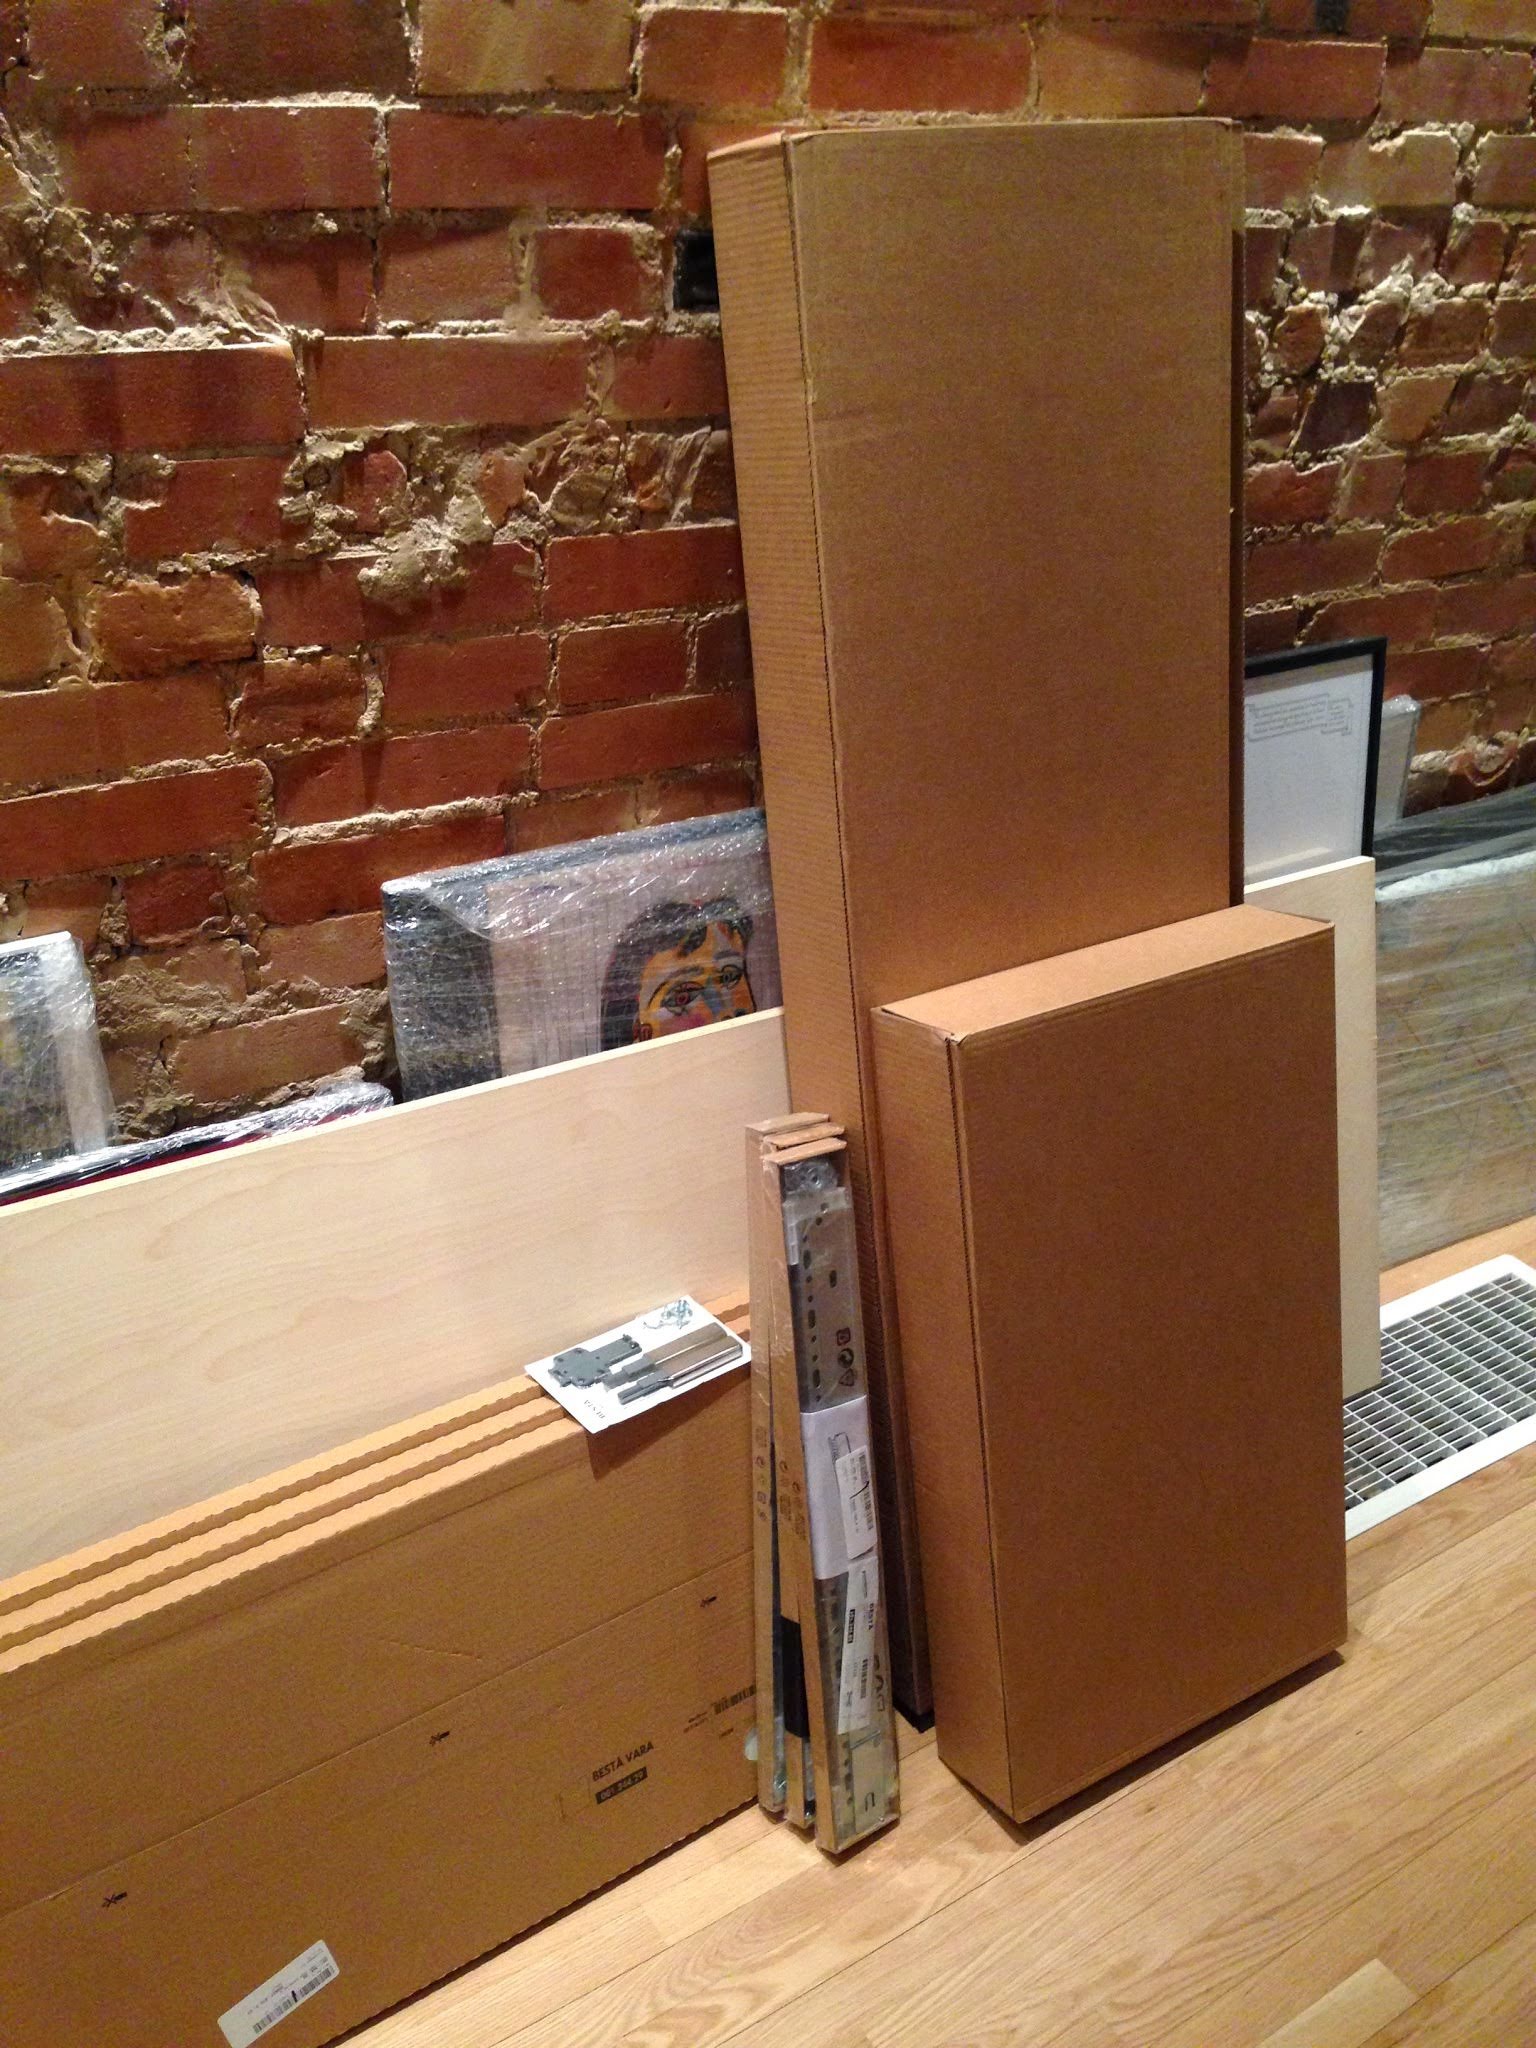
We then needed to go back to Ikea to return the larger size and get everything we needed for the smaller one. Here’s a complete list of materials:
Materials
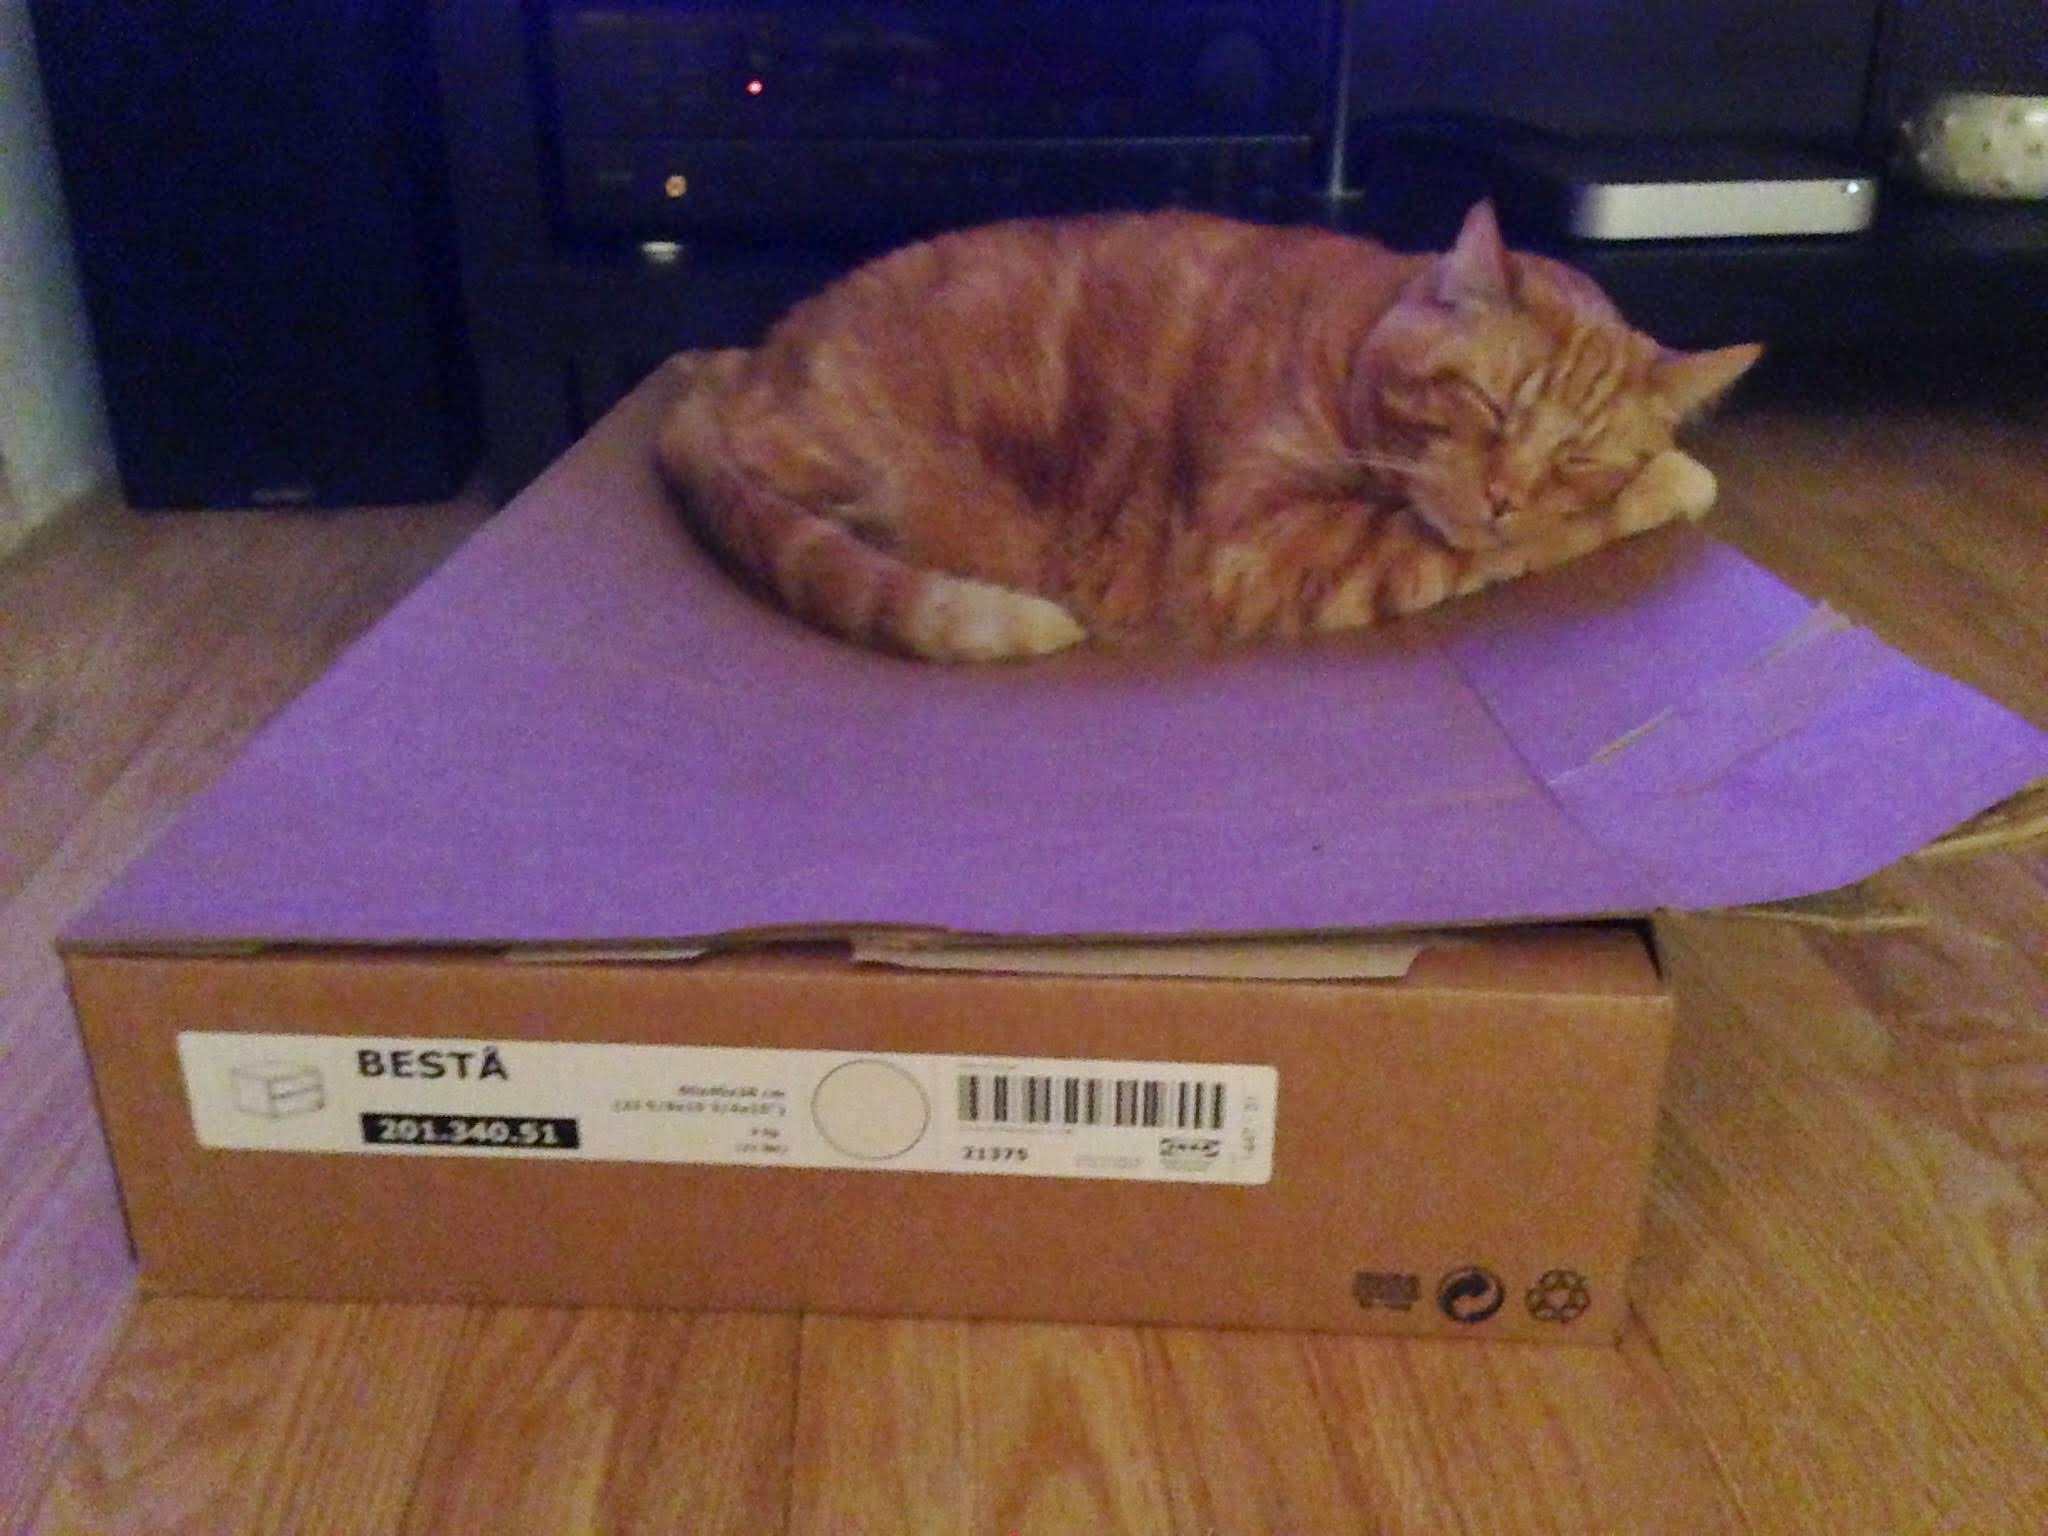
- 1 Besta shelf unit: 120cm (47¼”) wide x 38cm (15″) tall x 40cm (15¾”) deep
- 1 Besta shelf unit: 60cm (23½”) x 38cm x 40cm
- 3 Besta suspension rails: 60cm
- 3 Besta Vara doors: 60cm x 38cm (hinges included)
- 3 push mechanisms (we purchased 2 packages of 2)
In total, the Ikea portion of the unit was around $260.
For the solid wood we went to our favourite lumber yard. They didn’t have anything in solid wood that was wide enough (we needed at least 16″), so we opted for a birch veneered plywood and bought some veneer edging to hide the plywood edges of the wood. In total we needed around 14 linear feet so we bought two 4×8′ sheets of plywood (for ~$120) and 50″ of edging (for ~$10).
Here are all the steps in creating this beautiful masterpiece!
How-To:
Step 1: Assemble Ikea Furniture
The first step was the easiest. Since I’m now in my early 30s, I have approximately 11 years of Ikea assembling experience. The Besta units didn’t cause any problems and were relatively easy to assemble. I just followed the instructions.
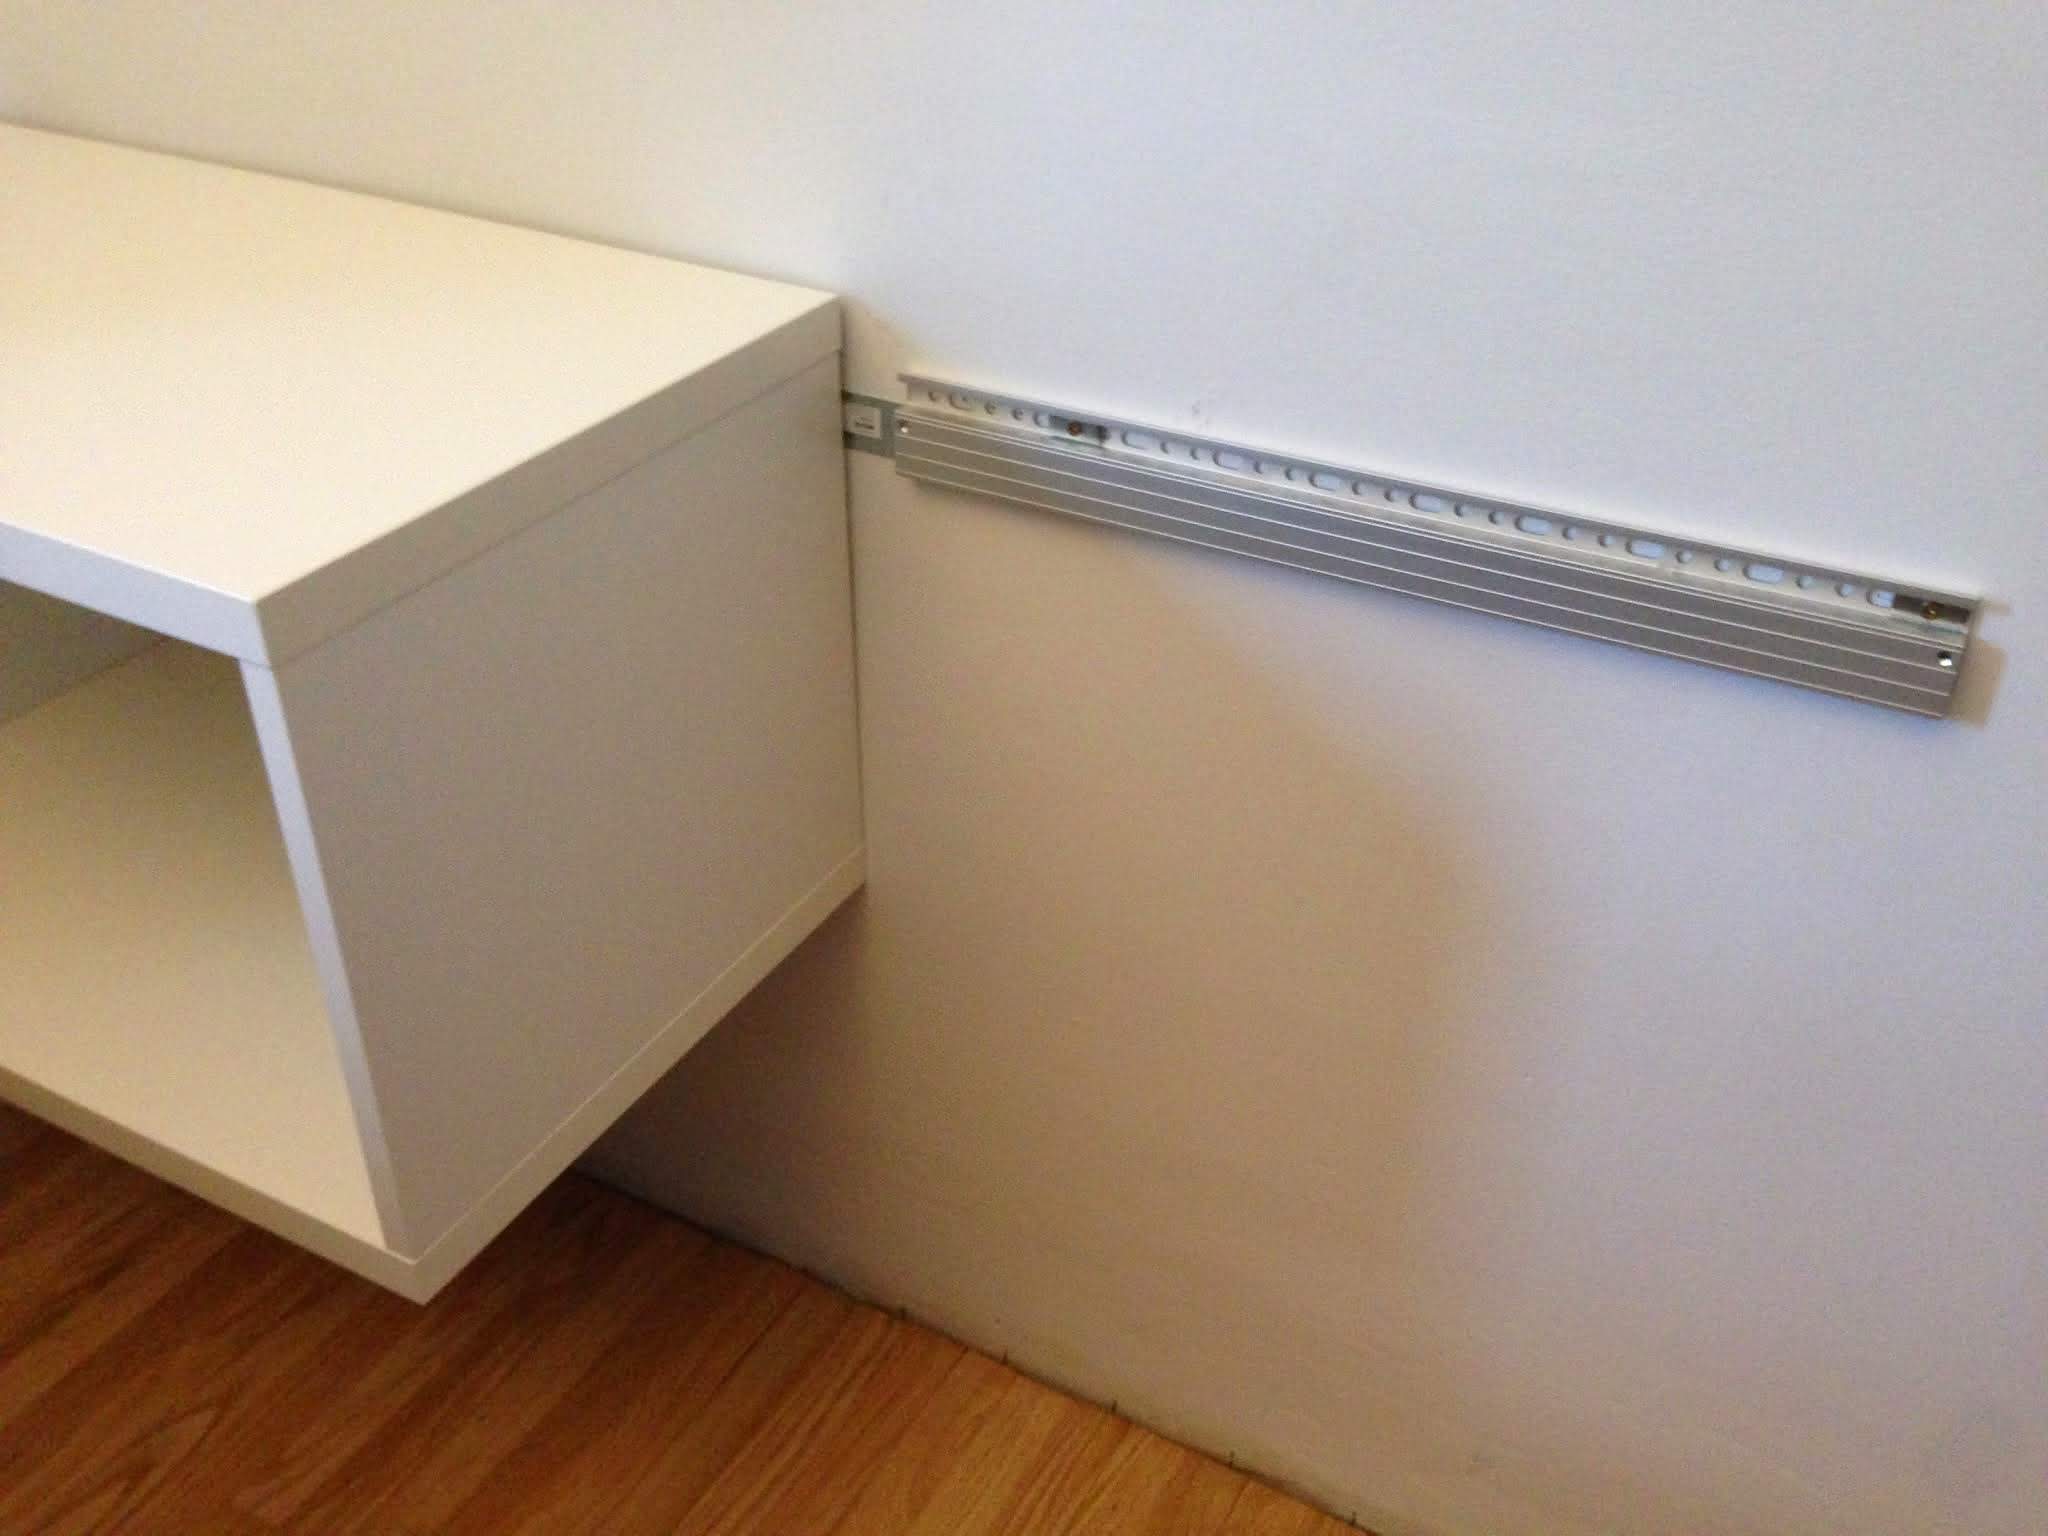
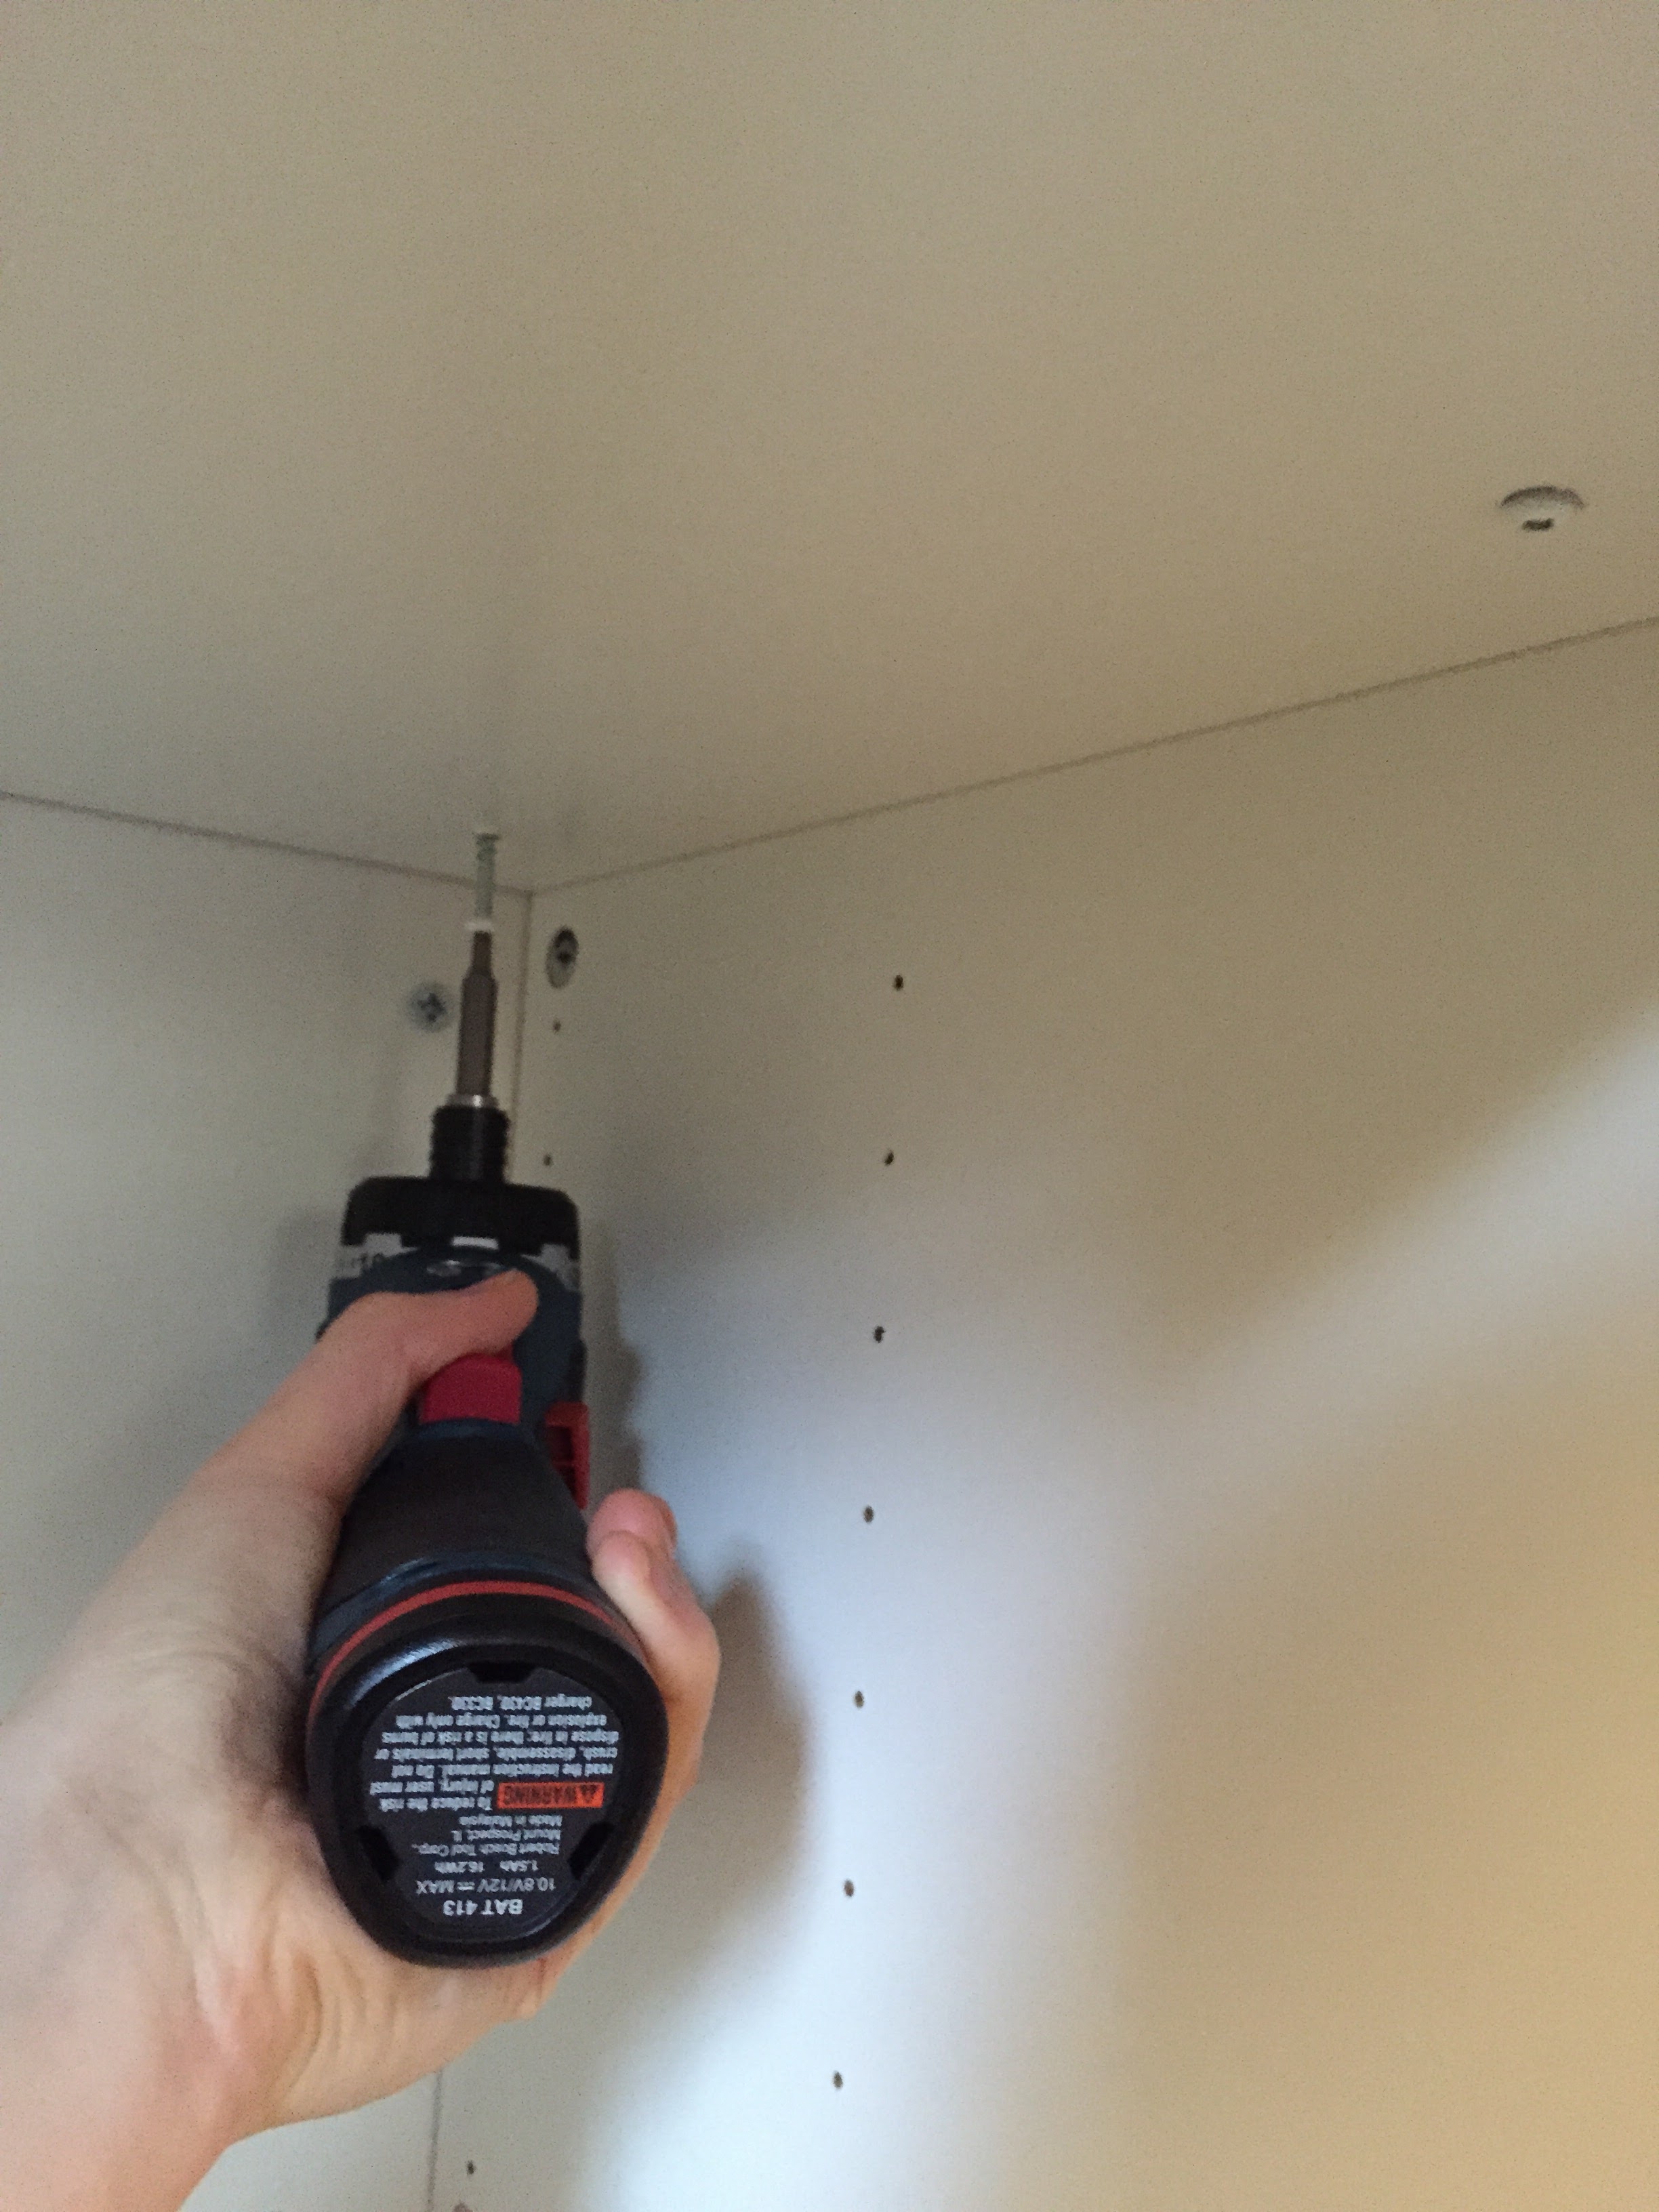
Step 2: Install the Besta
We decided to install the Besta in its final position so we could make sure that the wood was exactly right.
Installing the suspension rail was the most important step since it would determine the final position of the unit. It was challenging for many reasons, particularly given our uneven plaster walls. We had 4 goals with the rail: it had to be centred in the room, it had to be level, it had to be square(ish) against the wall, and it had to hit enough studs that it would hold some serious weight.
We wanted the unit to sit at 31″ when finished (which is what the Expedit was), so some quick measurements and calculations helped us figure out where the rail needed to be. Basically, the final position (31″) minus the plywood (¾”) minus the gap between top of unit and top of rail (1½”) equals the top heights of the rail (28¾”).
The toughest part was figuring out where the studs were, which is not easy with plaster walls. It’s basically trial and error…
Luckily this wall is shared with our un-renovated kitchen. We took out the electrical boxes in the kitchen and felt or looked inside the wall to find the studs. This process mostly worked, but there was still some trial and error involved until we knew we hit the stud. By some miracle, we managed to get 2 studs per unit. And our slightly Swiss cheesed walls are covered by the rail.
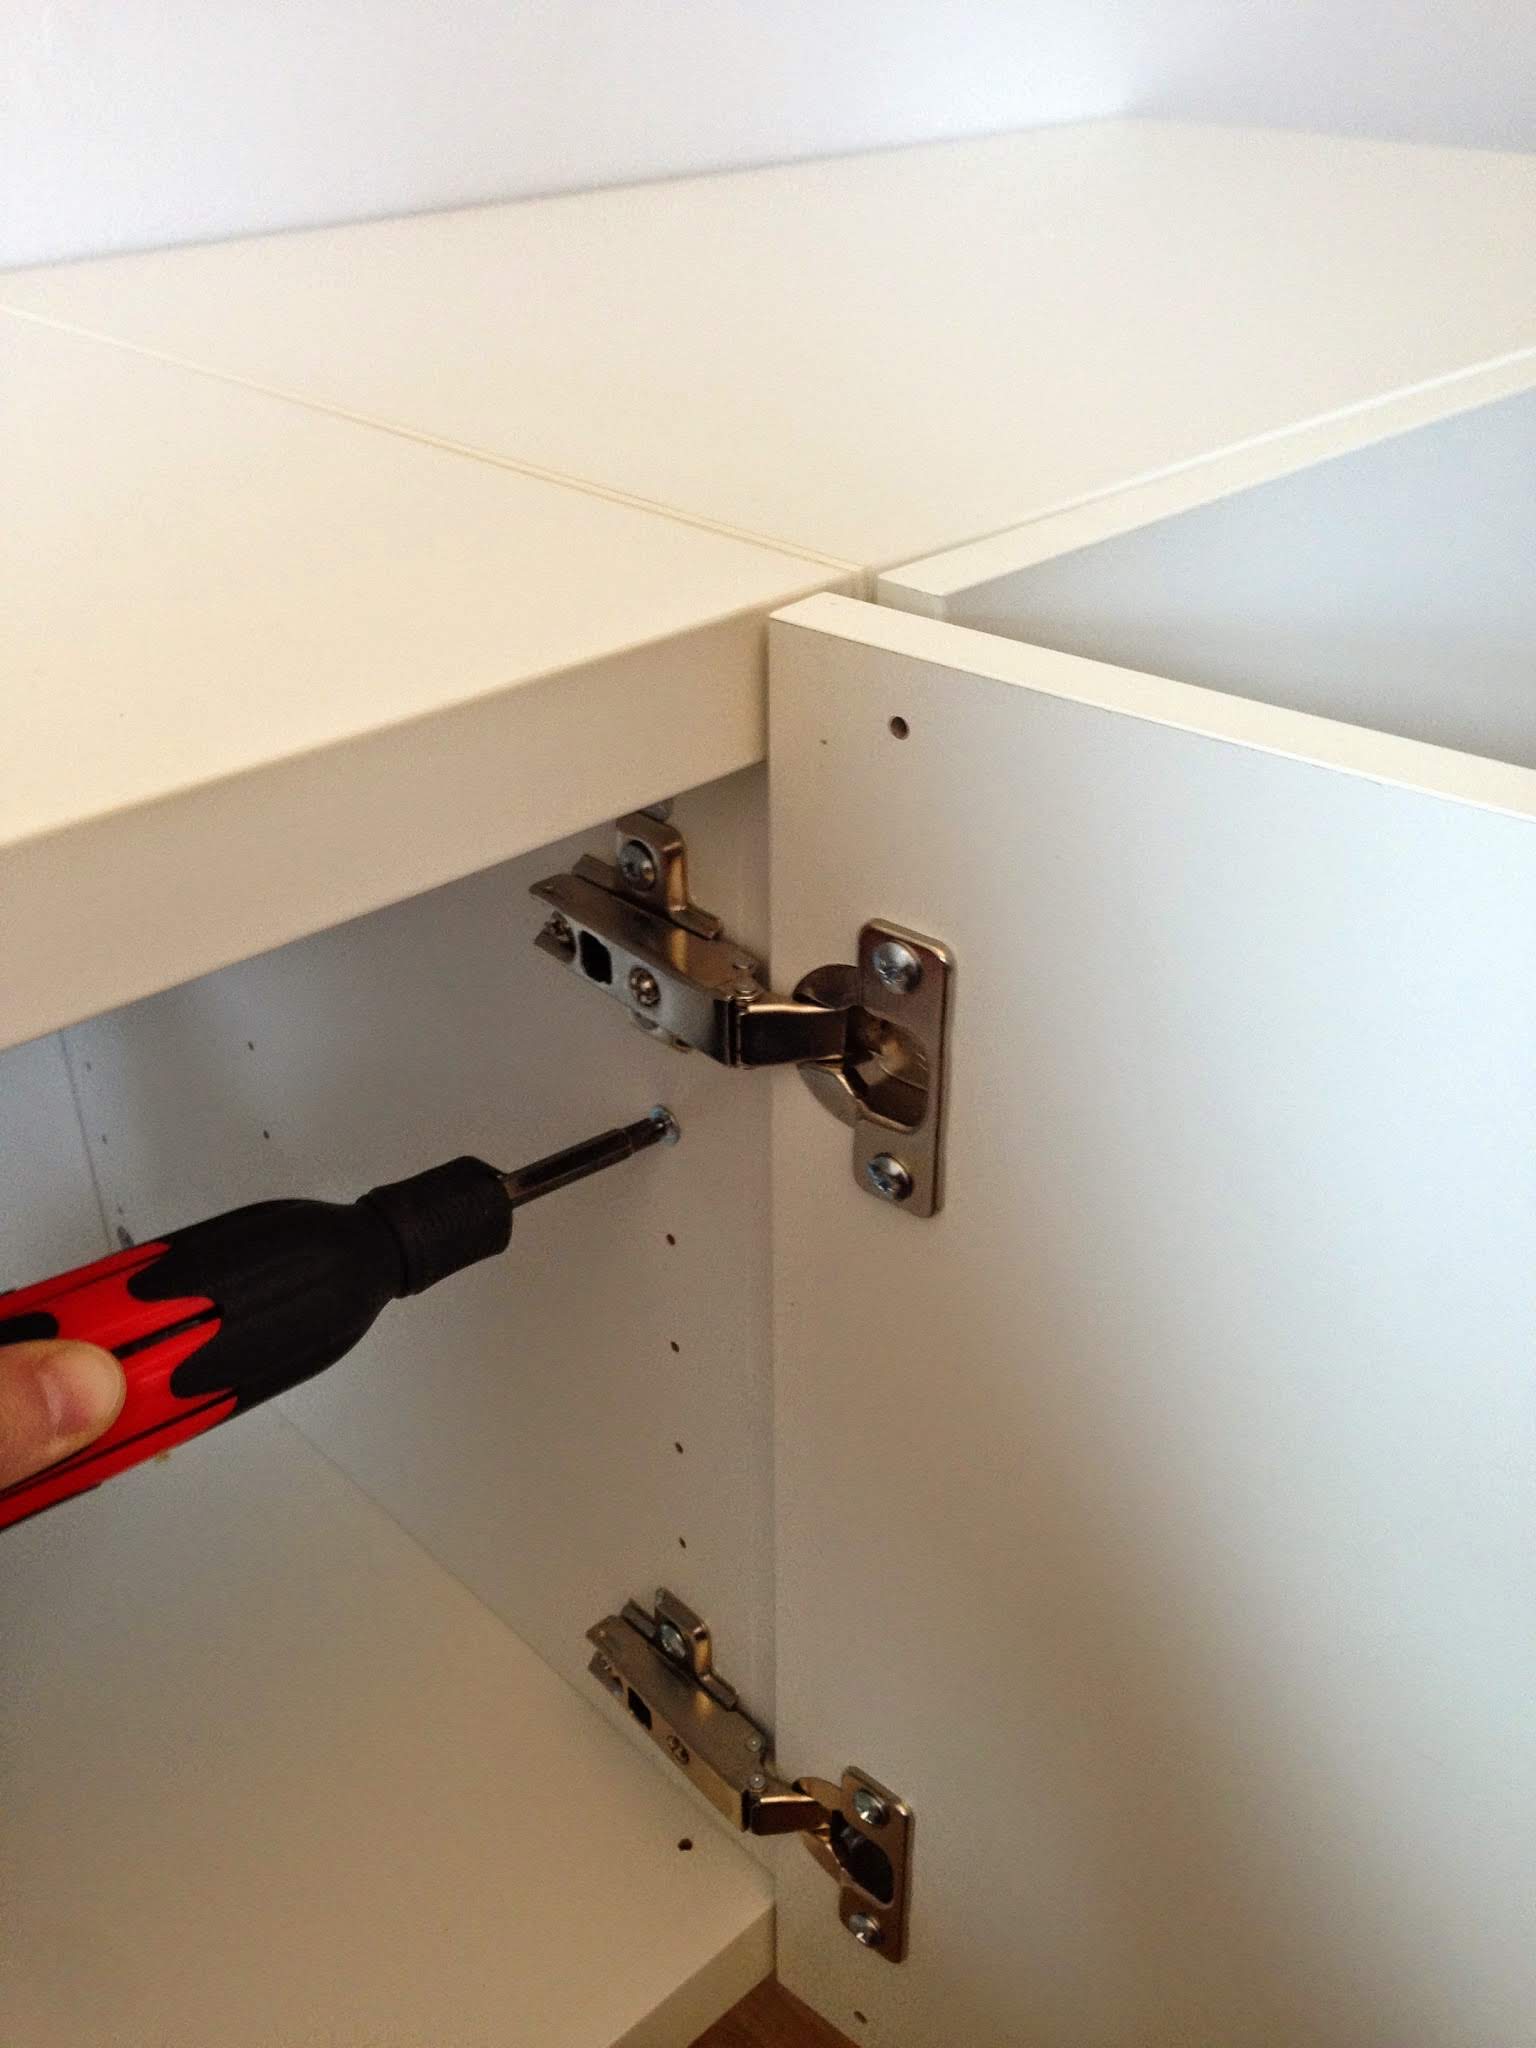
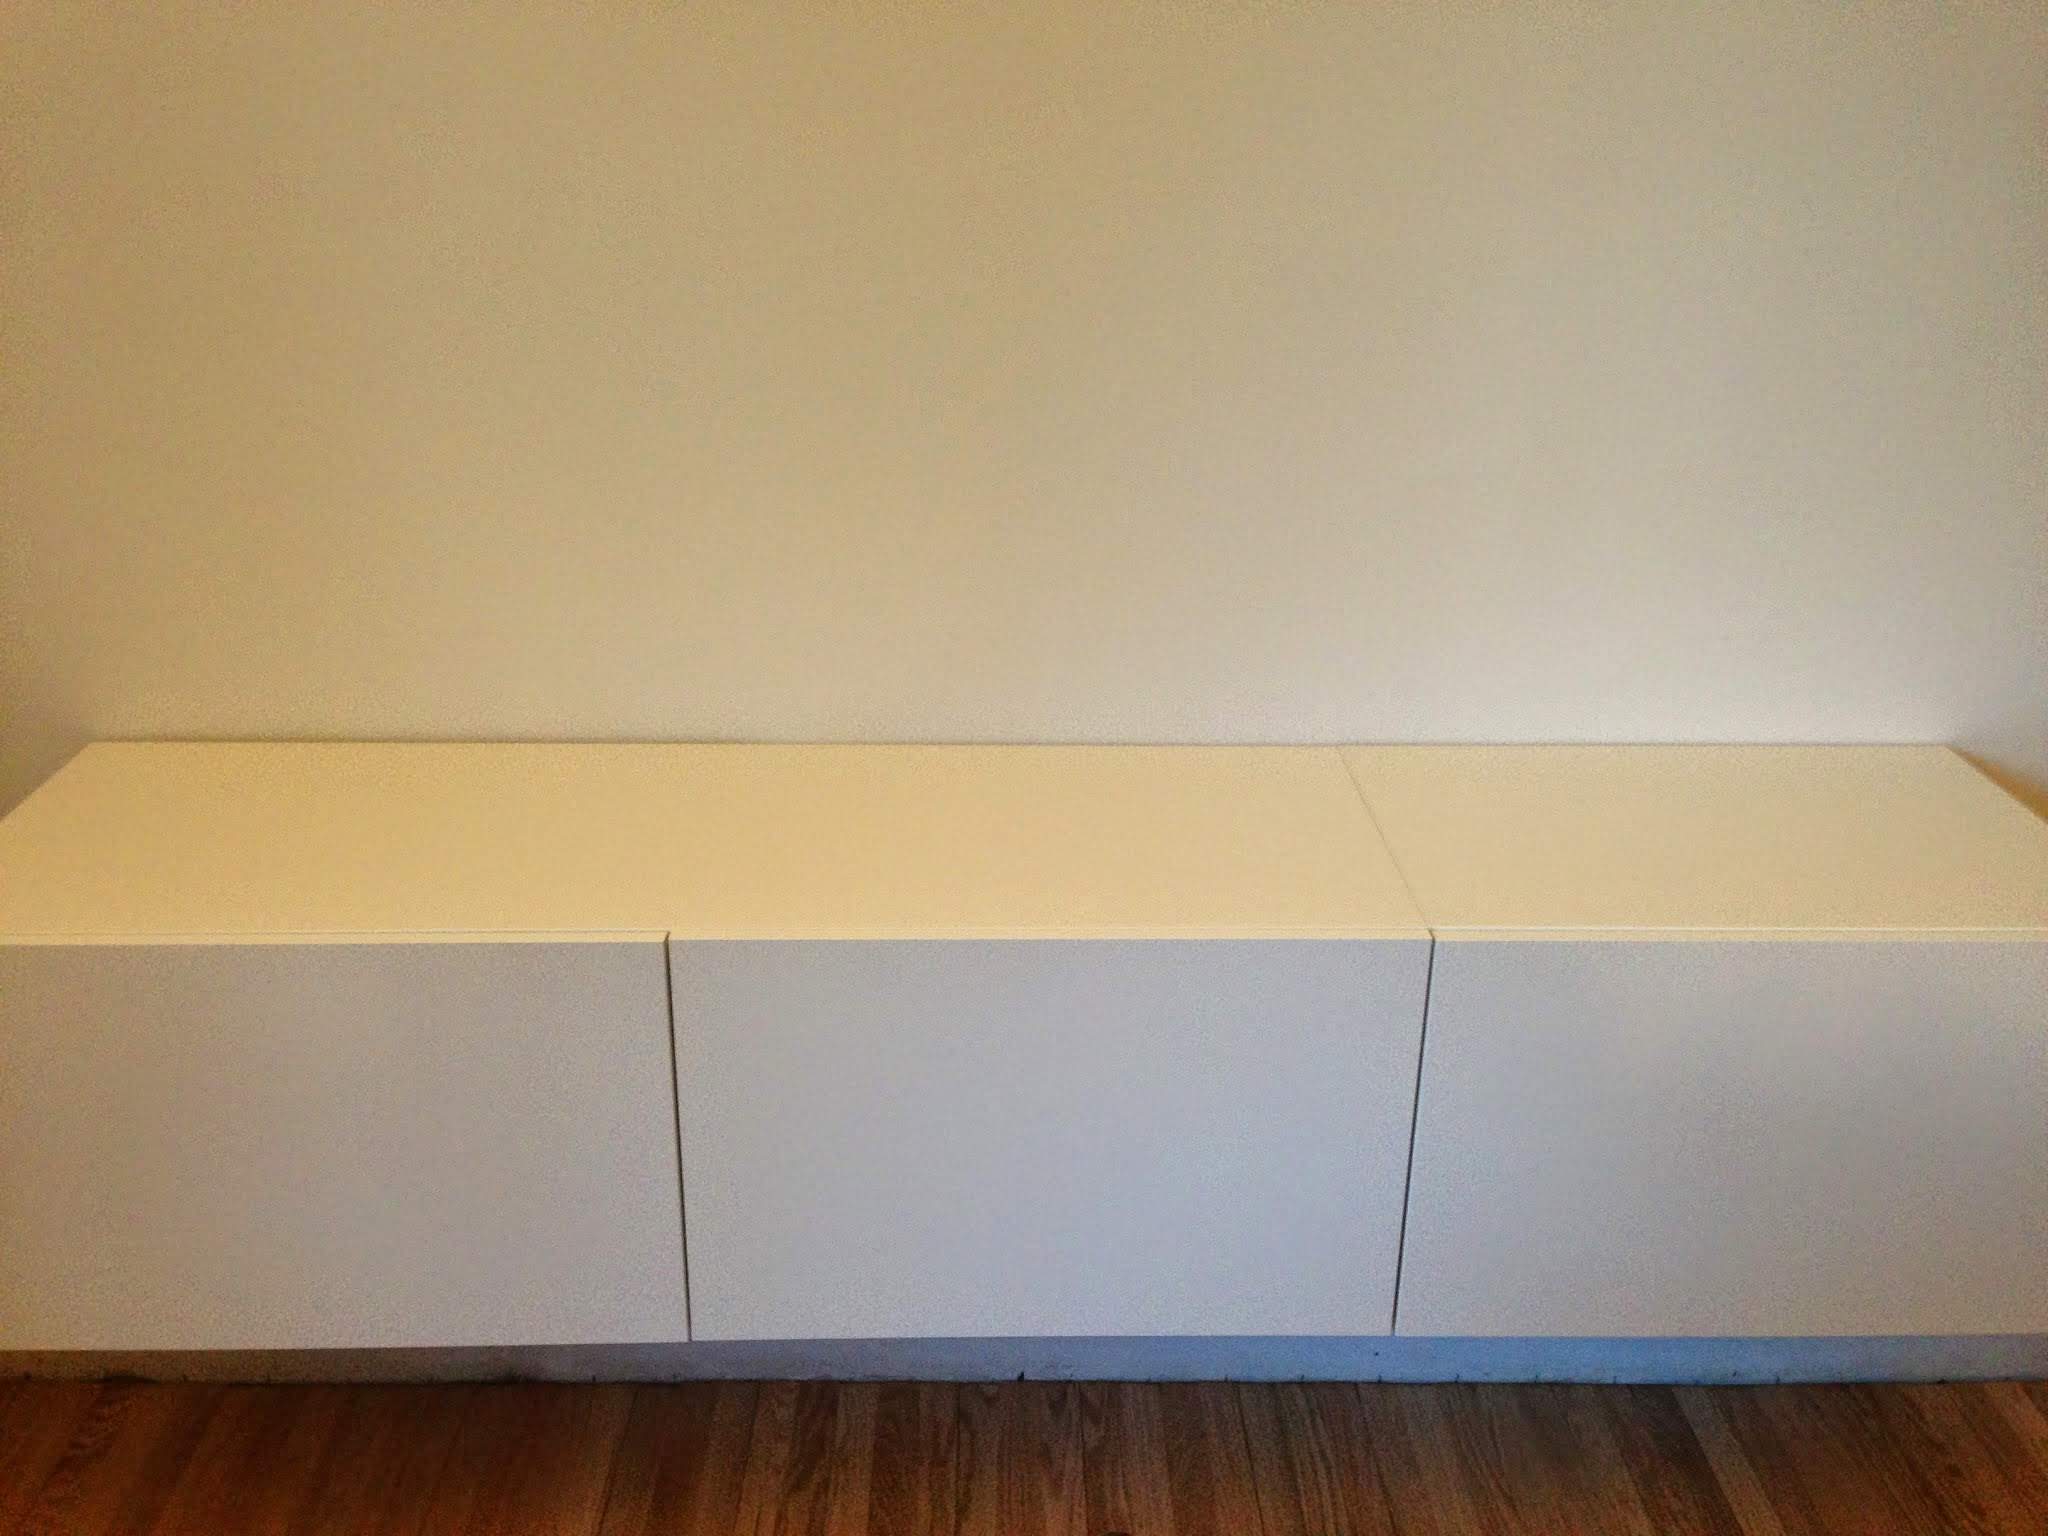
We then added the doors and decided on a door opening strategy.
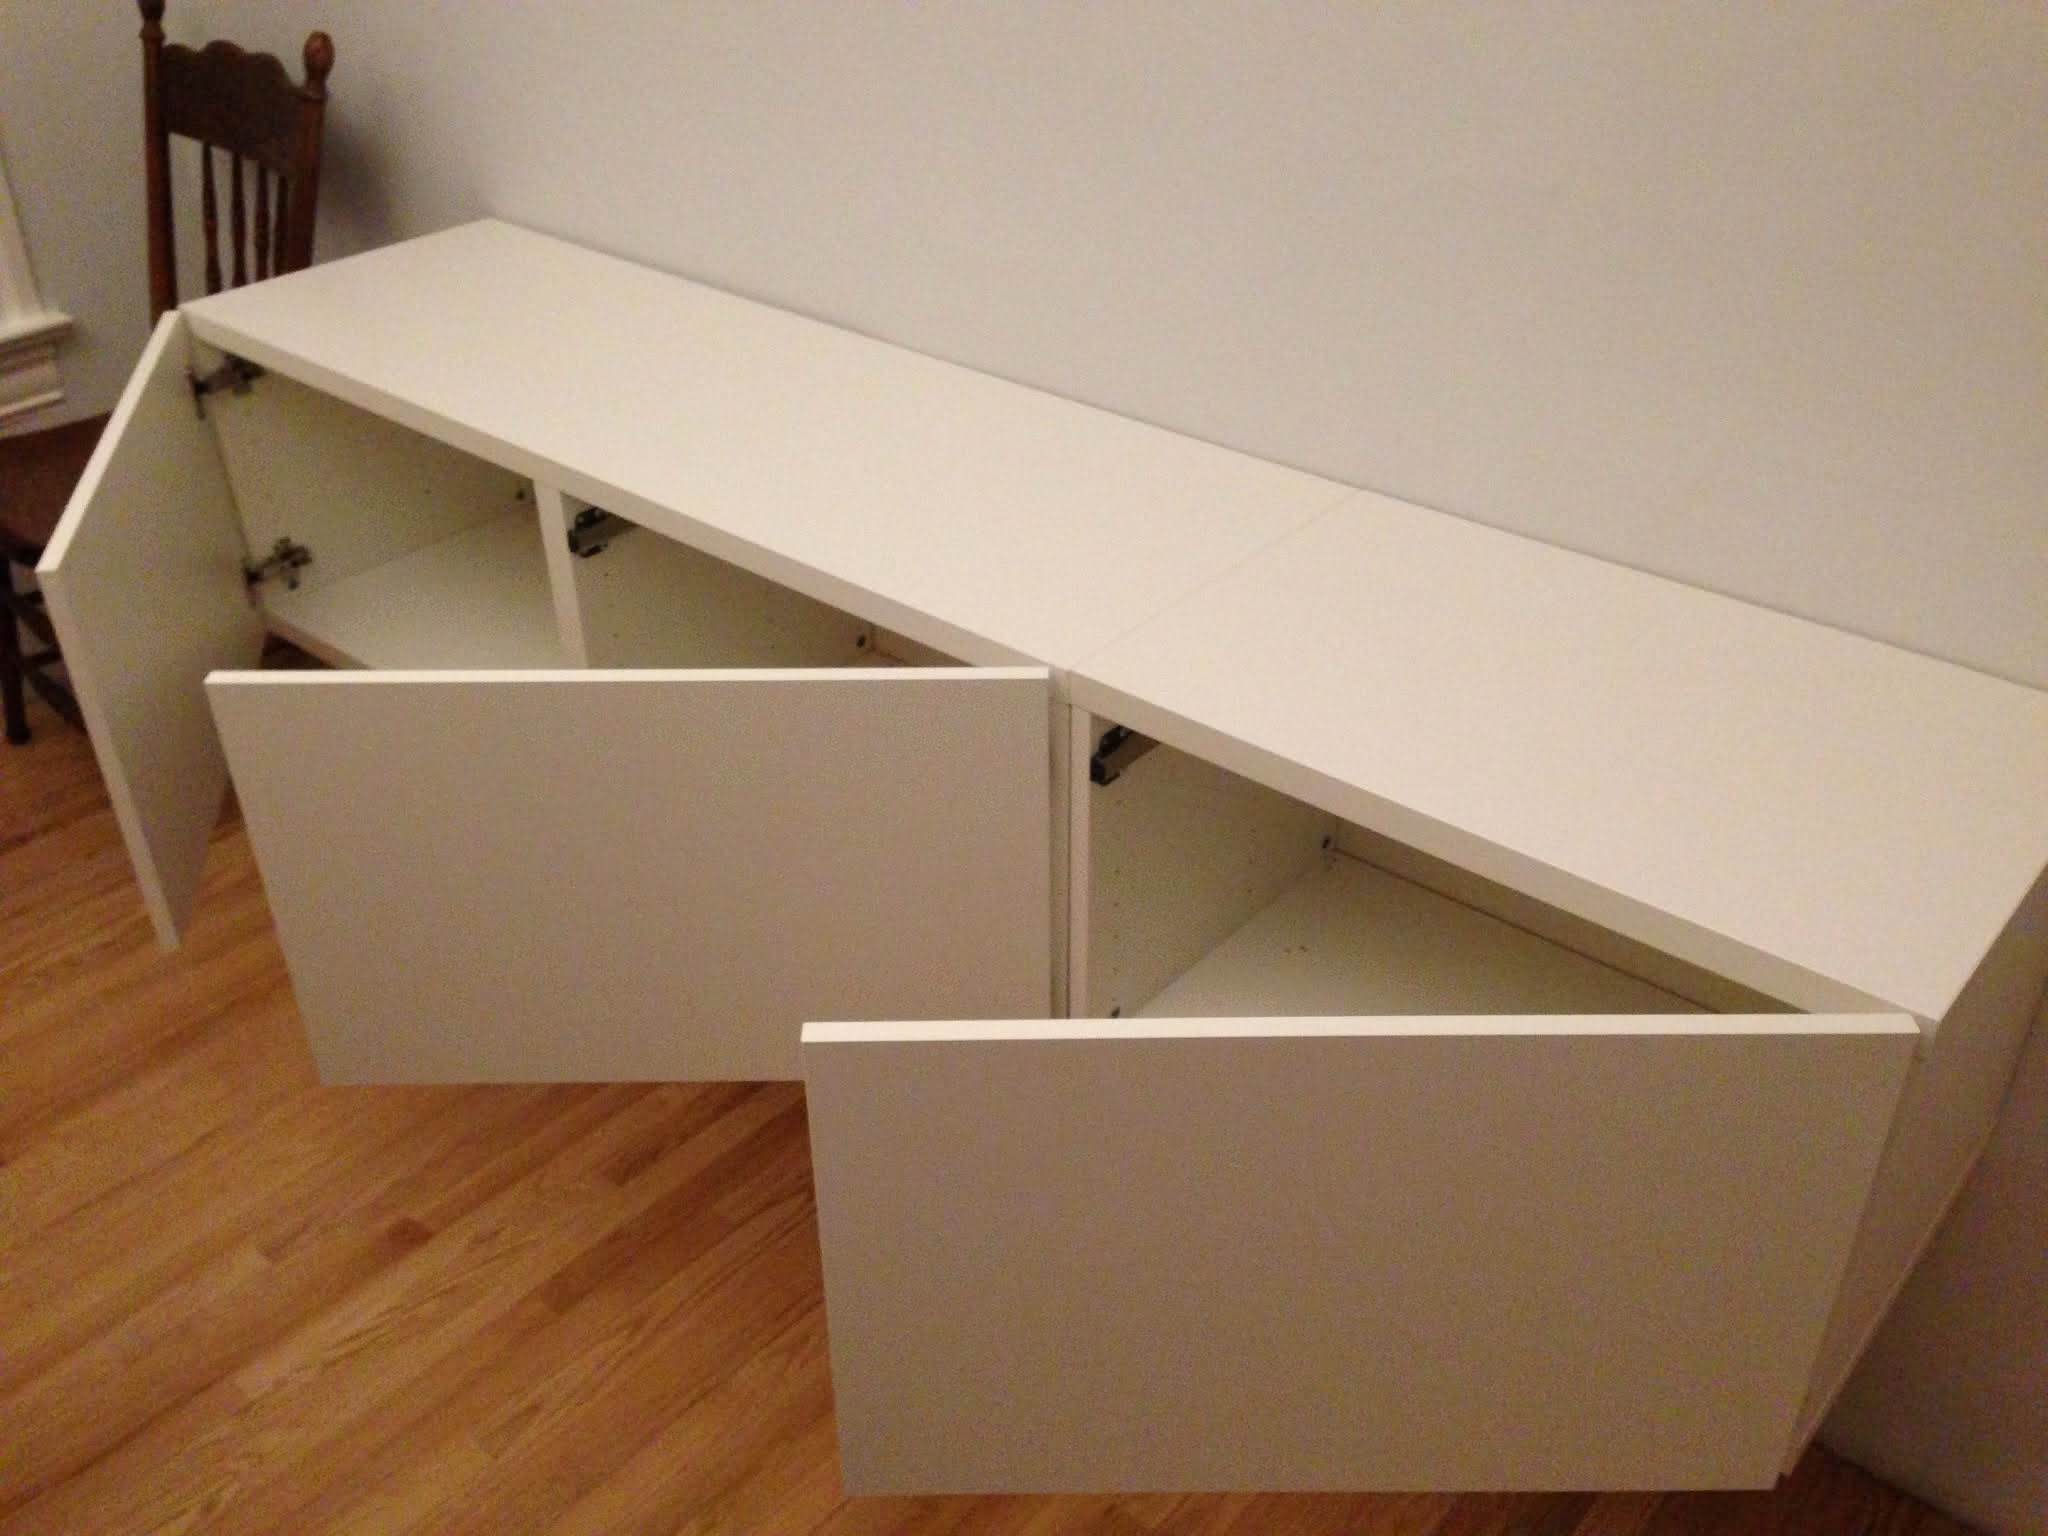
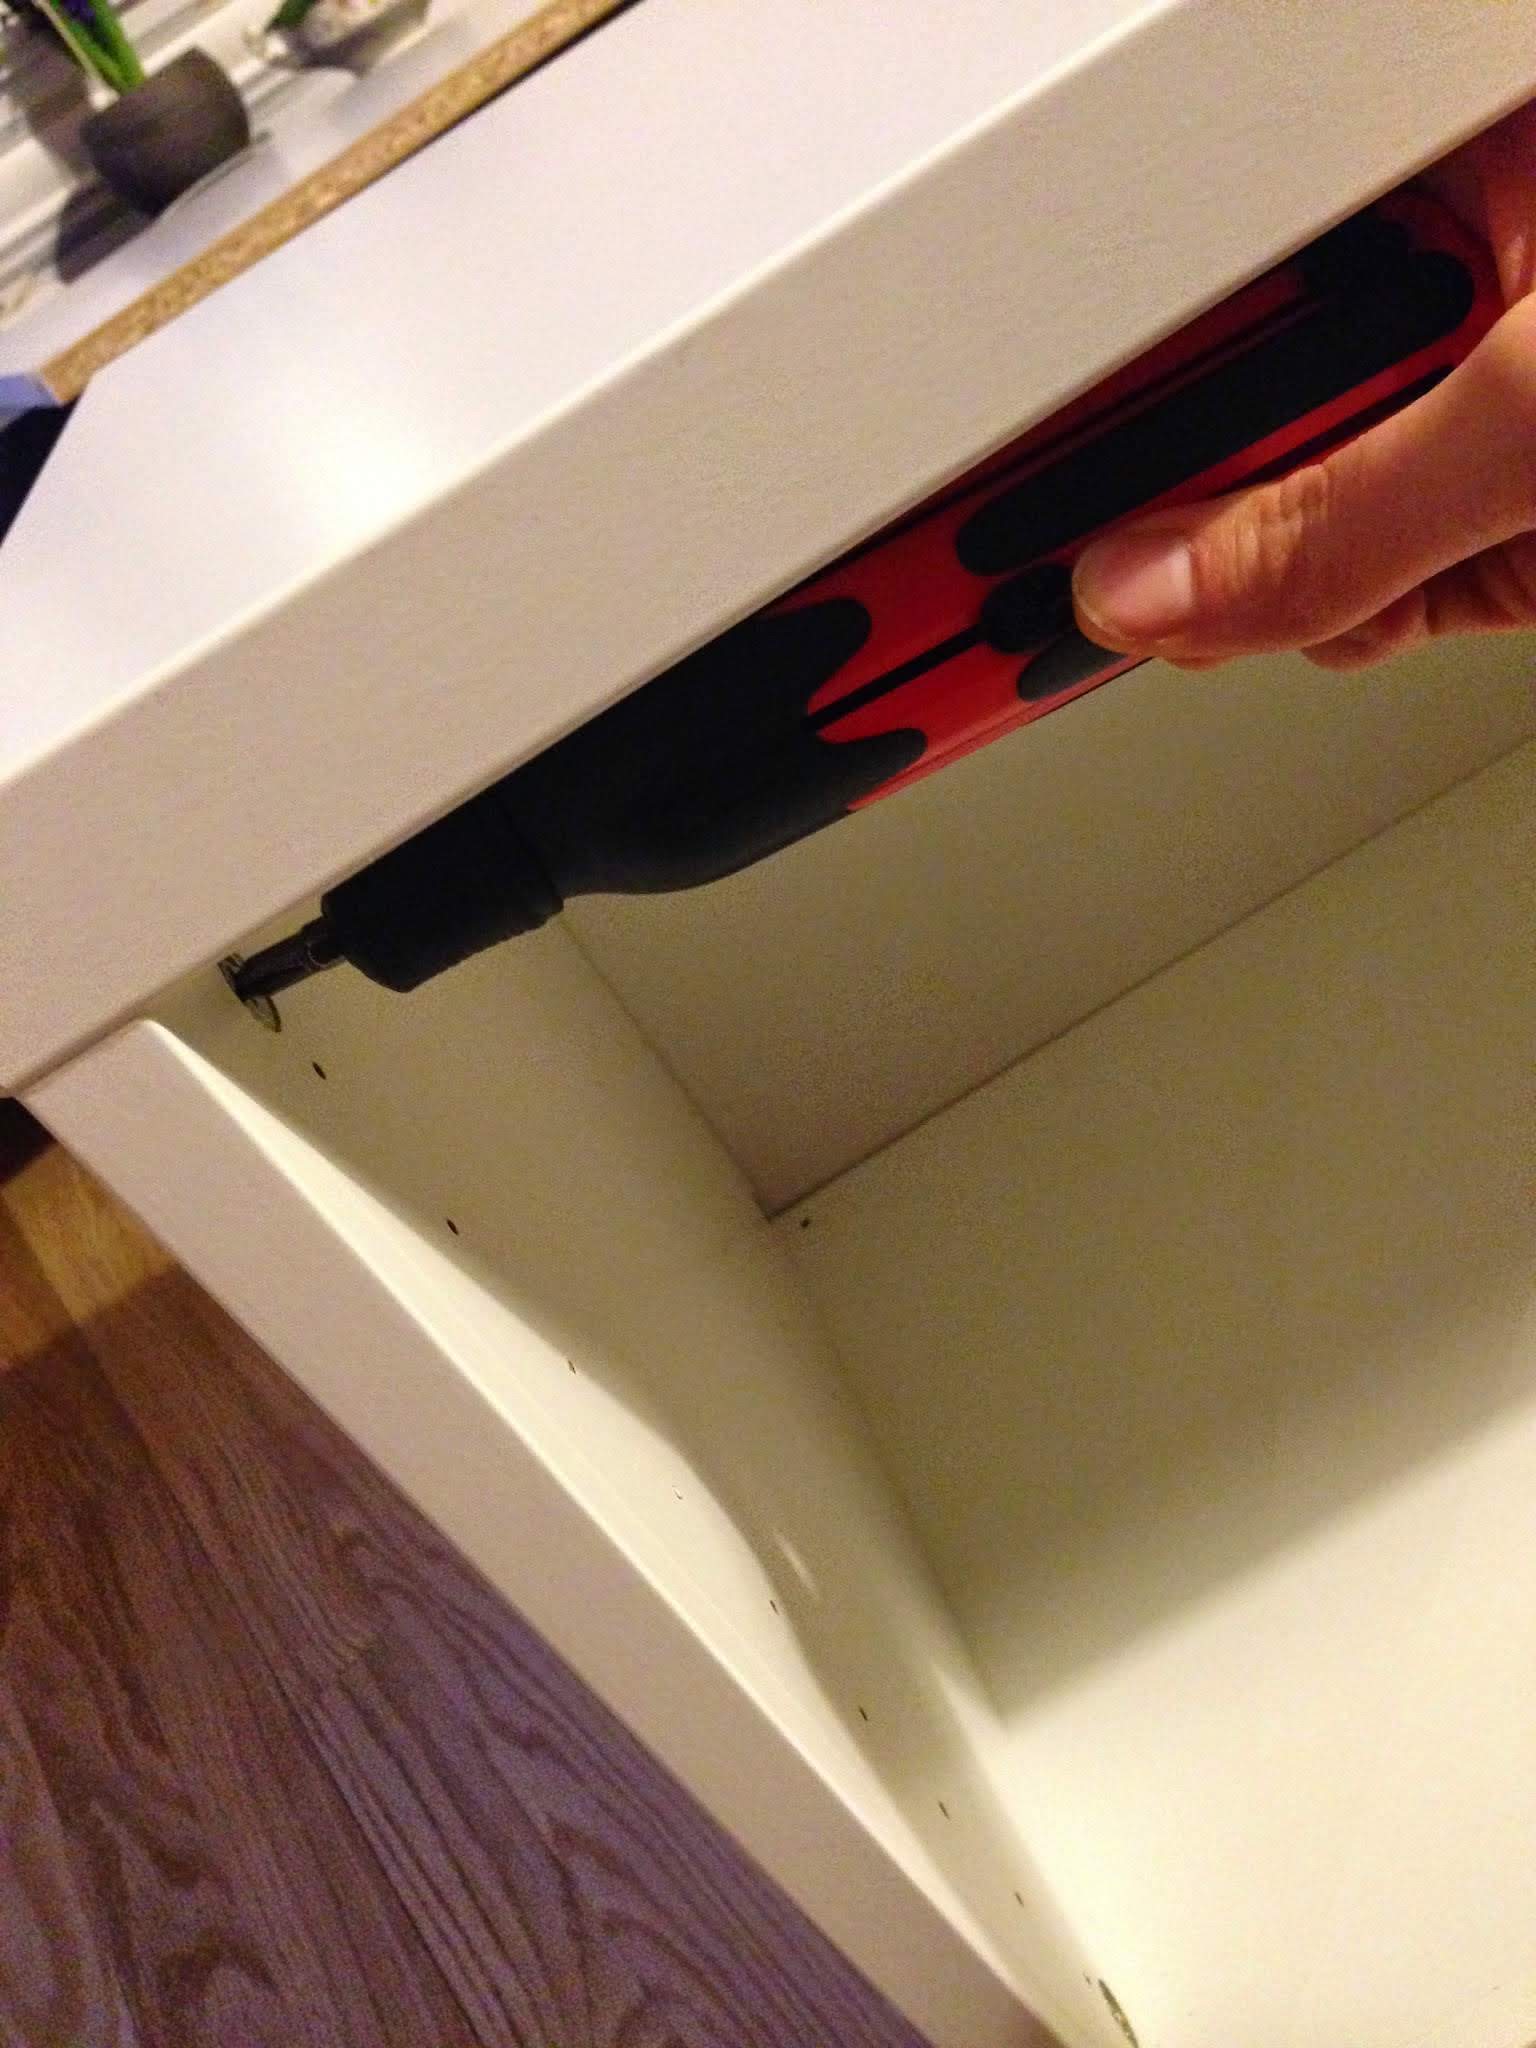
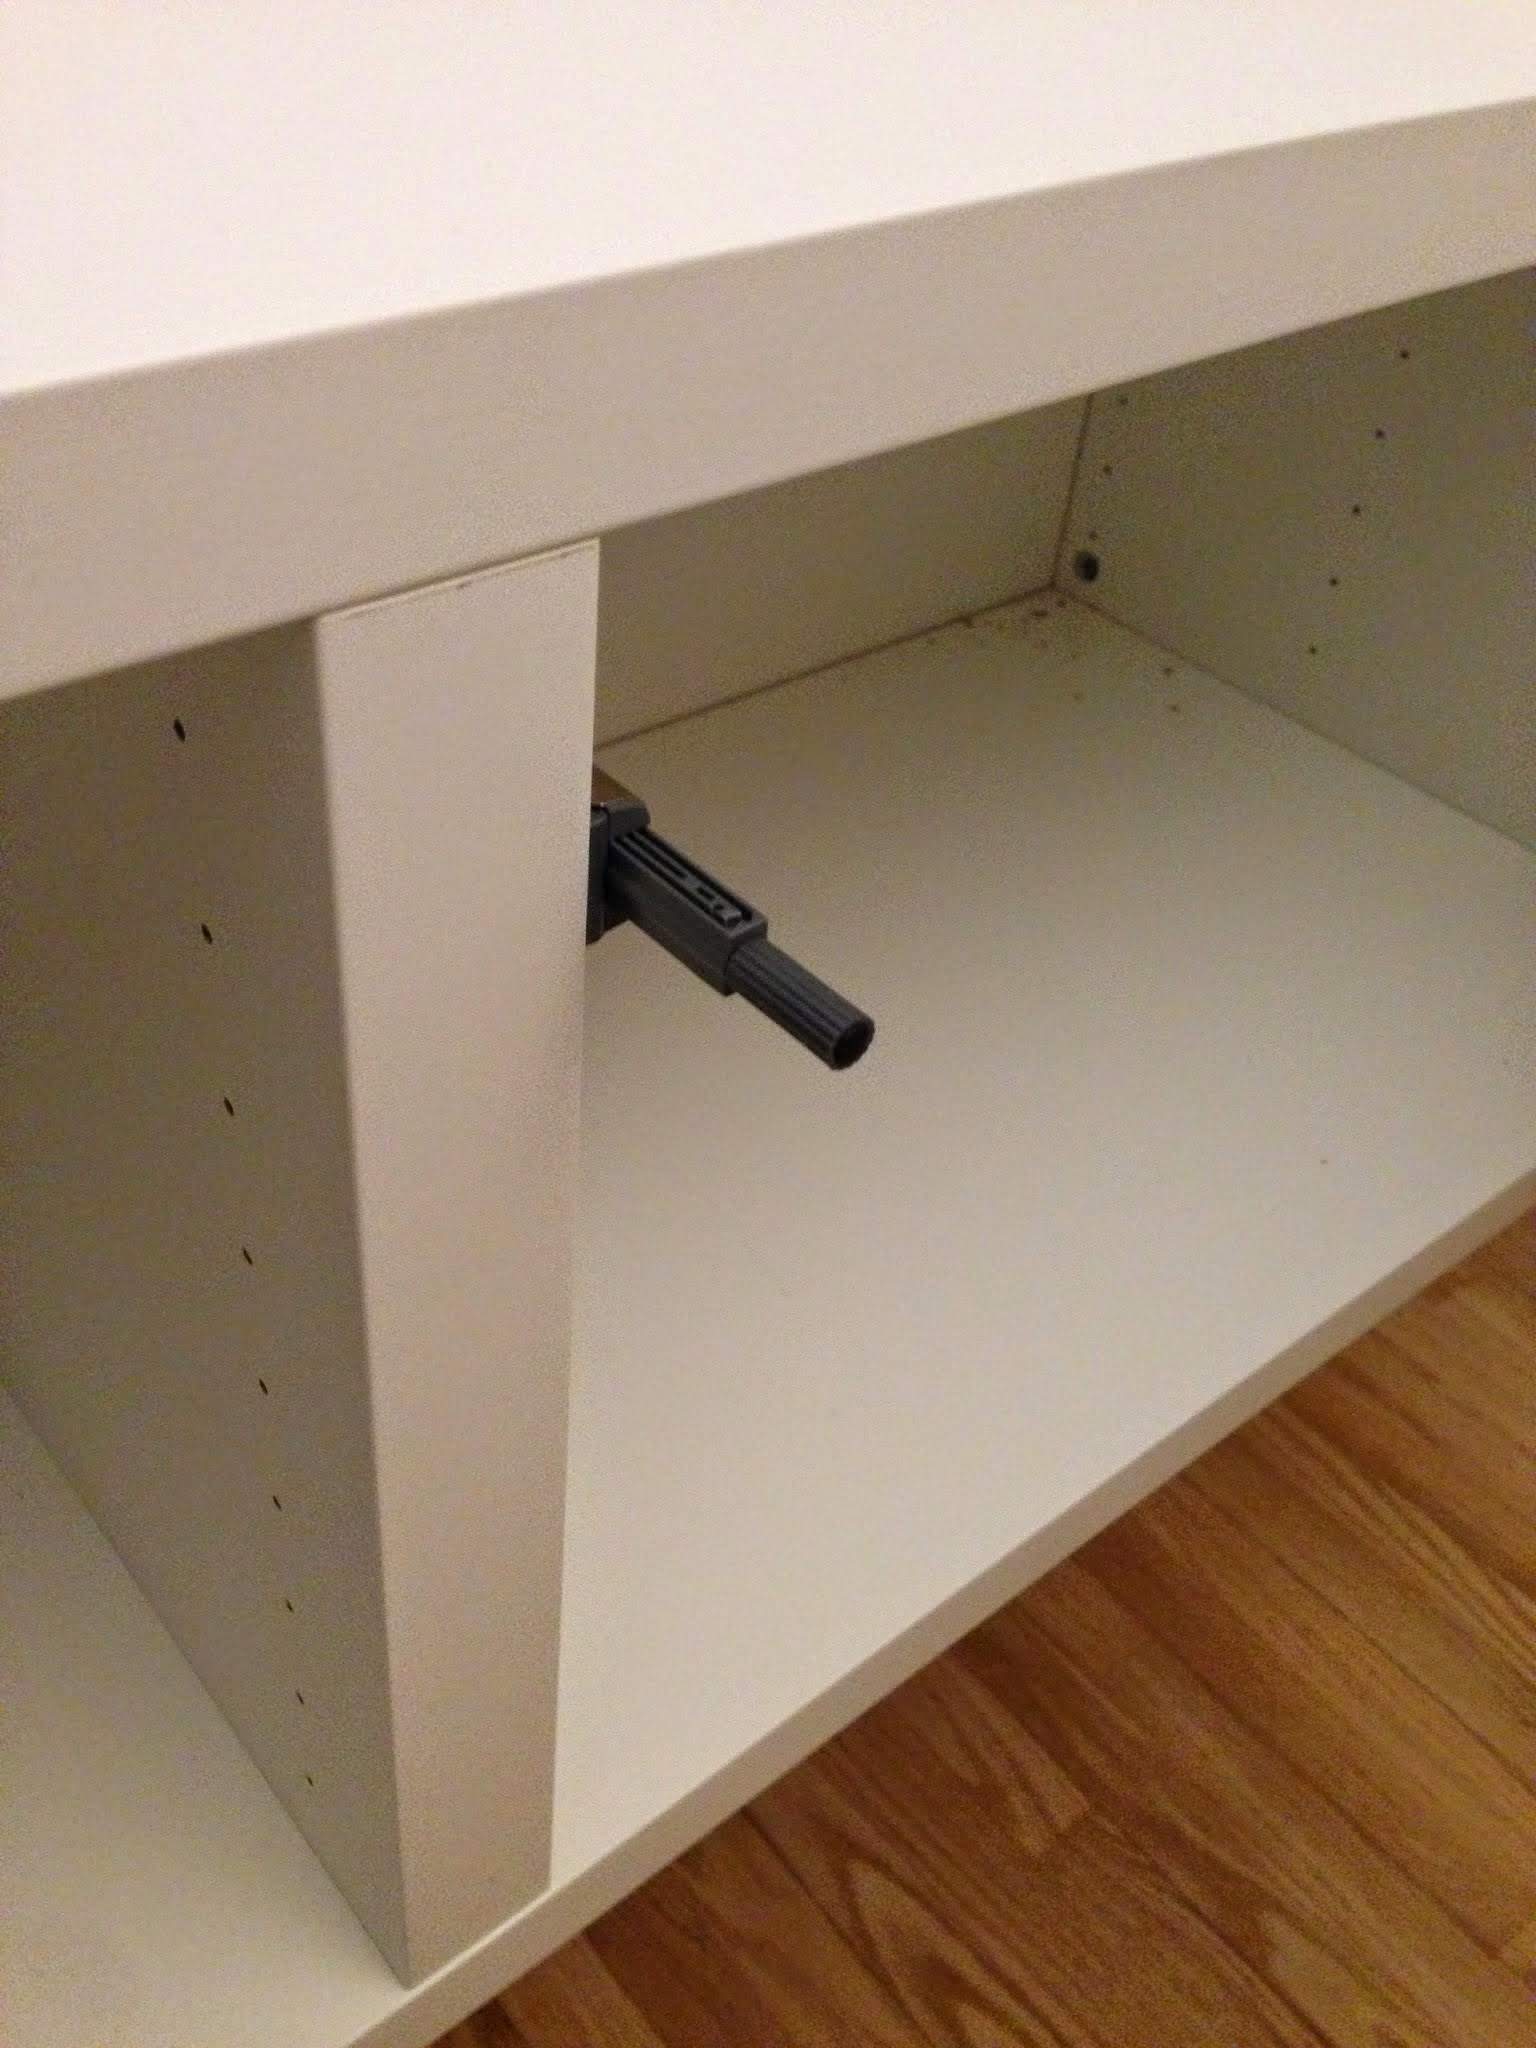
We also installed a push mechanism since I didn’t want to add any handles to the doors.
Once the doors were installed, the gap between the two units was quite noticeable.
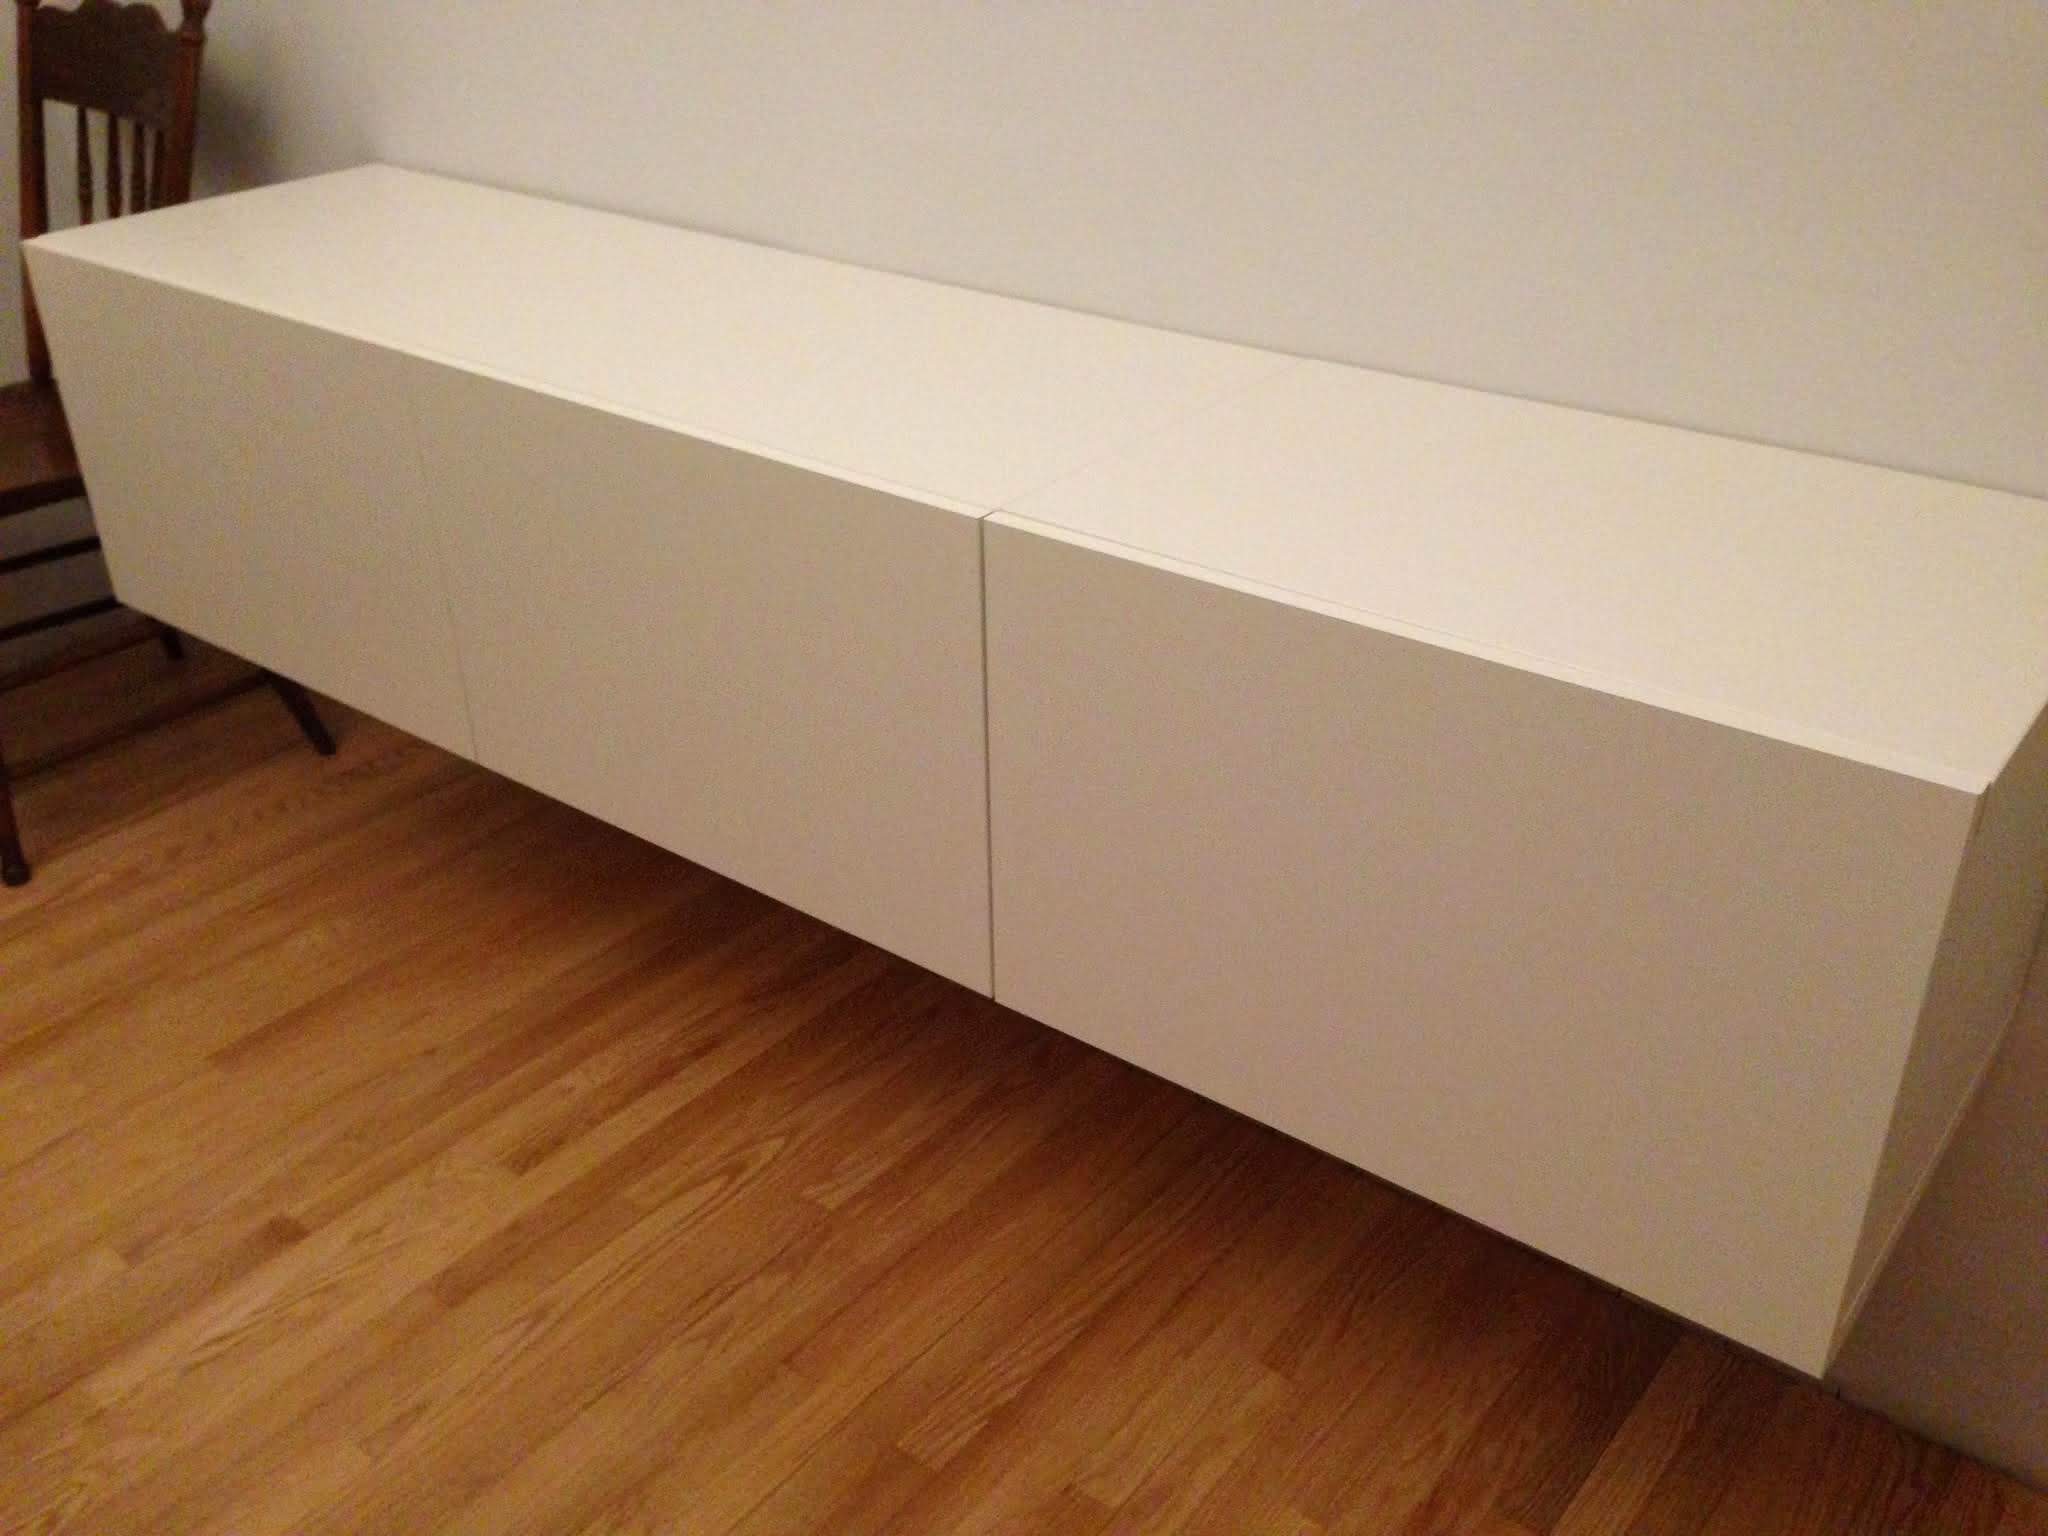
It wasn’t major, but I wanted it to look perfect (obviously), so we screwed the units together to decrease the gap. The unit has pre-drilled holes for the shelves and also came with screws to attach the units together so it was pretty easy to connect the units.
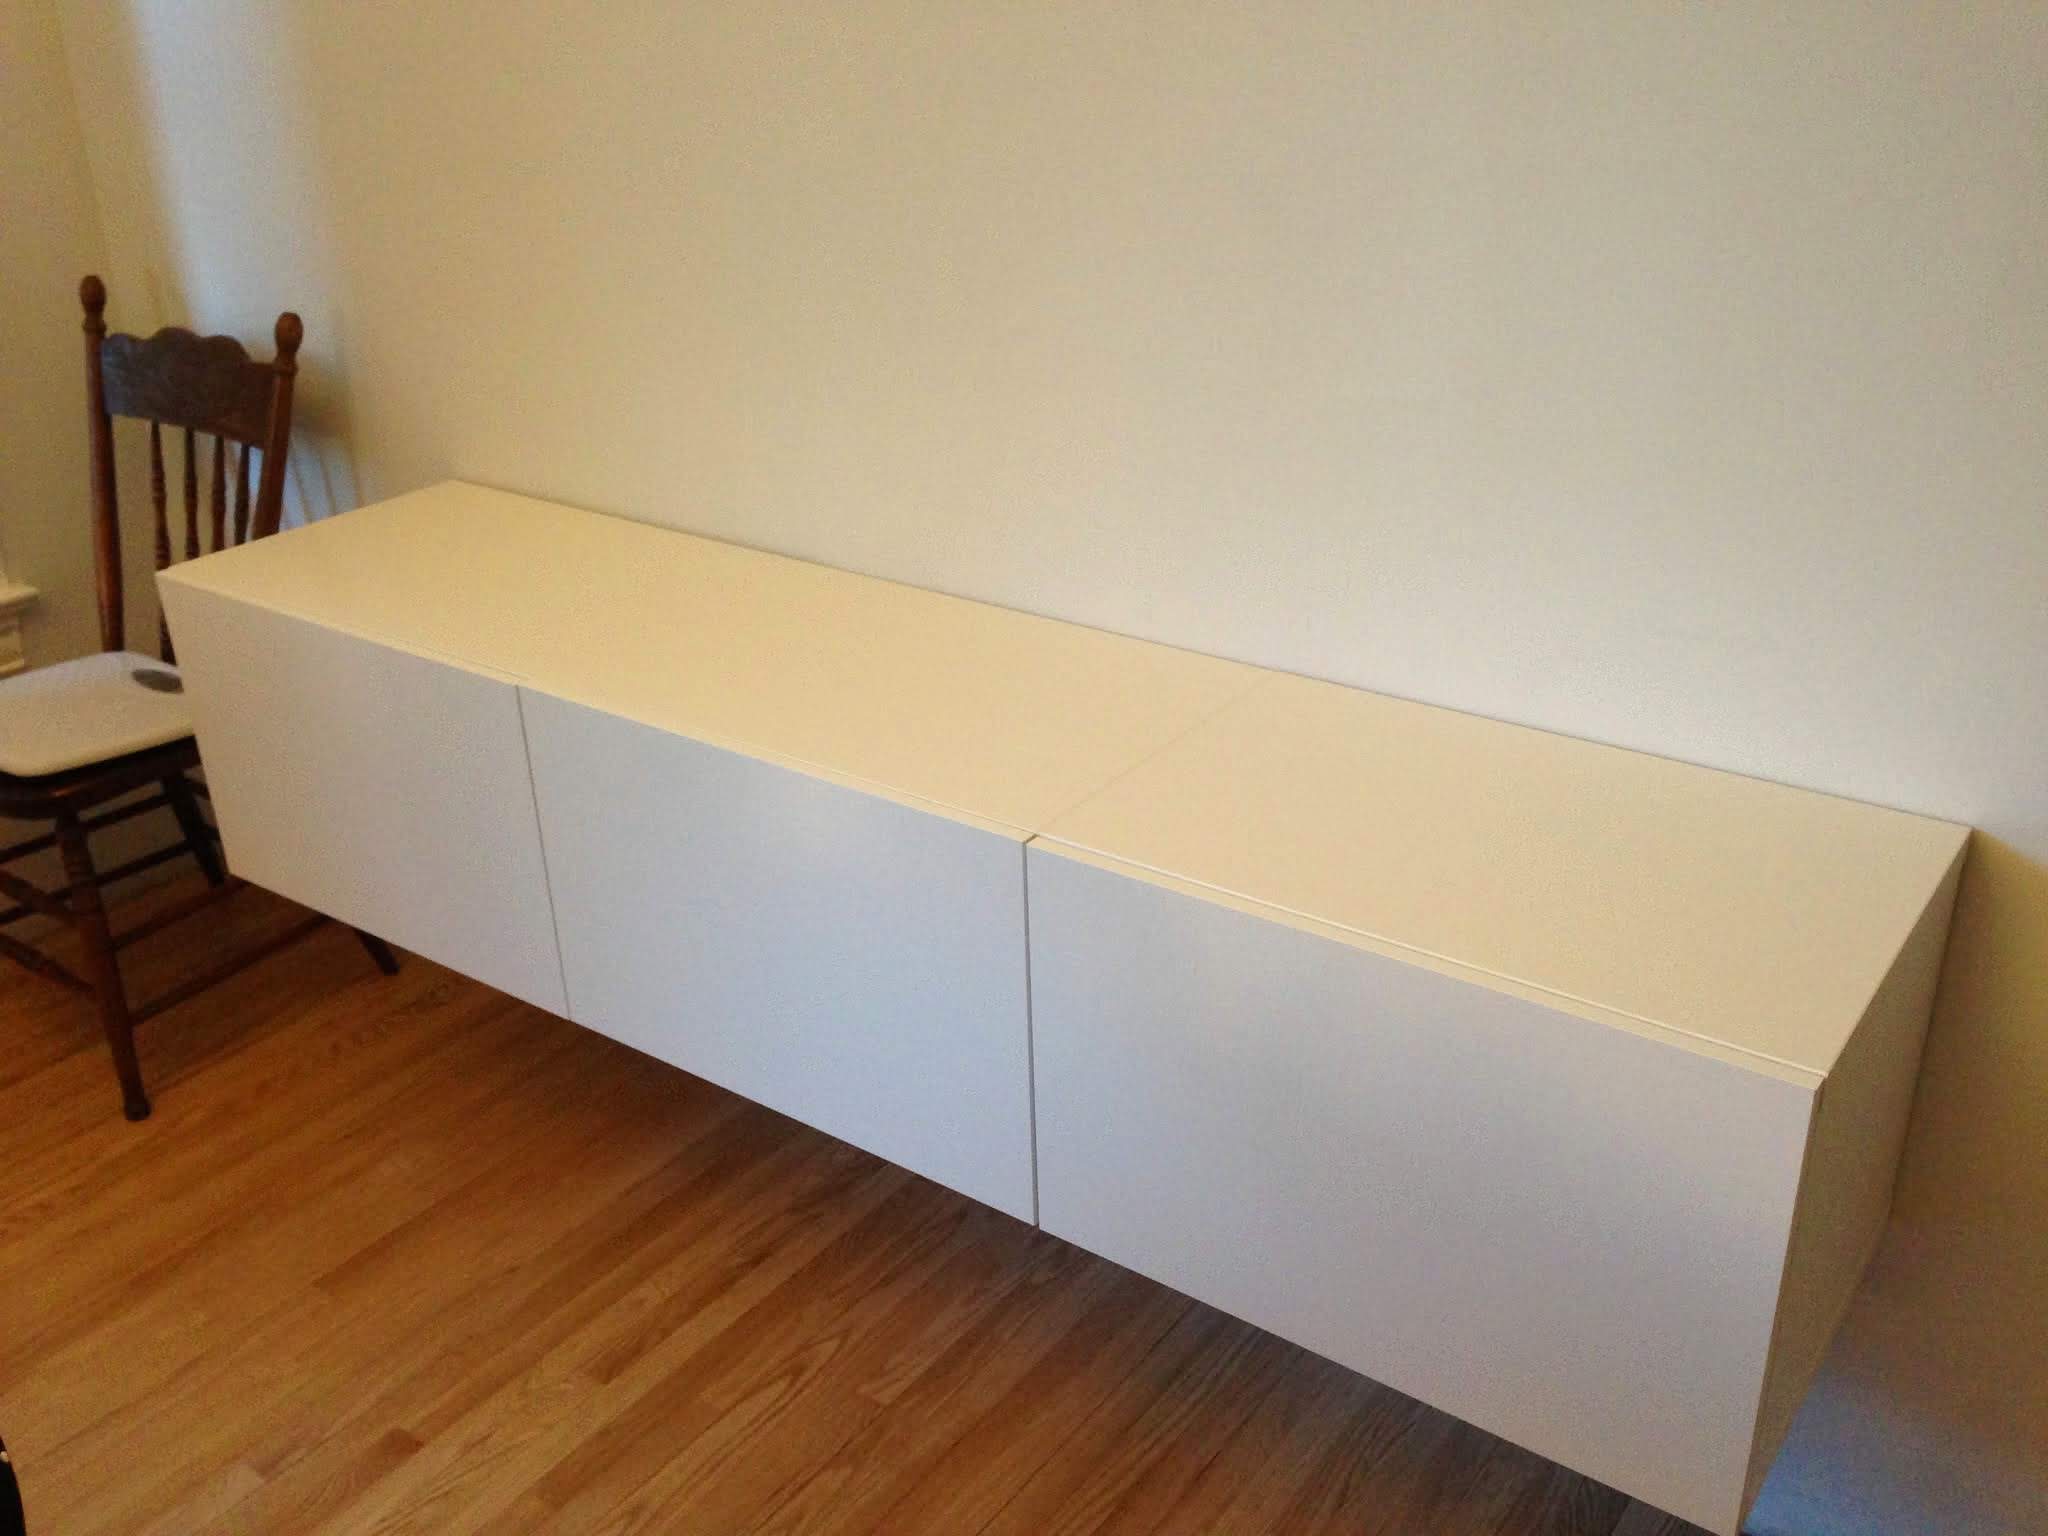
Once attached, the gaps were equal!
We were pretty worried about the cabinets coming down (and also destroying all of our dishes), so we decided to test them to see how well they held up. I weighed the dishes and used books of equal weight. At least if the unit came crashing down we’d only have a broken wall and cabinet – not broken plates.
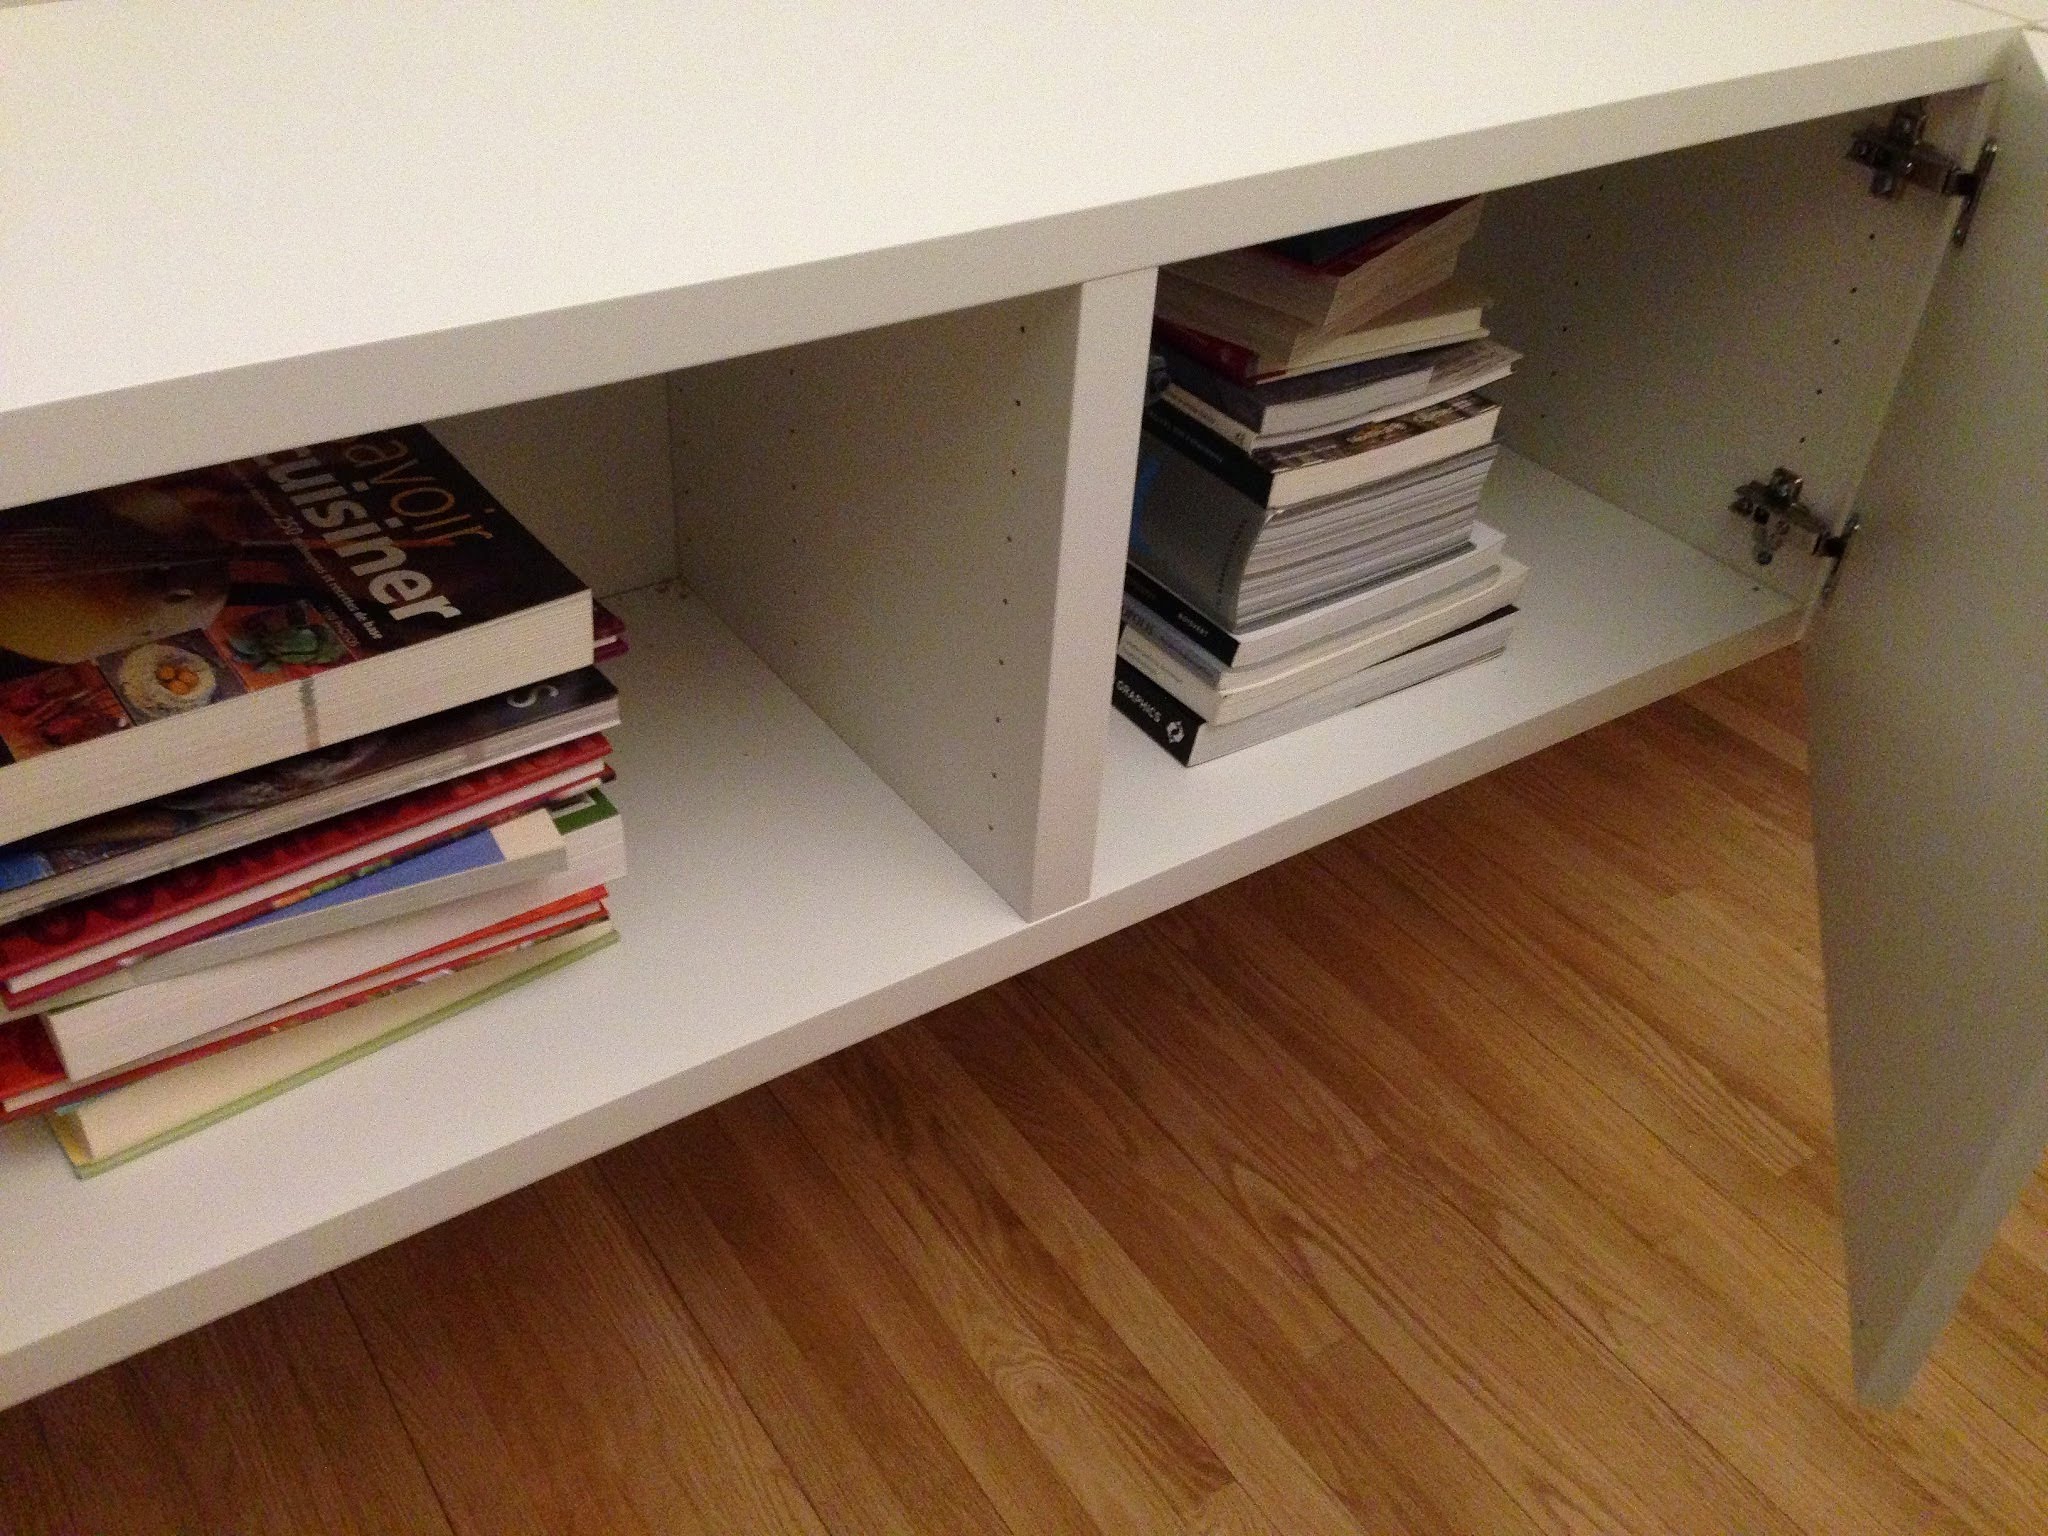
We also added a buffer to account for the weight of the plywood.
Gus thoroughly enjoyed this project because he had a brand new bed out of the deal! At least until recycling day…
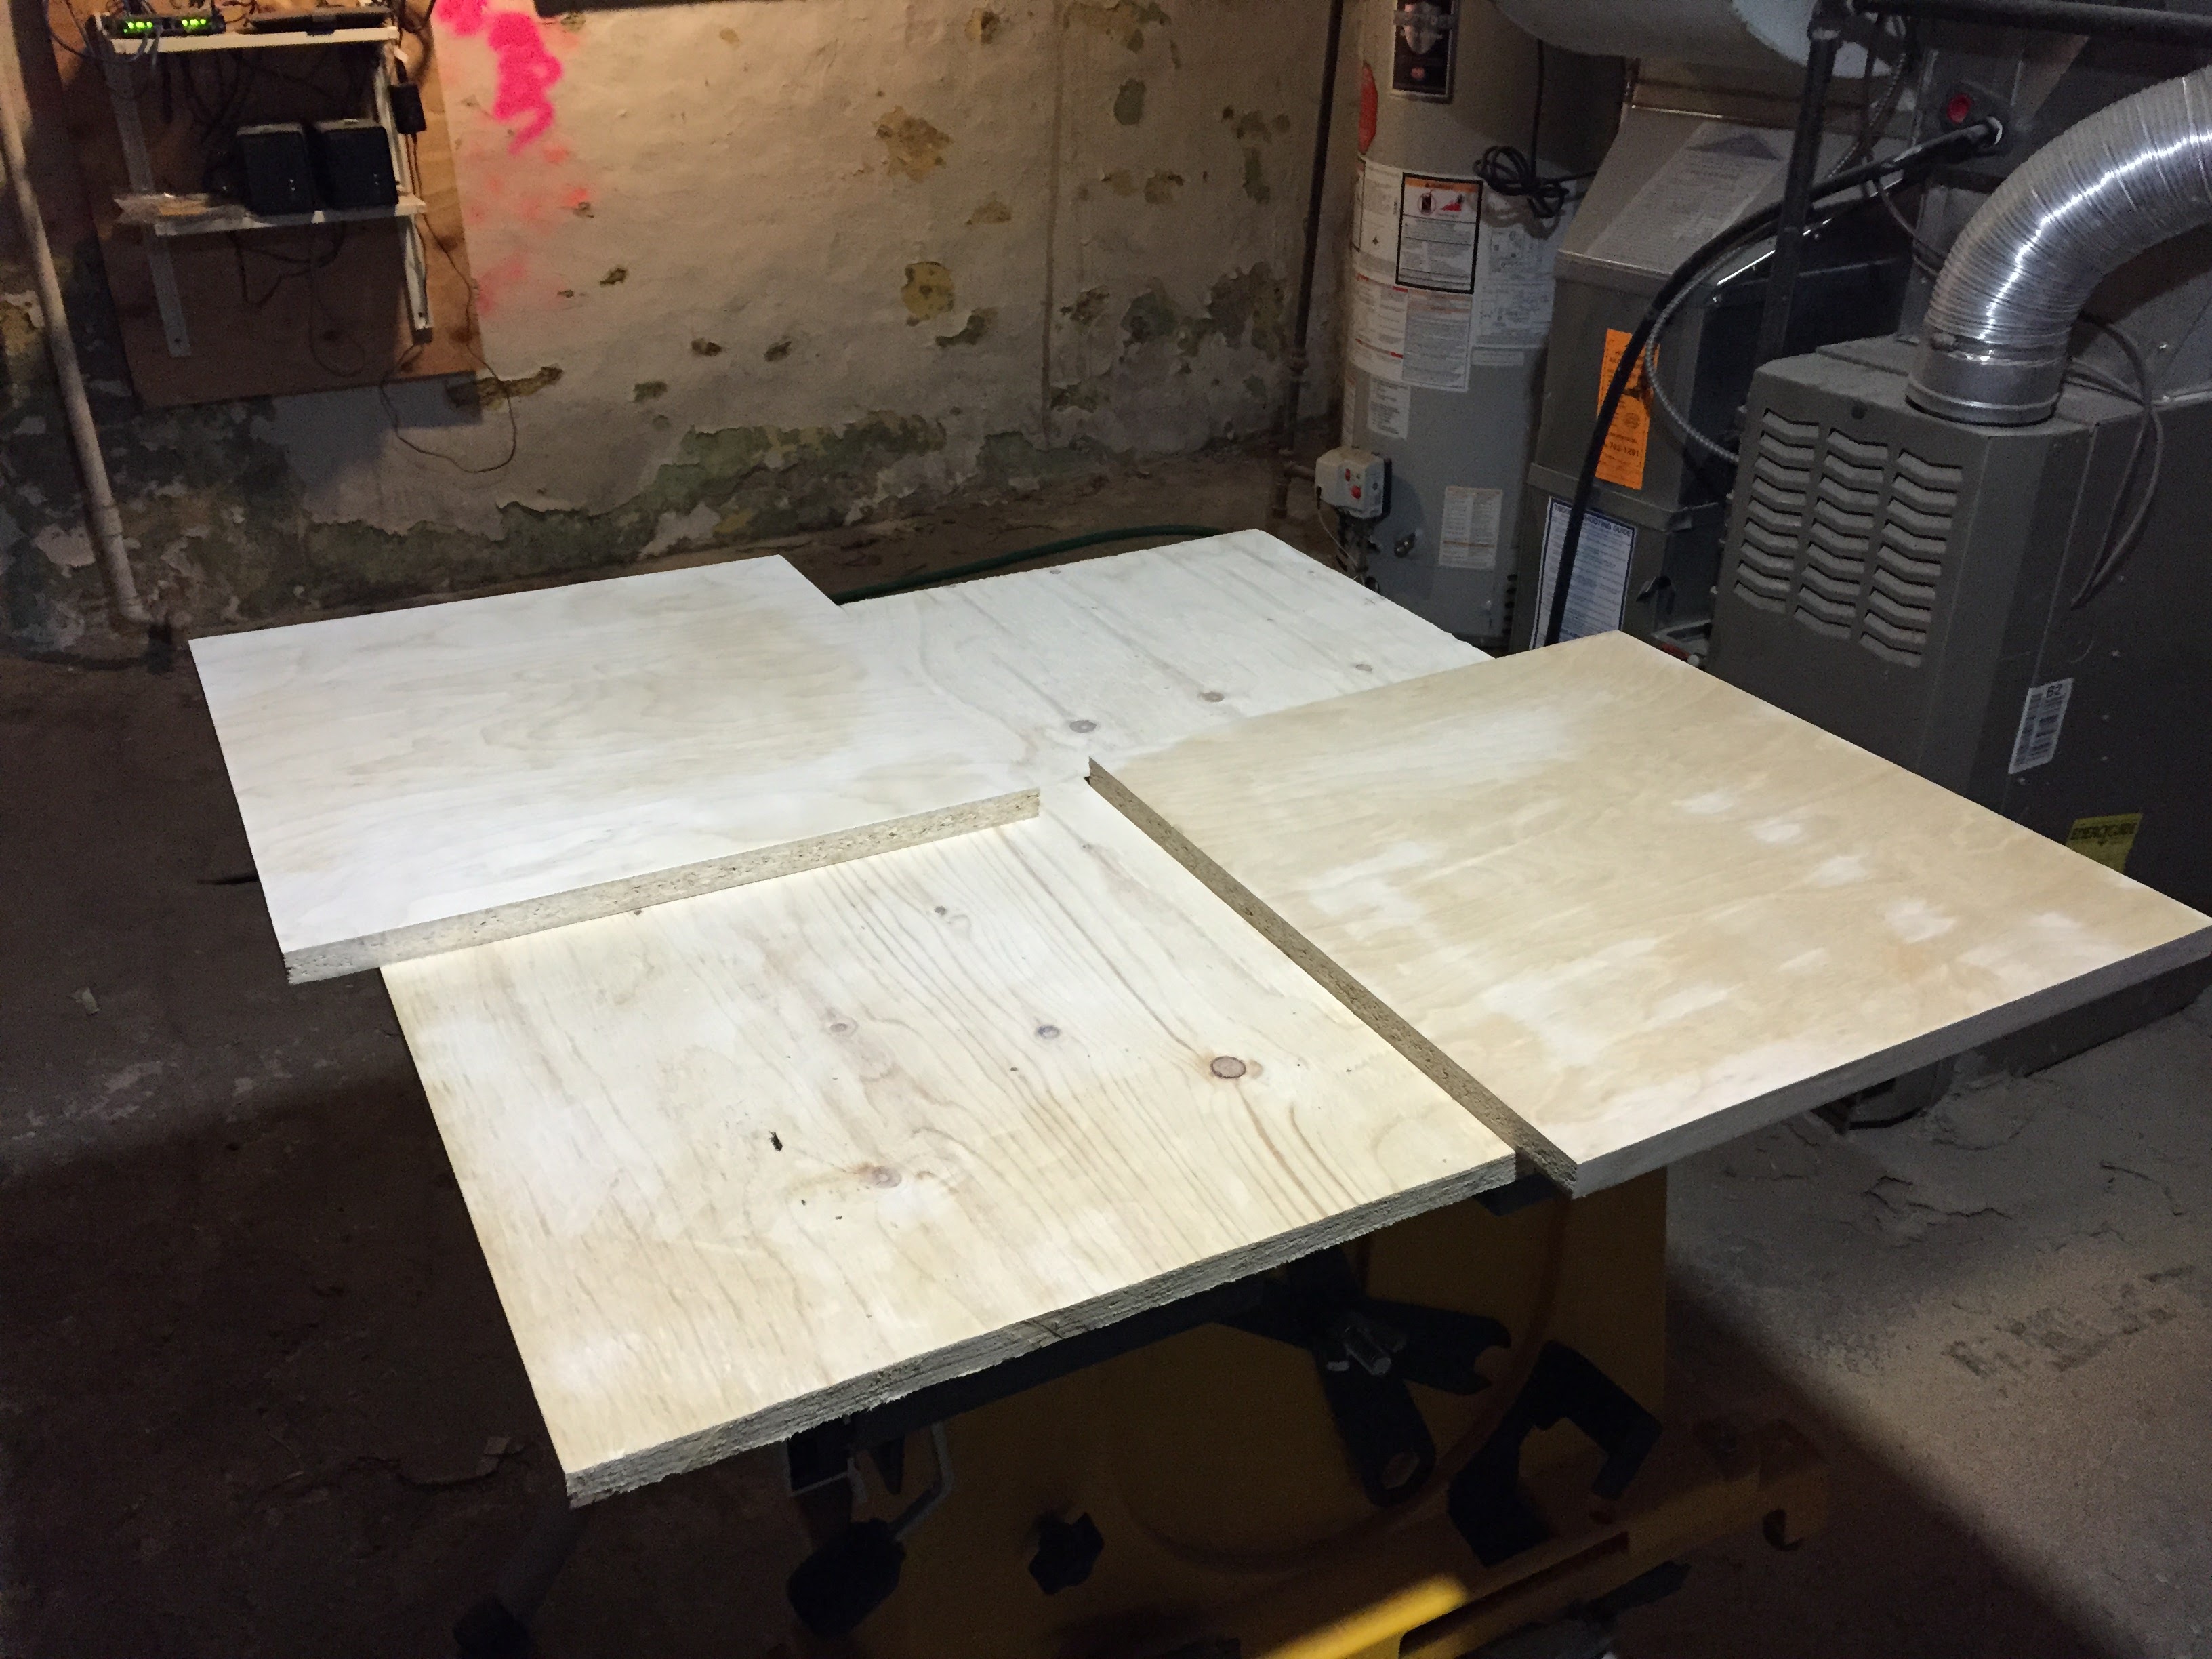
Step 3: Cut the Wood
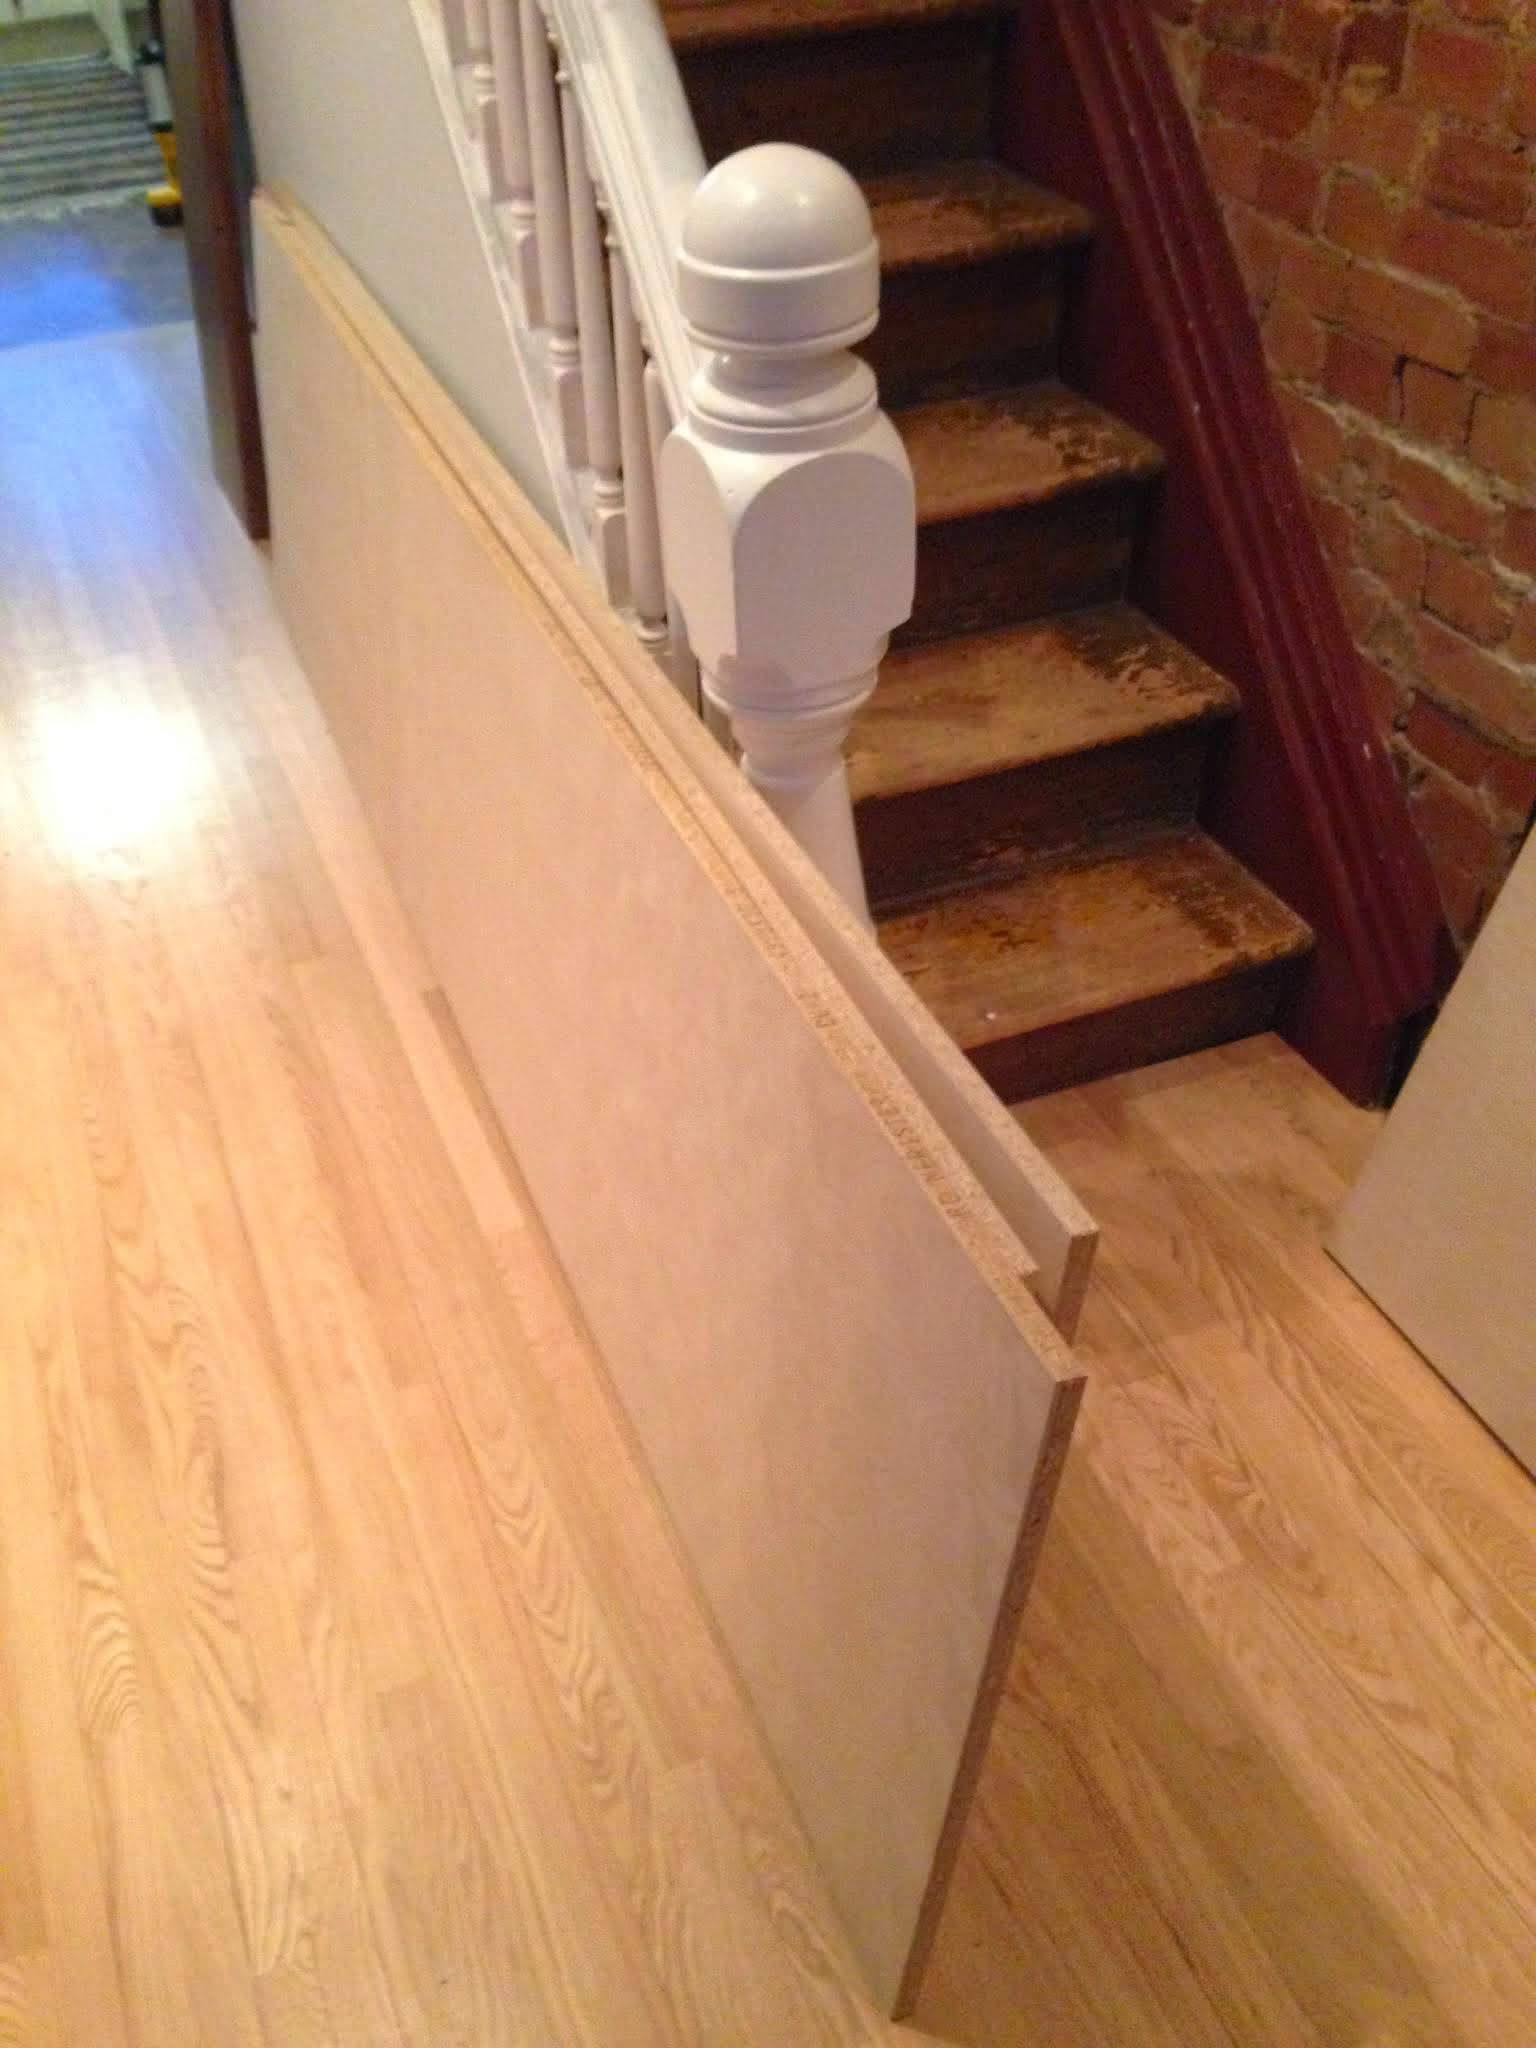
Once we were sure the unit wouldn’t crash to its death, it was time to wrap it with our birch plywood.
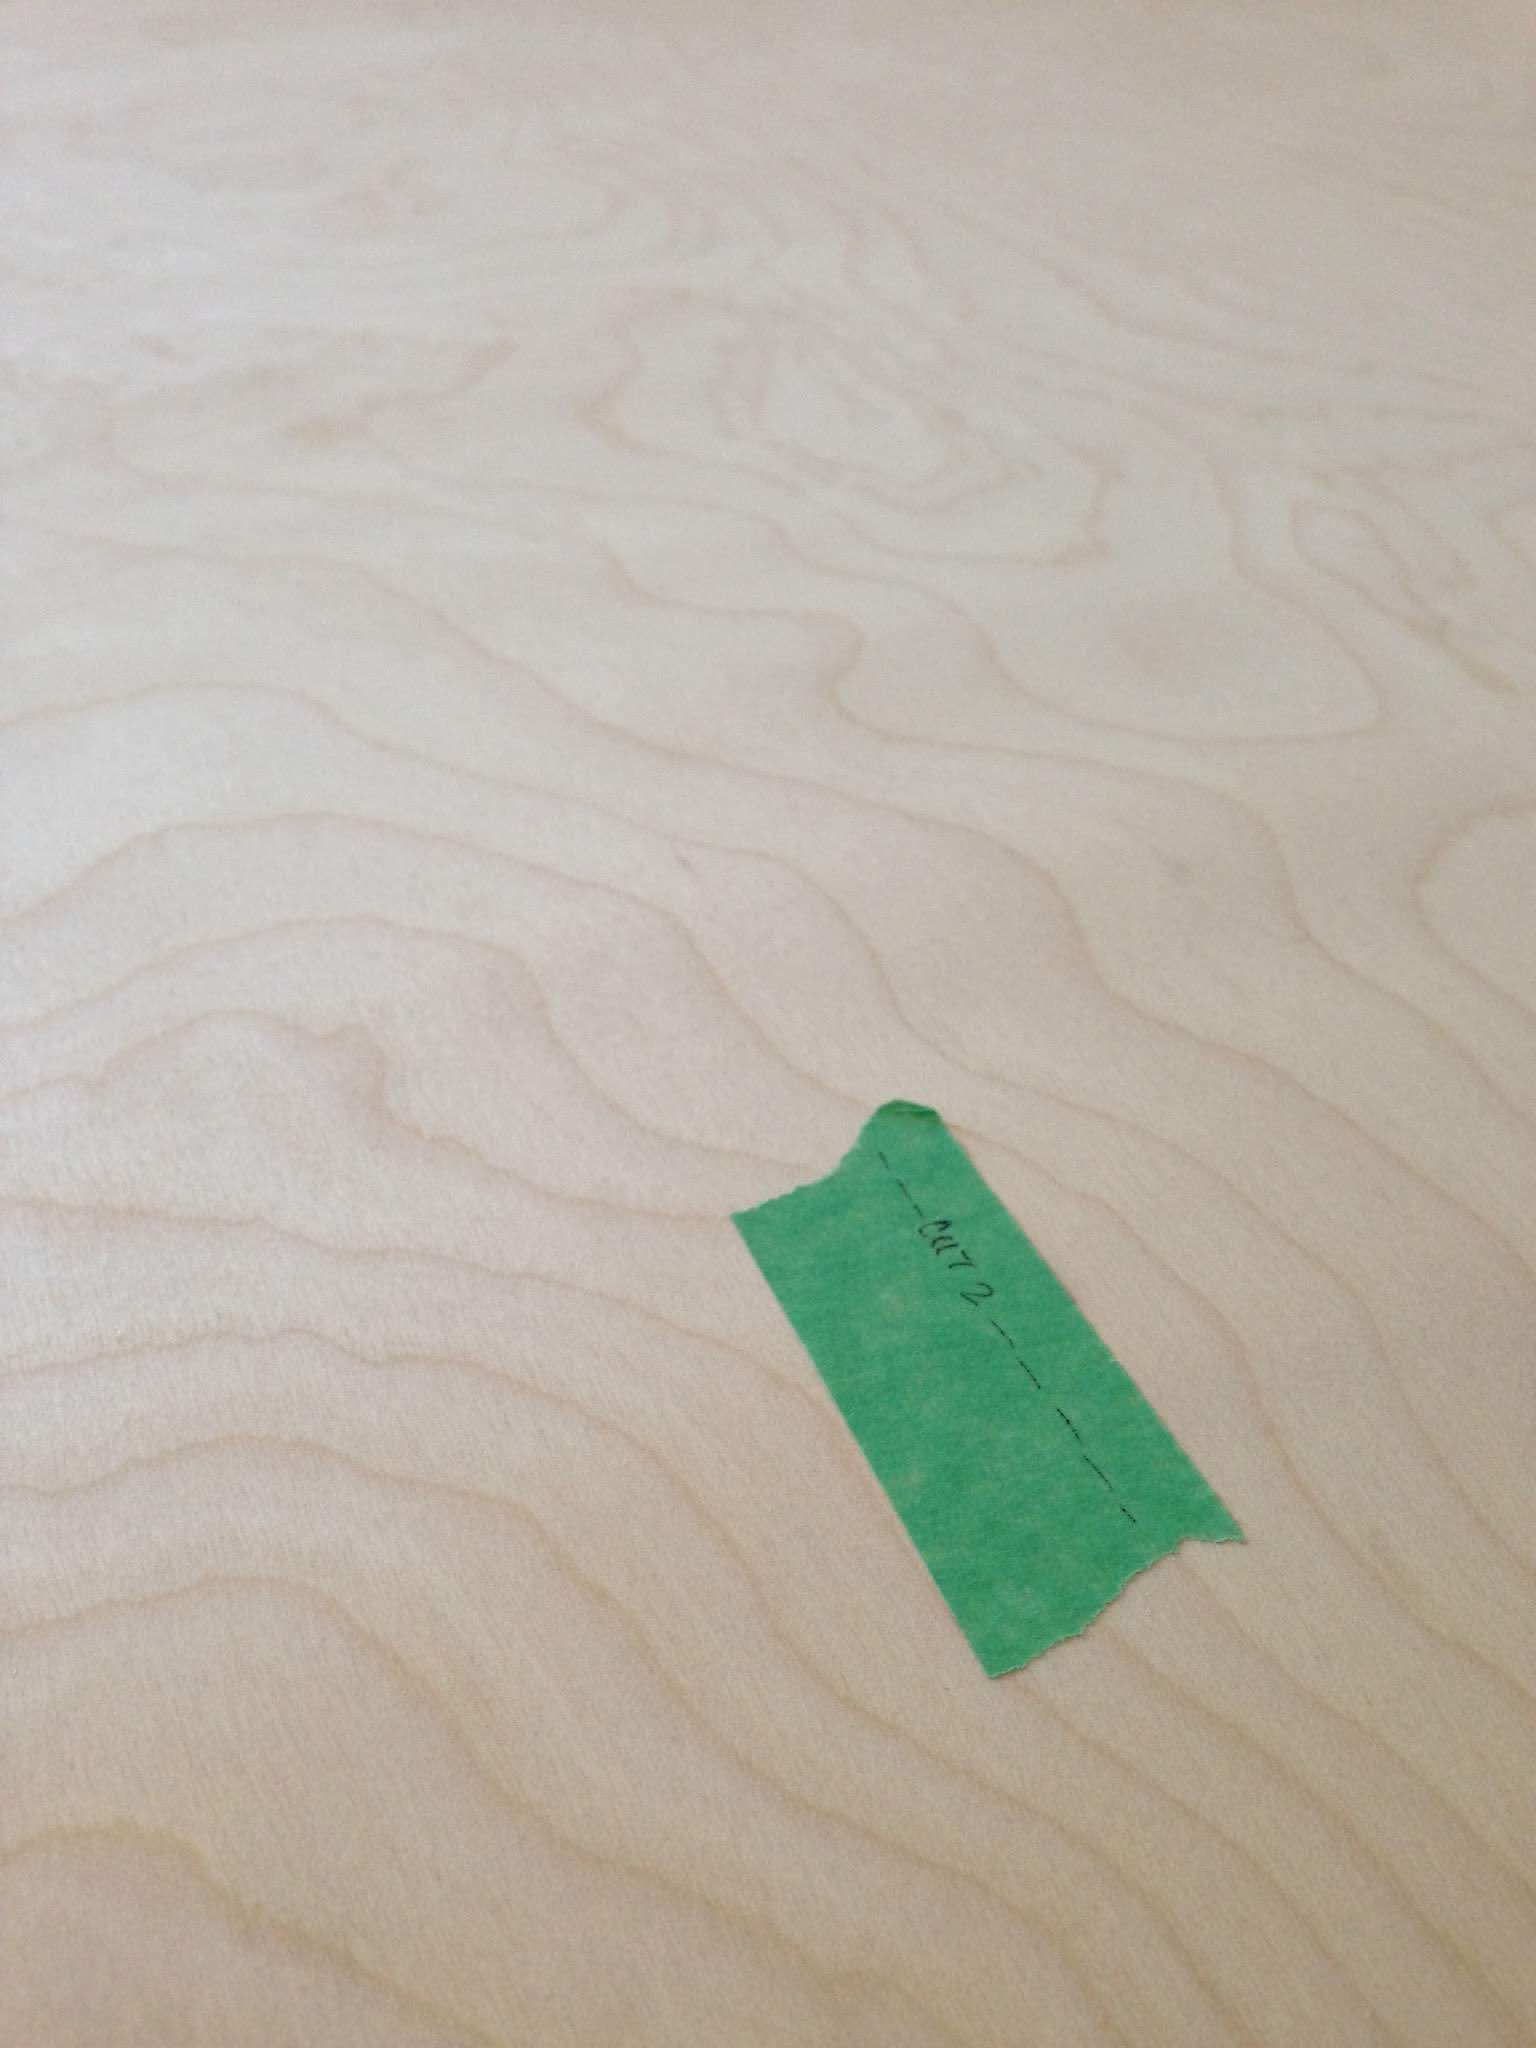
I chose the piece of wood with the nicest grain and marked it with some painter’s tape.
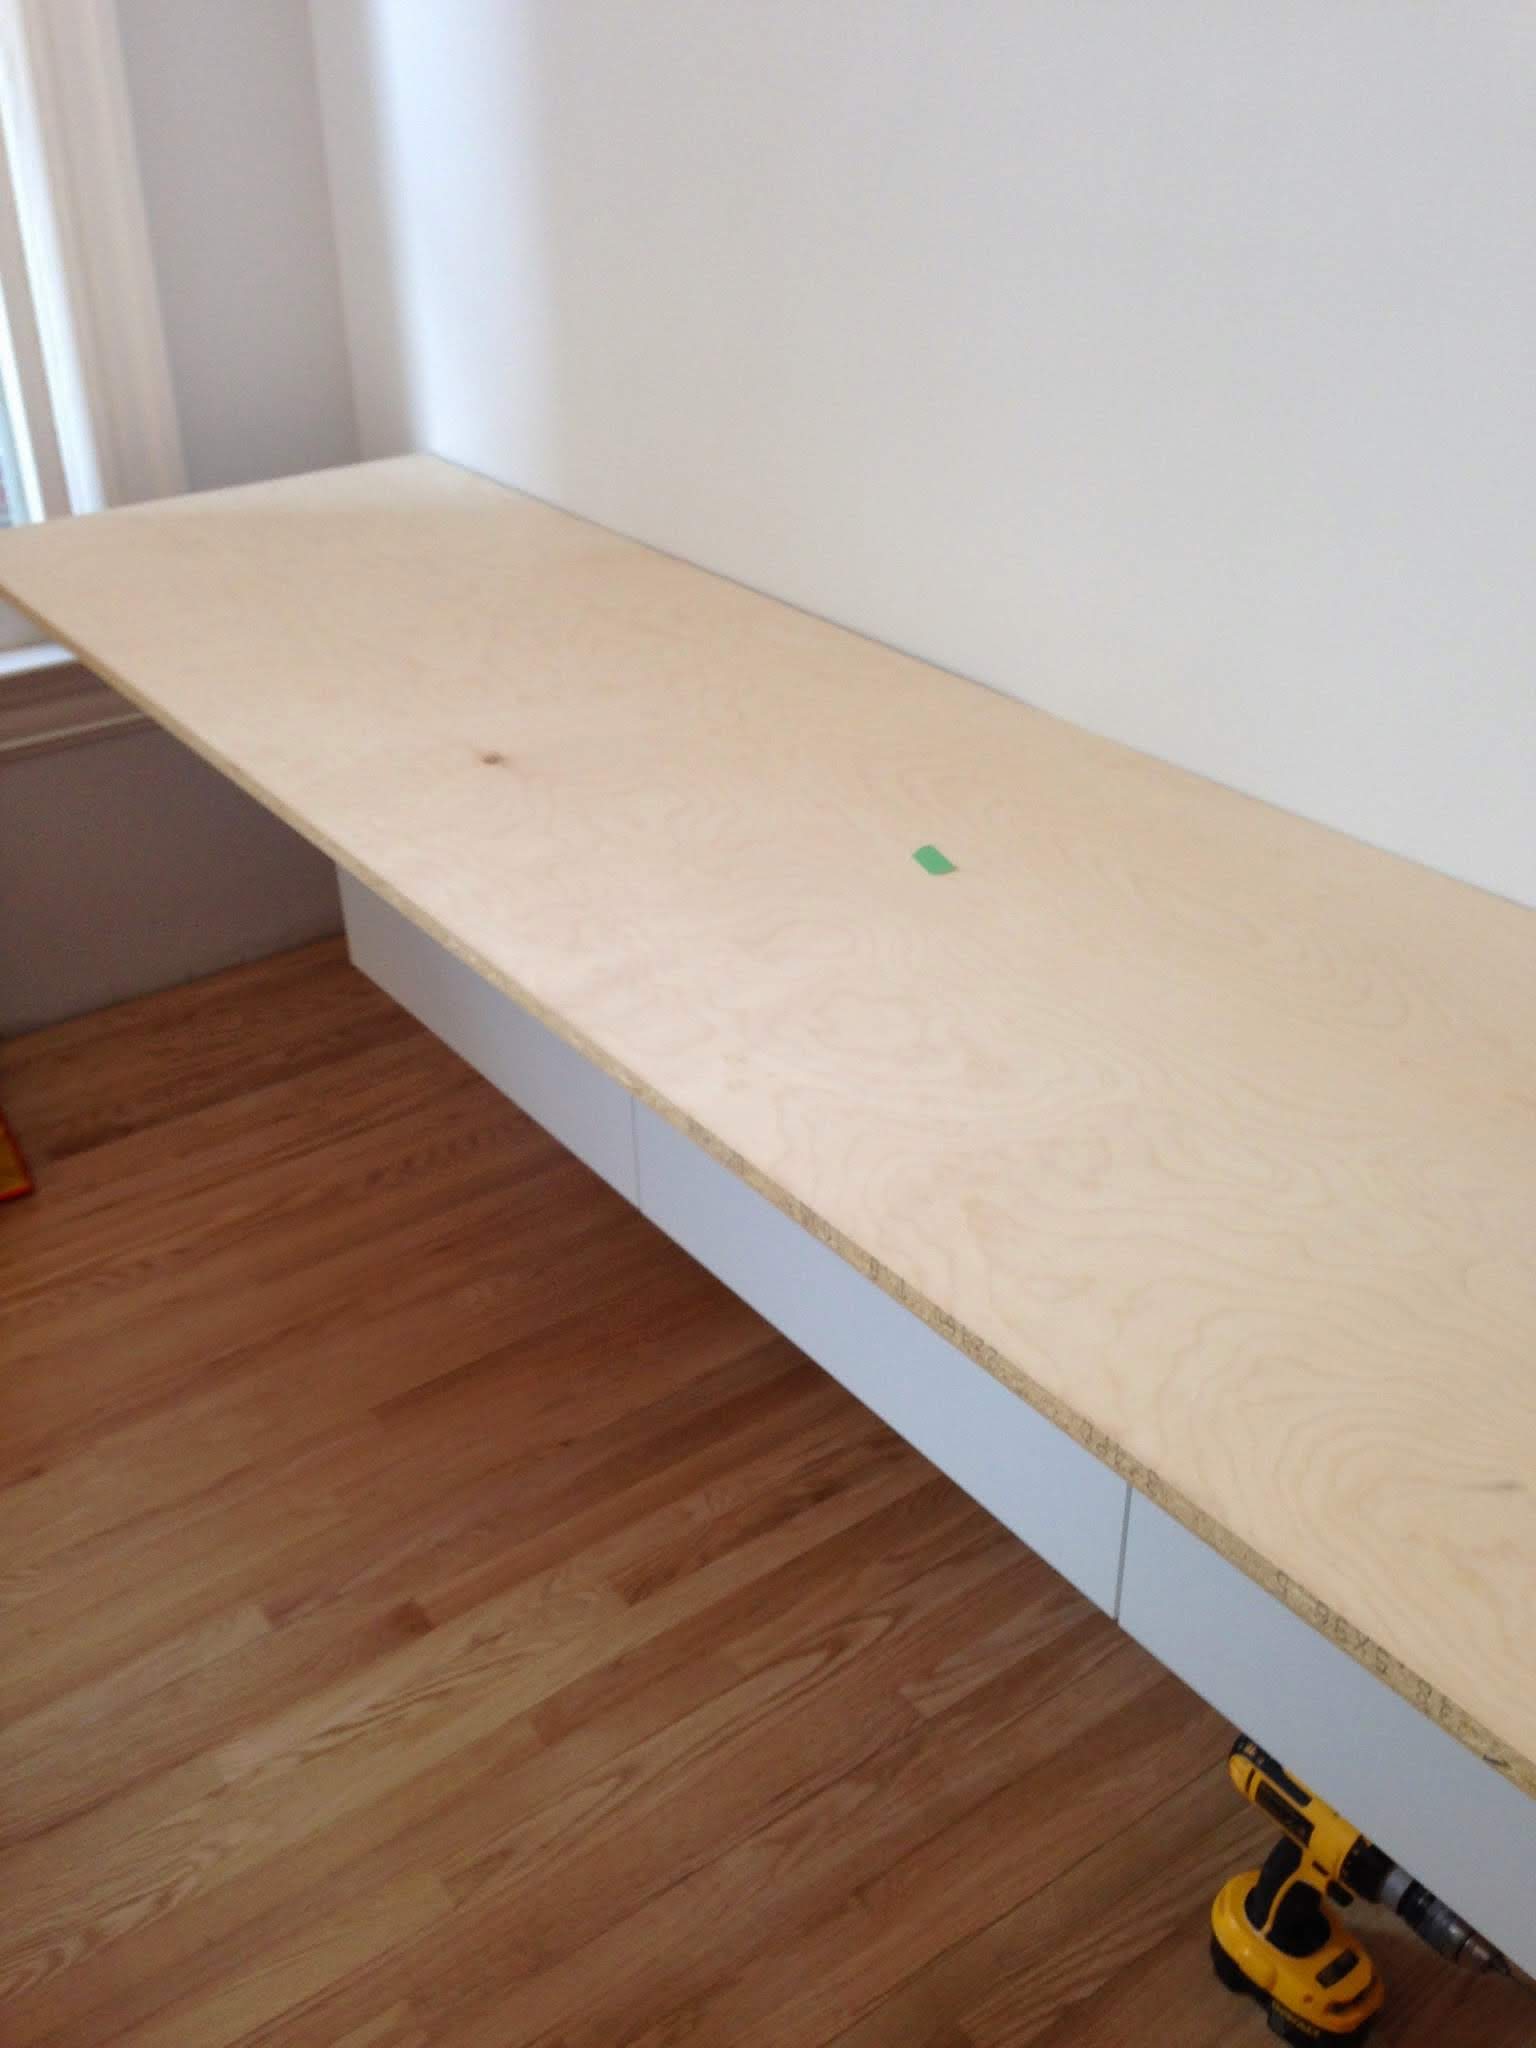
I also marked two cut marks: one for the length and one for the width. I left a couple of extra inches so that I could trim down to the right size.
We decided to have mitred corners and used the table saw to cut 45 degree angles.
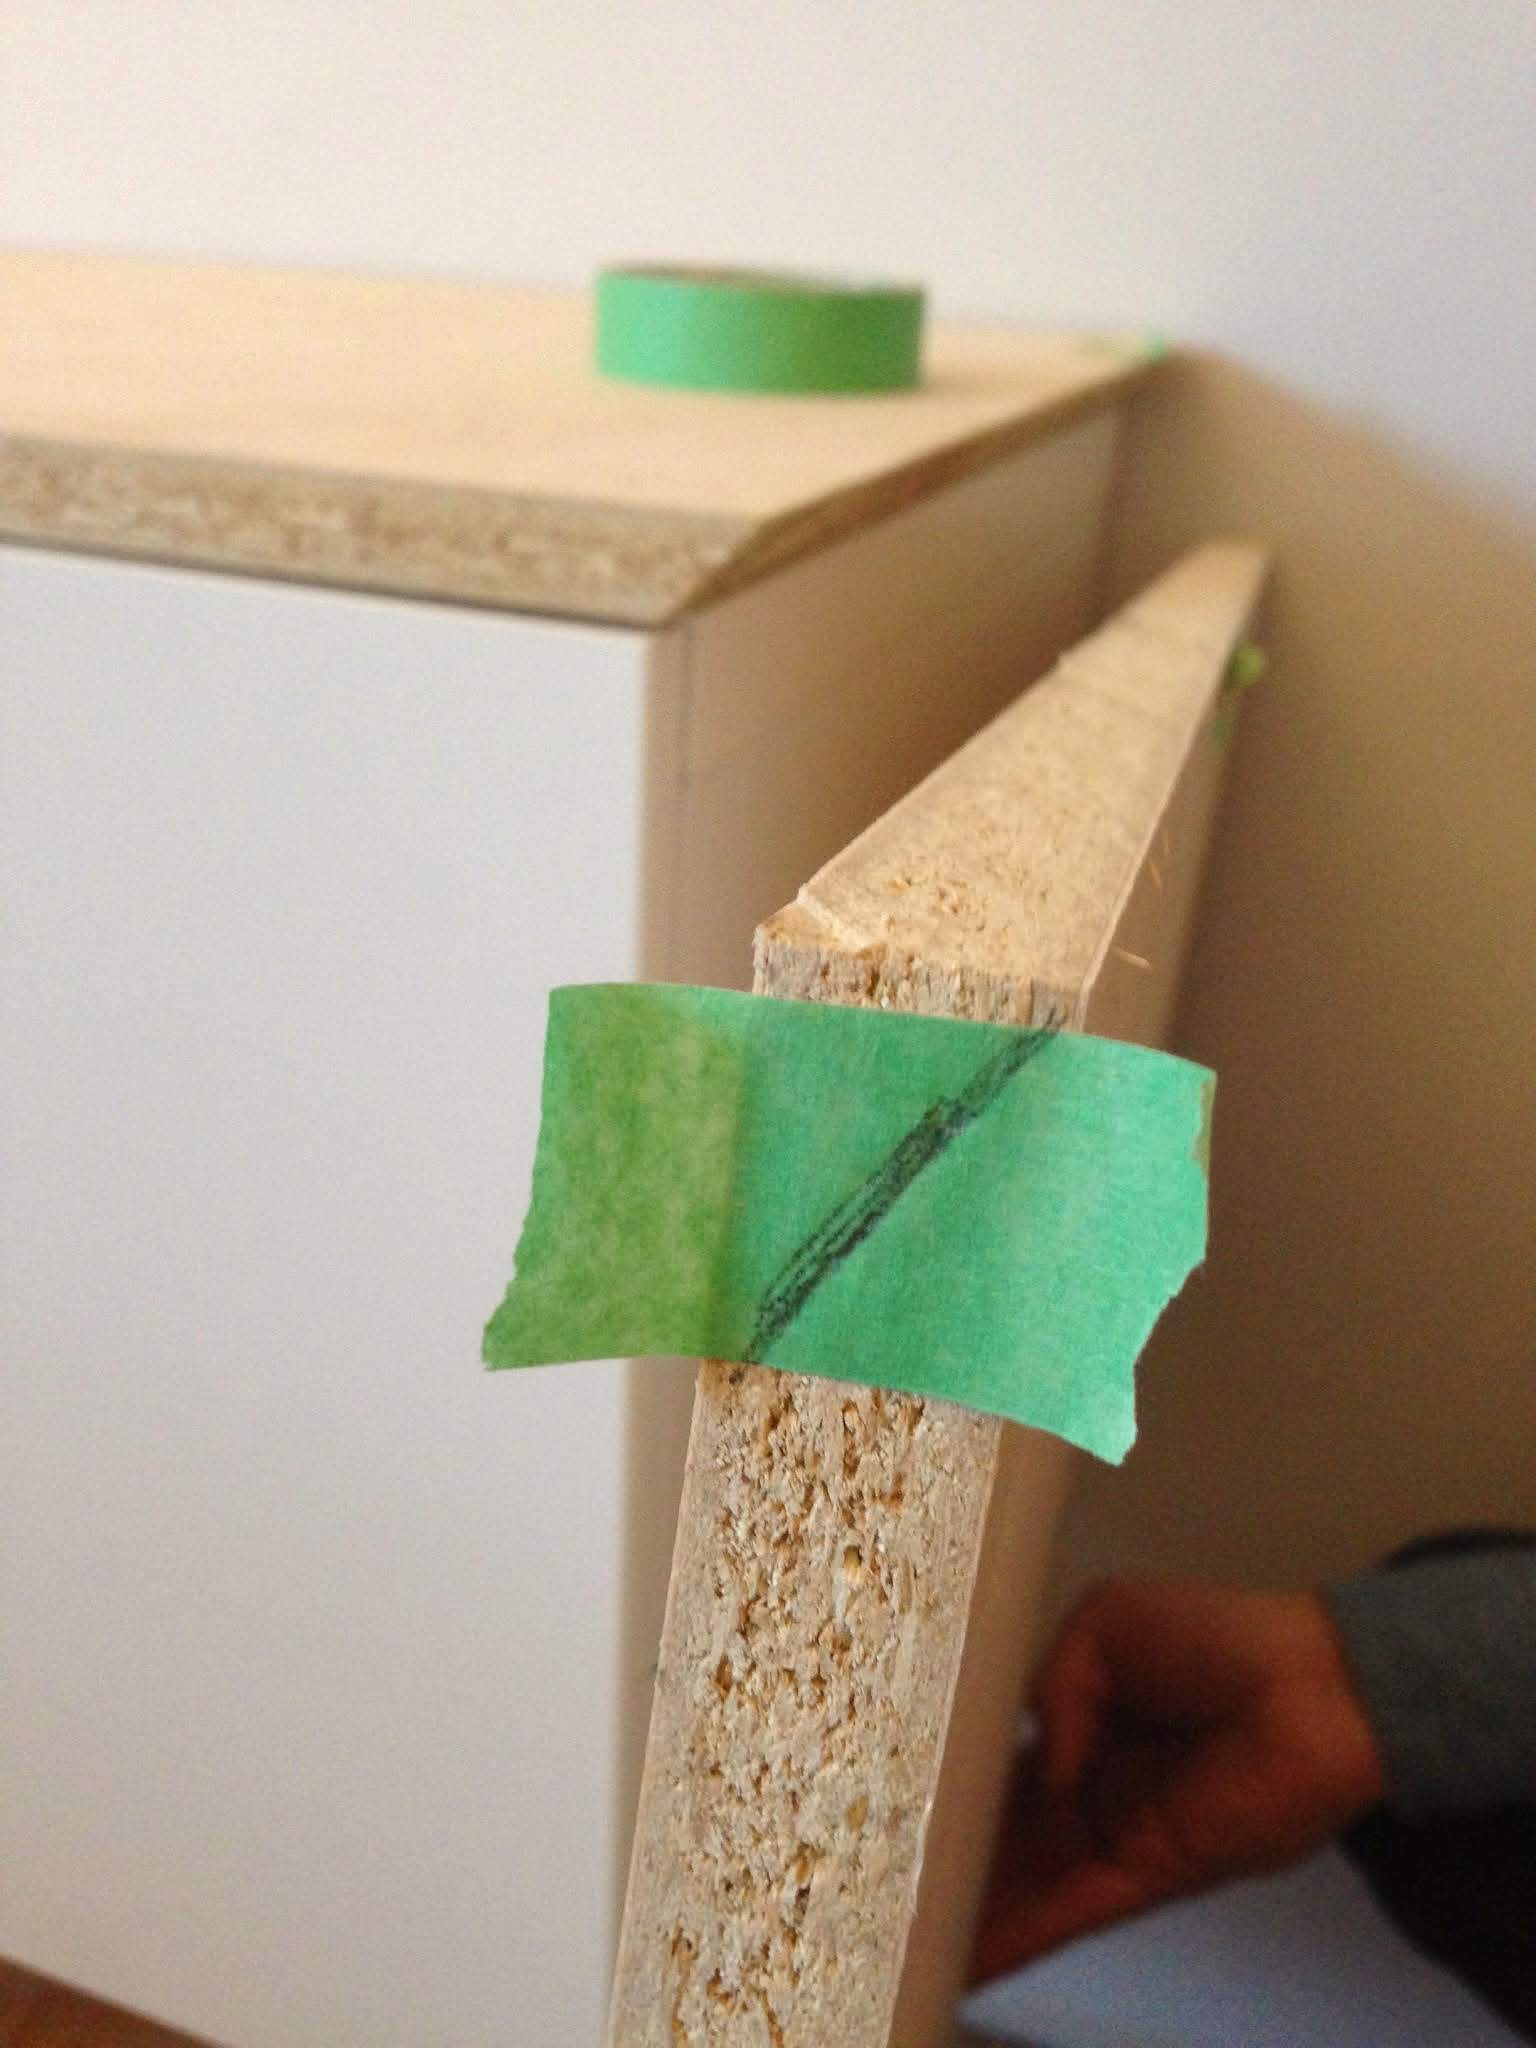
When we went to align the pieces, there was a huge gap and I wasn’t about to figure out how to fix it. So we decided to have a butt joint instead. Since we’re just attached the wood to the furniture, it doesn’t have to have any structural integrity.
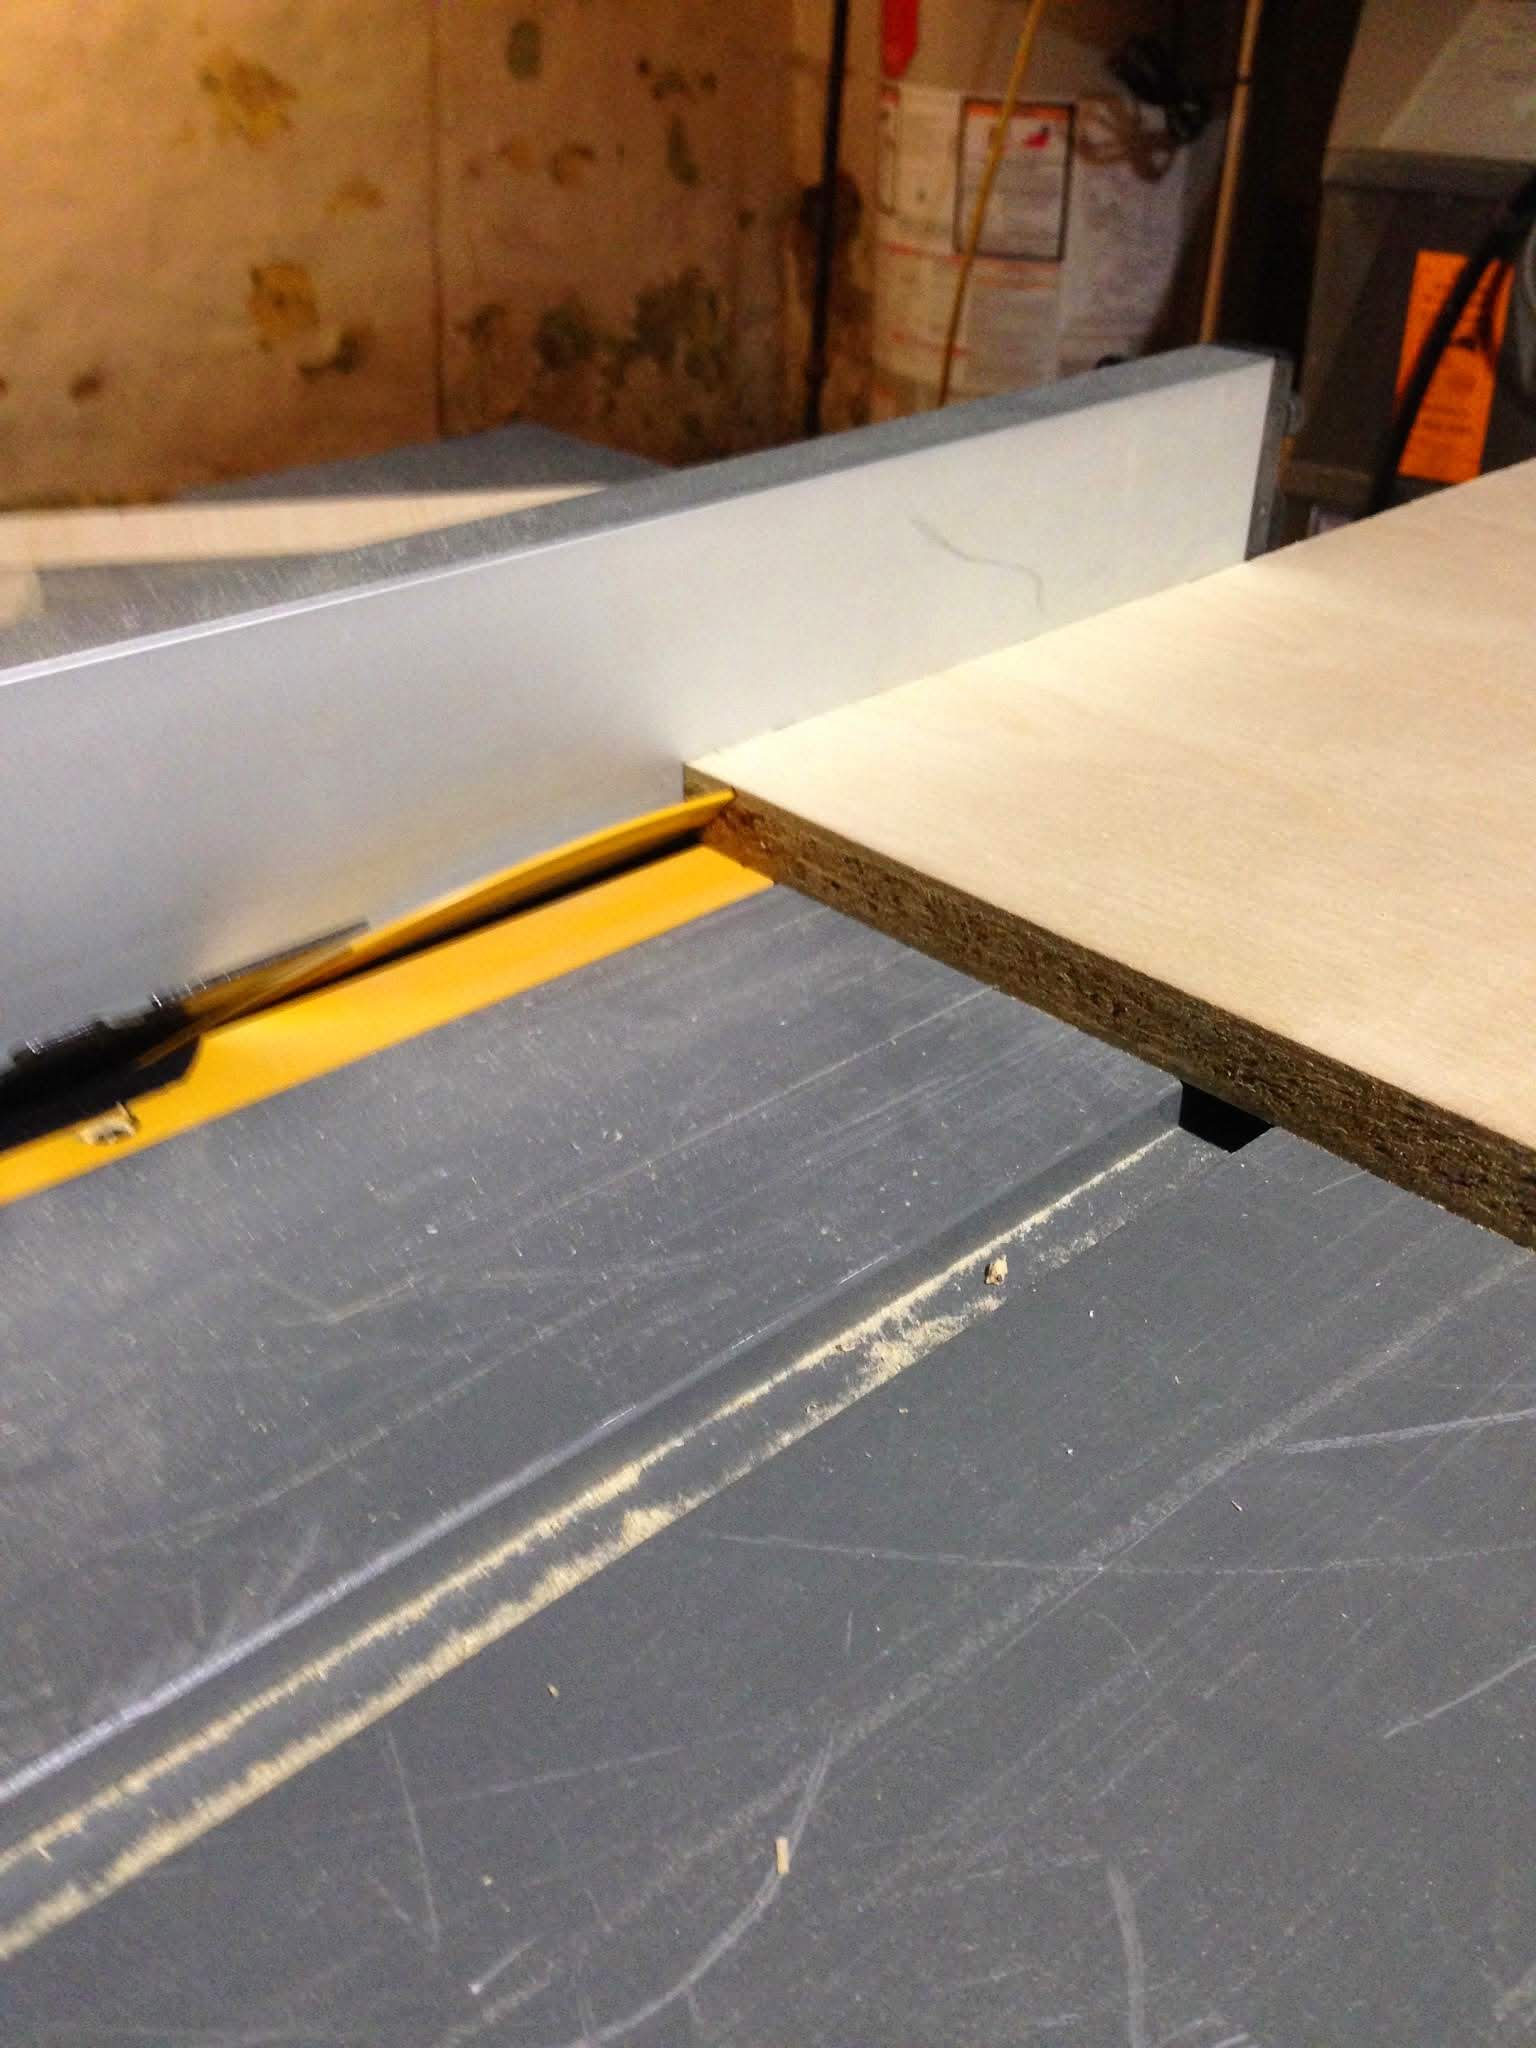
I first made sure that the top piece was the right depth by carefully measuring and making a cut on the table saw. This was the most challenging because ripping a board takes some patience and steady hands. Because the piece is so long, it’s easy for it to slide around on the table saw, leaving you with a wobbly edge.
Once the depth was perfect, I moved on to cutting the side piece. I clamped the top piece in place to use as a guide and marked the side piece to the same depth. Luckily my measuring was extremely accurate, and I ended up with two pieces that aligned. I then cut the right side piece to the right height and was good to go.
I did the same thing with the left side. I used the top piece as a guide and cut the left side piece to the right depth and height.
Once the side pieces were in place, I used them as a guide to make sure the top piece was cut to the right length. After double and triple checking, I made the final cut on the top piece.
Everything fit perfectly and I was ready to veneer the edges!
Step 4: Apply the Edging
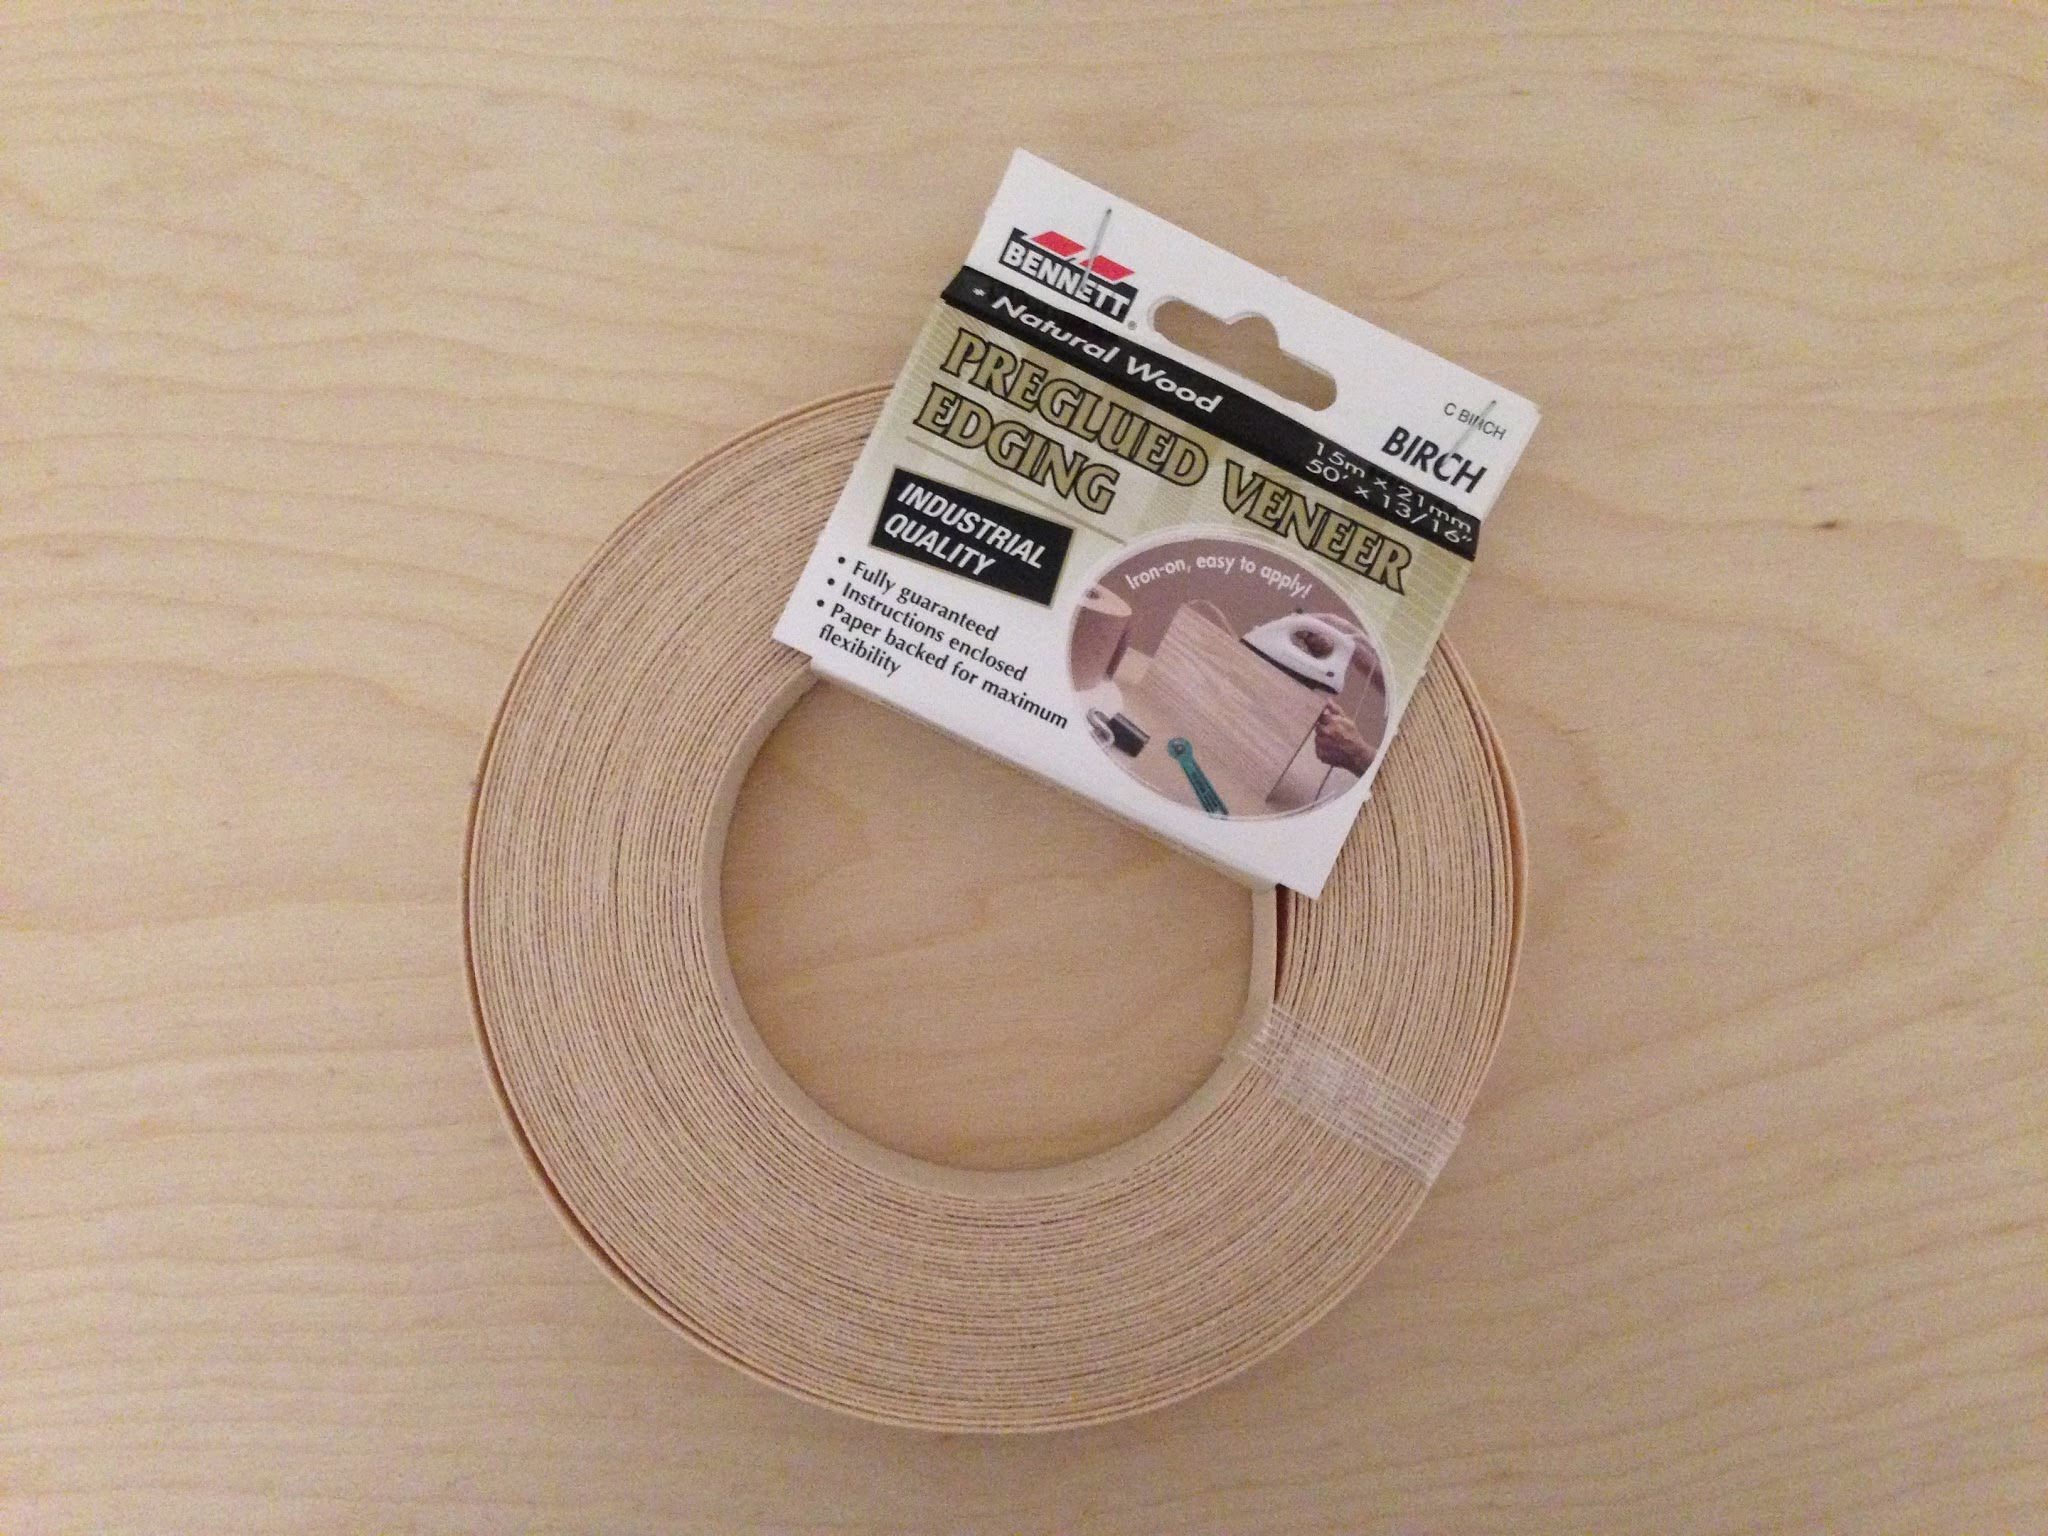
We bought Bennett pre-glued veneer edging in birch (to match the wood).
Veneering was a relatively easy process, thanks to this helpful video.
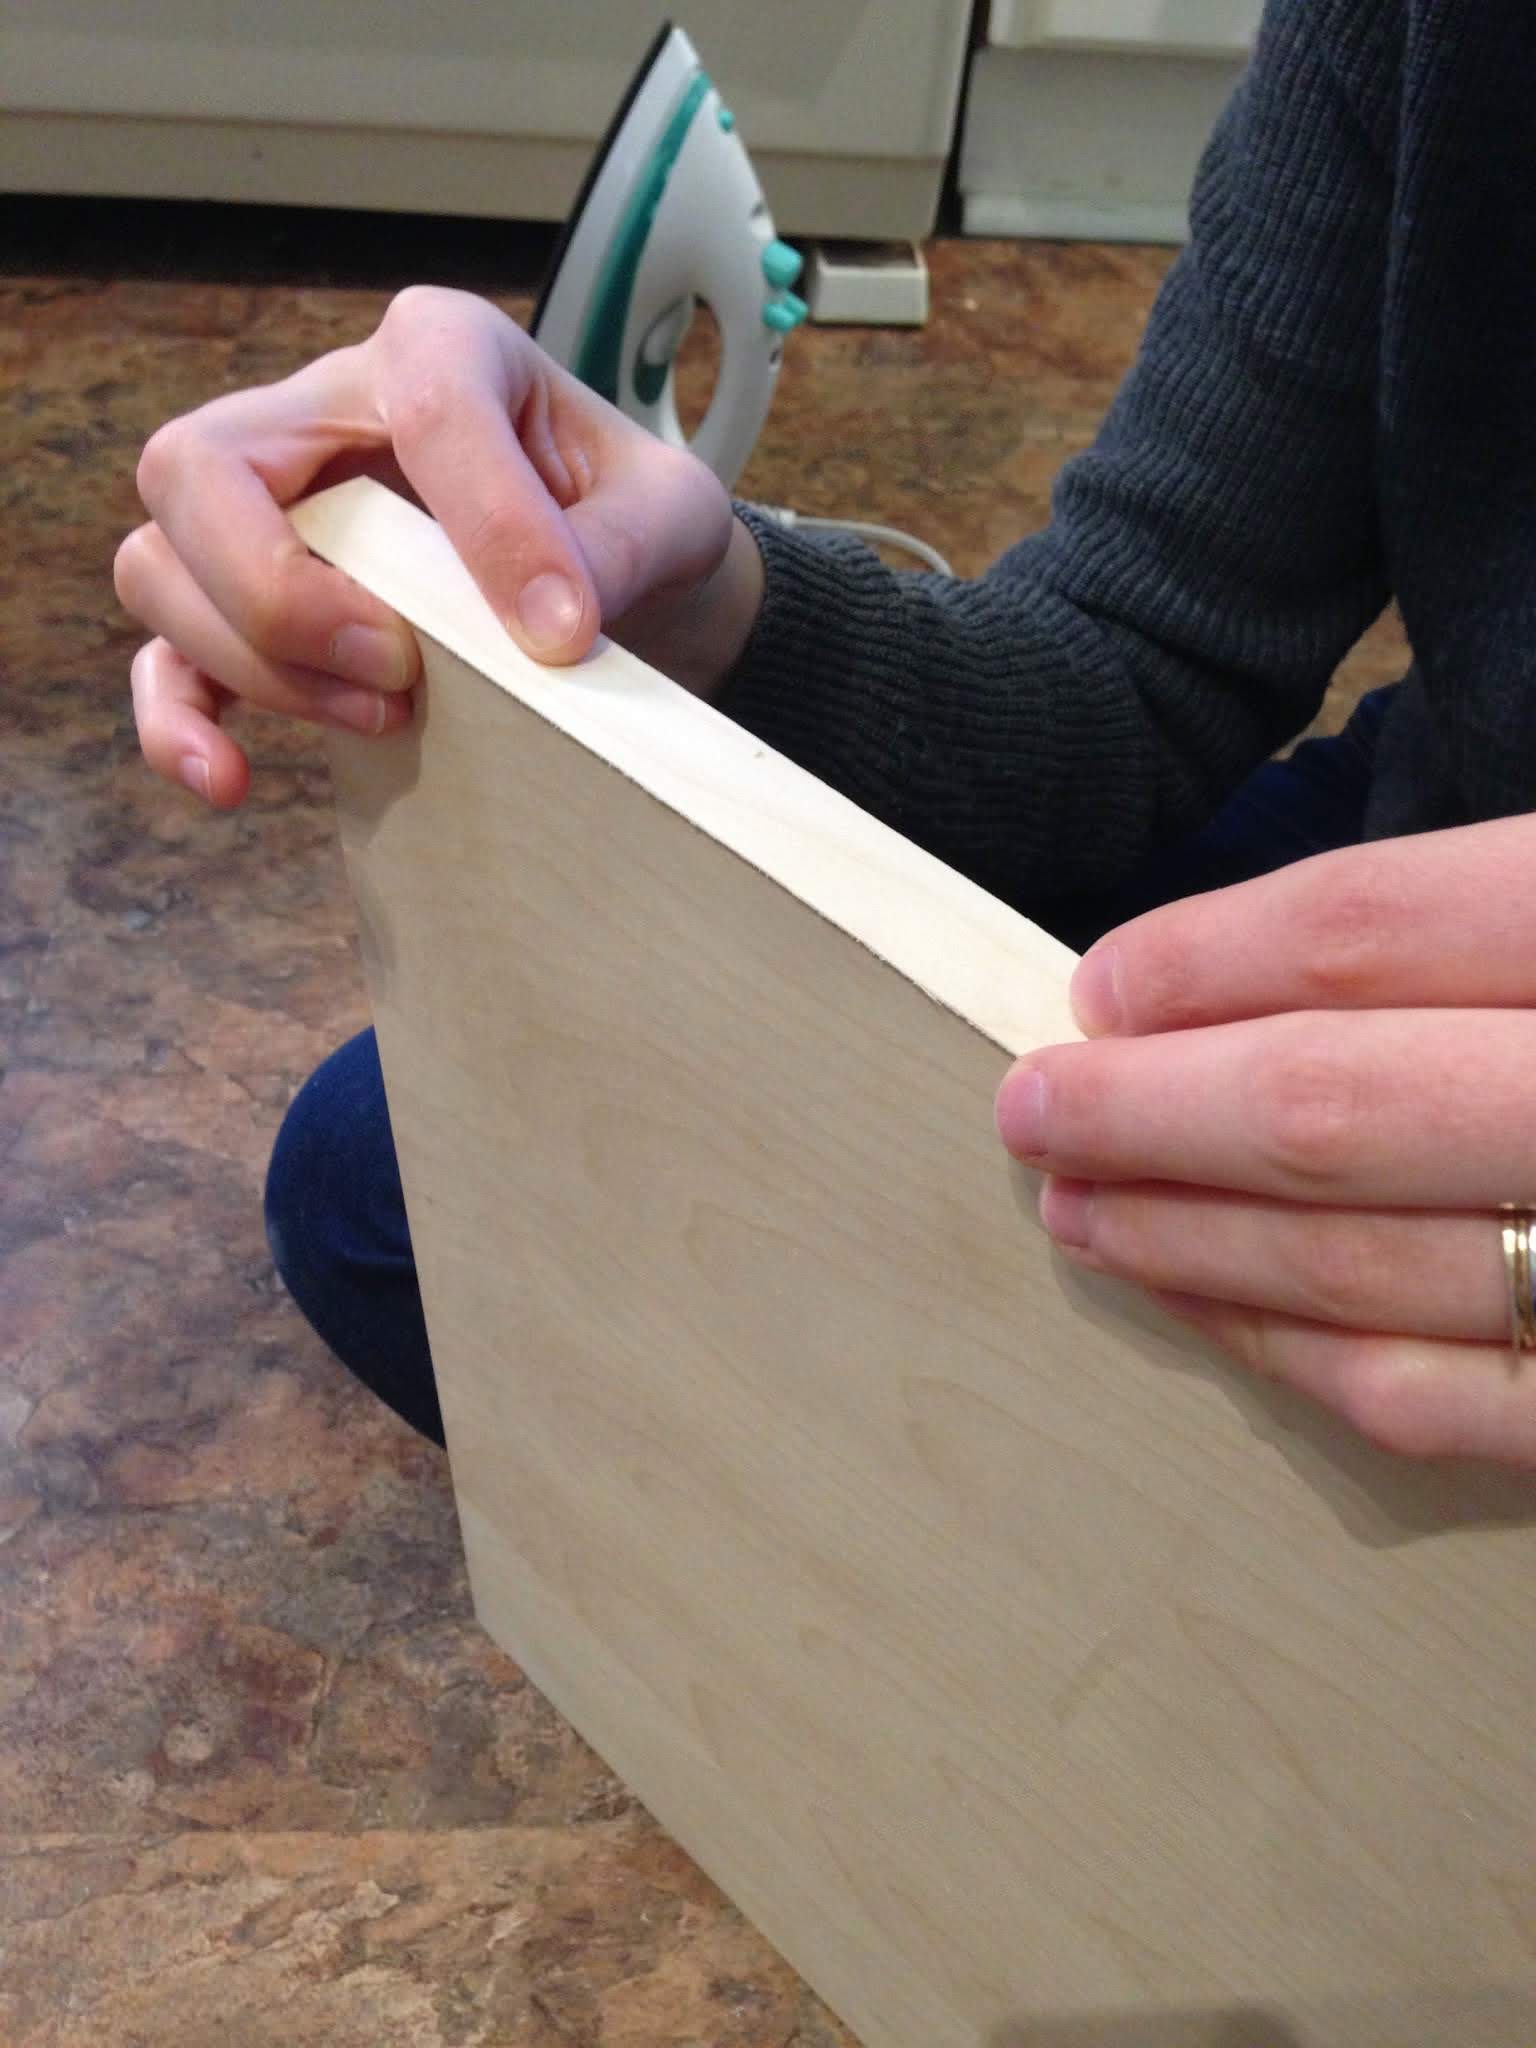
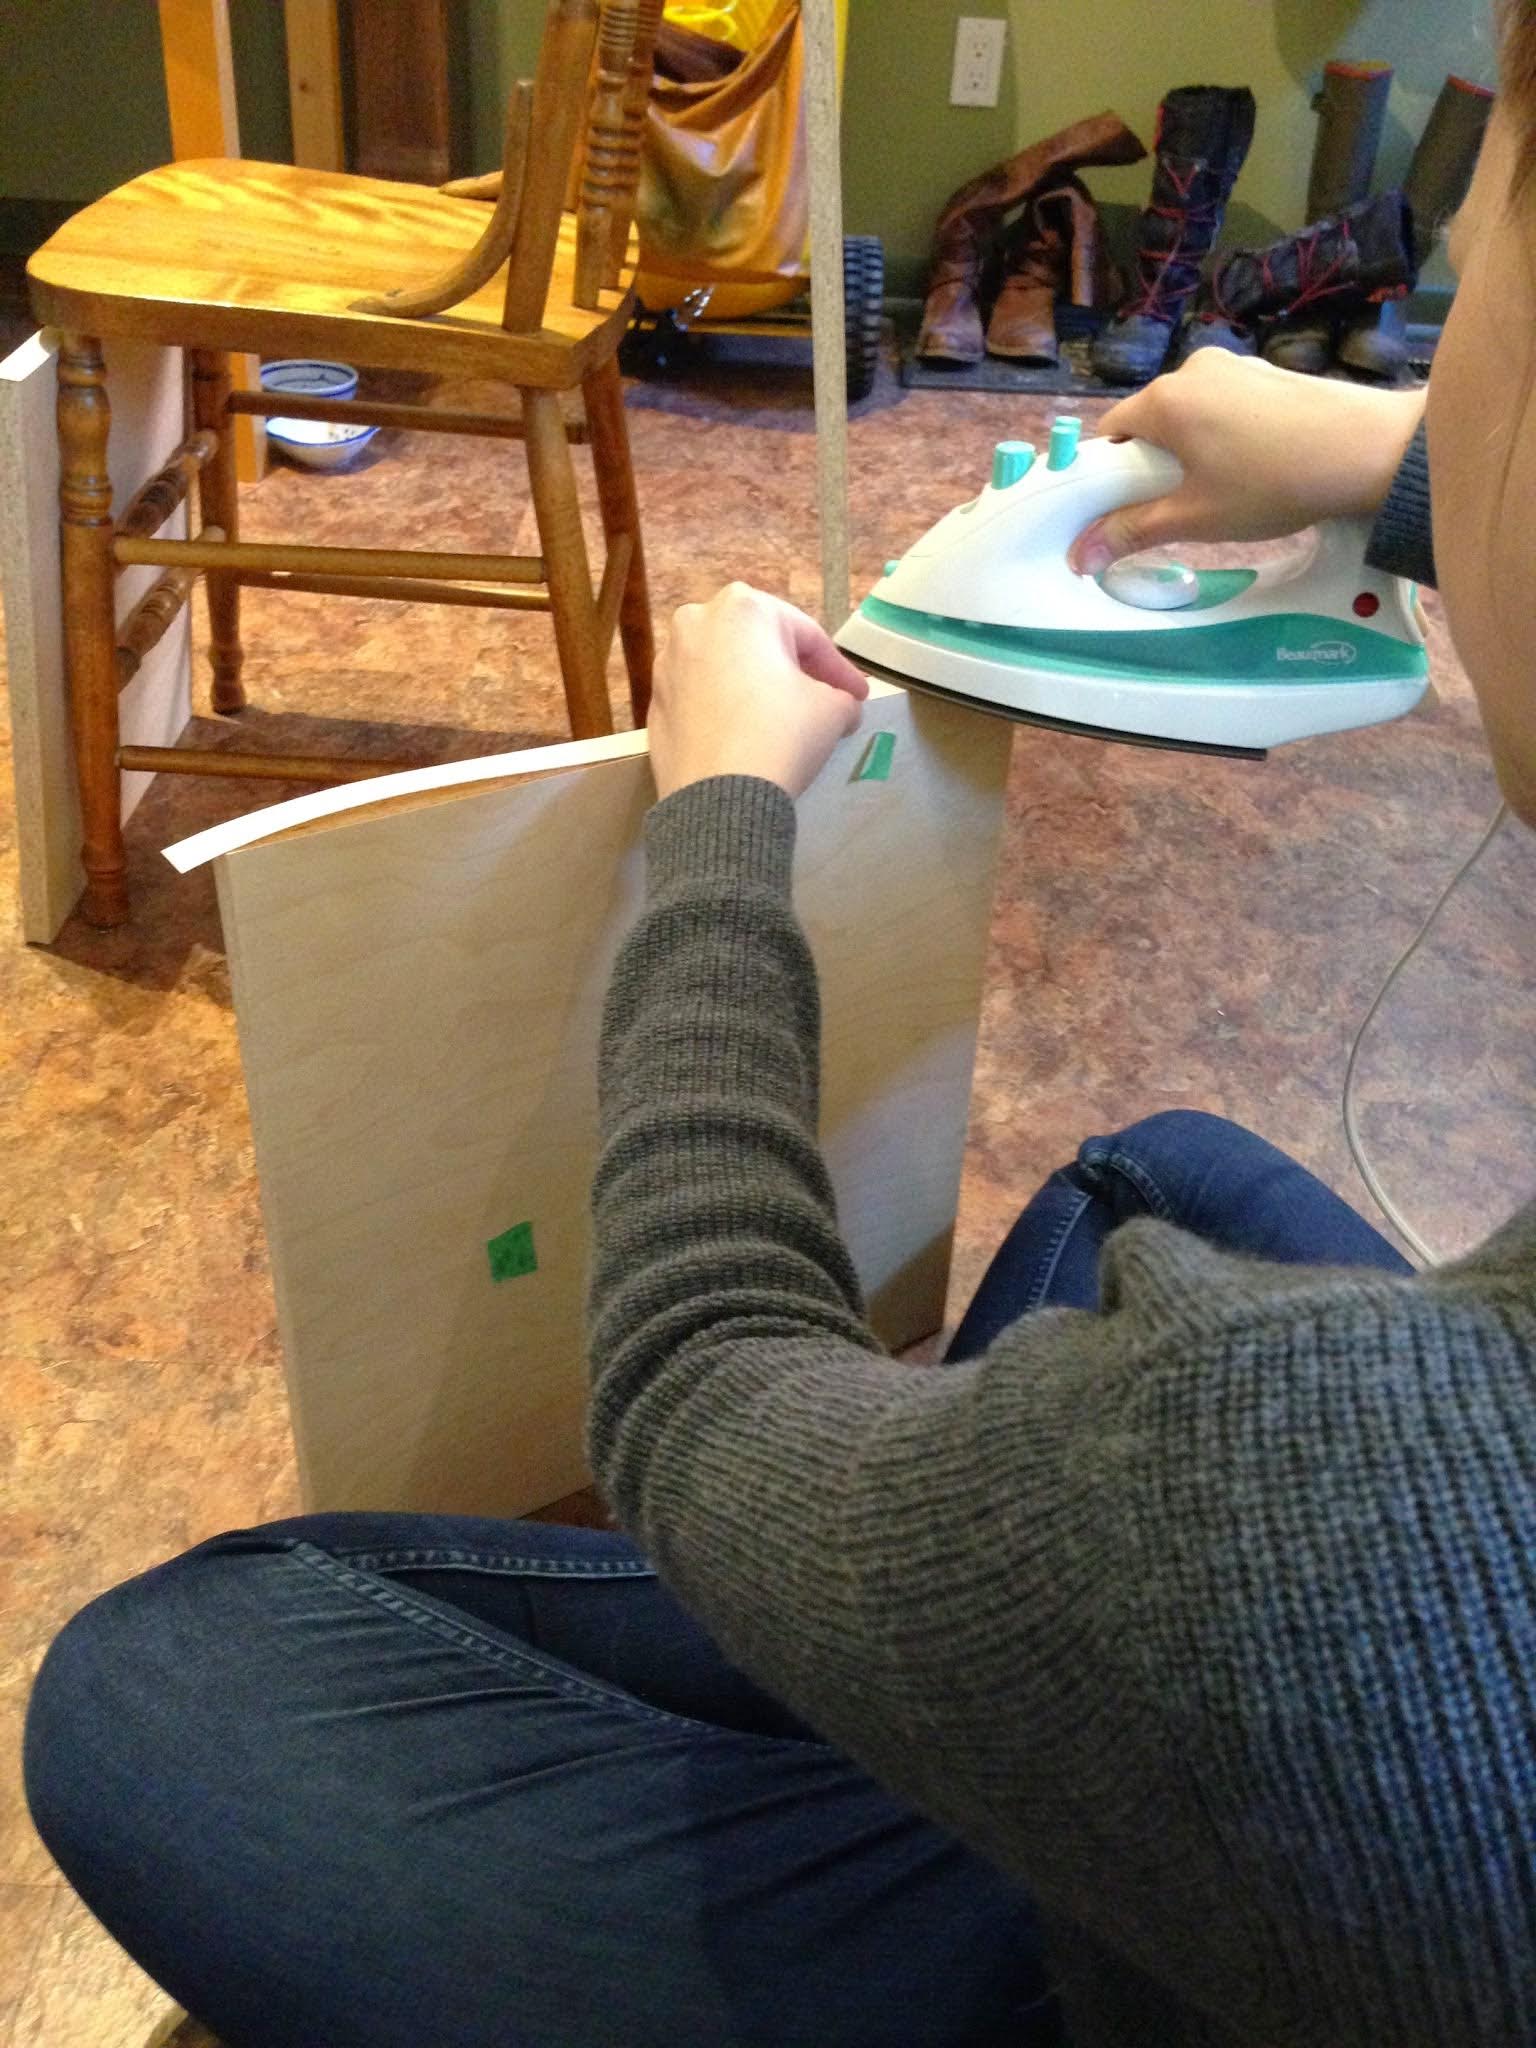
I cut the veneer edging to size, and ironed it on using a regular iron. I focused on a small area at a time, making sure that the glue really melted. I also aligned one side perfectly so that I would only have to trim the other.
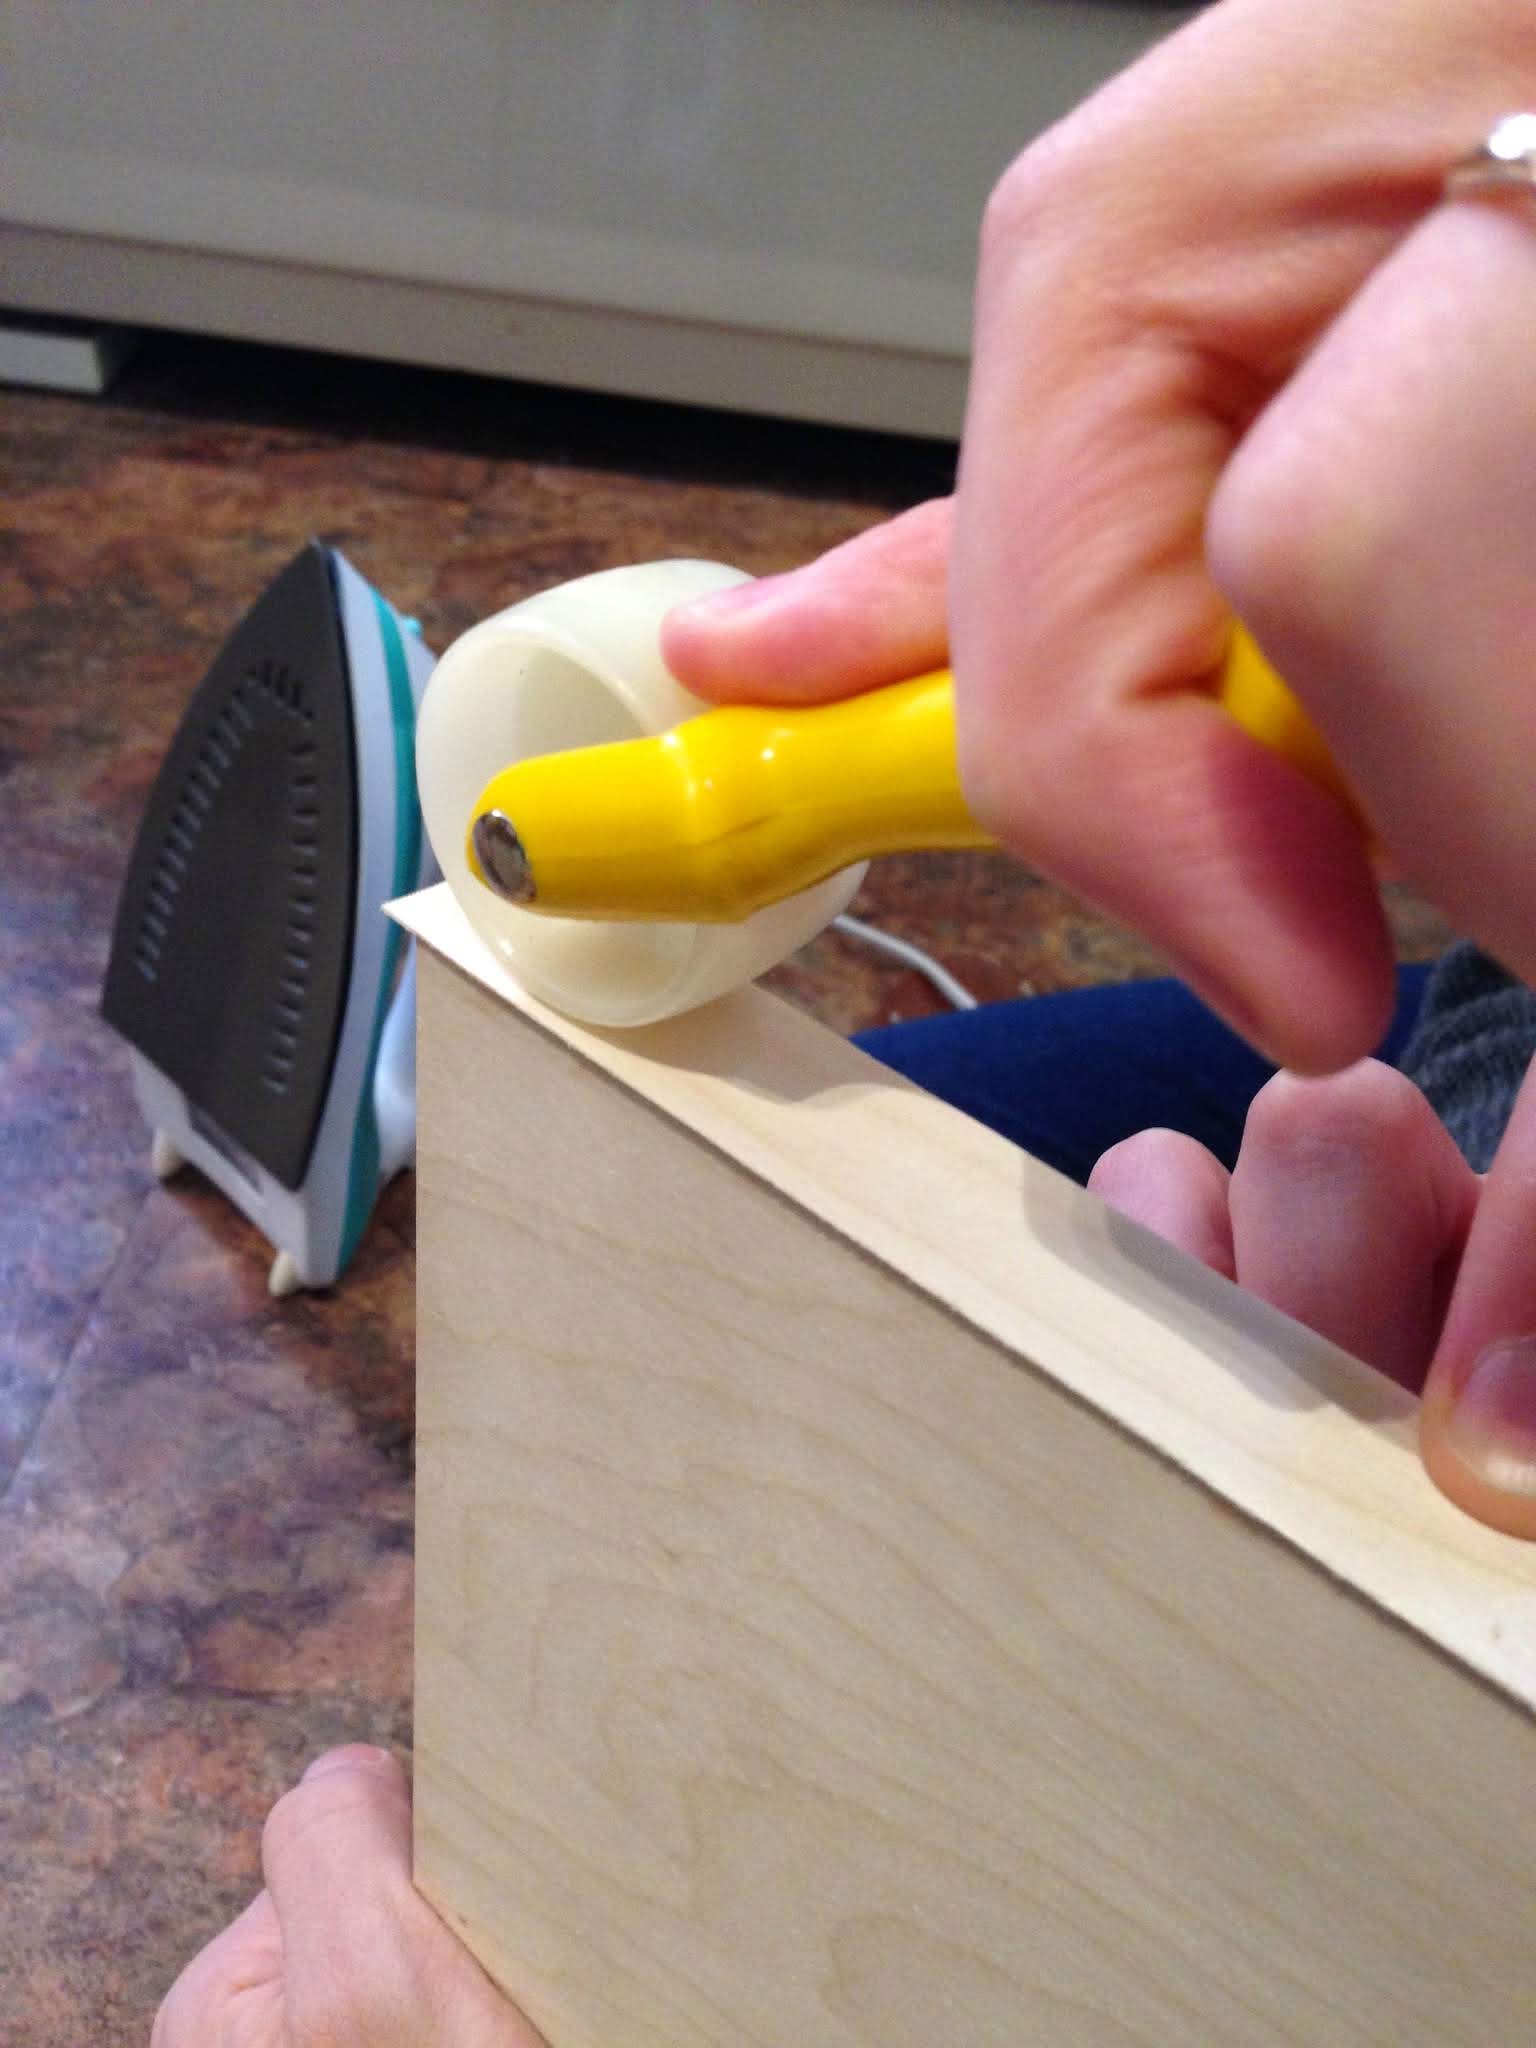
I also used a small roller tool to put pressure on the edging to make it really stick.
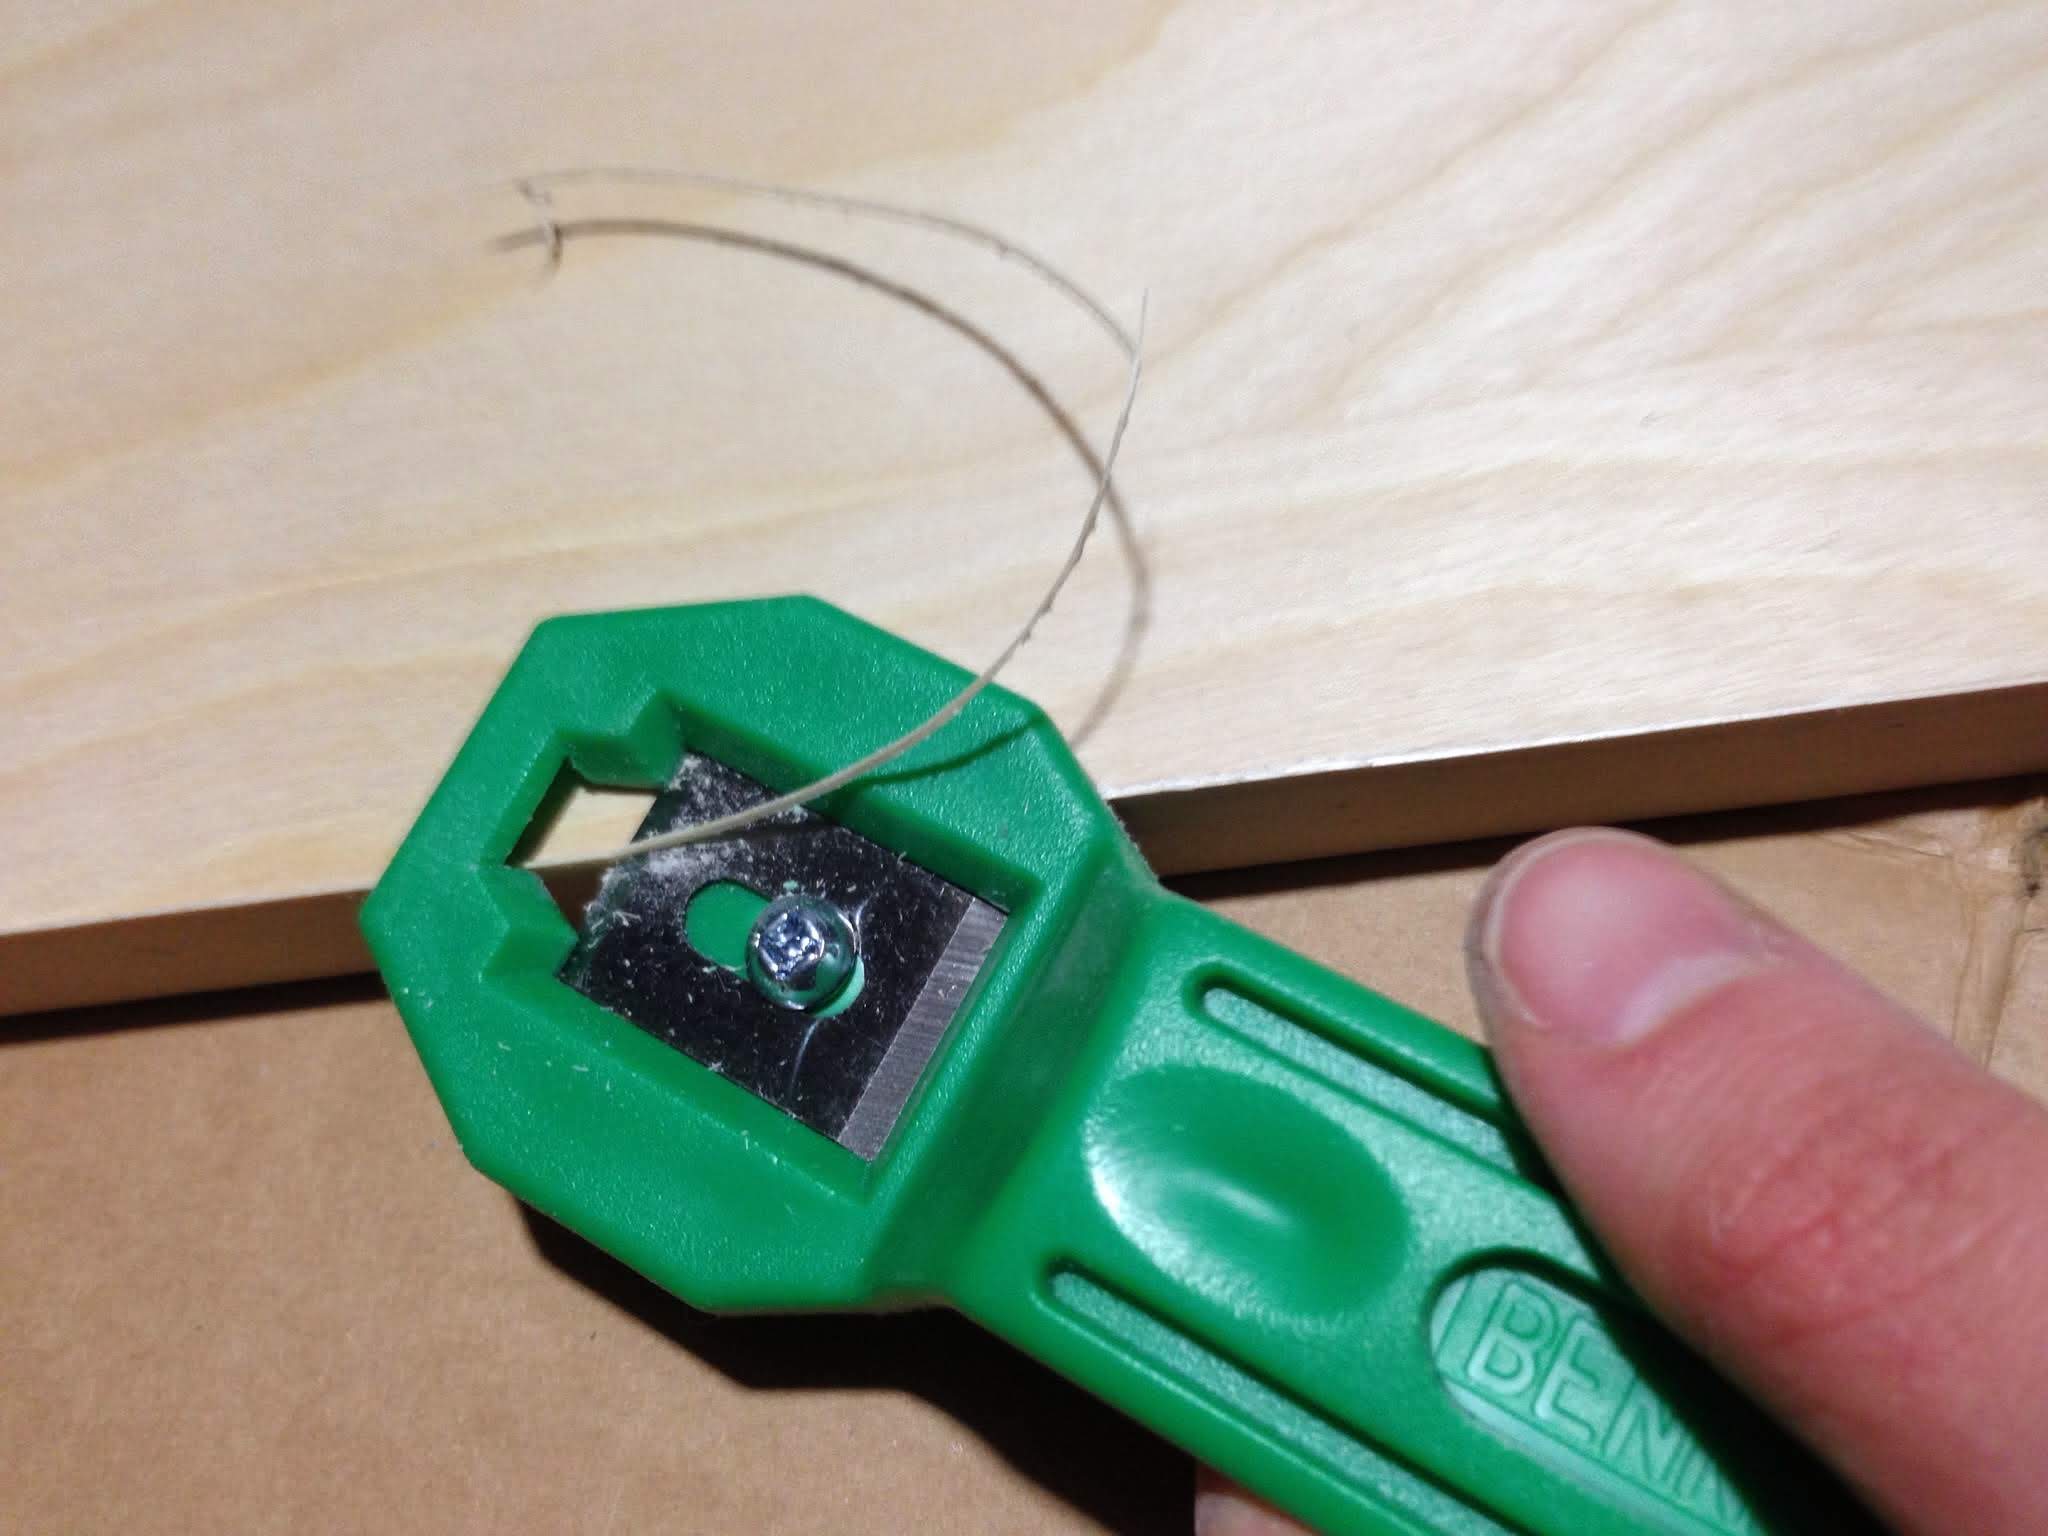
Once the edging was good and stuck, I trimmed the extra length using a utility knife and used a trim cutter to make the edges flush with the wood.
Step 5: Staining and Finishing
After some thorough research on stains, I came across Danish Oil, which is a penetrating wood oil made from tung oil or linseed oil. It penetrates deep into the wood and has a satin finish that is very resistant to water. Sounds perfect, right?
Wrong.
As one should always do, we tested the Danish oil on a sample piece of wood. For some reason, the stain wasn’t penetrating into some of the wood, leaving light spots. It wasn’t that the wood was blotchy (which is a common problem with birch), it just wasn’t taking stain in some parts and where it was, it looked very dull.
After some additional research on staining birch, I read that birch is just difficult to stain. I found some solutions, but nothing great. I even called the lumber store and the danish oil company’s customer service, which weren’t overly helpful. And not because they weren’t helpful people, but because their answer was basically that some woods don’t stain well. Sigh.
We gave up on the Danish oil and tried every other product possible: regular oil-based stain, aniline powder stain, tube wood stain (which was the worst!) and aniline water-based stains (both pigment- and dye-based options). We also tried several different techniques: applying with a rag, using steel wood, trying different sanding techniques and wetting the wood to open the grain.
We had quite a few samples by the end… and these are double-sided samples…
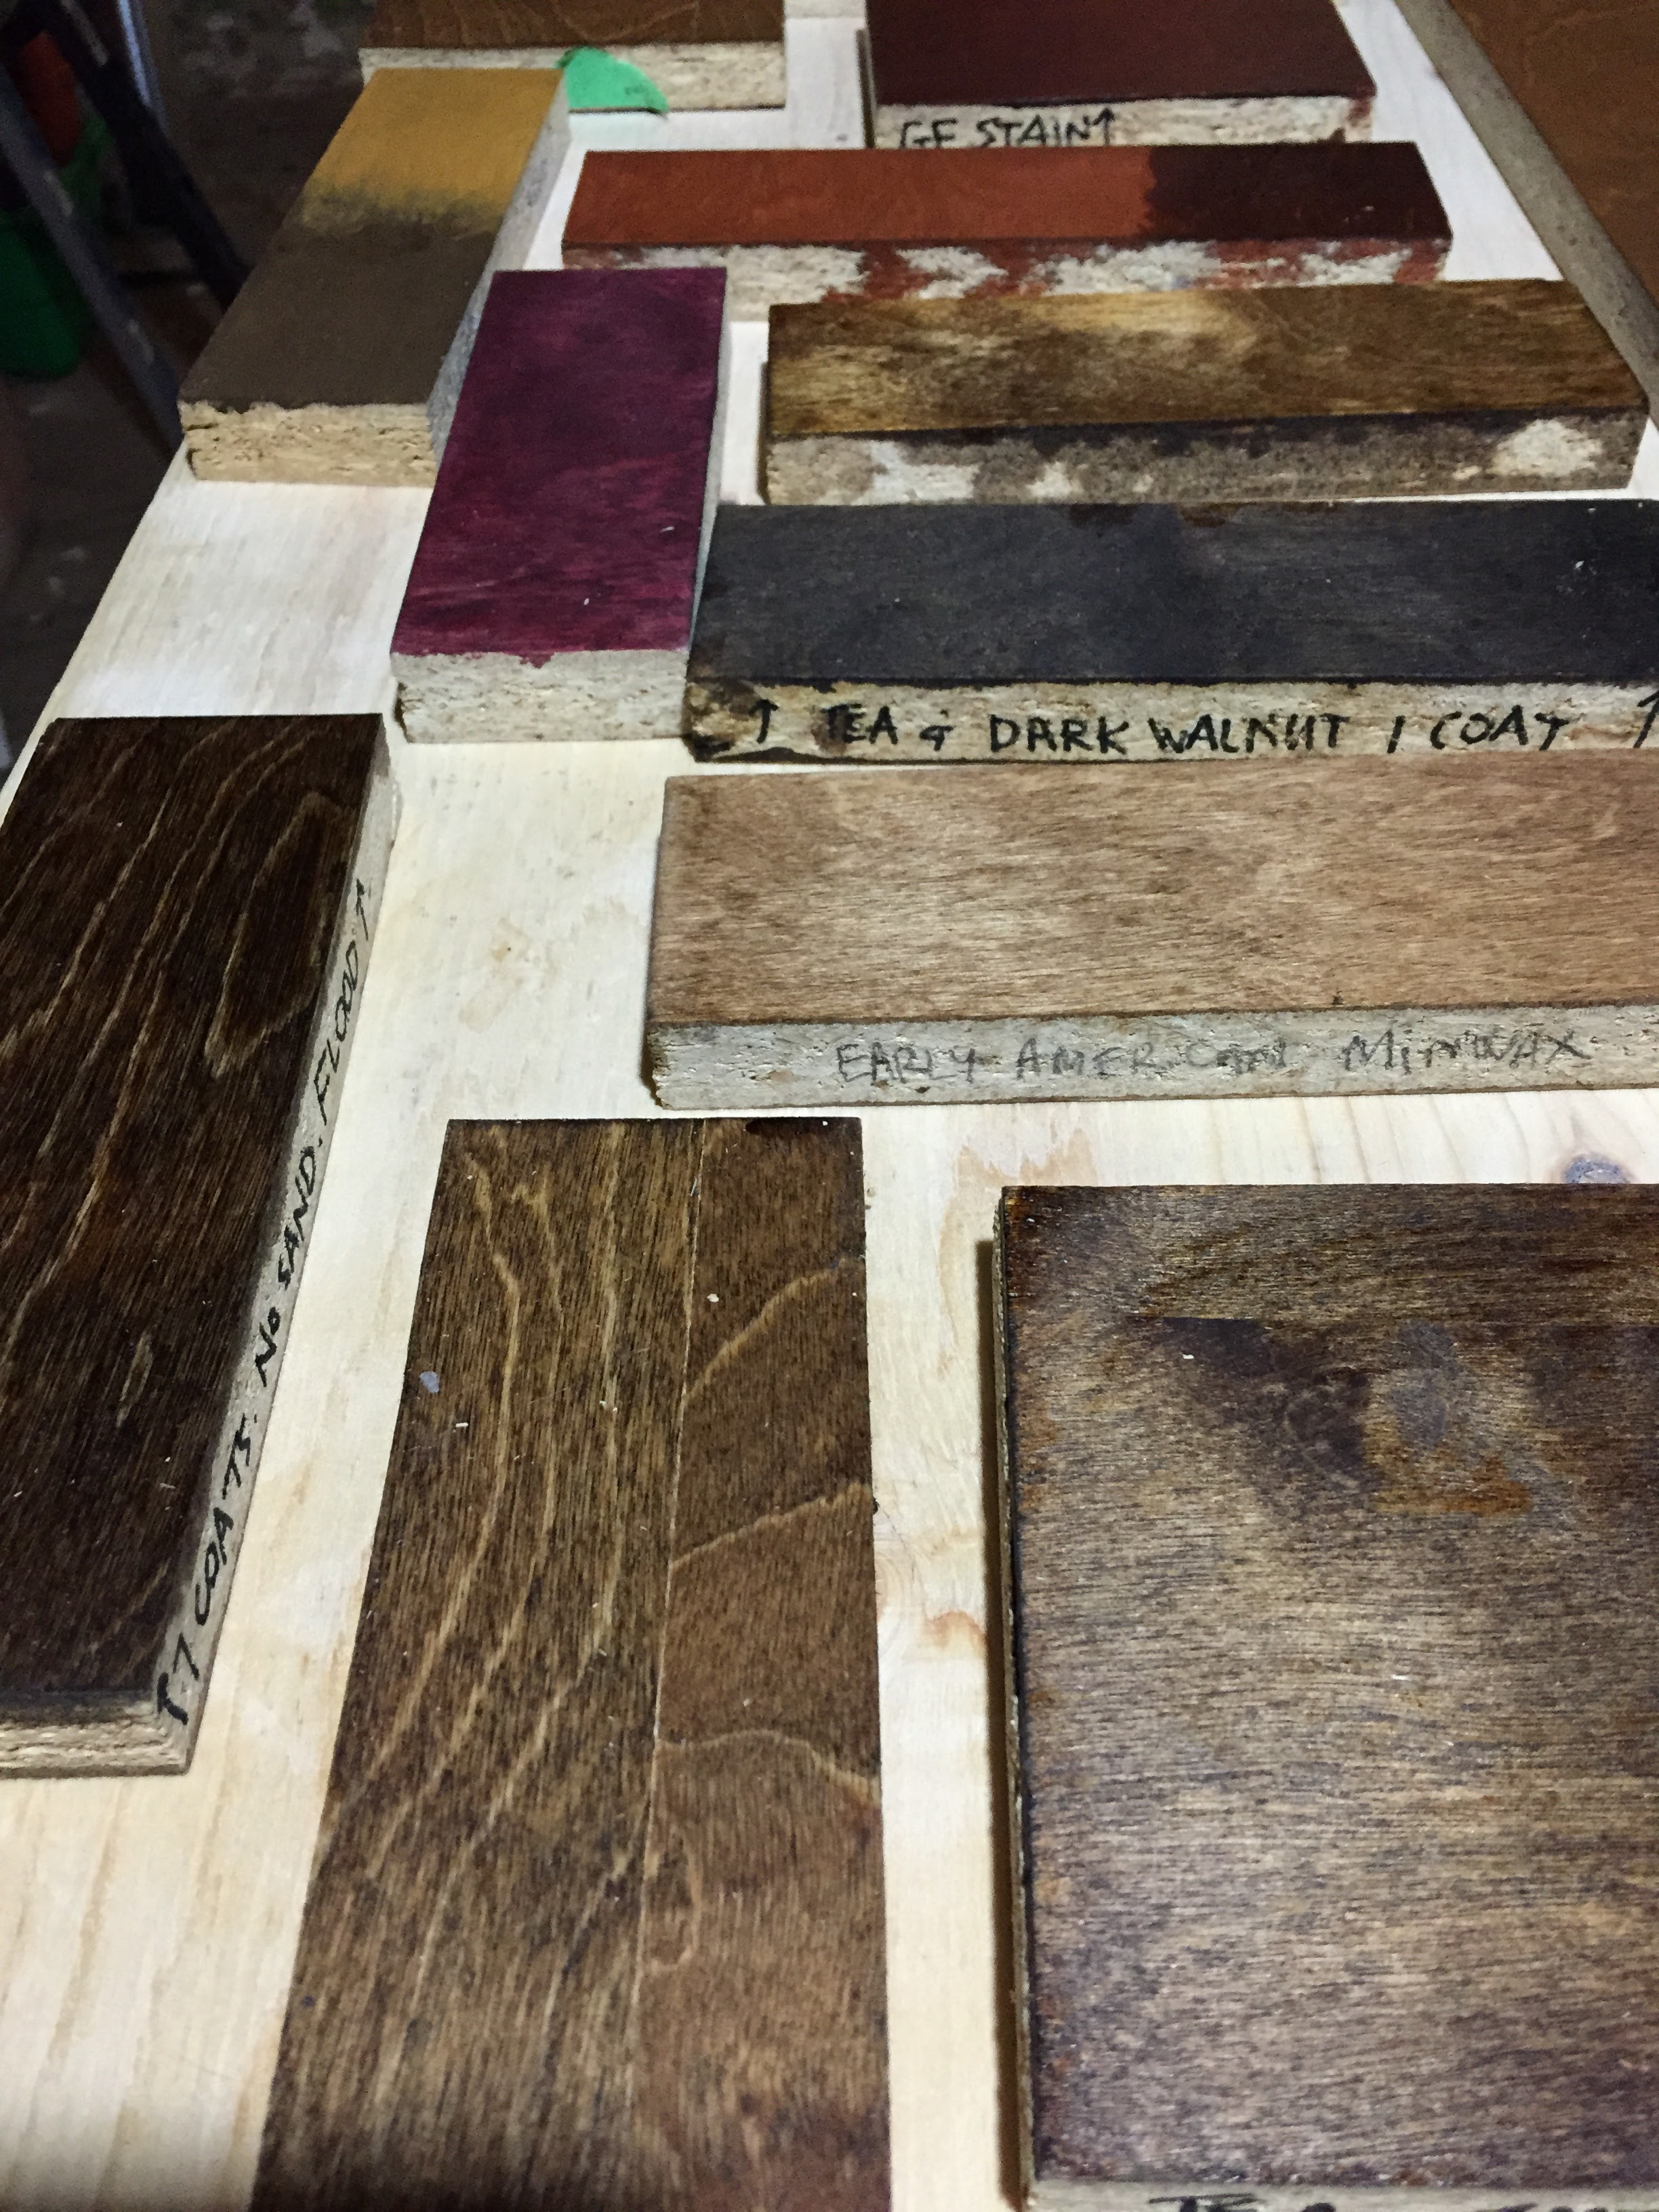
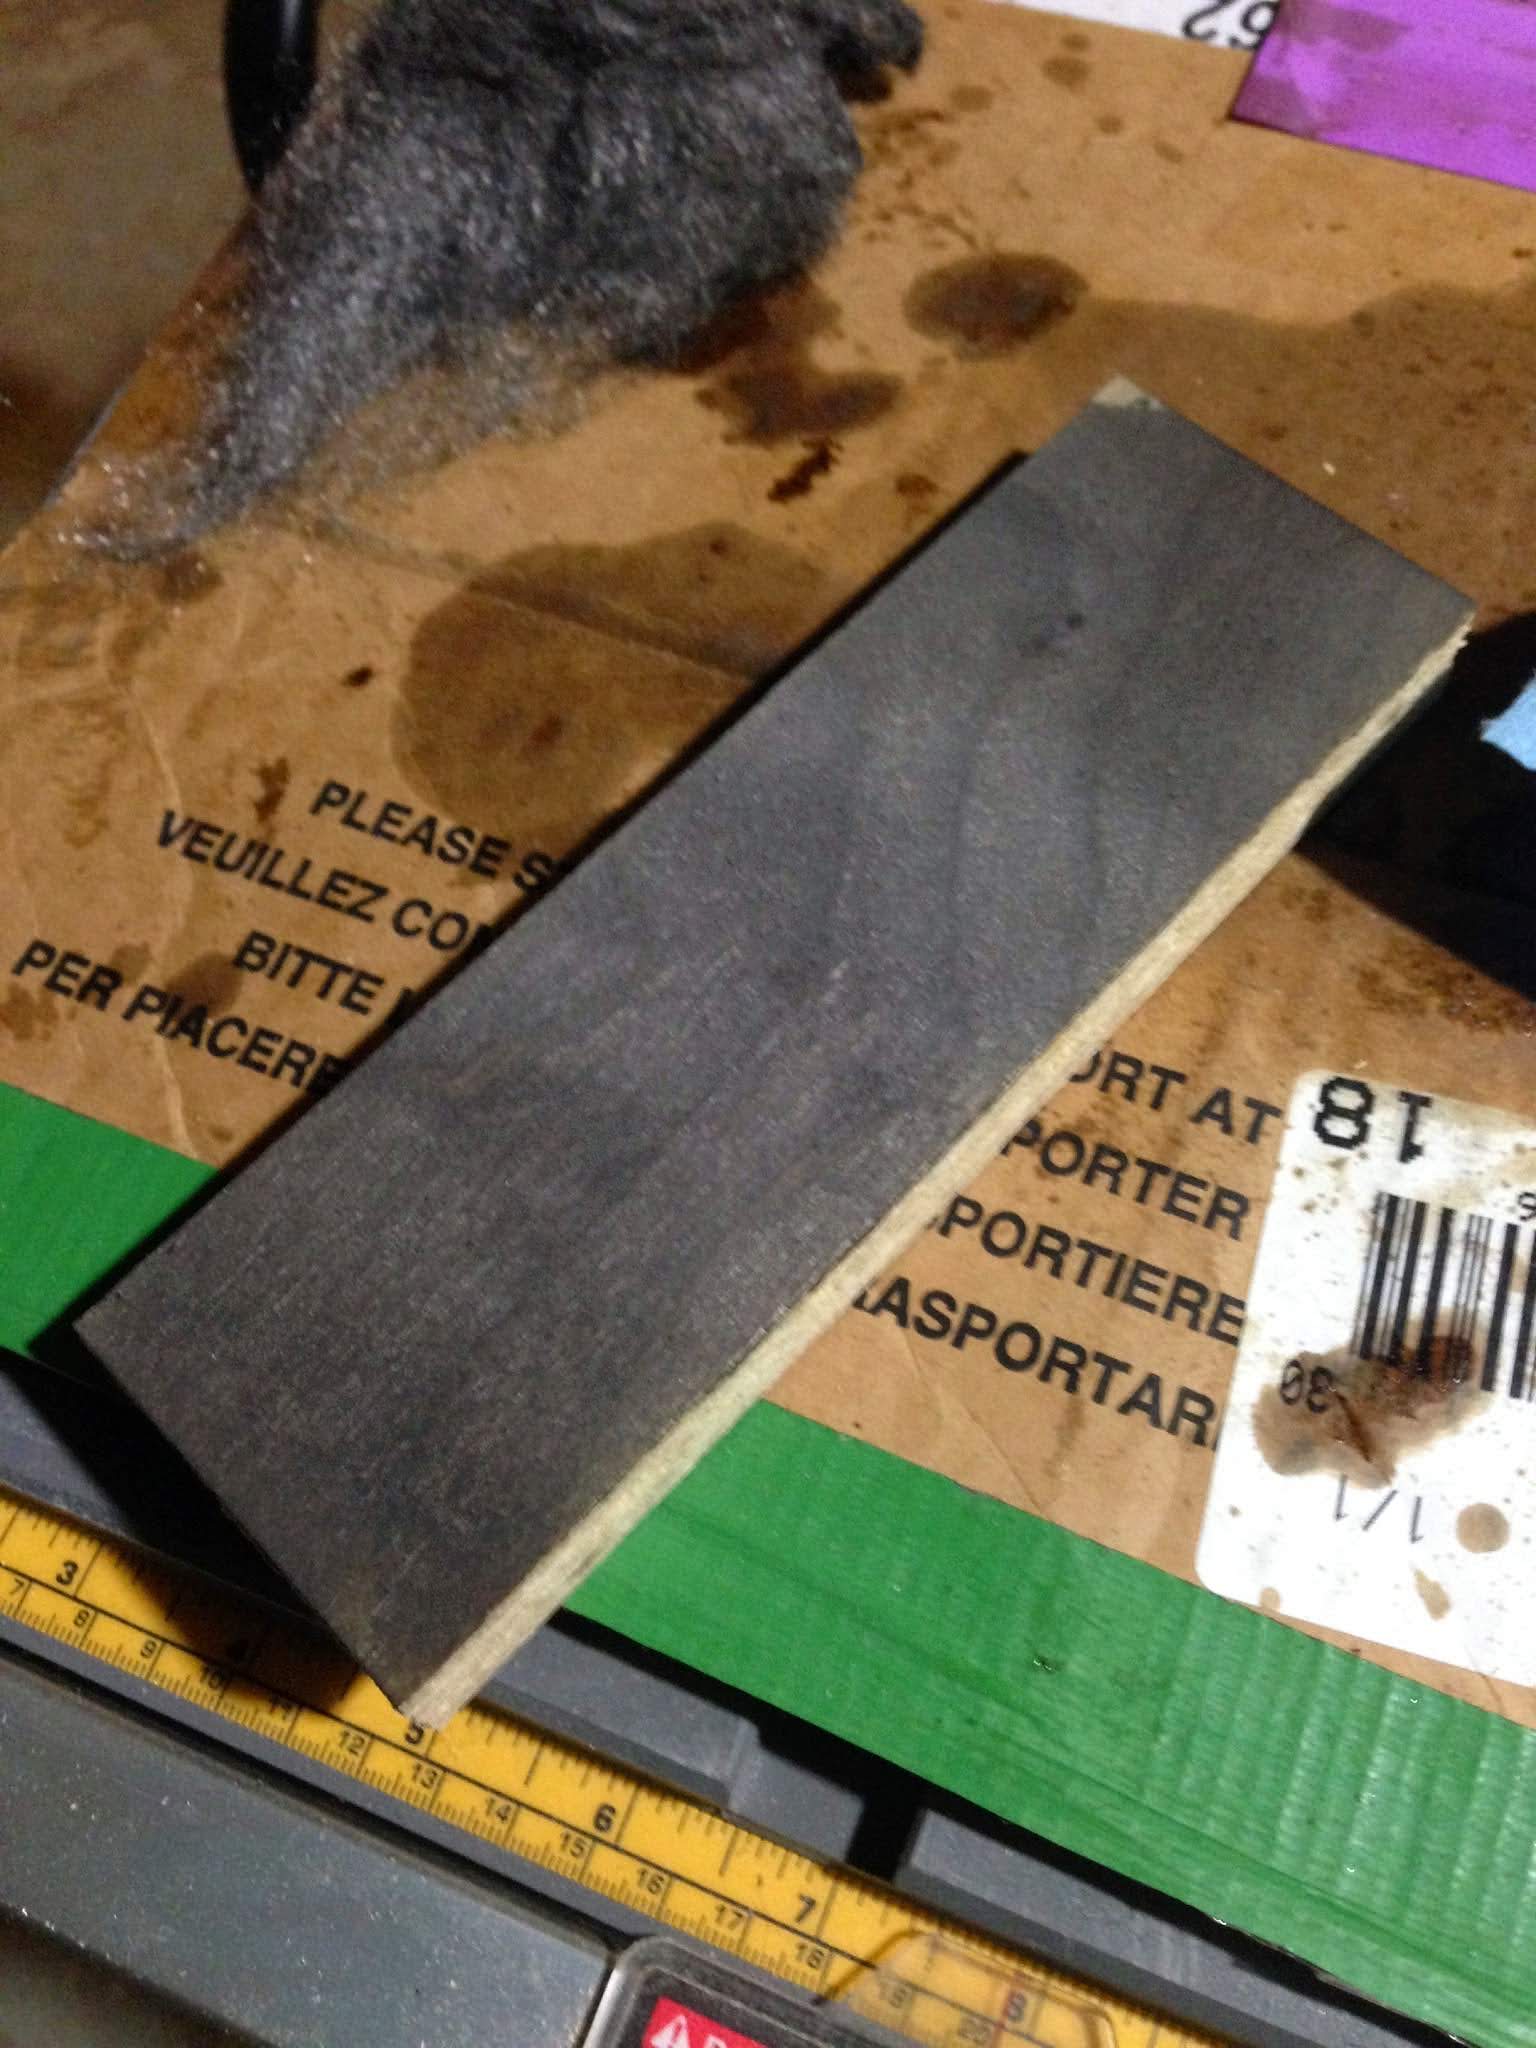
We even used a tea, vinegar and steel wool staining method, but this just blackened the wood and gave it a weird metallic sheen.
Nothing was overly great or perfect.
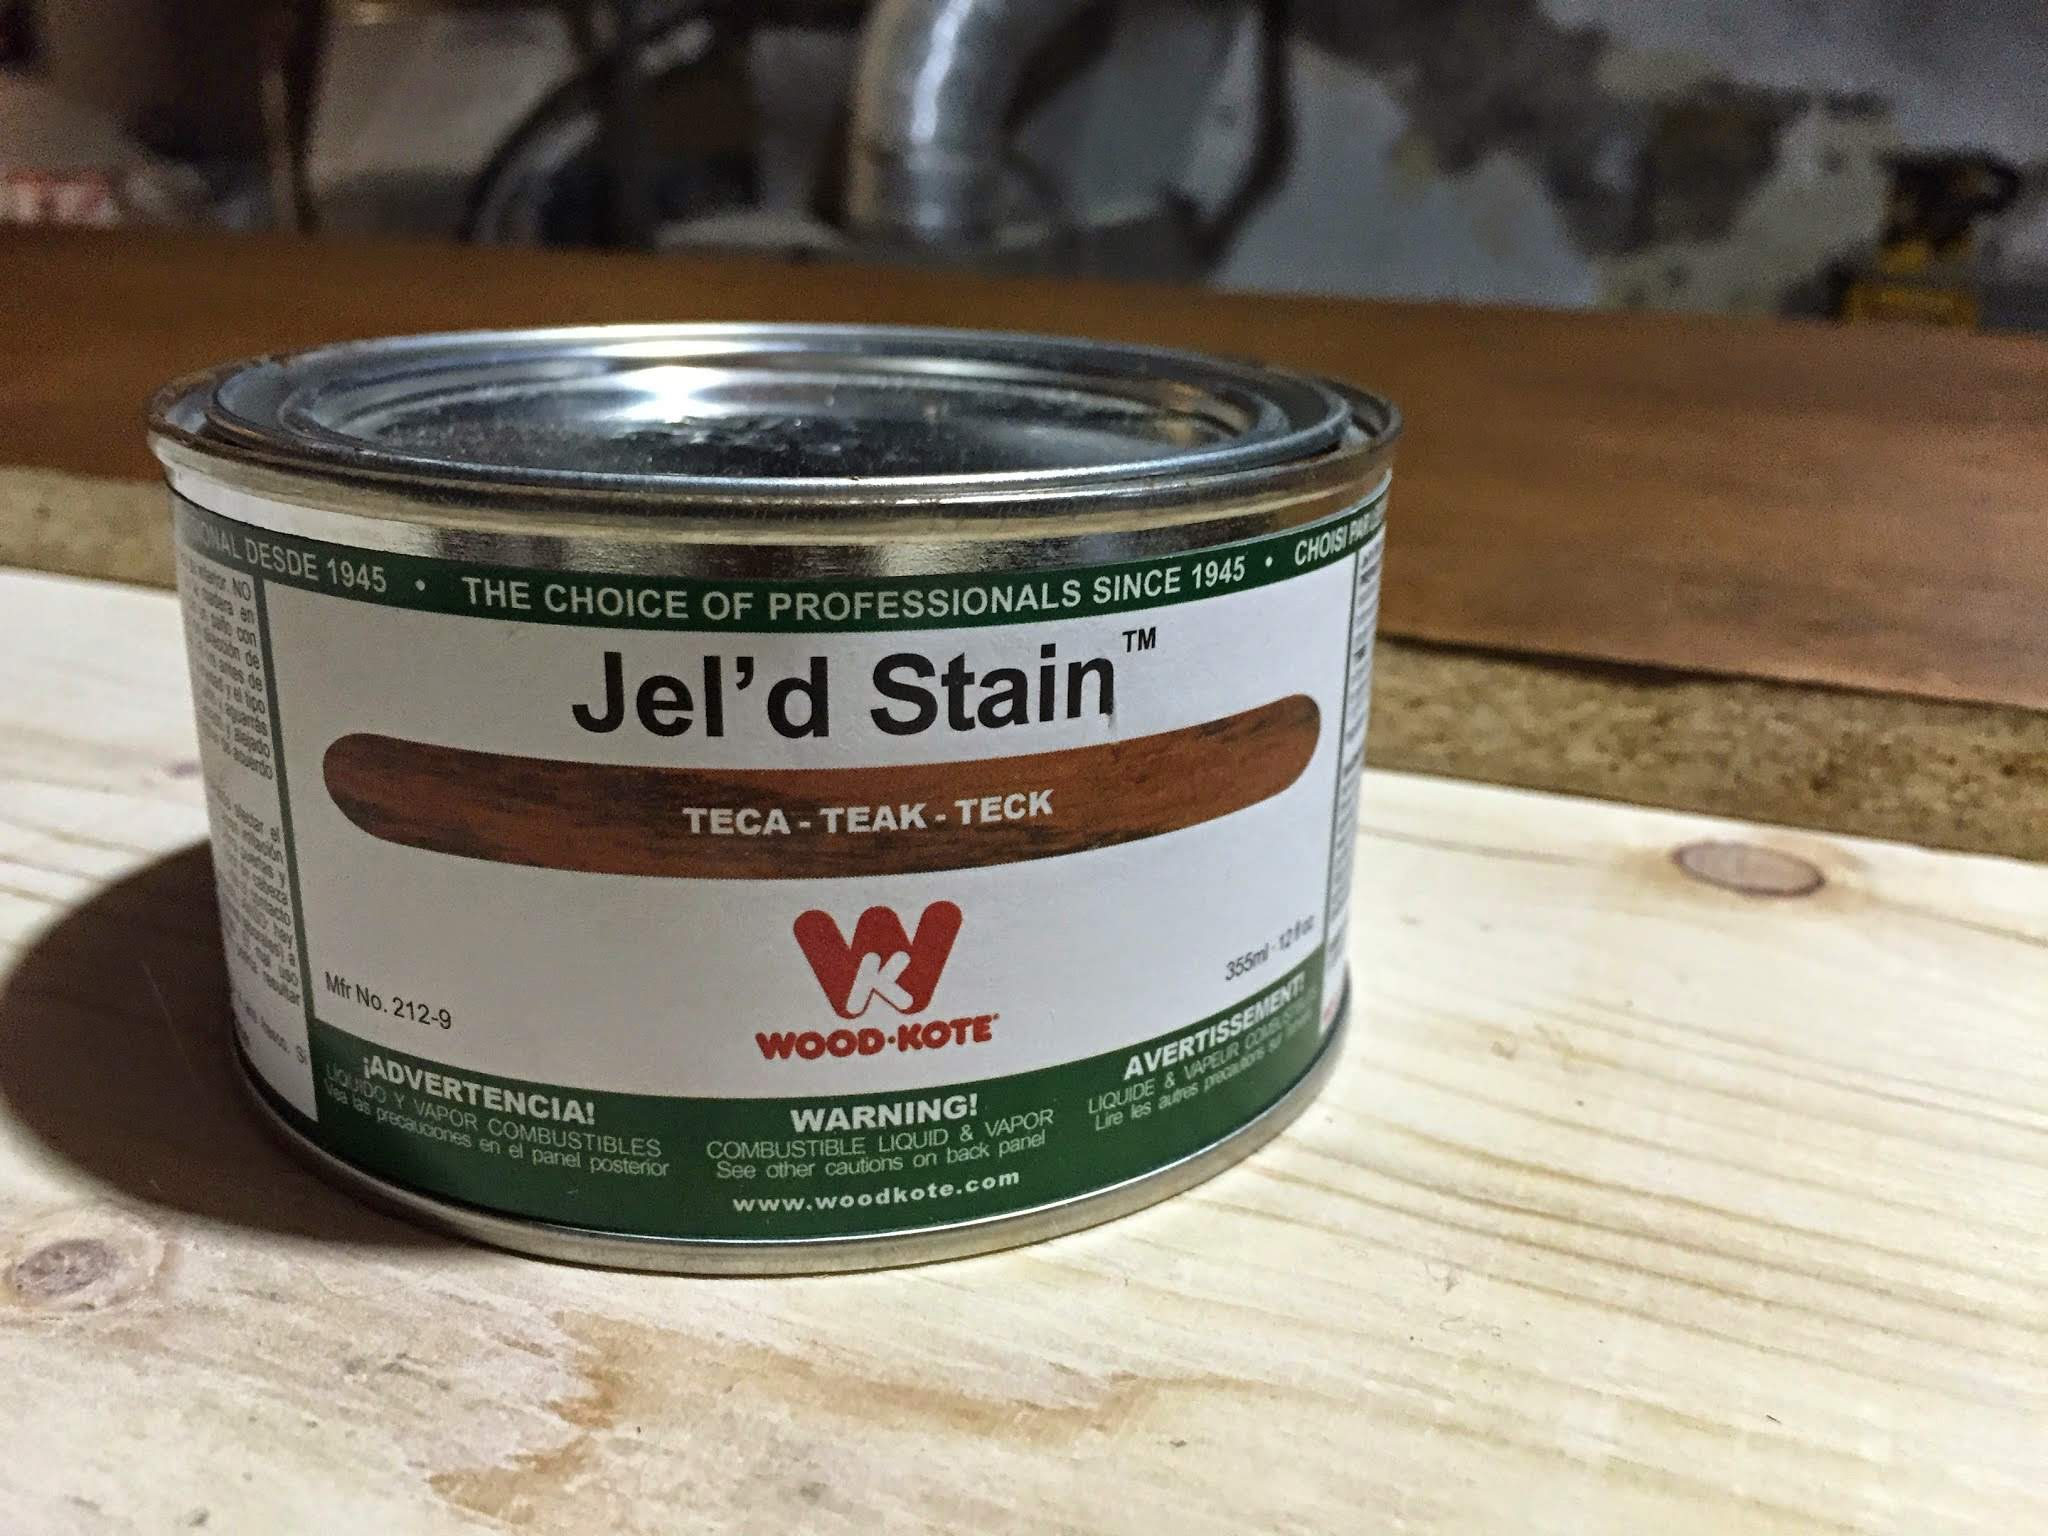
As a last and desperate resort, we went to our local paint store just to see if they had a solution. Sure enough, they did. They took out a can of gel stain (the only thing we hadn’t tried) and applied it to our wood. Success!!!
The product was Jel’d Stain. It’s fairly toxic (since it’s full of VOCs), but works really well. It’s also not the cheapest (at $27/small can), but worth every penny!
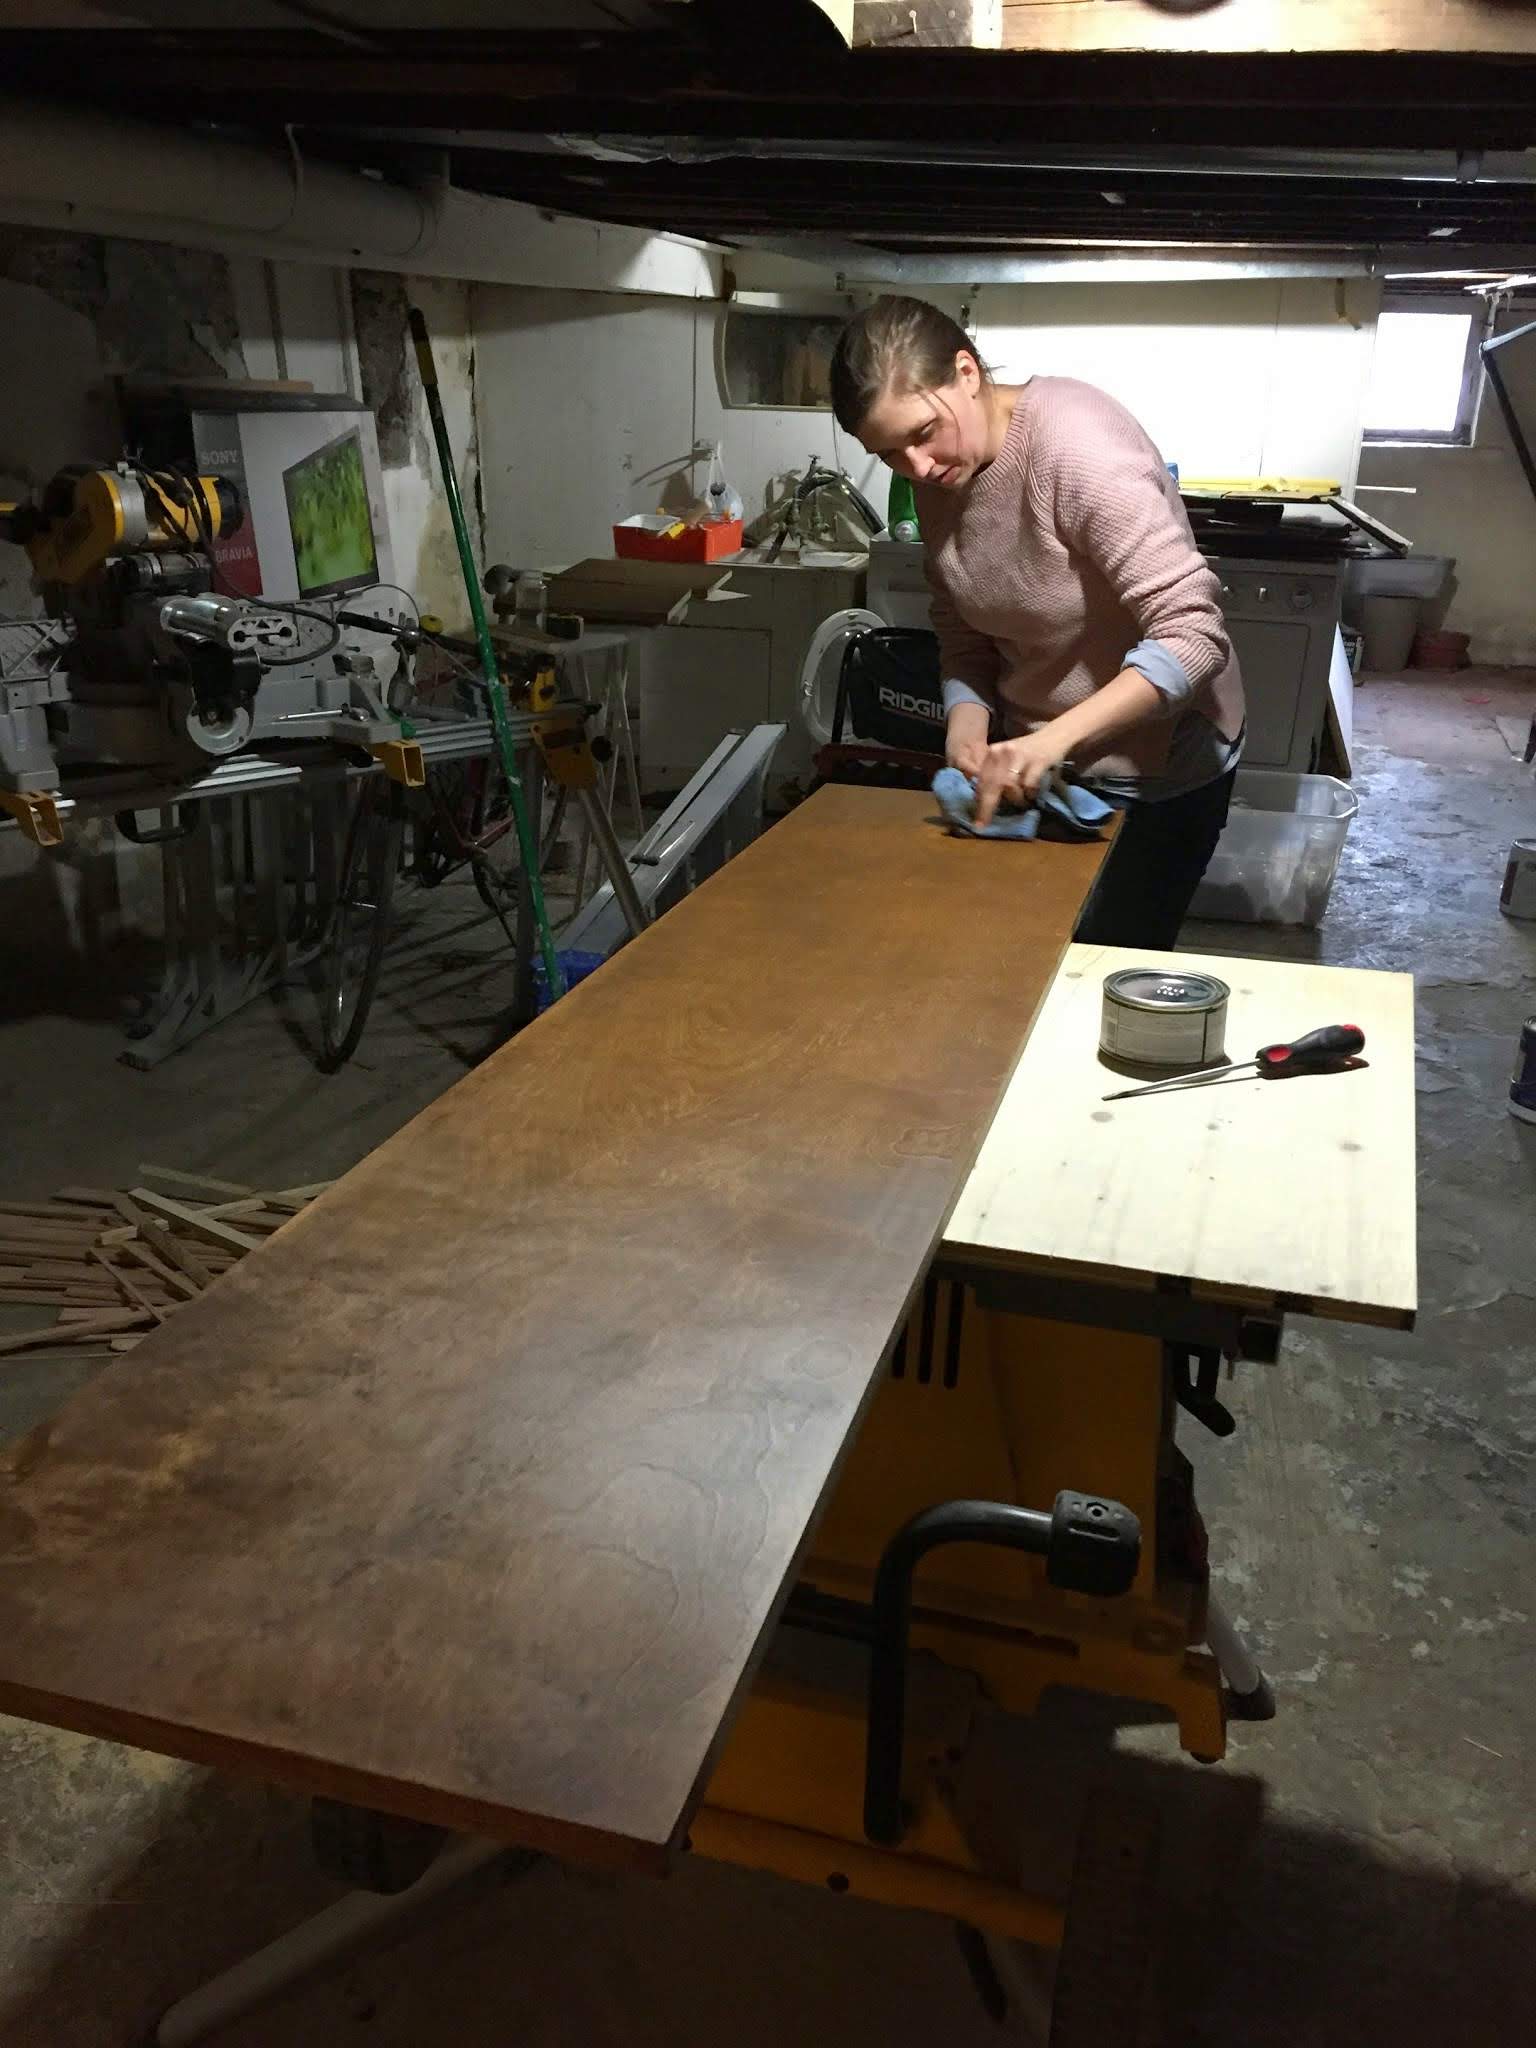
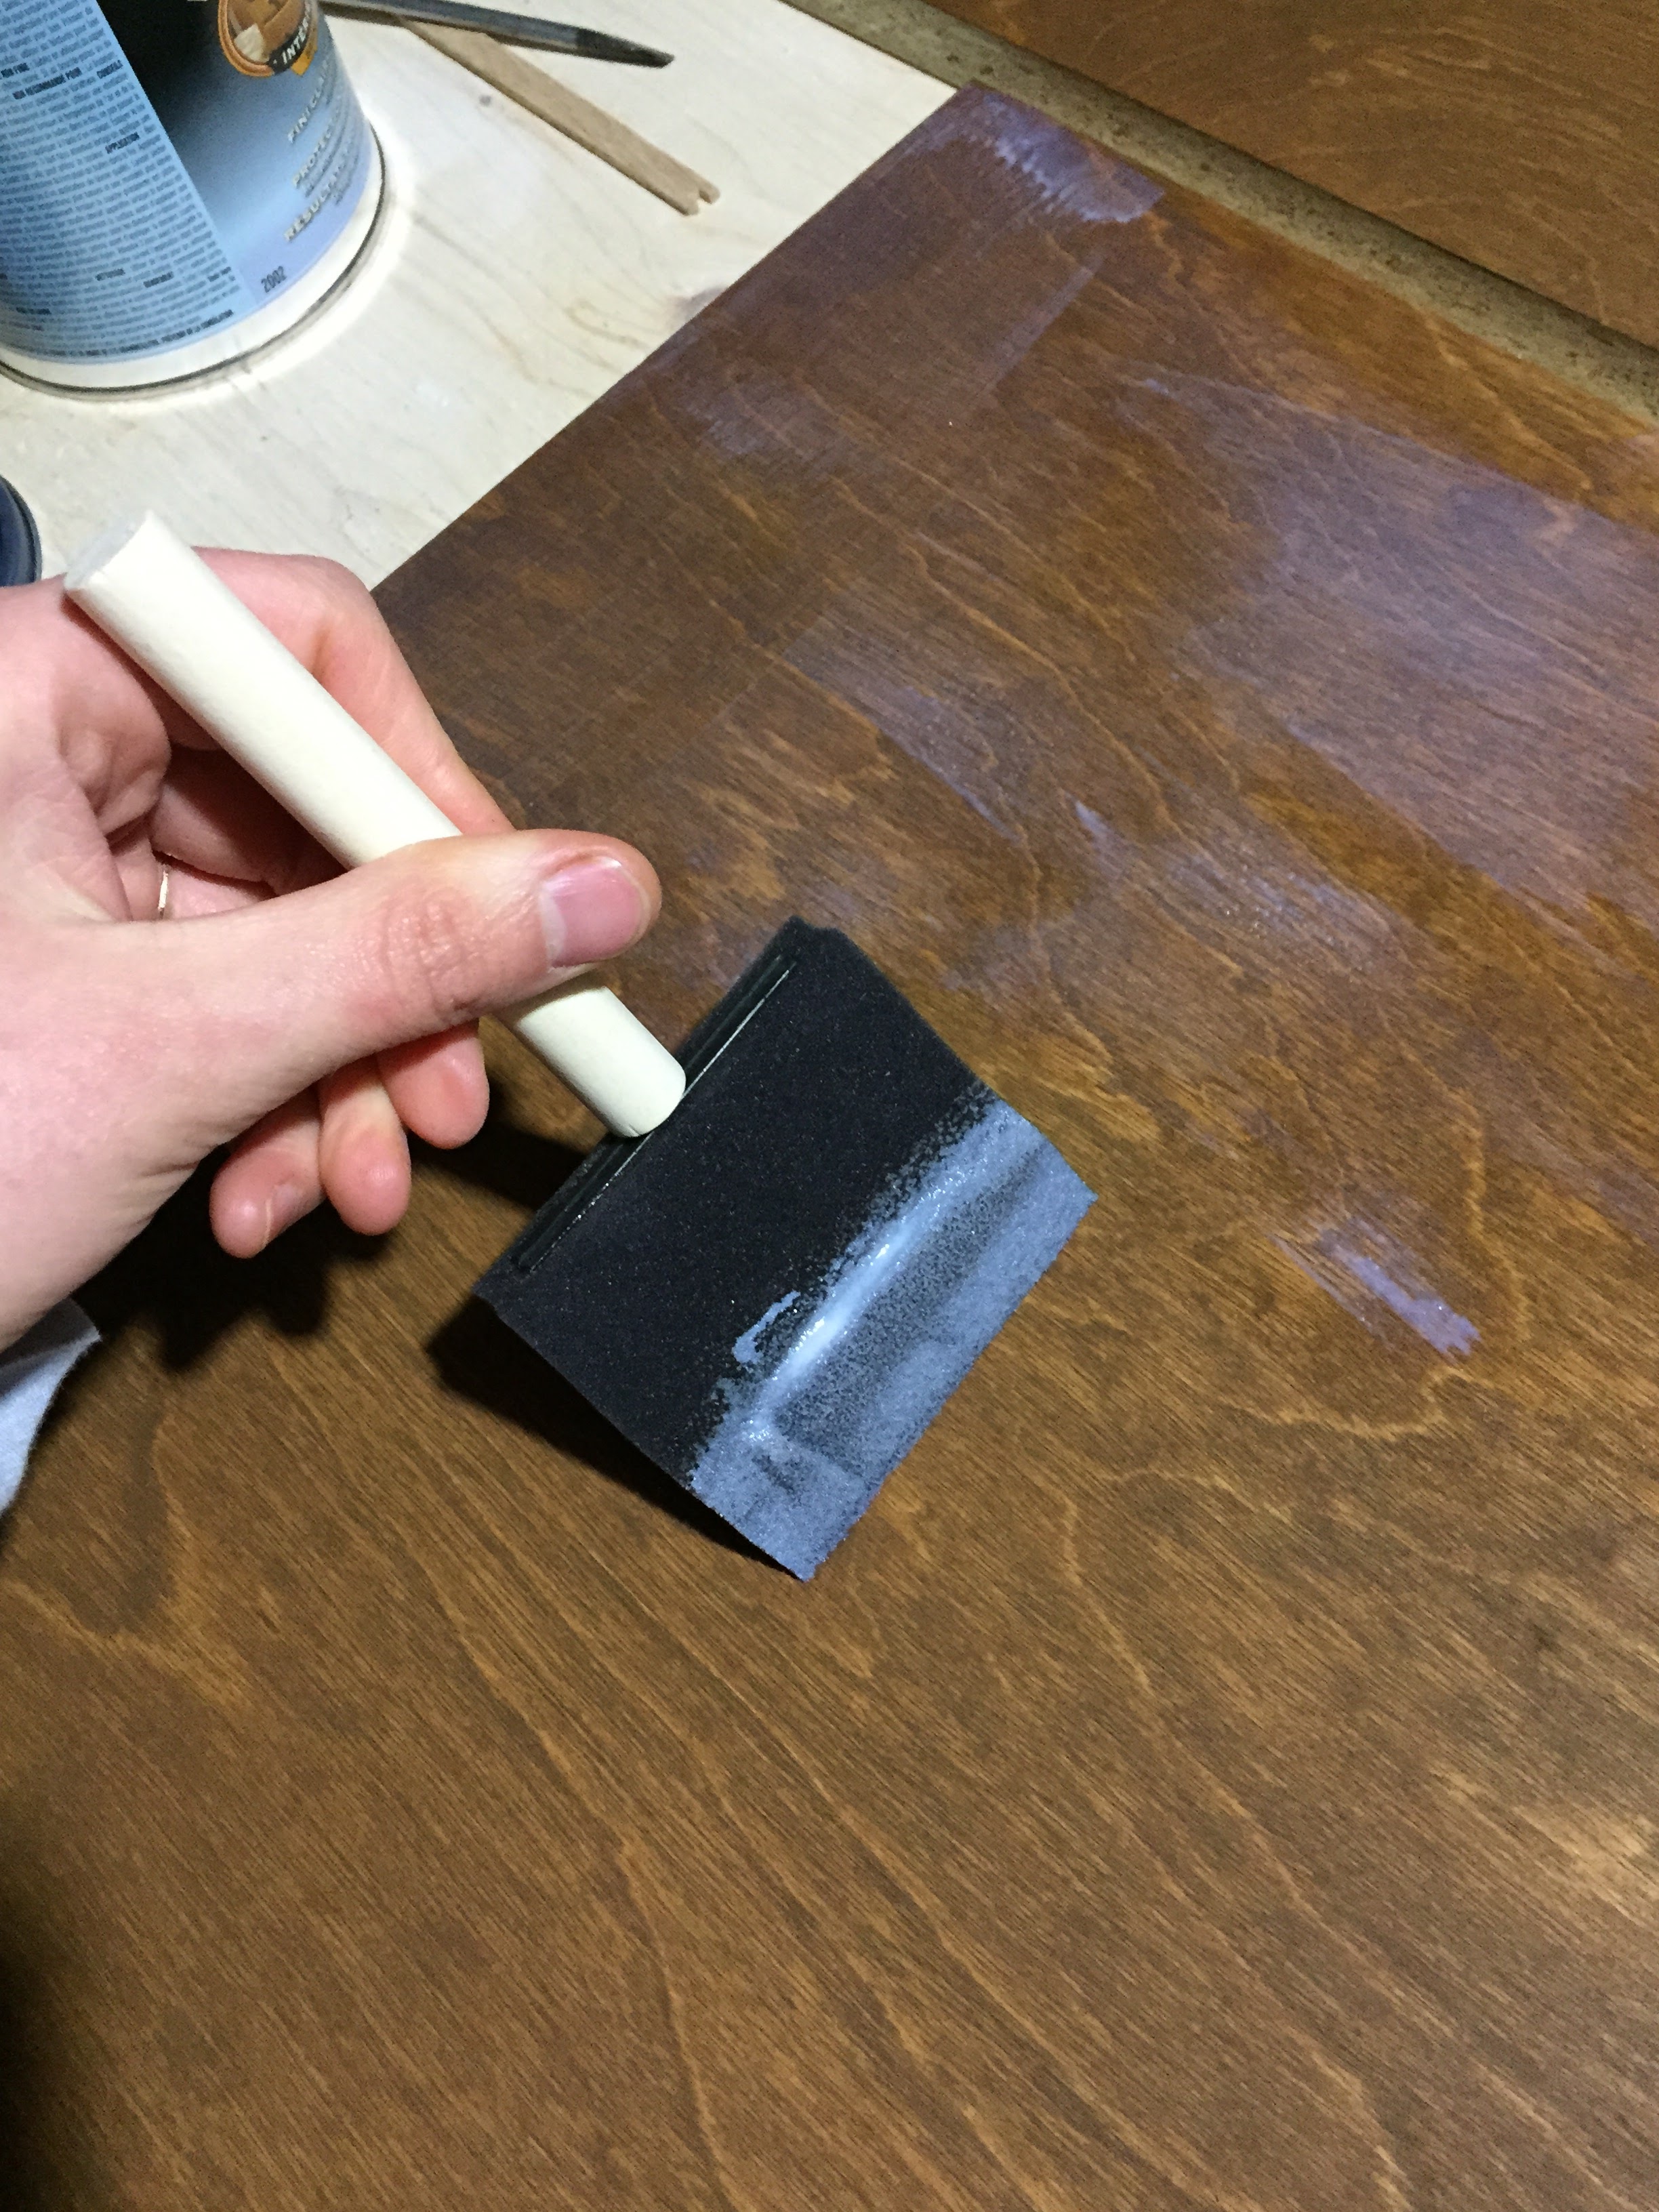
Before applying the stain to our wood, we did a final sand of the wood and wiped it with a damp cloth to get rid of any dust. We also hung the wood over the edge of the table so I could also apply stain to the edge at the same time.
I then applied the stain with a clean rag and worked it into the wood in a circular motion.
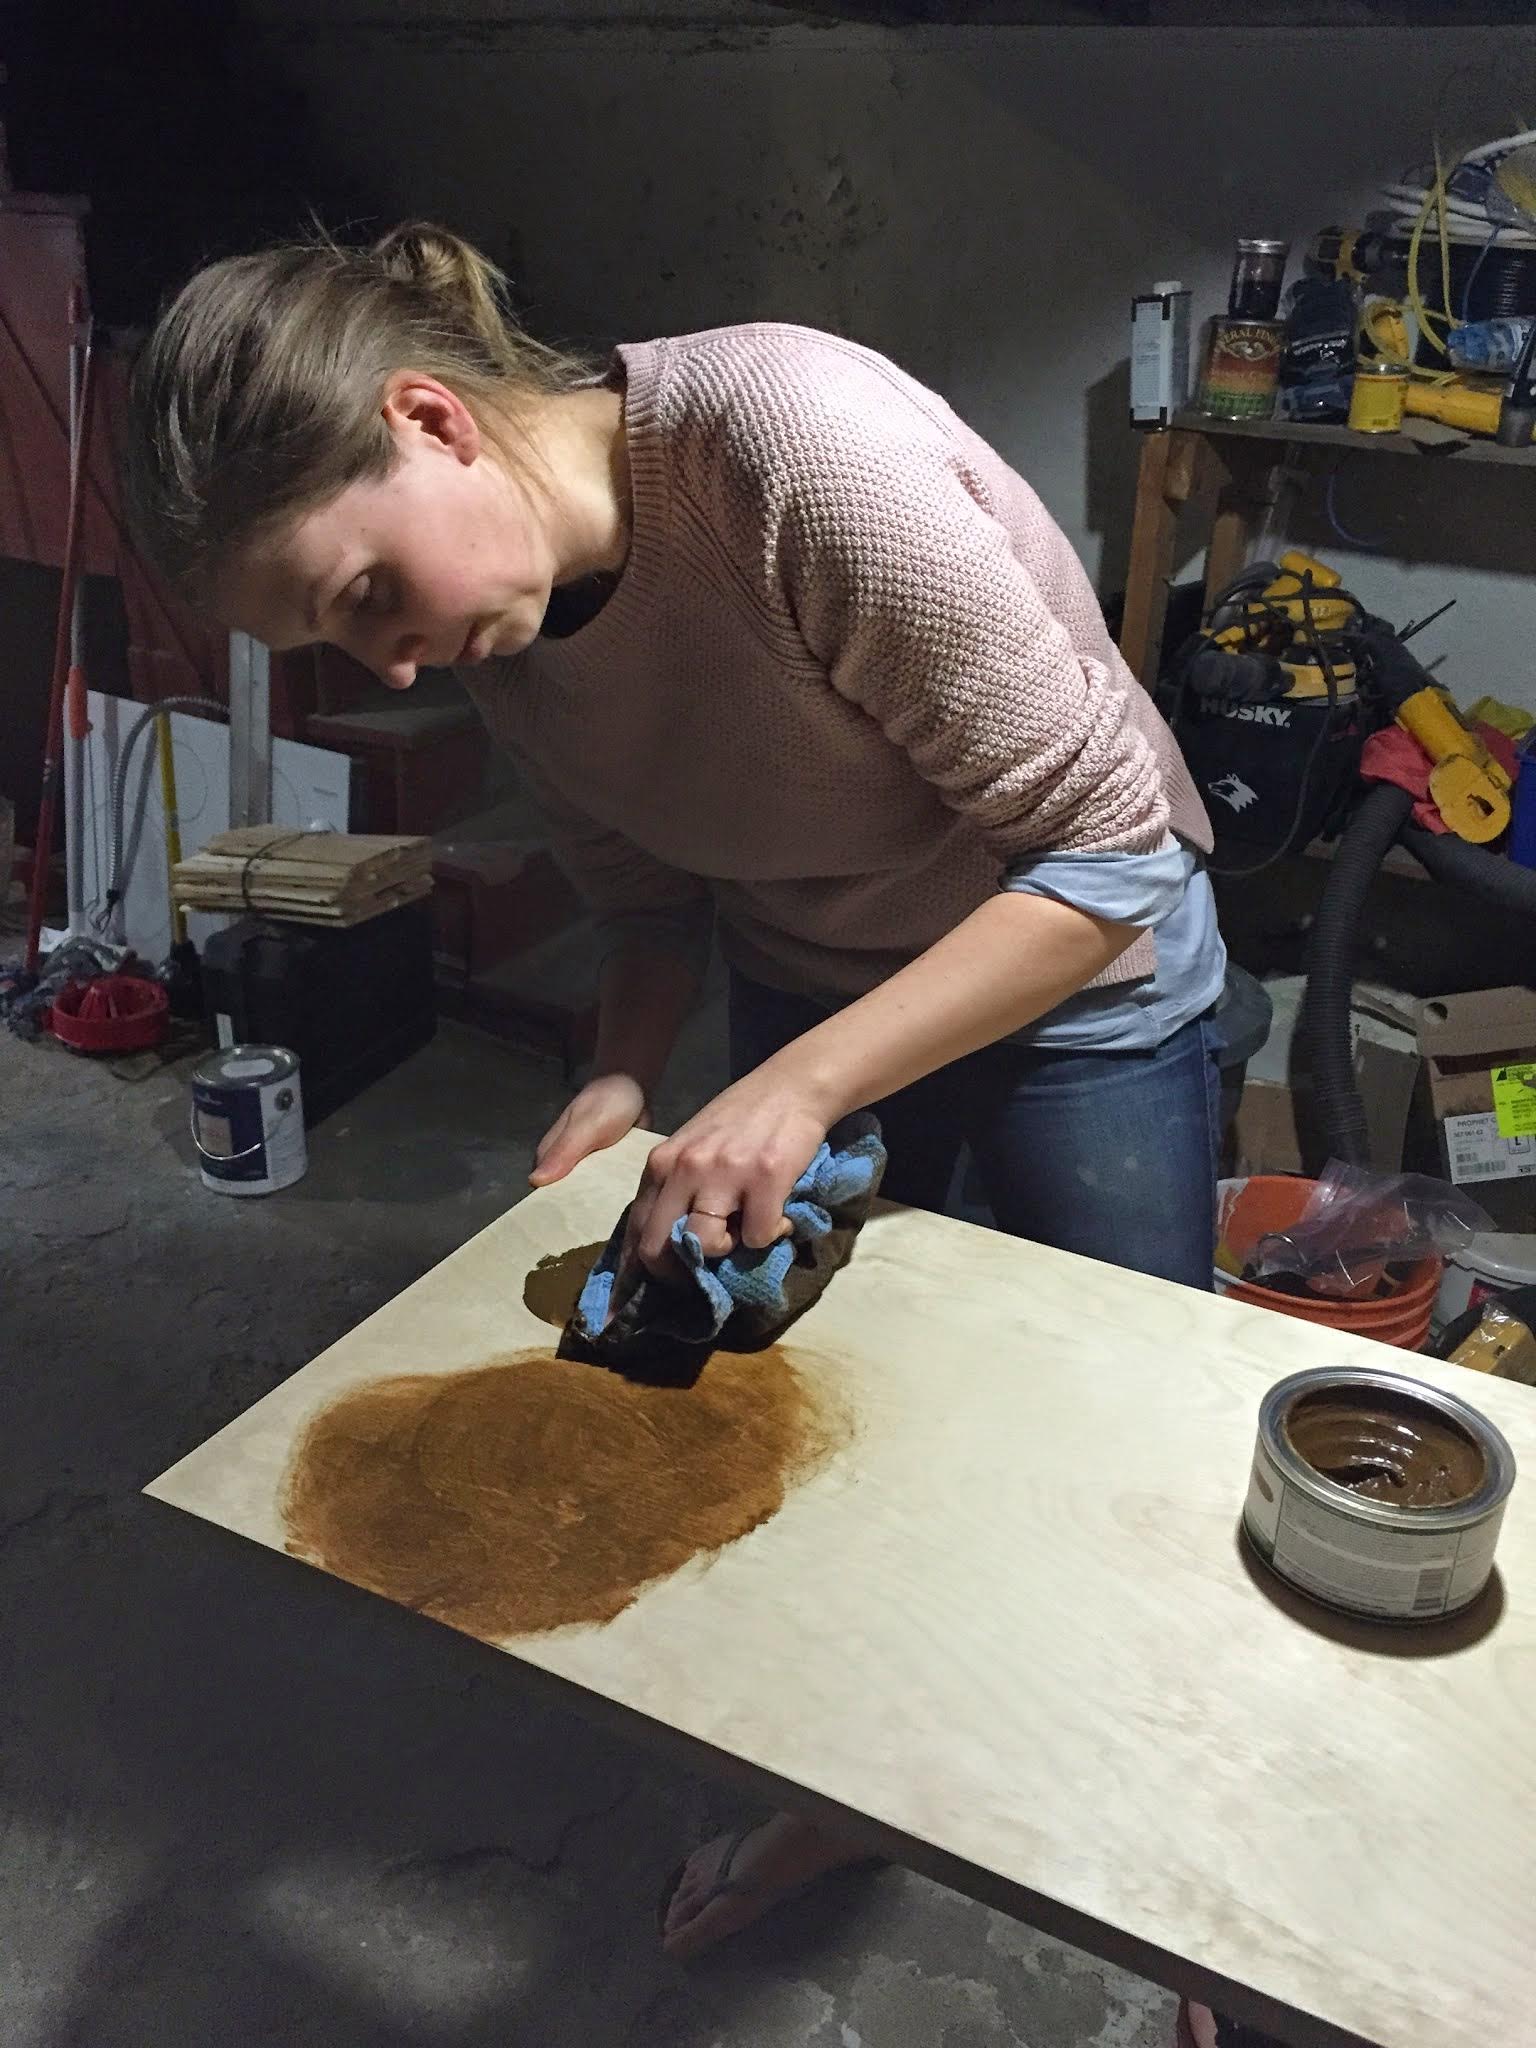
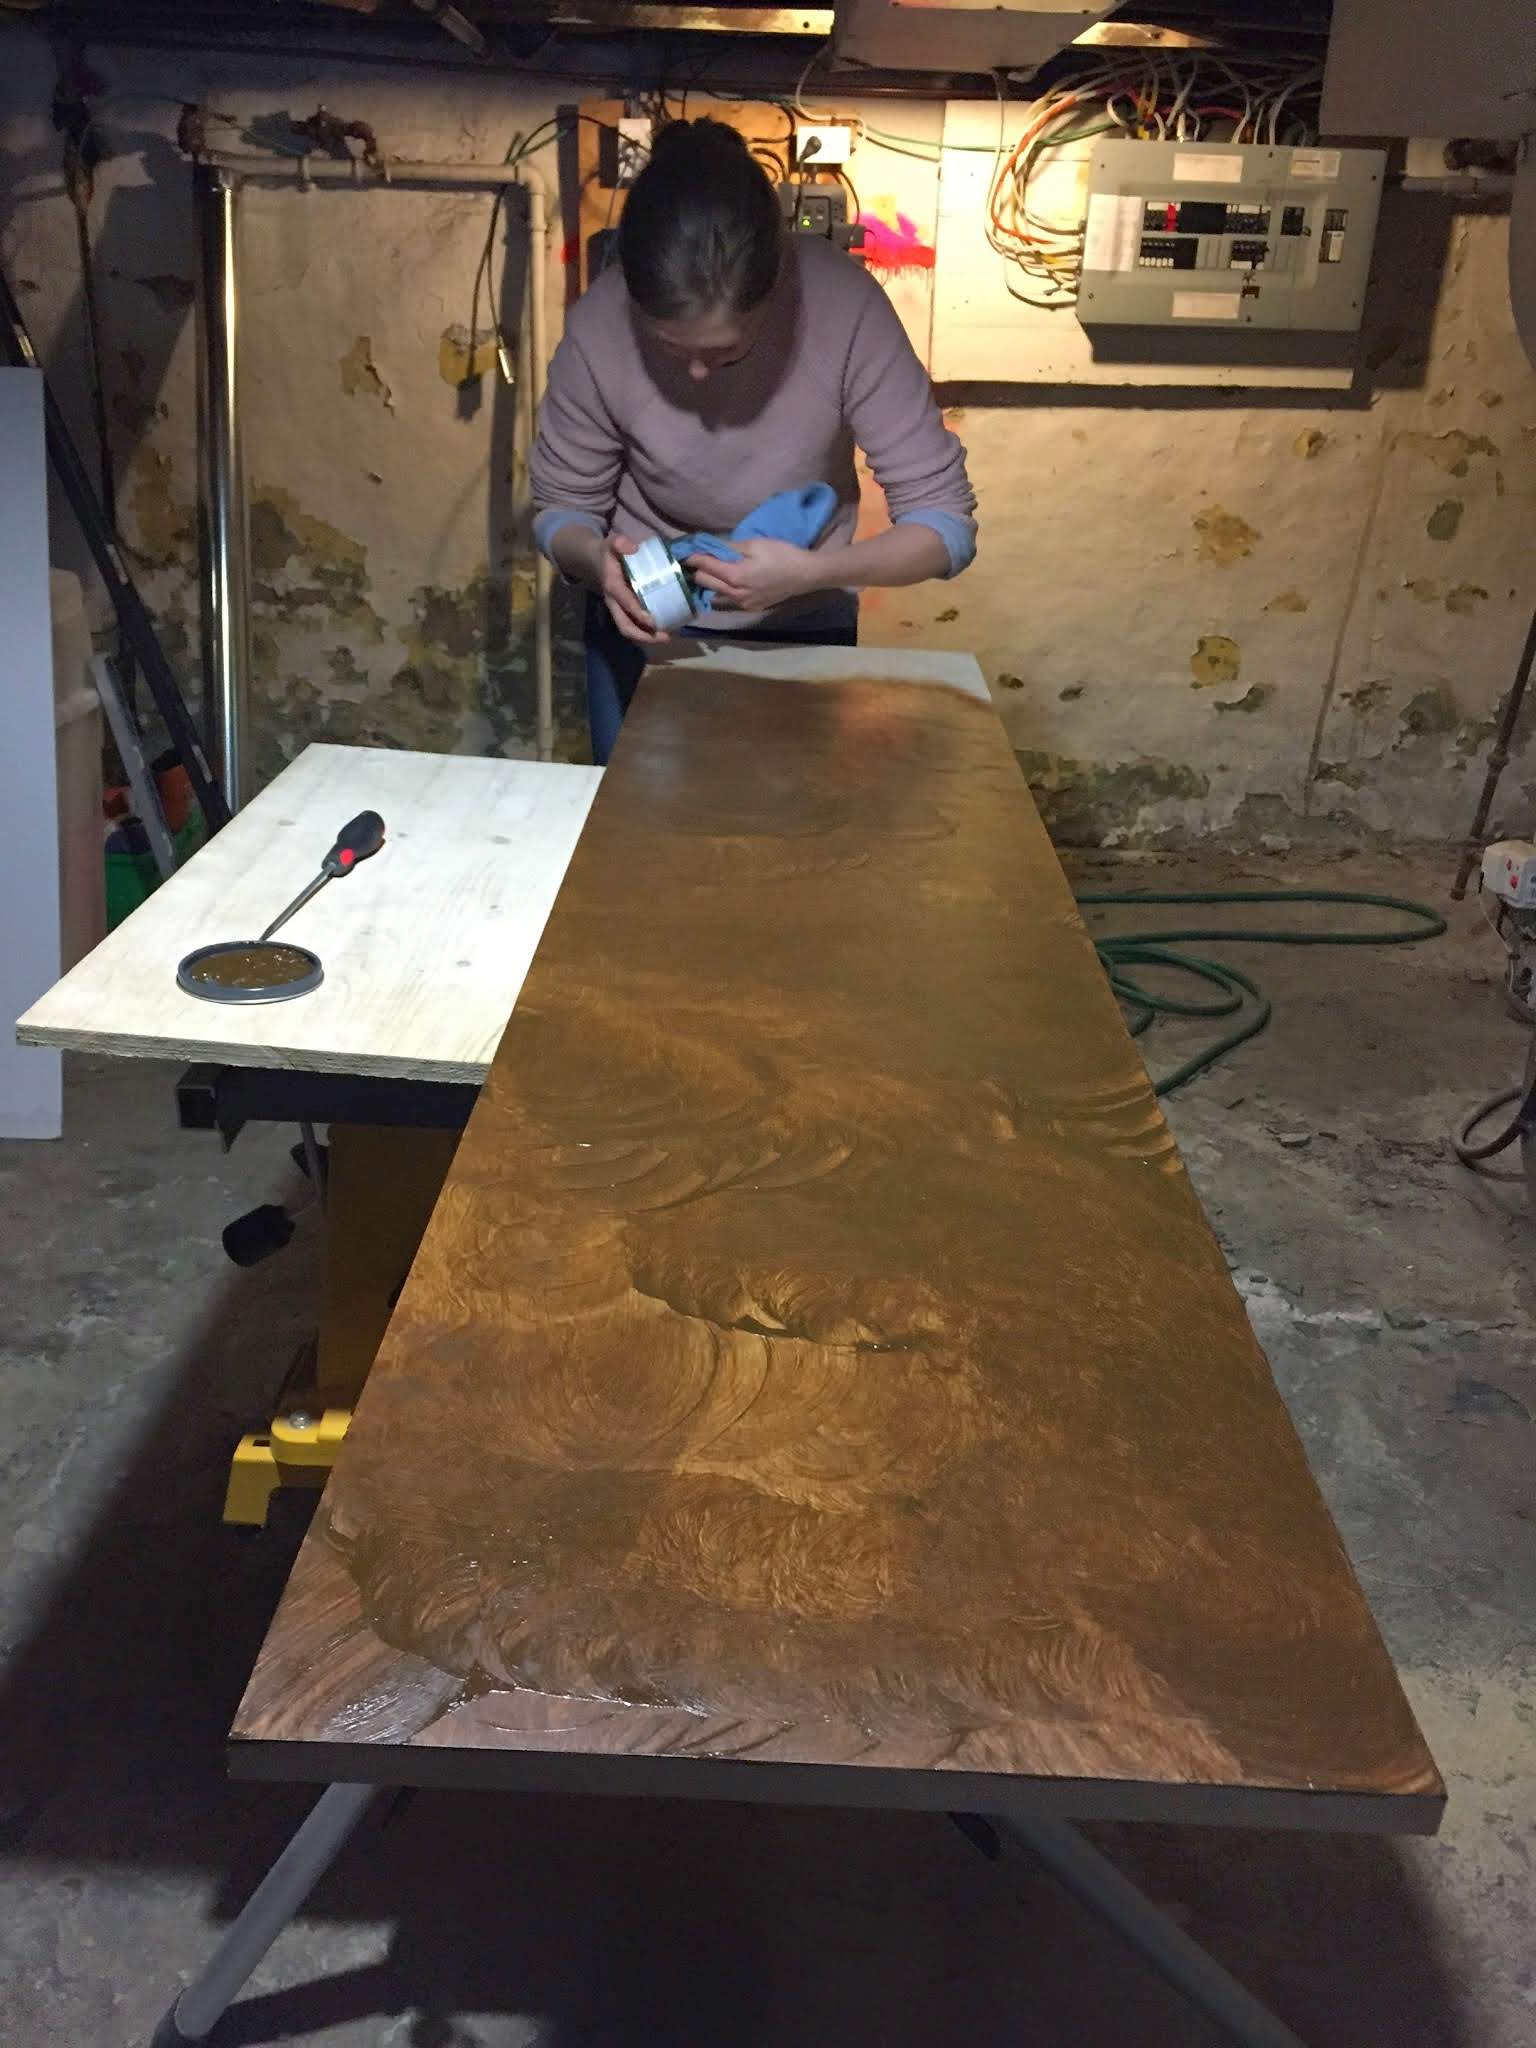
After I applied stain to the entire piece of wood, I wiped the entire piece with a clean part of the rag, in the same direction as the grain.
There were a few blotchy areas, which we read could be a problem, but it still looked pretty good. And the colour was exactly what we wanted!
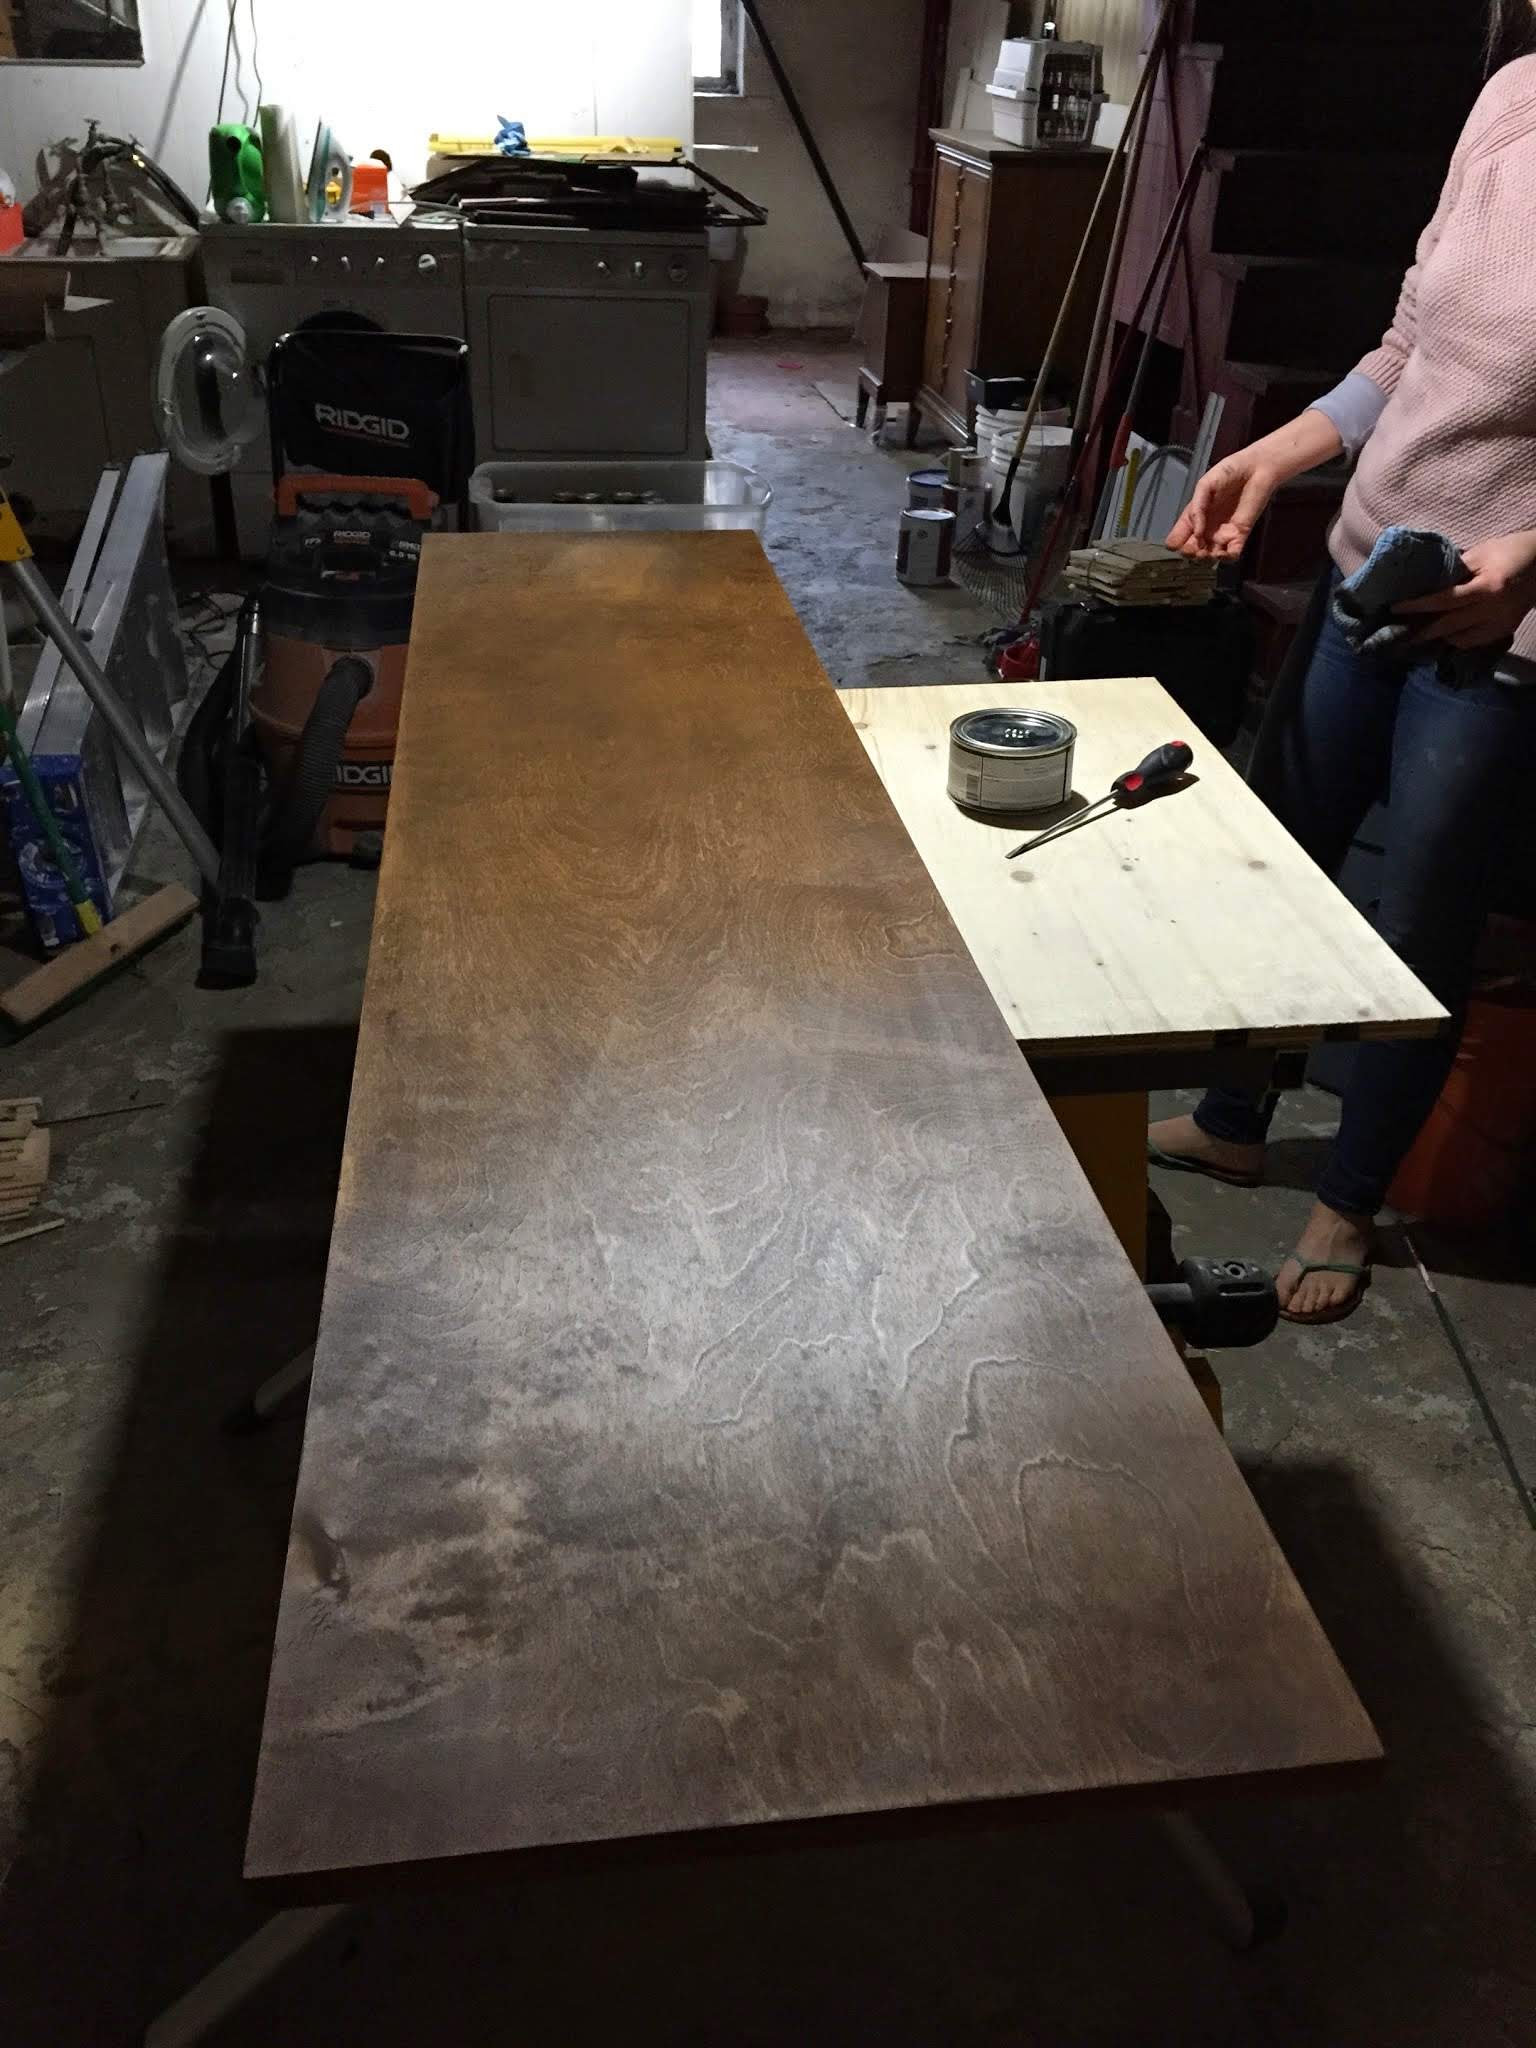
After about 24 hours the wood was read to be finished. I think our super dry house helped, since it normally takes 24-72 hours.
Warning! I didn’t know this until well into our staining ordeal, but apparently rags soaked in oil stains can spontaneously combust. So it’s best to soak the rag in water before throwing the rag out (and in an outside garage can).
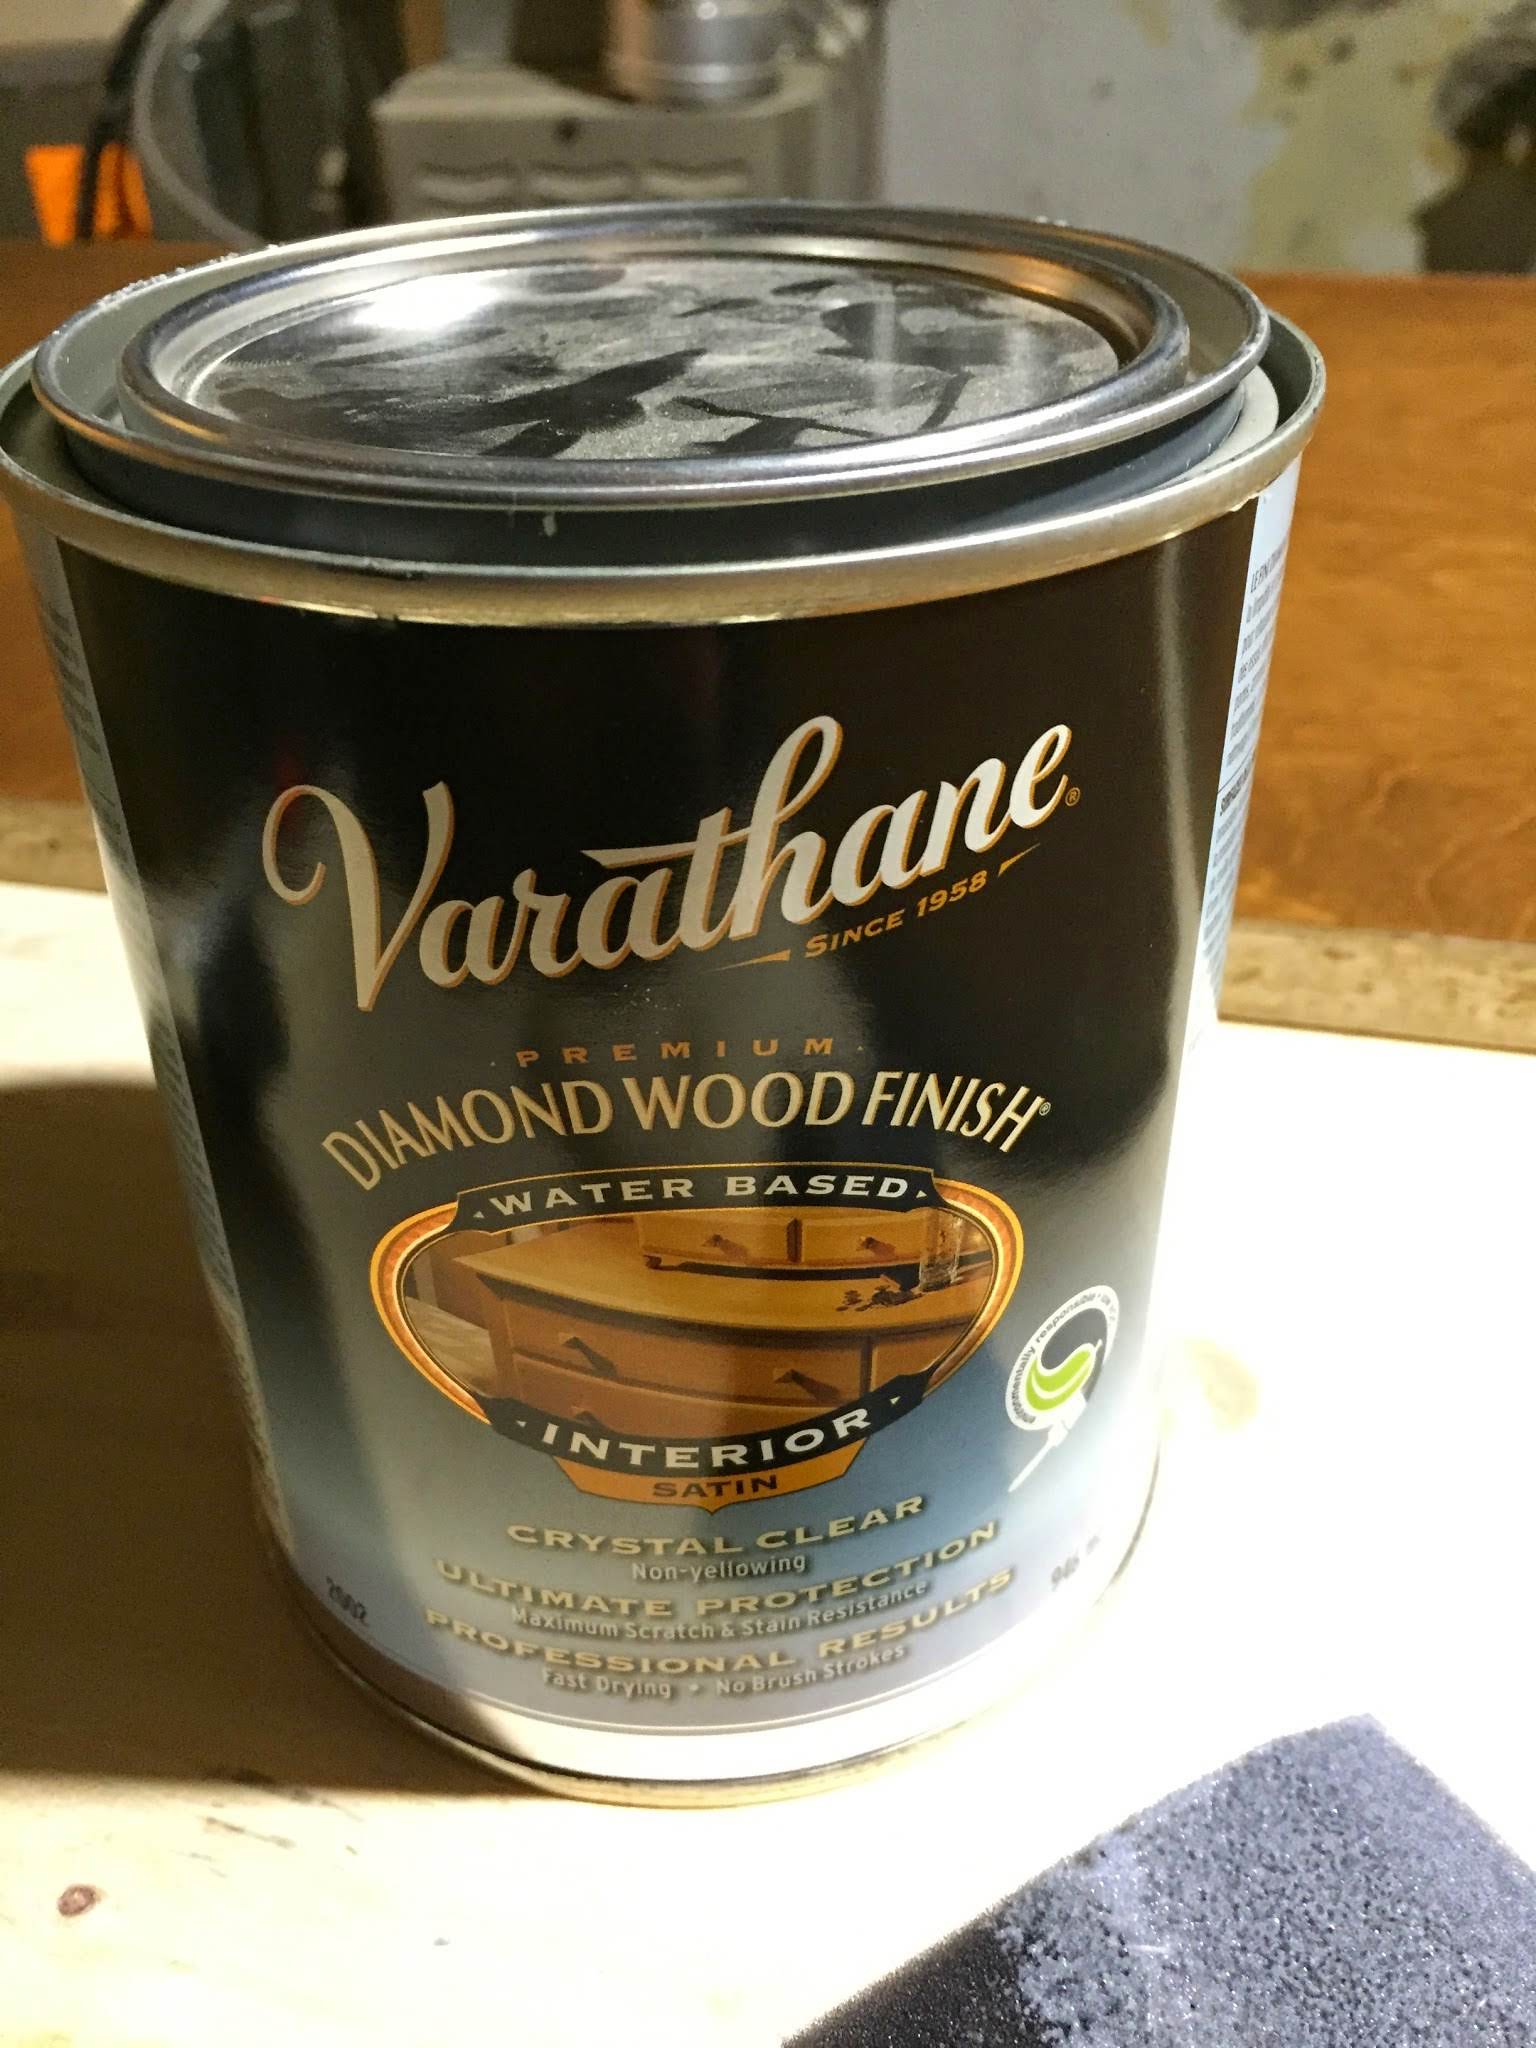
We chose Varathane’s clear, satin water-based finish because (as I’ve explained in our hardwood floor post) water-based finish doesn’t alter the colour of the stain or wood. (Oil finishes turn wood an amber colour). I also made sure to do a test before applying it to the actual pieces.
I first wiped the wood with a slightly damp cloth to remove any dust.
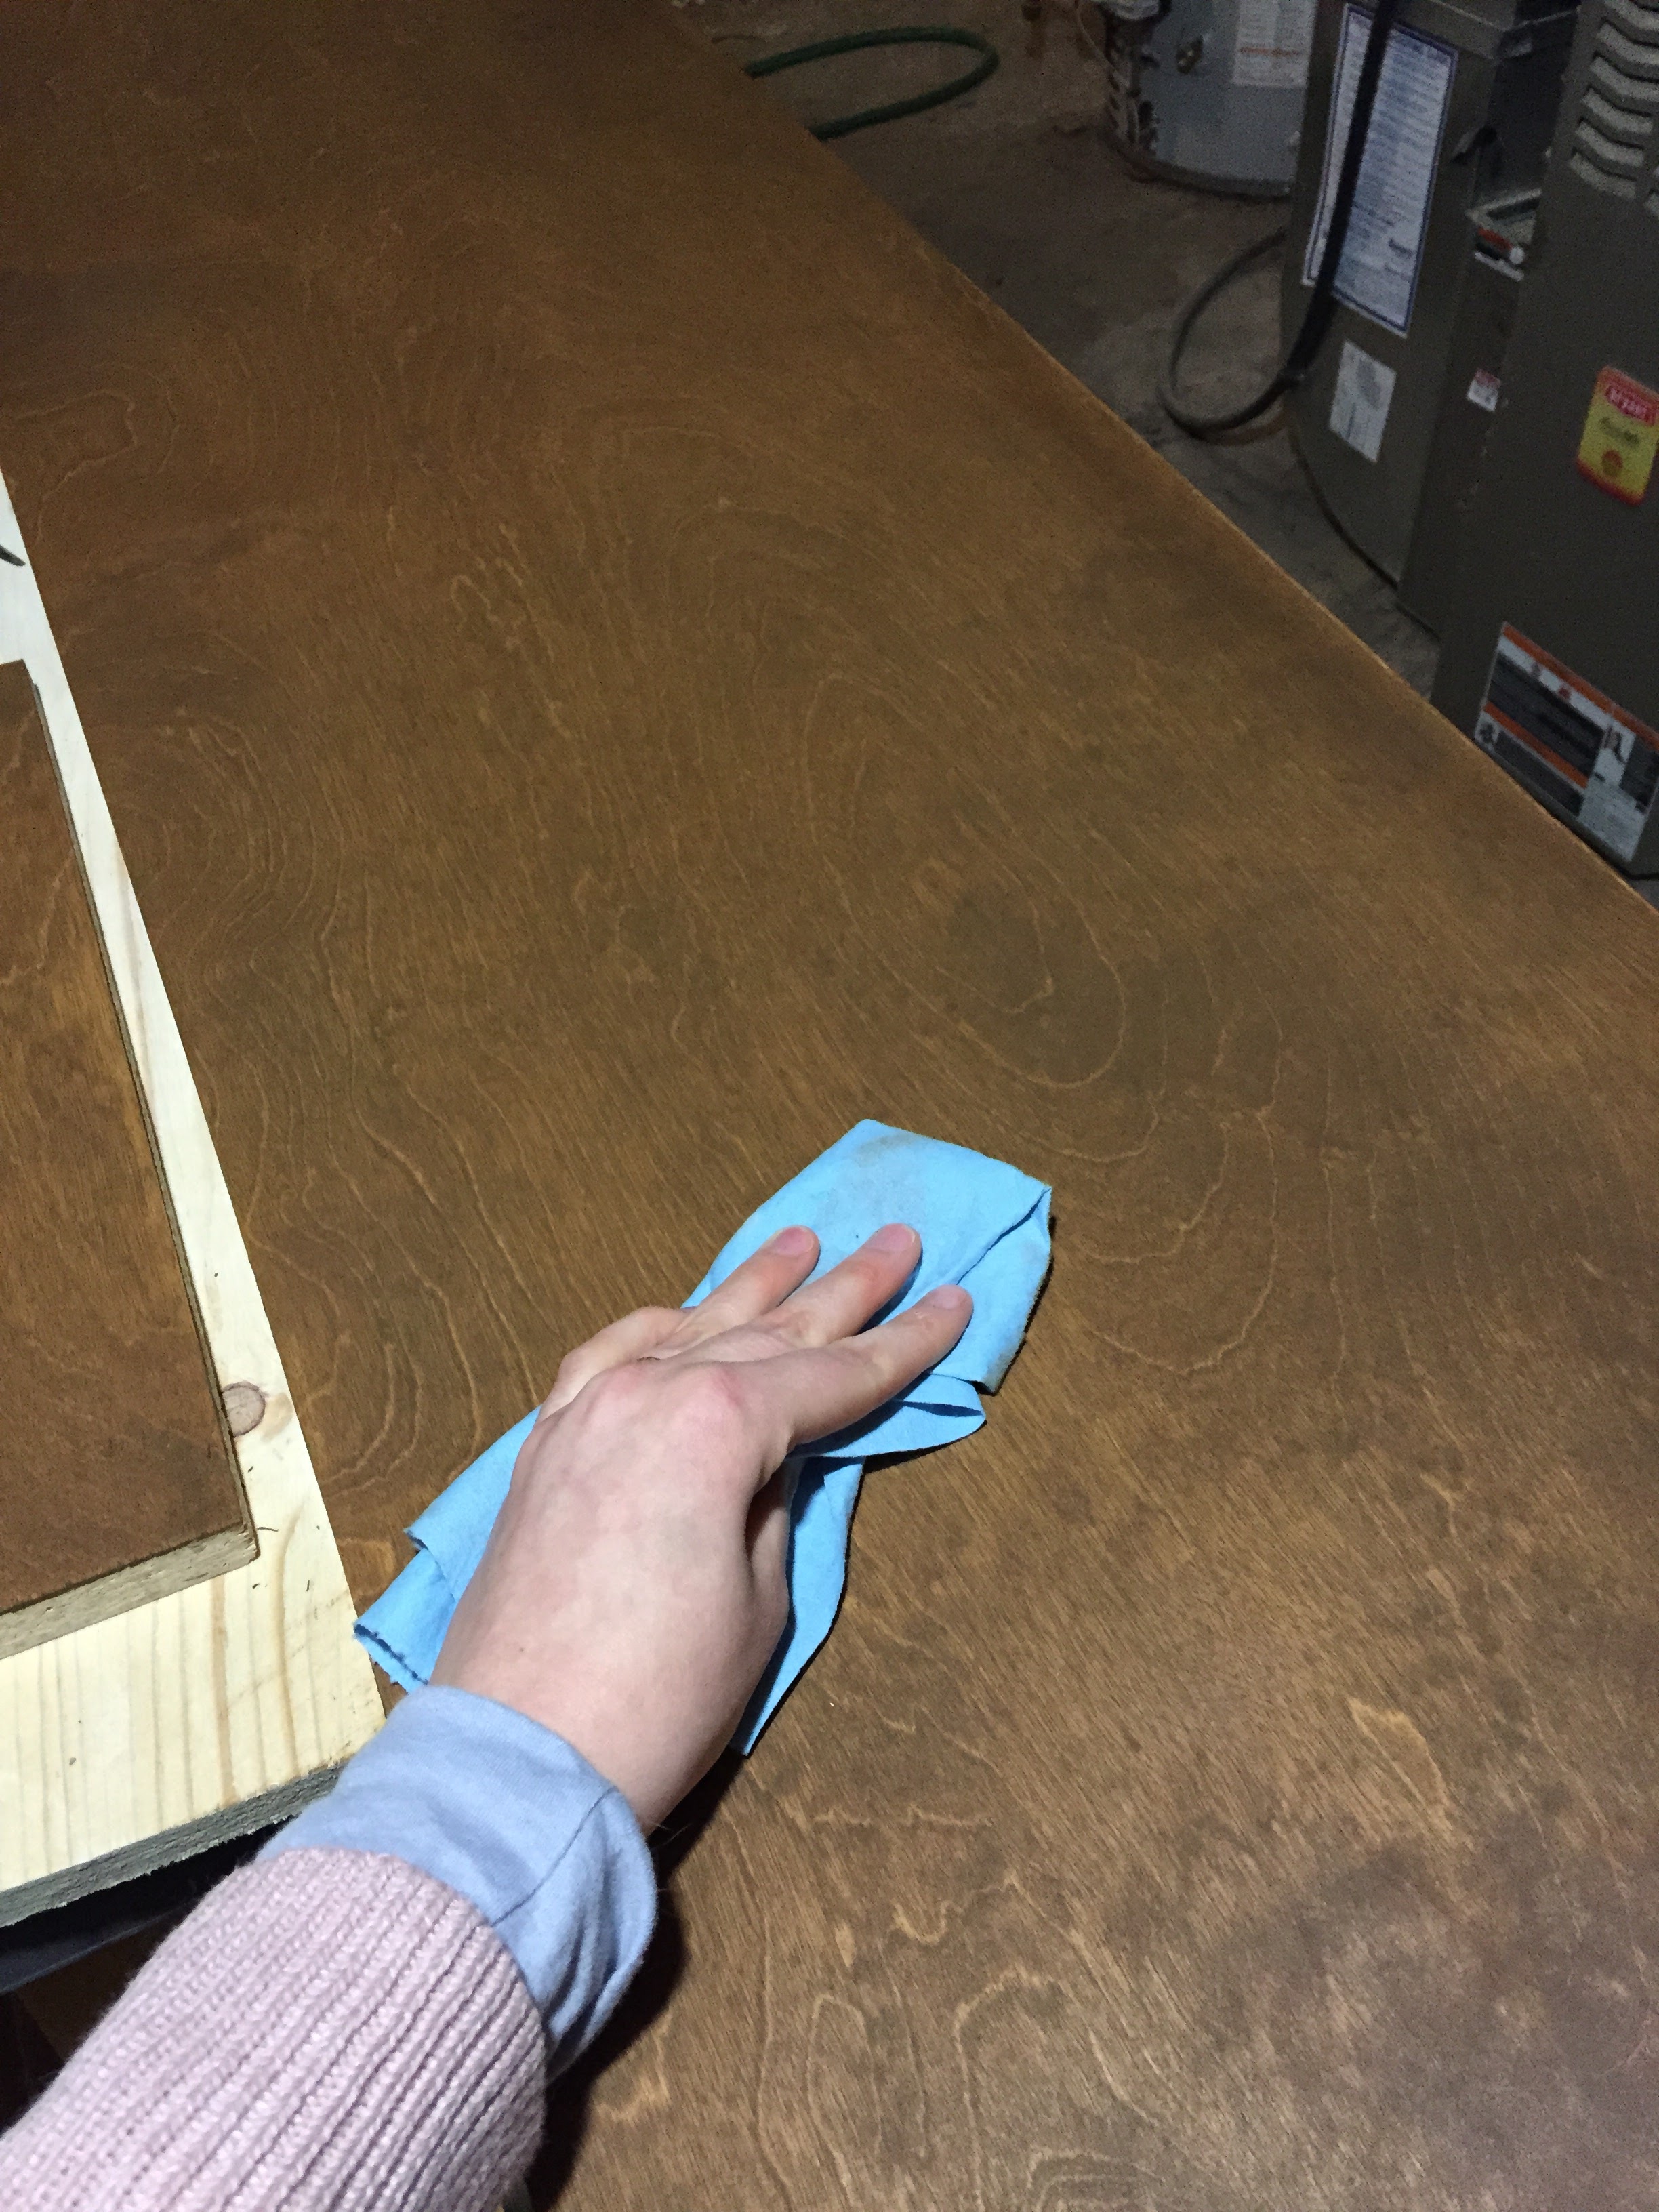
Next, I applied the finish, working quickly so that I could blend the wet finish as I moved from one section to the next.
I made sure to thin it out so that there was so excess (and I couldn’t see the milky colour anymore). I then applied 3 additional coats, waiting about 2 hours between each coat and doing a light sand.
When all the coats were finished, it was time to attach it to the Besta.
Step 6: Attach the Wood to the Besta
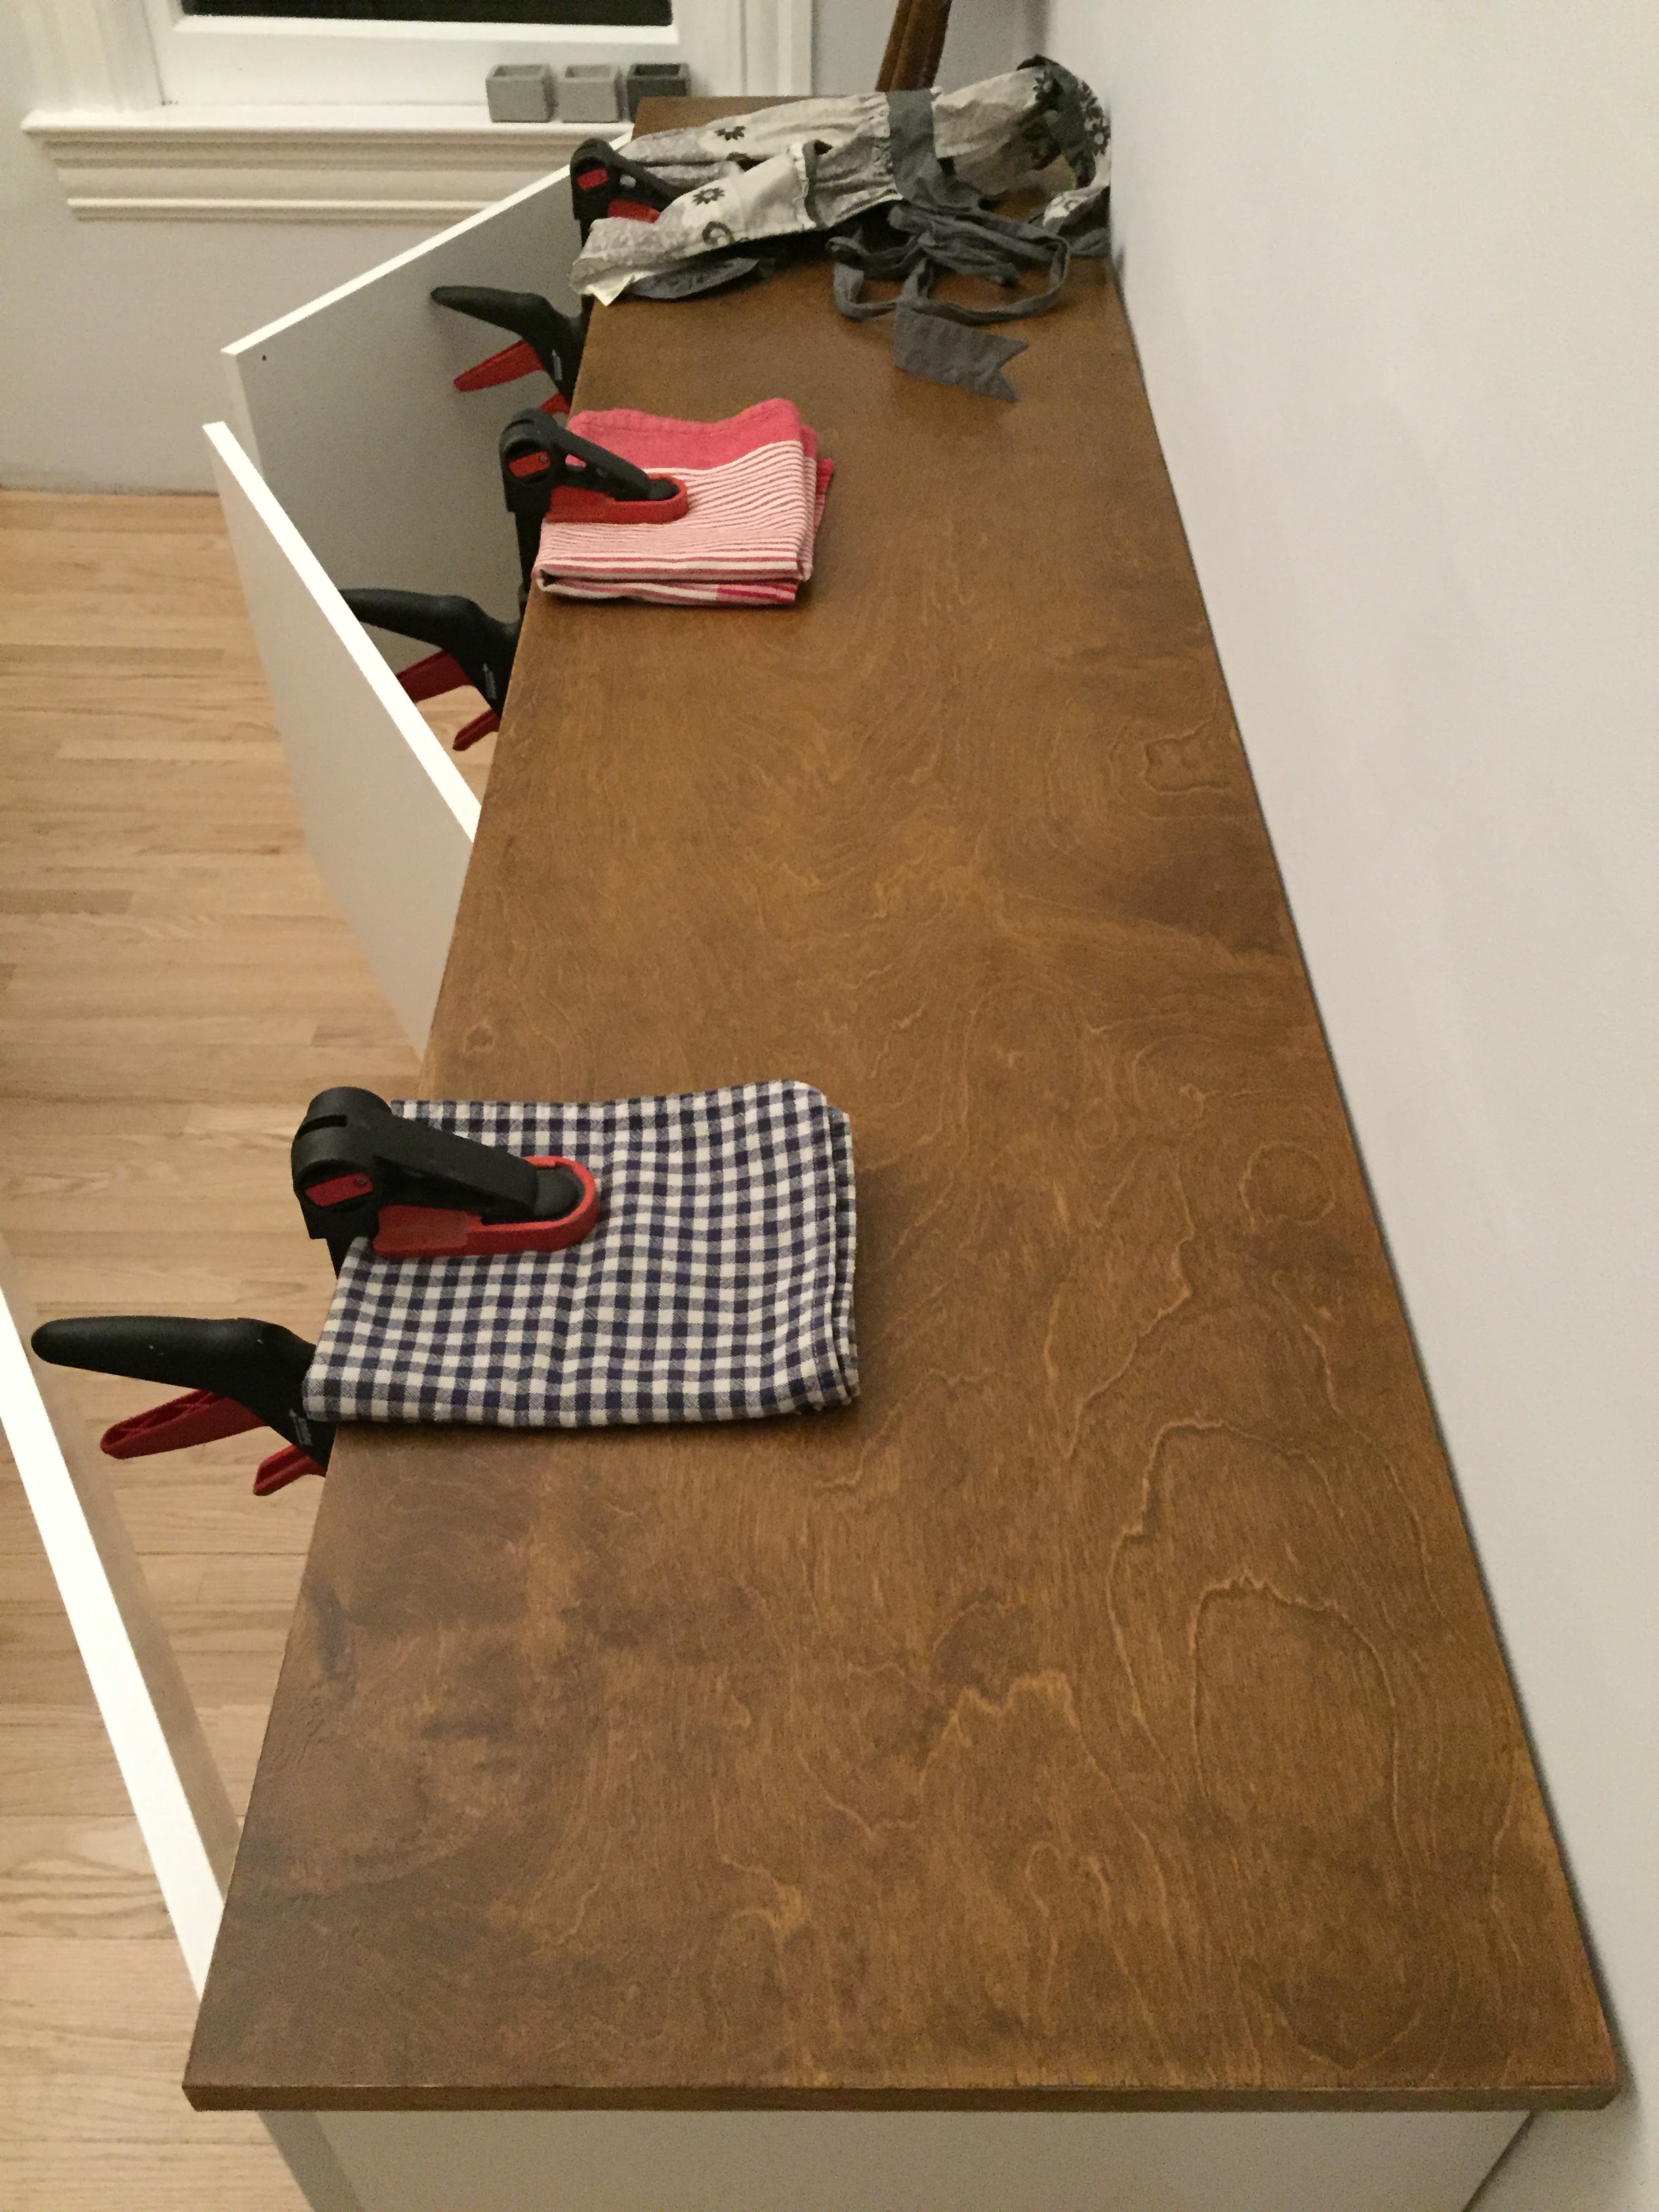
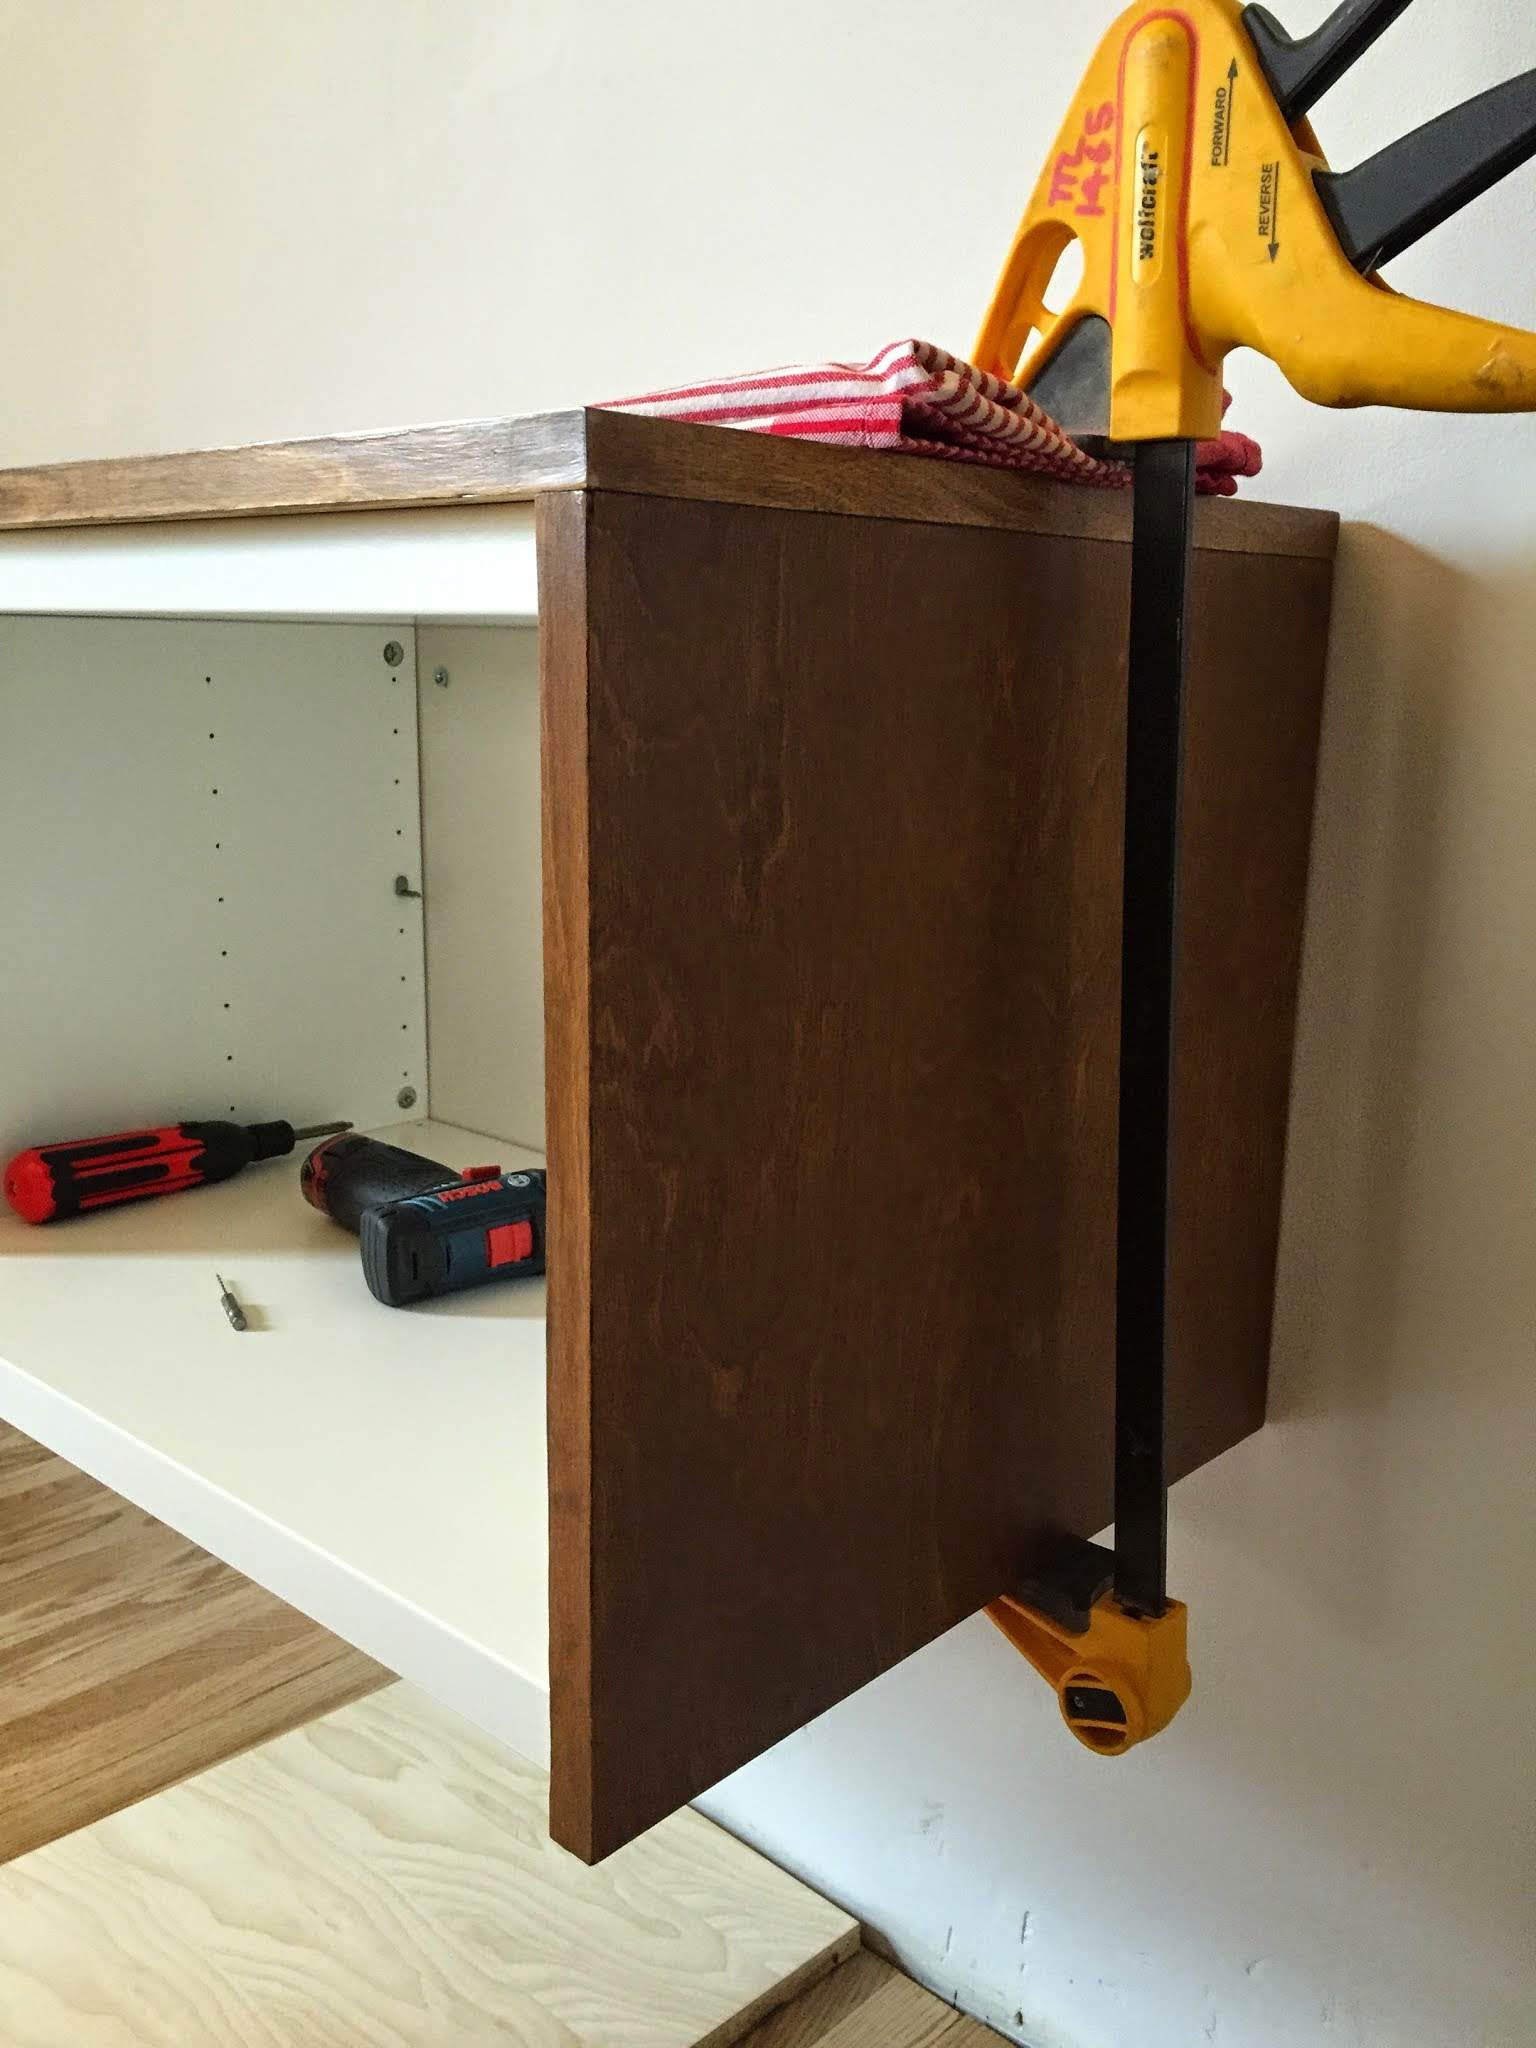
Before we attached the wood, we made sure that it was exactly where it should be. Because I’m crazy and wanted it to be perfect, this required a few steps.
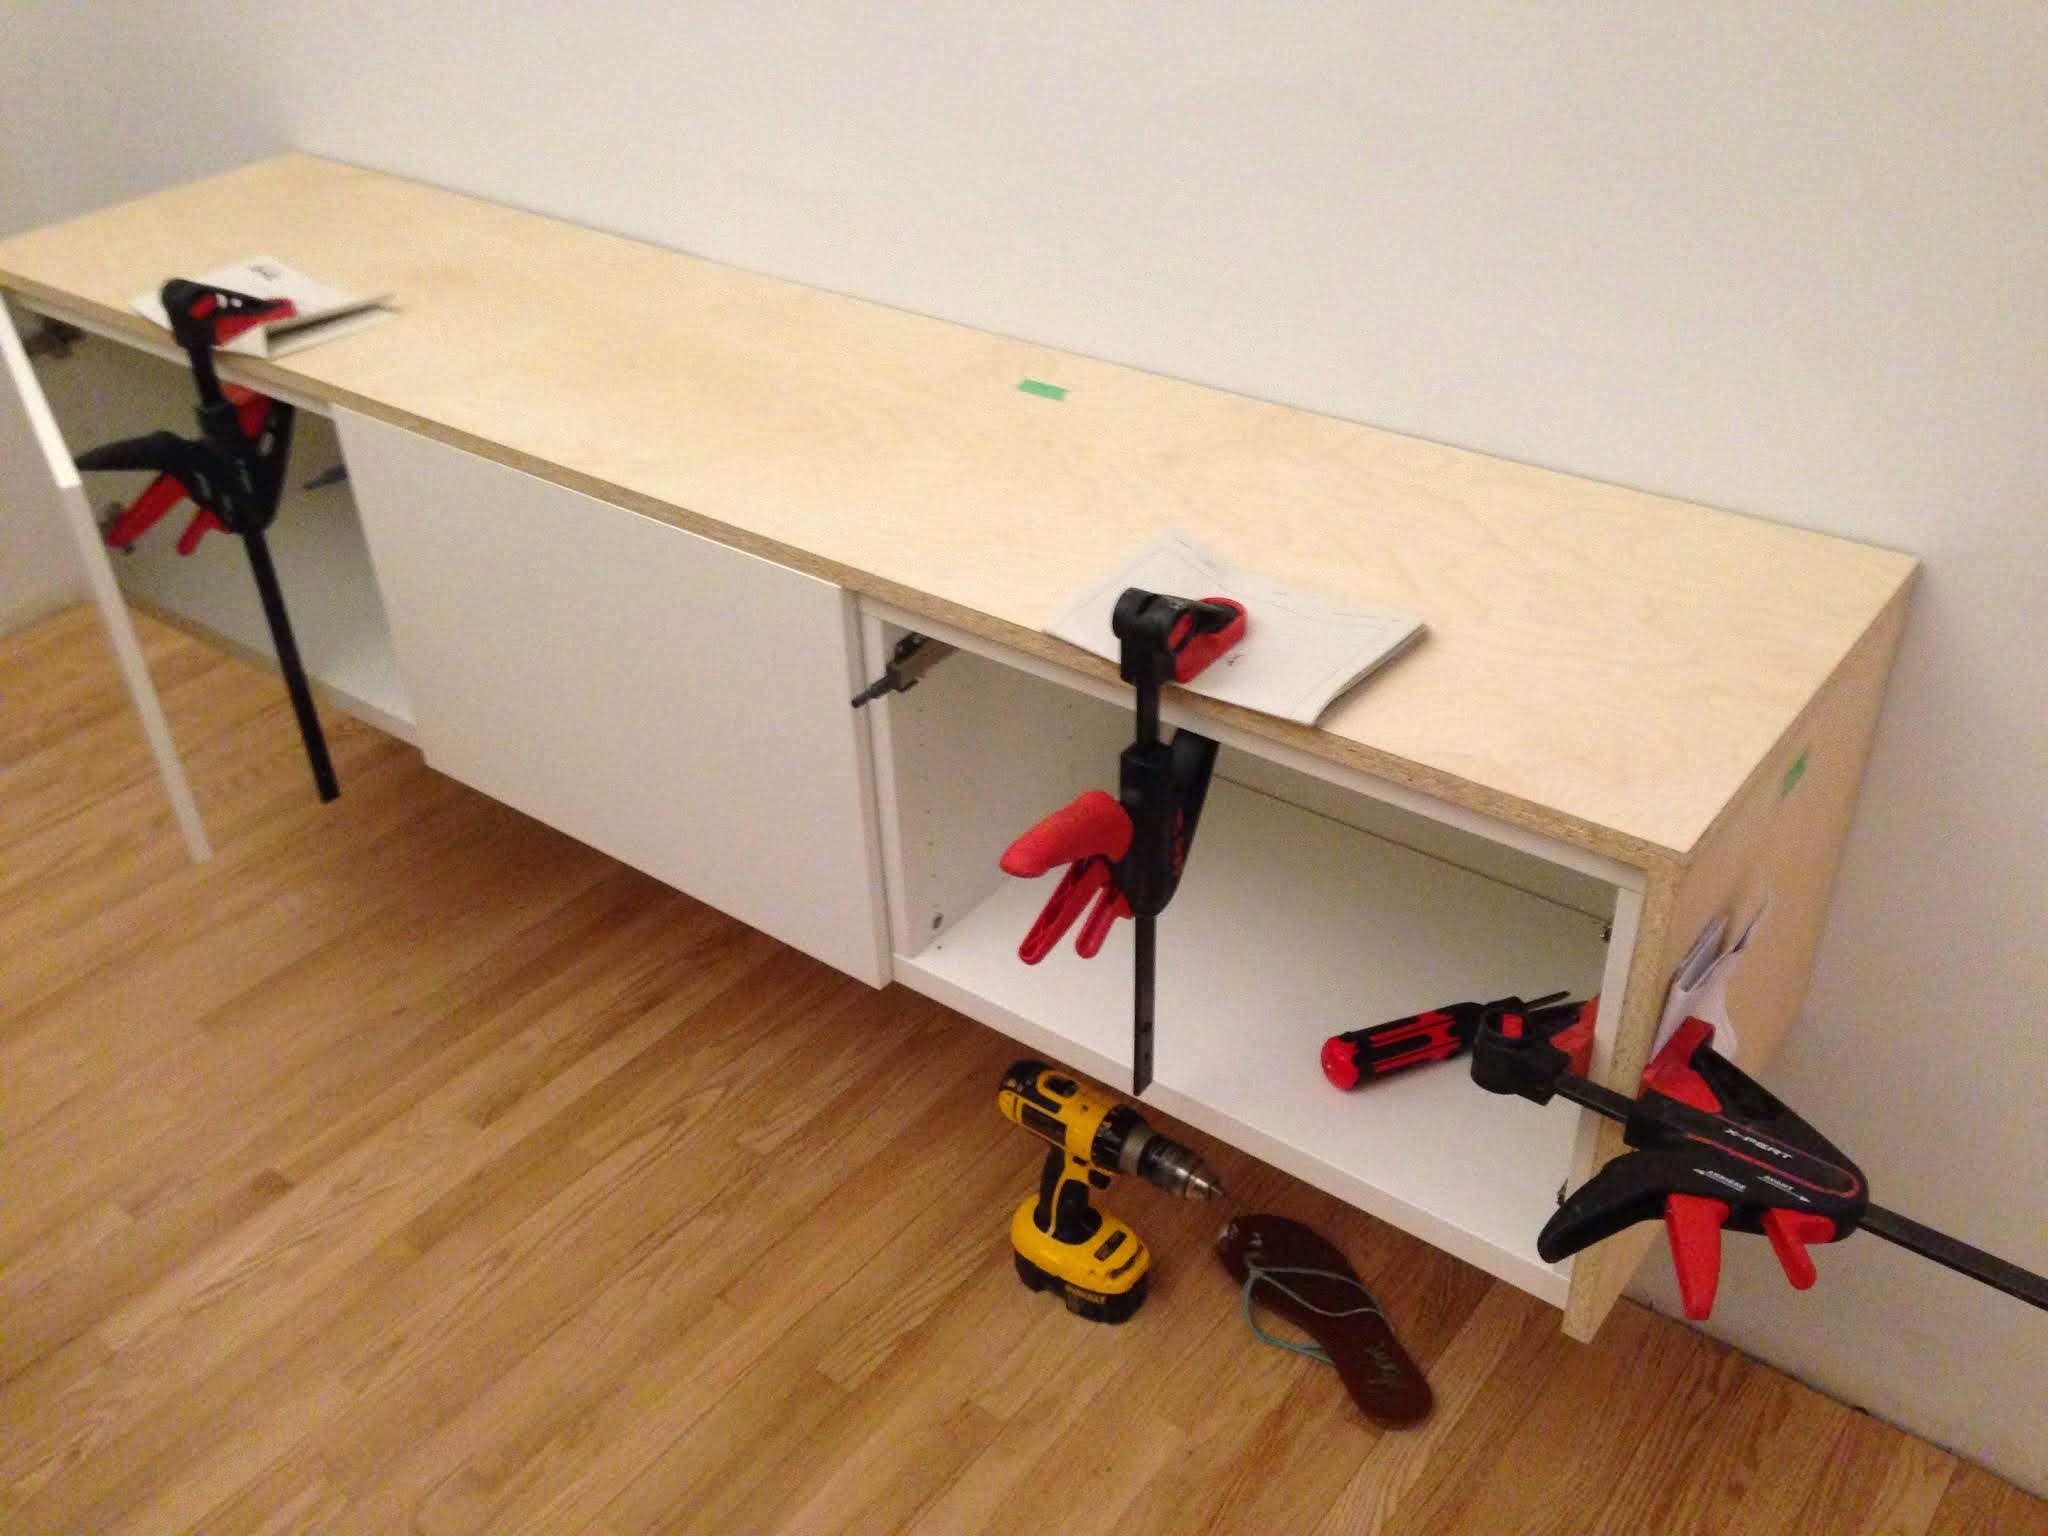
First, we had to make sure that the doors were in position. Then we placed the top piece on the Besta and adjusted it until it was just right. We had to make sure that it was flush with the front of the unit, plus perfectly aligned when the side pieces were on. Once we were happy with the position, we clamped it in place (thanks to these great clamps from the tool library).

Next, we fastened the top piece with wood screws.
In total, we used two on each end and two in the middle to hold it in place.
To attach the side pieces, we used two screws: one at the top and one at the bottom. We also applied wood glue to the joint and used a large clamp to make sure there was no gap. We also made sure to wipe away any excess glue.
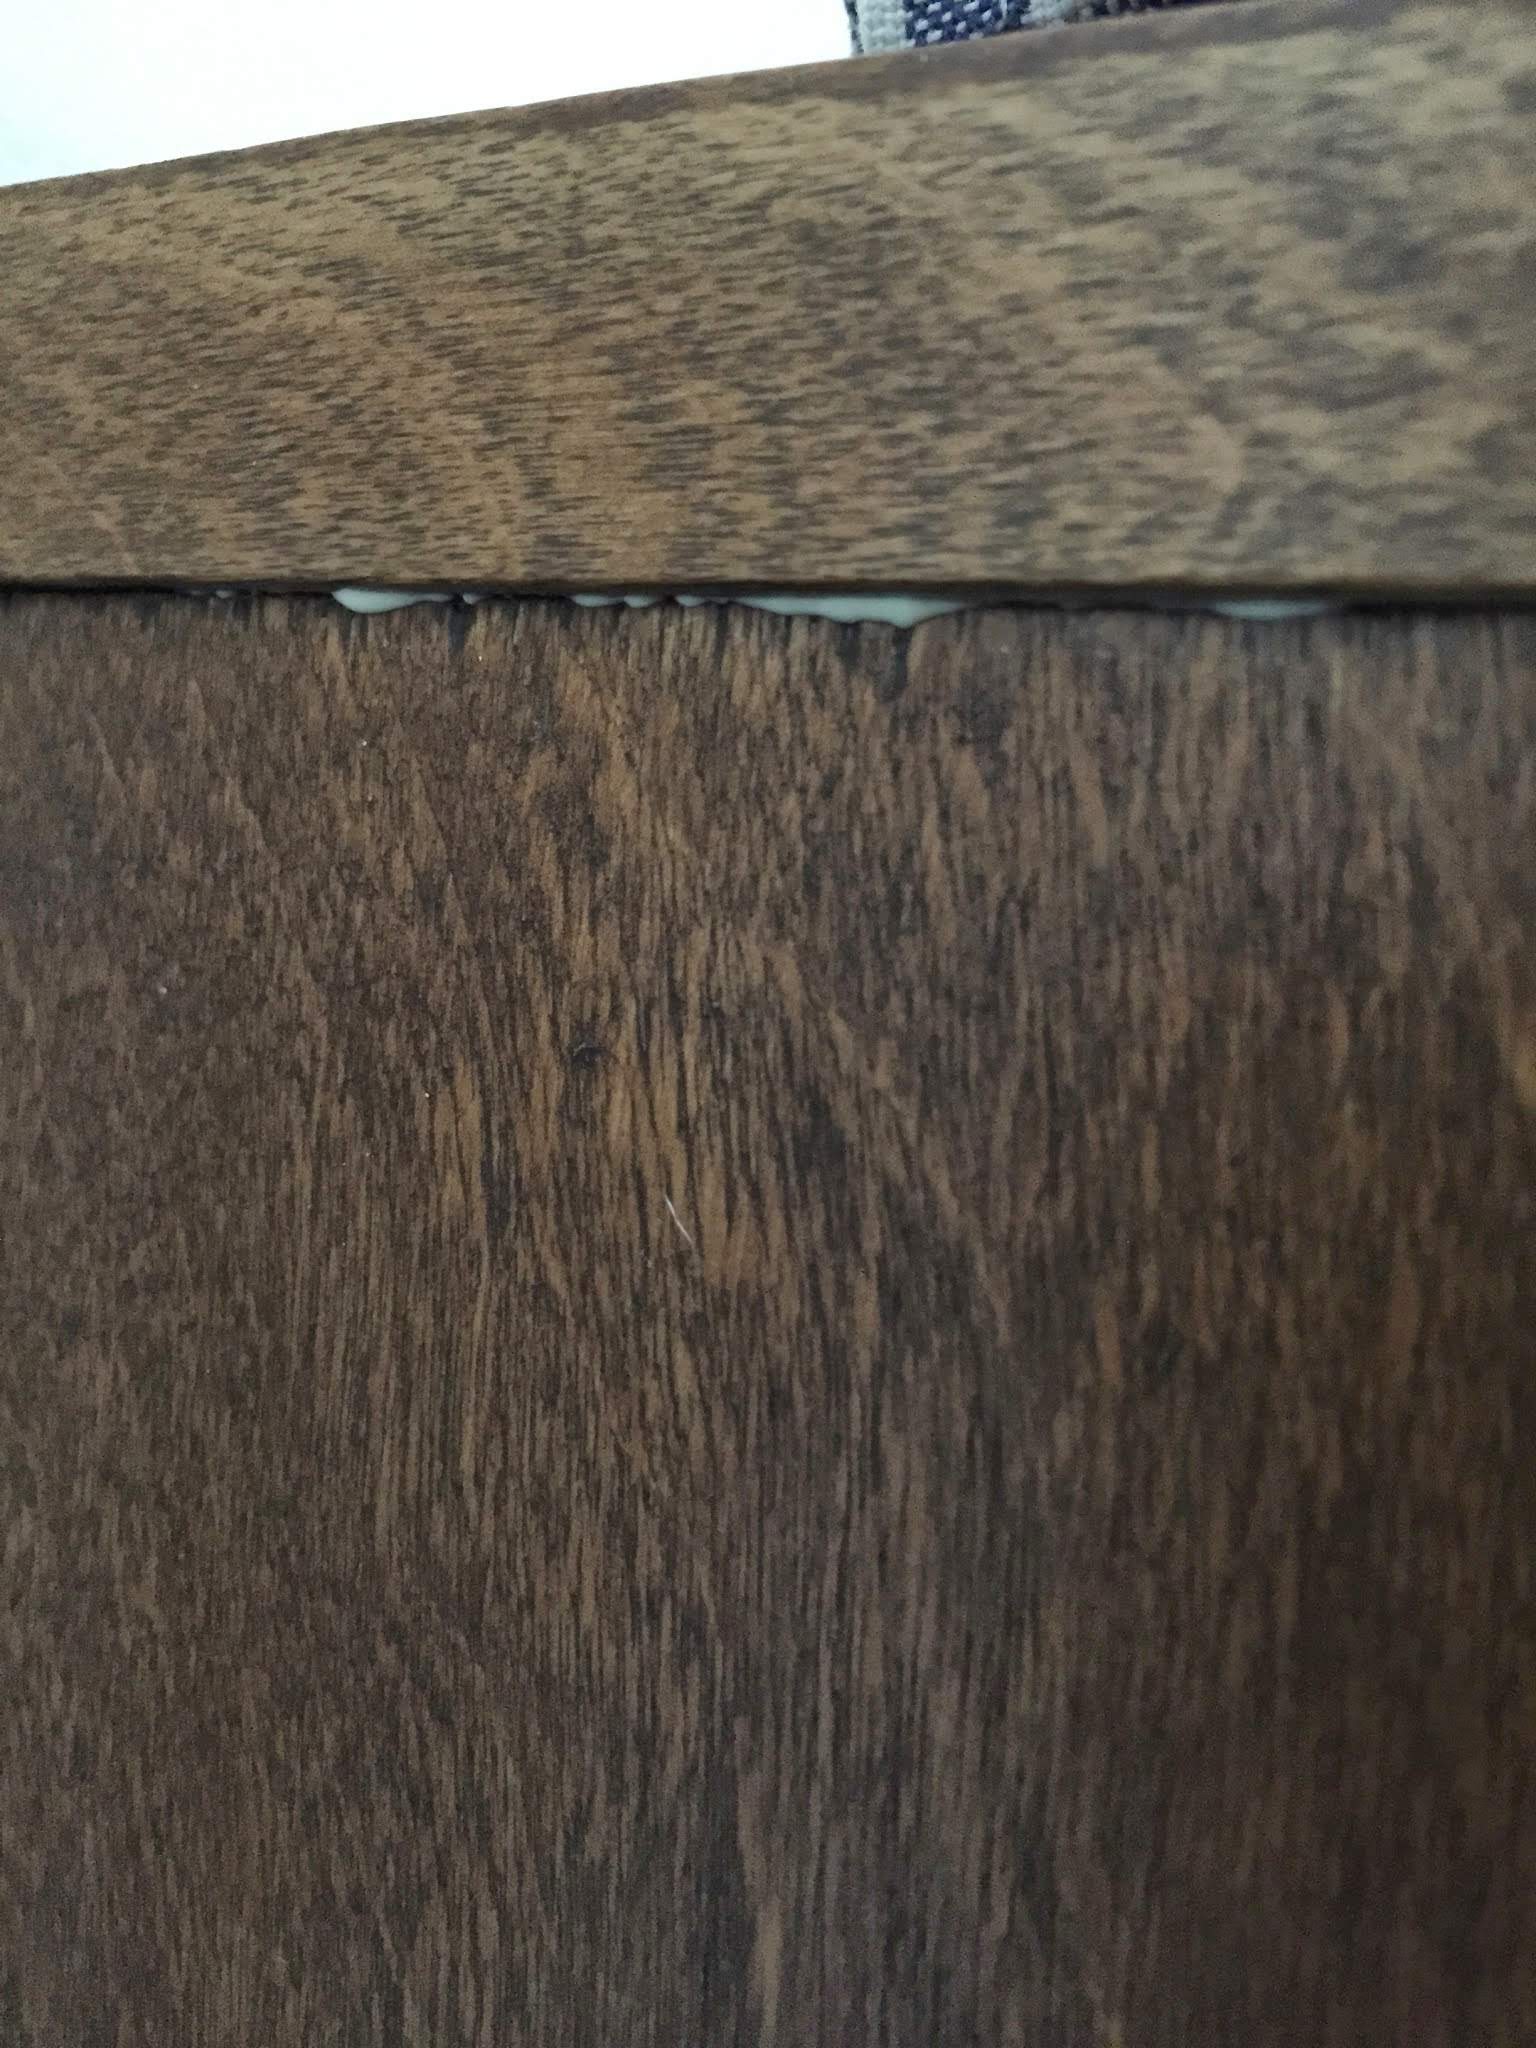
After a couple of hours, when we were certain the wood glue was dry, we removed the clamps.
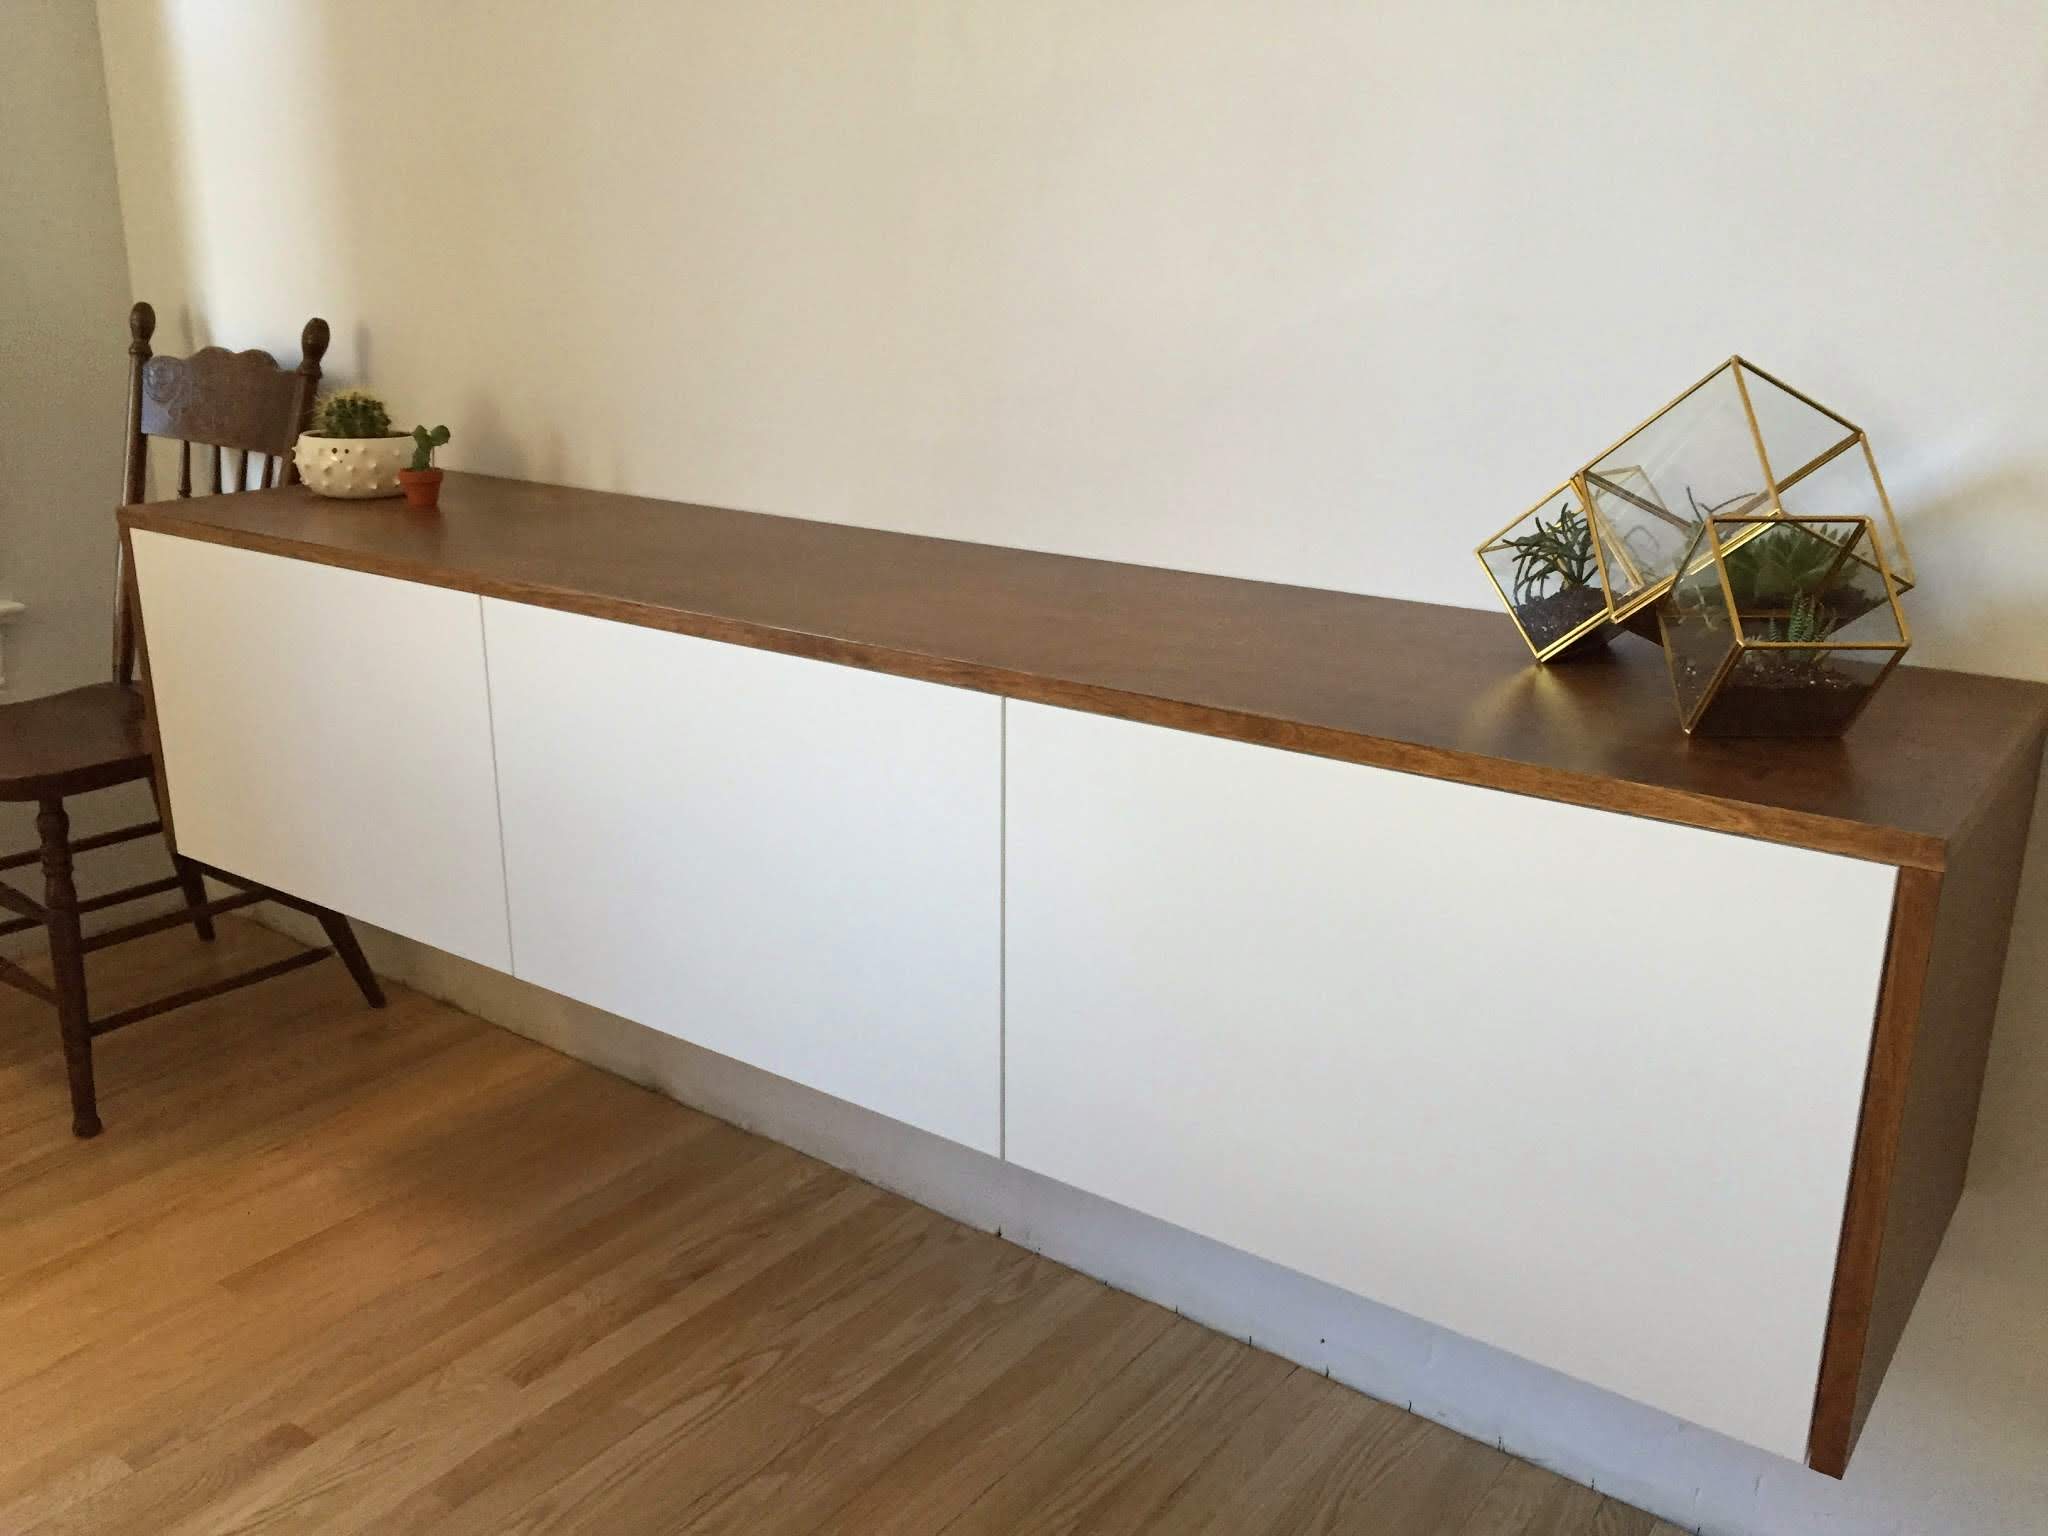
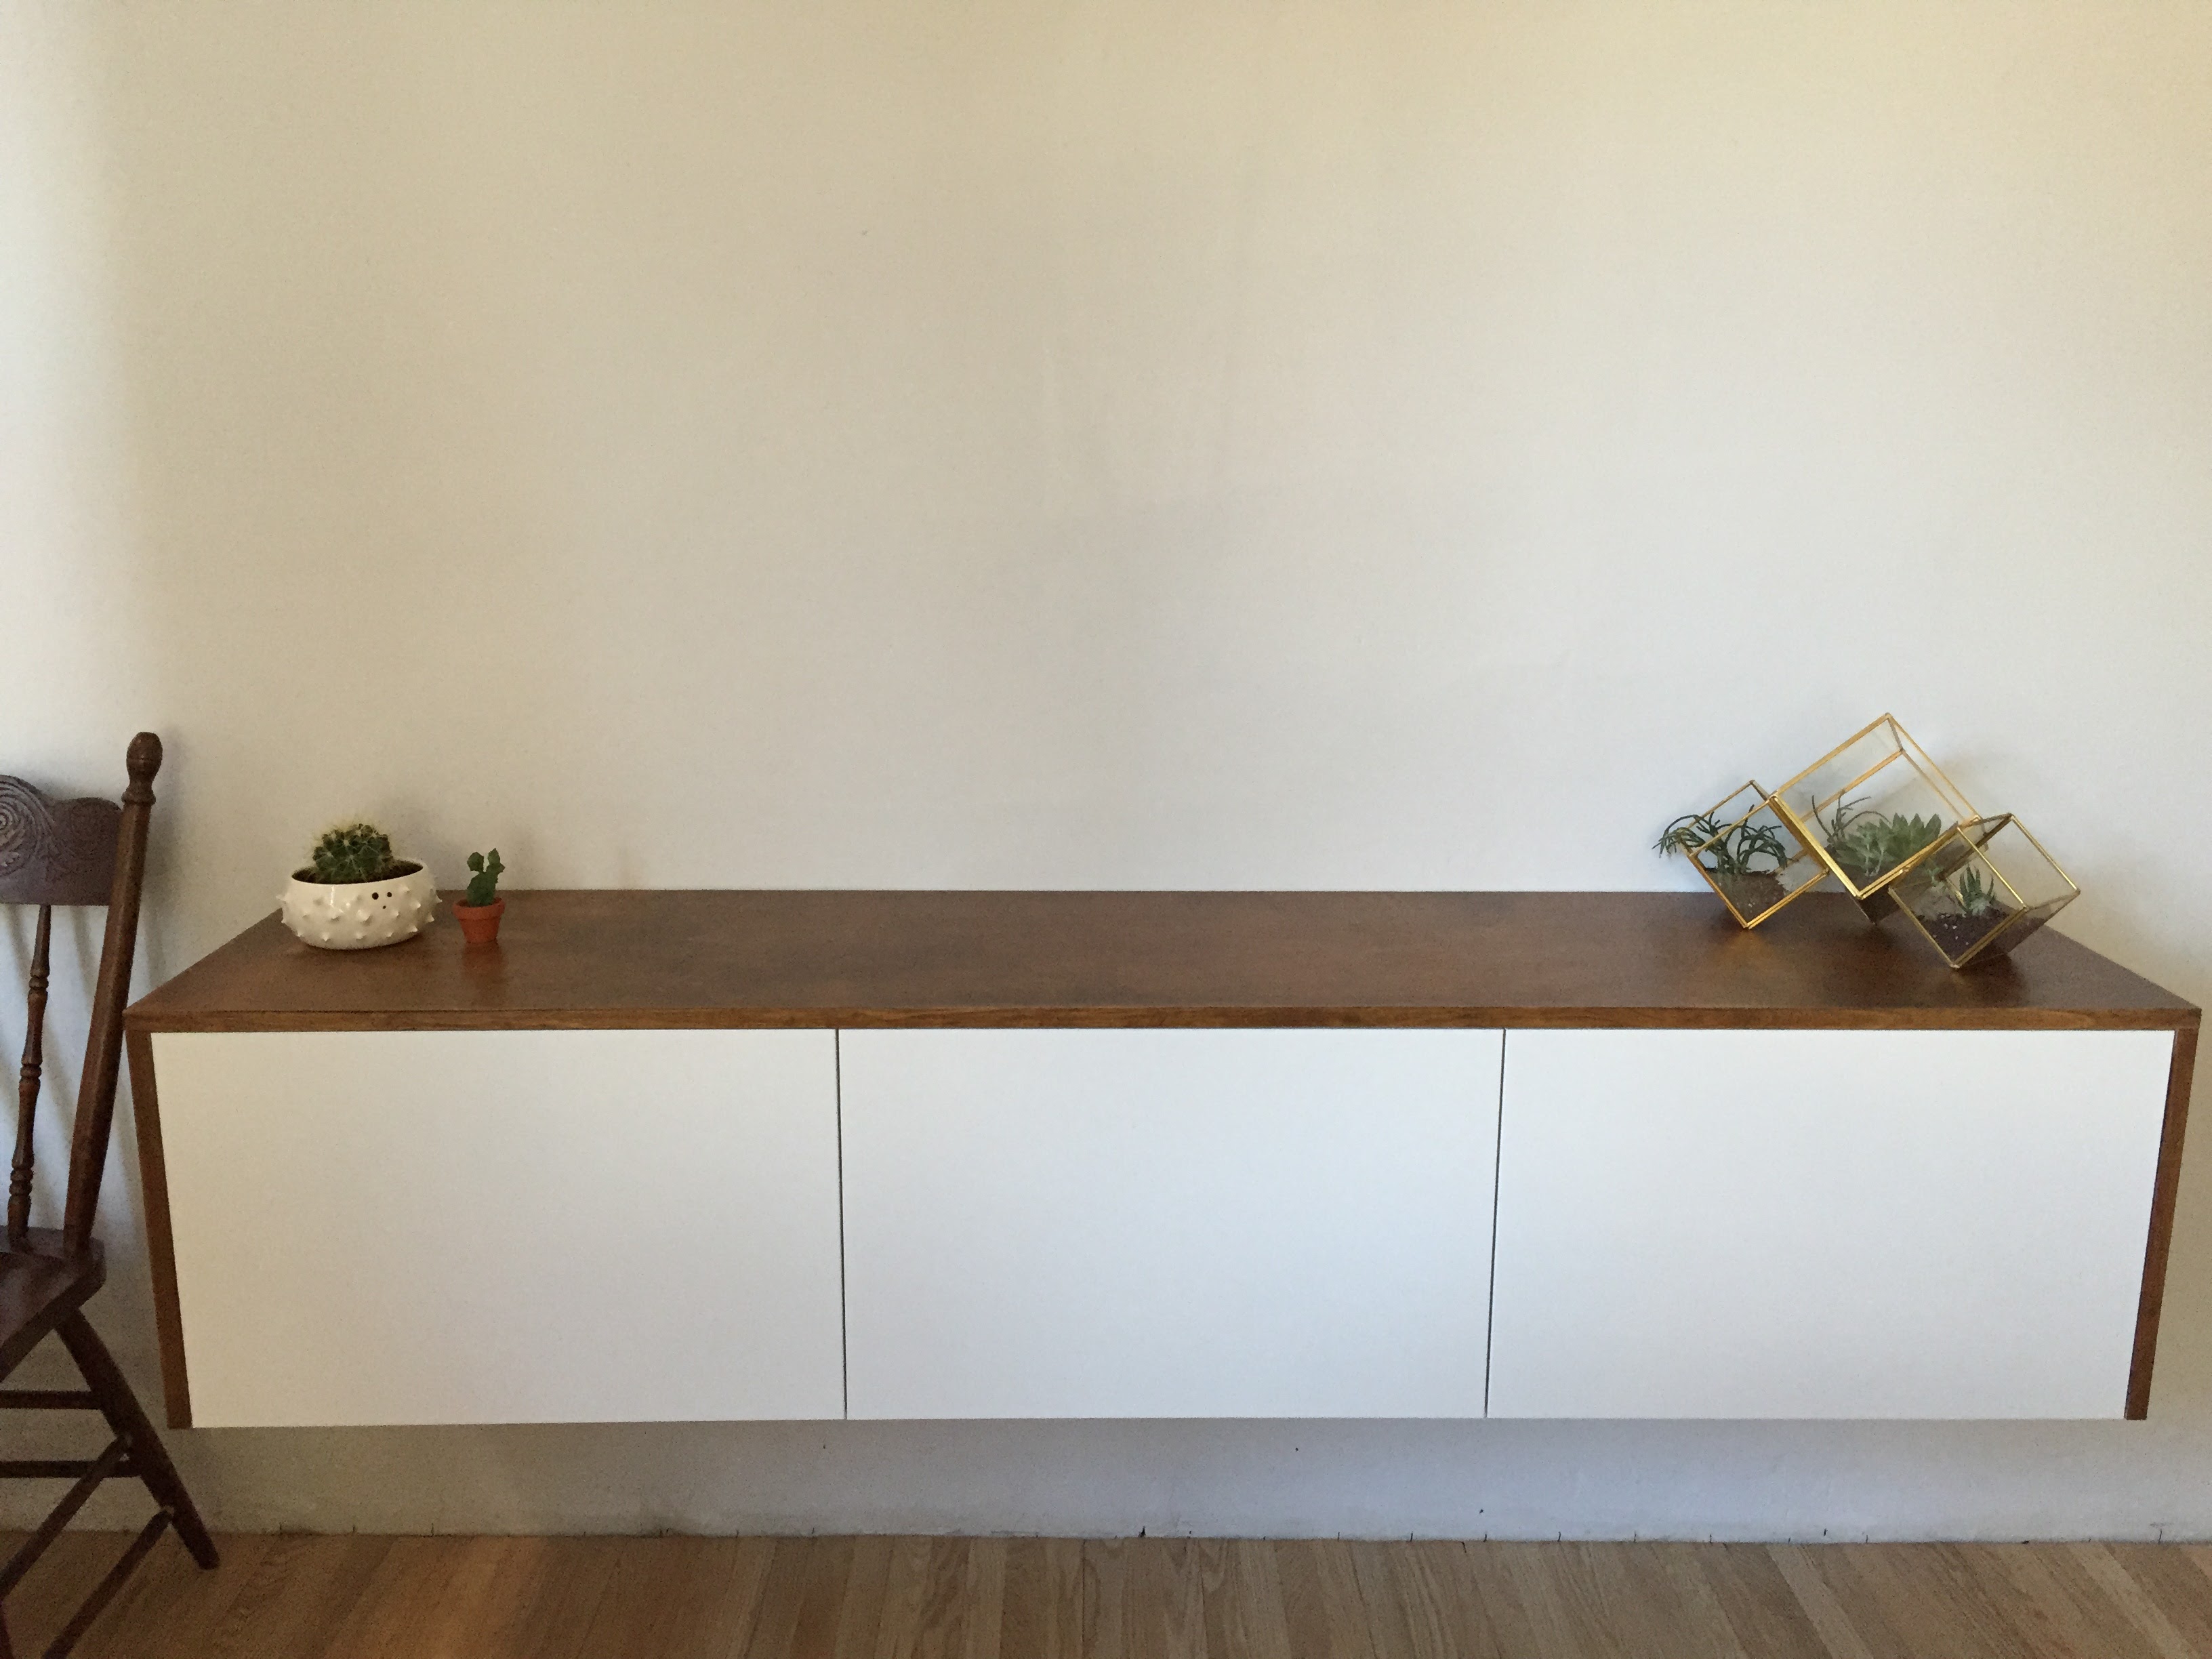
And voilà! For about $450, we had a beautiful new fauxdenza of our own!
[…] Four years ago I made an amazing Ikea hack. Using the Besta storage system, I made a beautiful, not-Ikea-looking fauxdenza that I hung on our dining room wall. […]